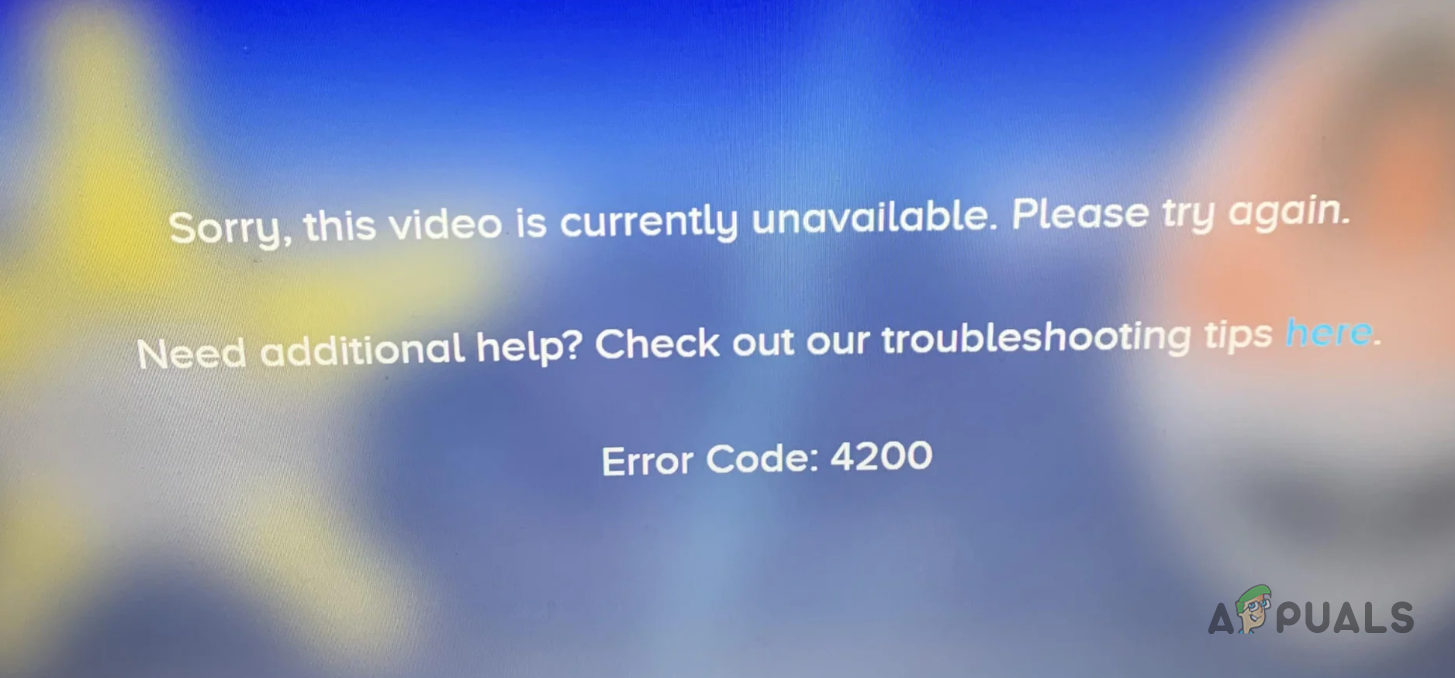
How to Fix: Paramount Plus (Error Code: 4200)
 Reviewed by Muhammad Zubyan
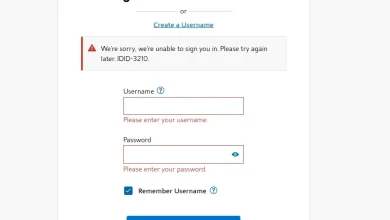
The Paramount Plus error code 4200 can occur due to various reasons, which can include the interference of third-party add-ons on your browser with the website, the DNS server that you are using, and more. The error message is not really specific and does not indicate any information about the problem.
In some instances, the cookies and cache stored on your browser can also result in the error code in question due to corruption or any other inconsistency. In this article, we will show a list of different methods that you can execute to resolve the issue in question.
1. Disable Third-Party Extensions
When starting to resolve the error code, the first thing that you need to do is to disable the third-party extensions that are installed on your browser. In some cases, the third-party extensions can interfere with the connection to the target server on your browser which can cause it to function properly.
In such a situation, you will have to disable the third-party extensions to resolve the issue. The most common third-party extension that can cause such behavior is any ad blocker added to your browser. However, this may not always be the case.
If you have multiple extensions installed on your browser, you can use incognito mode to see if the problem persists. All of the third-party extensions are disabled in a private window by default unless you allow them manually. If the problem ceases in a private window, it will be apparent an add-on on your browser is causing the problem.
If this case is applicable, start disabling your third-party extensions to find the offender. Once you have found the problematic add-on, remove it from your browser to resolve the issue.
2. Clear Web Browser Cache and Cookies
Another potential cause of the problem can be the cache and cookies stored on your browser. Both of these are used for different purposes and serve an important role. Cookies are often used by websites to manage user sessions and can also be used to track user activity.
In addition, browser cache often stores different assets of the website that helps boost the overall performance of the website. However, corruption or inconsistency in the browser cache or cookies can cause various problems. In such a scenario, you must clear the browser cache and cookies to settle the issue.
Use the instructions below for your respective web browser to clear the browser cache and cookies.
Google Chrome
- First, click the More menu option in the top-right corner and click More tools > Clear browsing data.
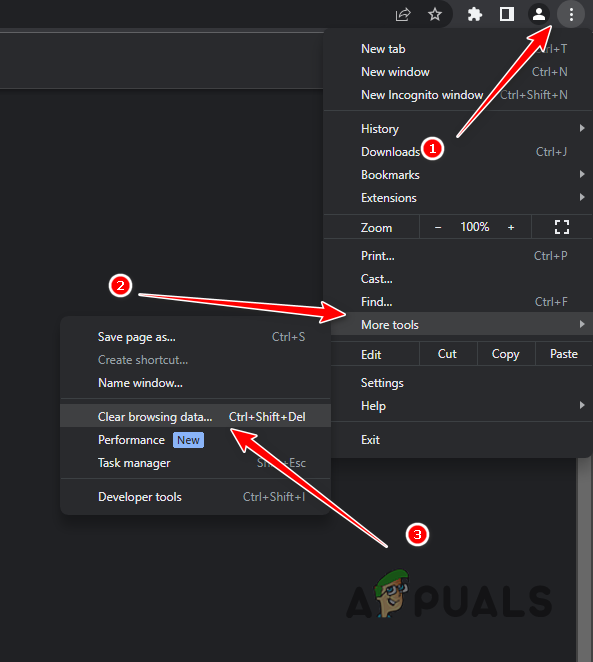
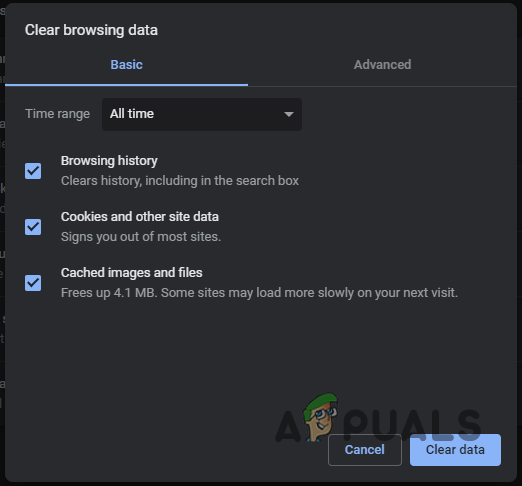
Open Clear Browsing Data Menu - Then, select All Time as the Time range.
- In addition, tick the Cookies and other site data and Cached image and files options.
- Then, hit the Clear data option.
Clear Chrome Cache
Microsoft Edge
- Start by clicking the More menu option and choose Settings in the top-right corner.
- On the Settings screen, switch to the Privacy, search and services tab.
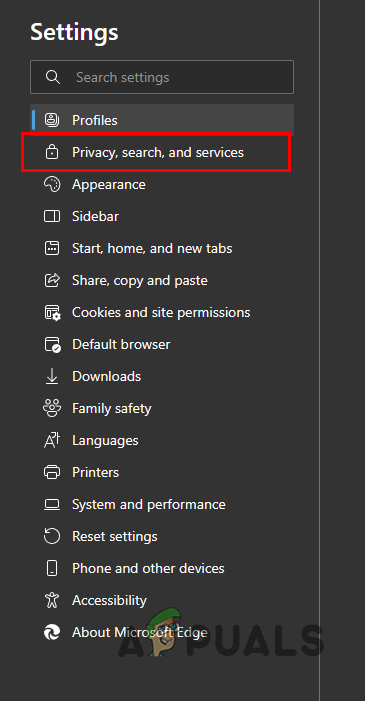
Switching to the Privacy, Search and Services Section - There, click on the Choose what to clear option under the Clear browsing data option.
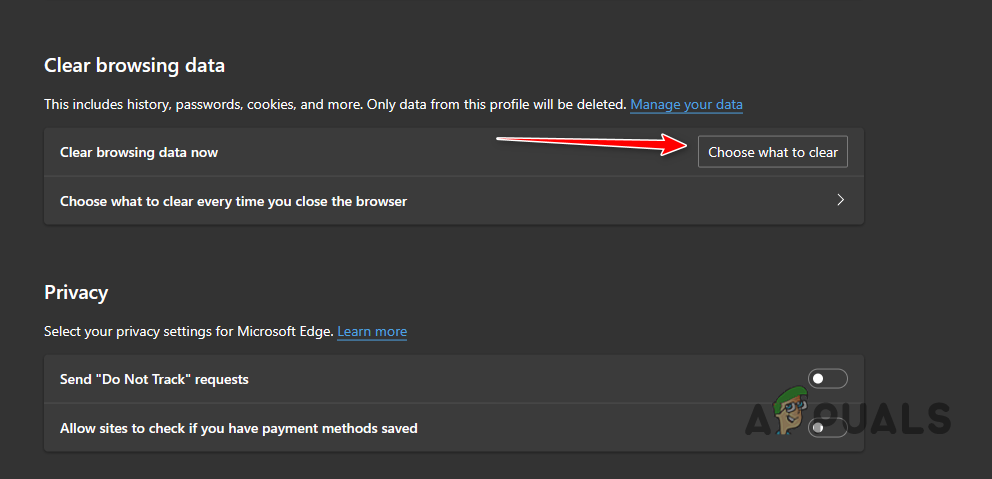
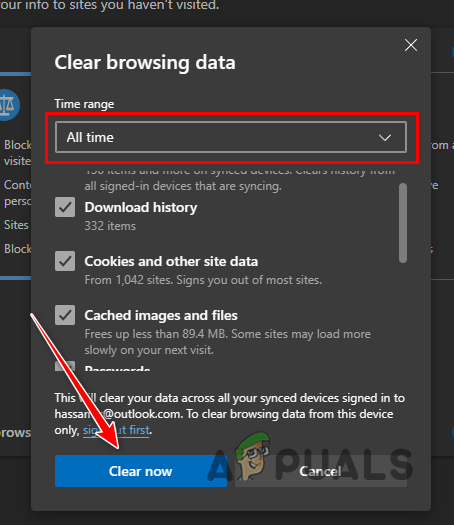
Navigating to Clear Browser Data - For the Time range, choose All Time.
- After that, tick the Cookies and other site data, Cached images and files and Site permissions options.
- Finally, click the Clear now option.
Clearing Microsoft Edge Browsing Data
Mozilla Firefox
- Click on the More menu and choose Settings in the top-right corner.
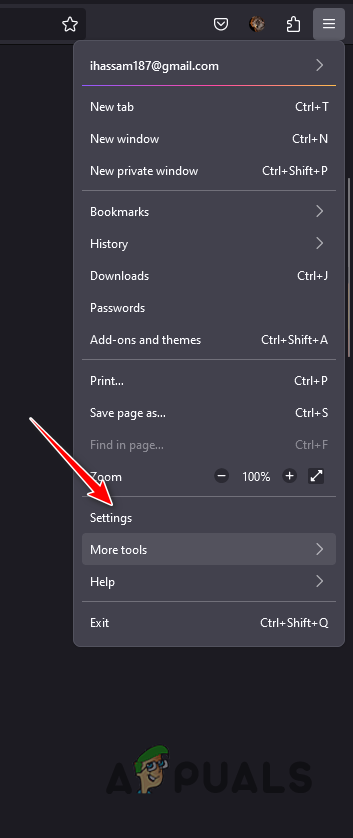
Opening Firefox Settings - After that, jump to the Privacy & Security tab.
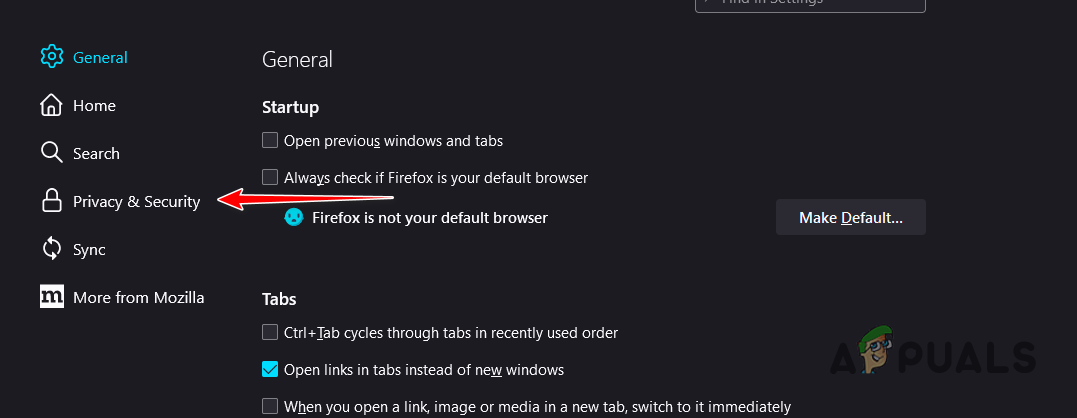
Switching to the Privacy and Security Section - Then, click on the Clear Data option.
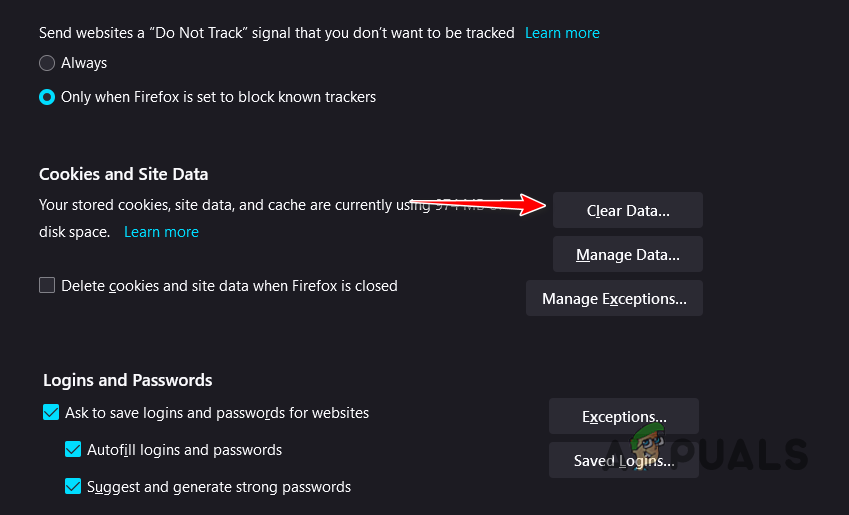
Clearing Cookies and Site Data on Firefox - Finally, click on the Clear option with both checkboxes selected.

Clearing Browser Data on Firefox
3. Use a Different Browser
In case the issue continues despite clearing your browser cache, it is probable that the problem lies within the web browser you are utilizing. In some cases, the web browser is not able to communicate with the target server properly which causes the error code in question.
In such a case, one possible solution is to experiment with an alternative browser on your device to ascertain whether it resolves the problem. With numerous browser options available, you have the freedom to install and utilize a different one to investigate if the issue persists across multiple platforms.
4. Change DNS Server
When the DNS server on your network fails to resolve the connection from your computer, the request fails to reach the game servers entirely. This is because DNS servers play a vital part in establishing connections with servers by resolving domain names to their respective IP addresses.
Furthermore, inconsistencies with the DNS servers can lead to frequent connection drops, resulting in the emergence of the error code in question. In such a situation, you will have to change the DNS server on your computer. One option is to switch from your internet service provider’s DNS to public DNS servers offered by Google or Cloudflare.
By reconfiguring your DNS settings, you can resolve the issue of failed connections to Paramount Plus servers. Changing your DNS server will ensure that the connections are established with proper resolution. Follow the instructions below to use a different DNS server:
- First, open the Windows Settings app via the Windows key + I buttons on your keyboard.
- In the Settings app, go to the Network and internet > Advanced network settings > More network adapter options location.

Navigating to Network Adapter Options - Then, right-click on your network adapter and select Properties from the menu.
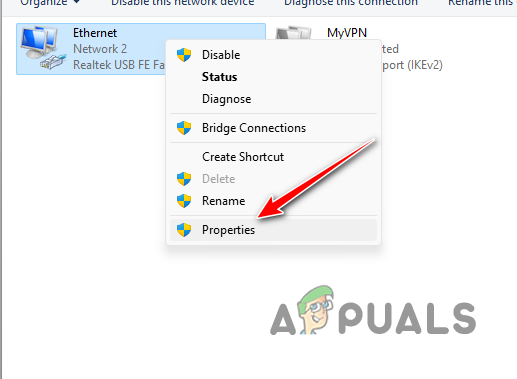
Navigating to Ethernet Properties - On the Properties window, open Internet Protocol Version 4 (TCP/IPv4) properties by double-clicking it.
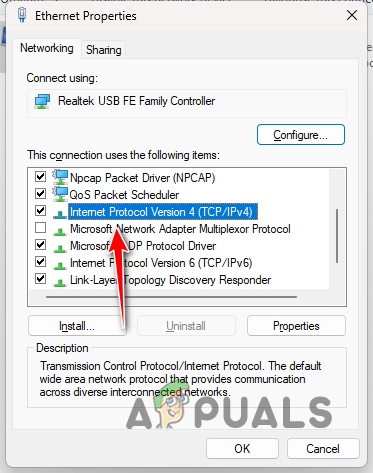
Navigating to IPv4 Properties - After that, choose the Use the following DNS server addresses option.
- Provide one of the following DNS server addresses.
Google: 8.8.8.8 8.8.4.4 Cloudflare: 1.1.1.1 1.0.0.1
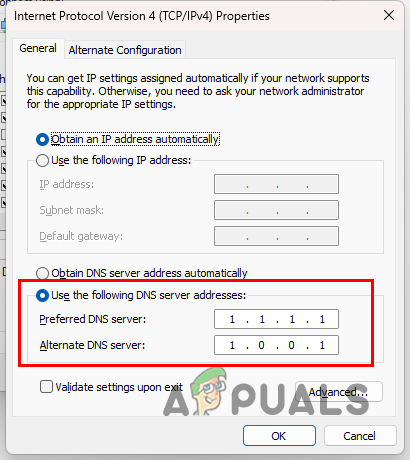
Changing DNS Server - After that, click OK and restart your browser.
- See if that resolves the problem.
Reviewed by Muhammad Zubyan