How to Fix Outlook Error 0x80042108?
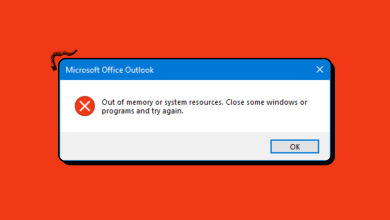
The Error 0x80042108 (Outlook is unable to connect to your incoming POP3 email server) appears for Windows users after Outlook fails to send any type of email. Most affected users have confirmed that they receive email normally.
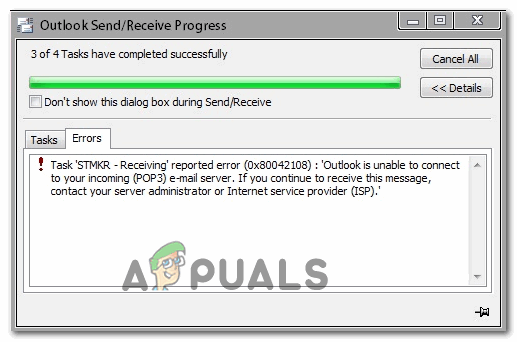
As it turns out, there are two main causes why this particular Outlook error will occur. The first potential culprit is an inconsistency that appeared after Yahoo upped their security settings for POP. If you have configured your email account prior to this change, you should be able to fix the problem by modifying the security options for POP3 in order to make Outlook aware that Yahoo requires an encrypted connection (SSL).
However, this problem can also ve cause by an overprotective AV that is blocking some ports used by Outlook or is preventing the main executable to communicate with the external email server. In this case, you can either disable/ uninstall the overprotective AV or you can whitelist Outlook.com along with the used ports in order to prevent this problem from occurring.
Method 1: Configuring PoP3 Settings Correctly
As it turns out, this problem is most likely occurring with a Yahoo POP account. According to affected users, this problem happens due to the fact that Yahoo upped its security settings for POP which ends up breaking the default configuration with Outlook.
Fortunately, there doesn’t mean you are no longer able to connect your account to Outlook. You still can, but you will need to modify some POP3 related settings in your Outlook application in order to make the email client aware that Yahoo requires an encrypted connection (SSL).
If this scenario is applicable, follow the instructions below for instructions on ensuring that you’re specifying the correct settings for Yahoo POP3:
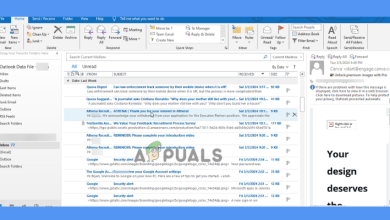
- Open Outlook and use the ribbon bar at the top to click on File > Account Settings. Then, from the drop-down menu, click on Account Settings once again.
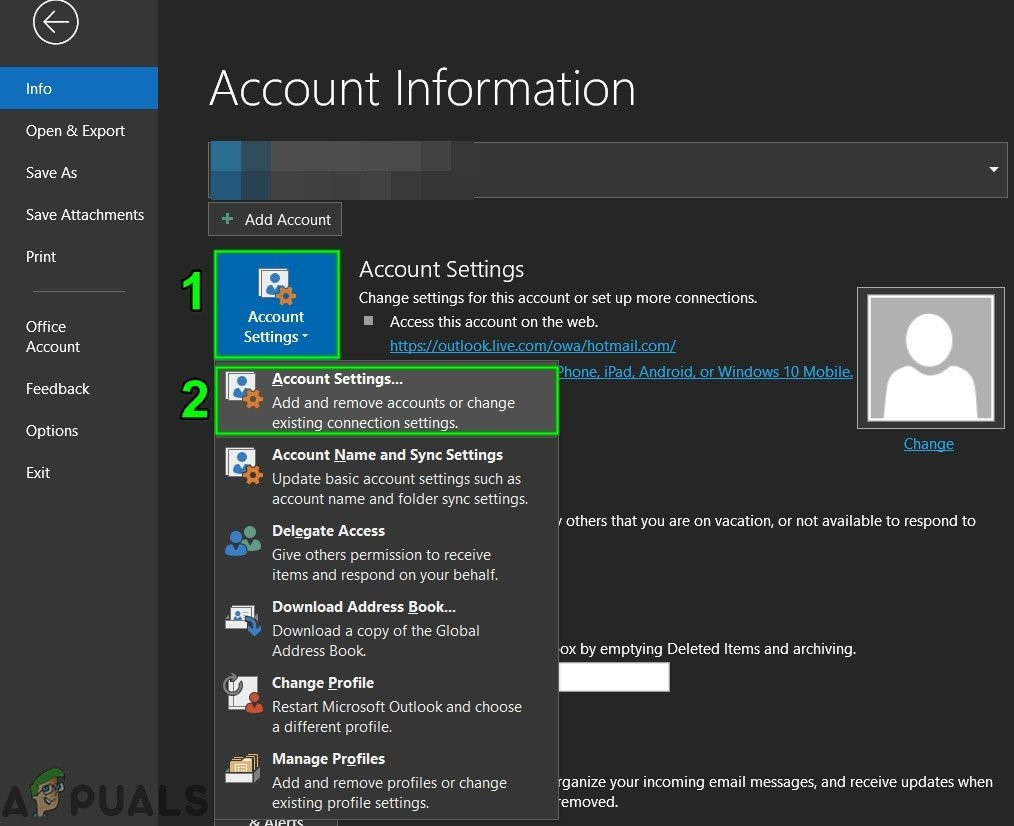
Open Account Settings of Outlook - Inside the Account Settings menu, click on the Email tab from the horizontal menu and open up the settings menu.
- Next, on the next screen, verify that your settings are correct, then click on More Settings.
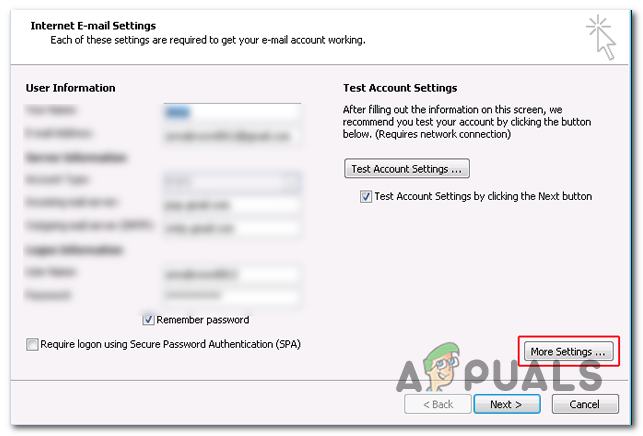
Accessing the More Settings menu of Outlook - Once you are inside the Internet E-mail Settings, click on the Advanced tab, then check the box associated with This server requires an encrypted connection (SSL).
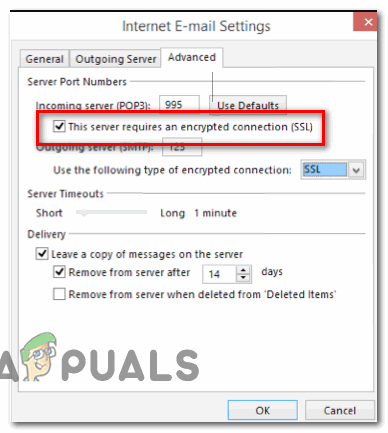
Enabling server Encrypted connections (SSL) Note: If you’re encountering this issue with Yahoo, ensure that the POP3 server is set to 995.
- Click Ok to save the changes, then restart Outlook and repeat the action that previously ended up producing the 0x80042108.
In case the same problem is still occurring, move down to the next potential fix below.
Method 2: Preventing AV from interfering with Outlook
As it turns out, another fairly common culprit that might trigger this problem with Outlook is an overprotective Antivirus suite that ends up blocking ports or the main program’s executable from connecting to the Internet.
In this case, this fix will be different depending on the type of Antivirus/Firewall suite you’re using. But the bottom line is, you can either disable or uninstall the overprotective suite or you can establish exceptions and whitelist the main Outlook executable along with the ports that it’s actively using.
We’ve created 2 different sub-guides to accommodate both scenarios. If you want to disable or uninstall you security suite, follow sub-guide A. In case you want to set exceptions in order to prevent the conflict from occurring, follow sub-guide B.
A. Disable / Uninstalling Antivirus or Firewall
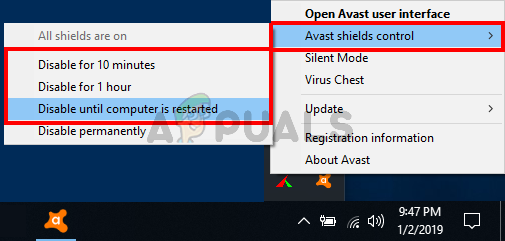
In case you’re using a 3rd party antivirus, try disabling the real-time protection via the tray-bar icon before launching Outlook and seeing if you’re able to send mail. Keep in mind that depending on the tool you’re using, this menu might be a little different, but typically, you can make this modification directly from the tray-bar menu.
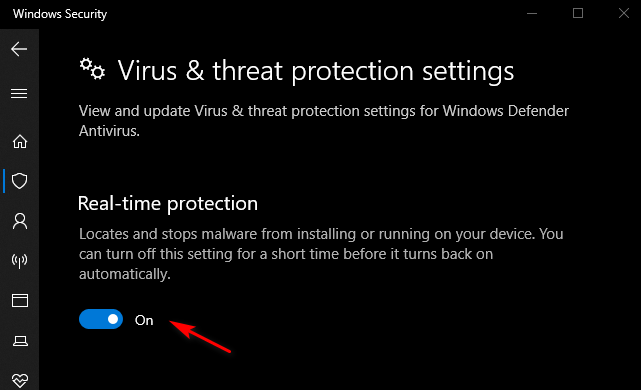
In case you’re using the built-in Windows Defender coupled with Windows Firewall and you want to disable it, you need to do it from the Windows Security menu. To reach this menu, press Windows key + R to open up a Run dialog box, type ‘windowsdefender:’ and press Enter to open up the Windows Security menu.
Once inside, click on Virus & Threat protection, then click on Manage settings and disable the toggle associated with Real-time protection.
In case you are using a 3rd party antivirus and you’re willing to uninstall it, follow the instructions below:
- Press Windows key + R to open up a Run dialog box. Next, type ‘appwiz.cpl’ and press Enter to open up a Programs and Features menu.

Type appwiz.cpl and Press Enter to Open Installed Programs List - Inside the Programs and Features menu, scroll down through the list of installed applications and locate the entry associated with the antivirus you want to uninstall. Once you see it, right-click on it and choose Uninstall from the newly appeared context menu.
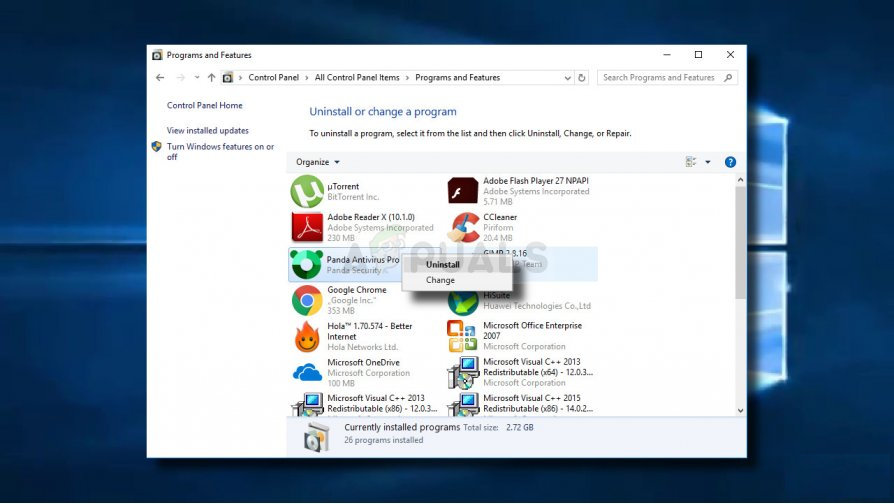
Uninstalling your antivirus - Inside the uninstallation screen, follow the on-screen instructions to complete the uninstallation process, then restart your computer.
- At the next computer startup, open up Outlook and repeat the action that was previously triggering the 0x80042108 error to see if the problem is now fixed.
B. Whitelisting Outlook.com and Ports used by Antivirus or Firewall
If you’re fond of your Antivirus suite and you don’t want to disable it or uninstall it, a more elegant solution would be to whitelist the main Outlook executable along with the ports used by the email client to ensure that the conflict is no longer occurring.
Note: If you’re using a 3rd party security suite, the steps of setting excepted items and programs will be different. In this case, search for specific steps online and whitelist the following items:
Outlook.exe
Port 110
Port 995
Port 143
Port 993
Port 25
Port 465
Port 587
If you are using Windows Security (Windows Defender + Windows Firewall), follow the instructions below to establish the correct exceptions to eliminate the false positive:
- Press Windows key + R to open up a Run dialog box. Inside the dialog box, type ‘control firewall.cpl’ to open up the classic Windows Firewall interface.
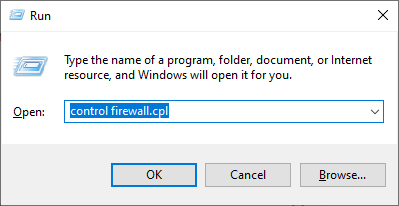
Accessing the Windows Defender Firewall - Once you’re inside the main menu of Windows Defender, start by clicking on Allow an app or feature through Windows Defender Firewall from the menu on the left.
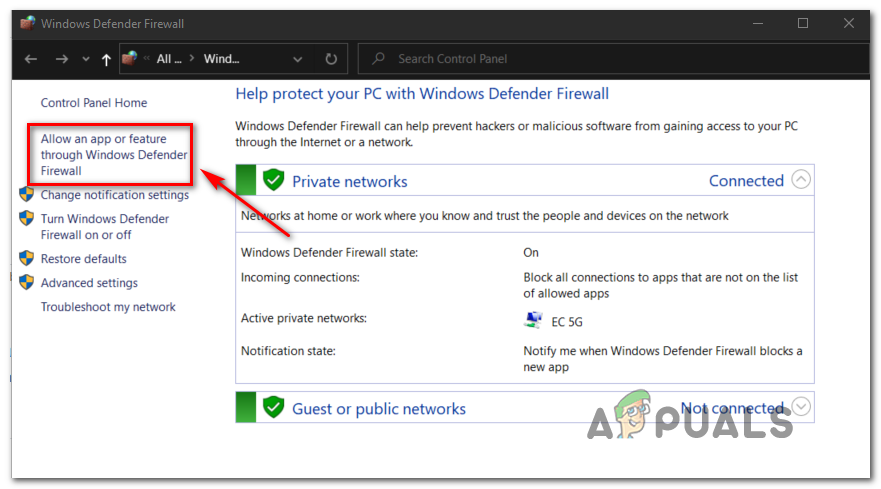
Allowing an app or feature through Windows Defender - From the next menu, click on Change settings button, then click on Yes when you’re prompted by the UAC (User Account Control) prompt.
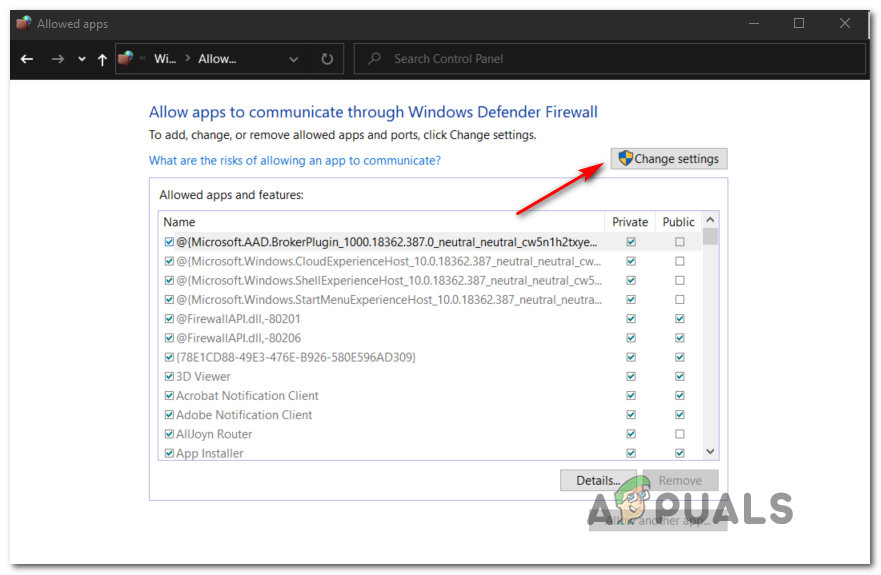
Changing the Settings of the Allowed Items in Windows Firewall - Once this list becomes editable, scroll down through the list of items and locate the entry associated with Outlook. When you see it, ensure that bot boxed (Private and Public) are checked before clicking Ok to save the changes.
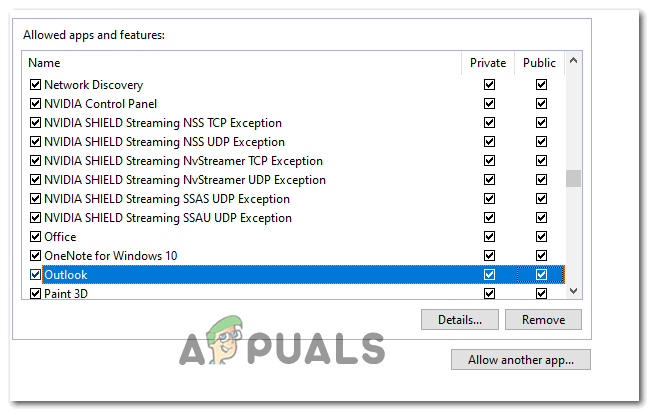
Adding Outlook to the list of items Note: In case Outlook is not on this list, click on Allow another app, navigate to the location of the Outlook executable and double-click on it to add it to the list.
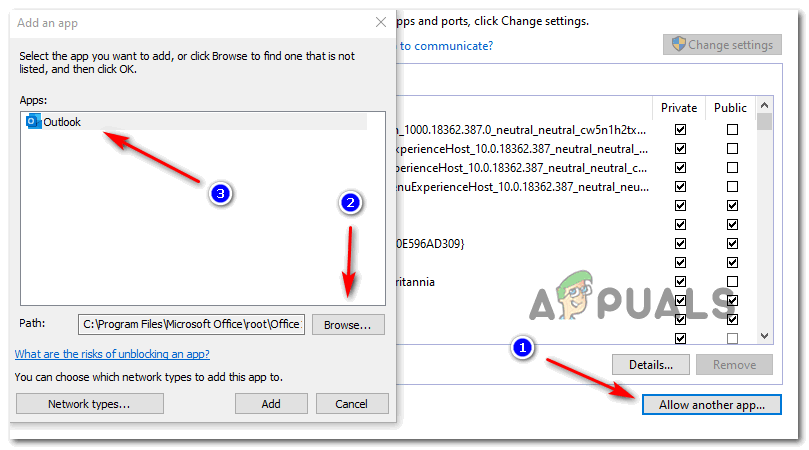
Adding Outlook to the list of excepted items - Save the changes, then follow step 1 again to open the firewall menu once again. But this time, click on Advanced Settings from the left-hand menu.
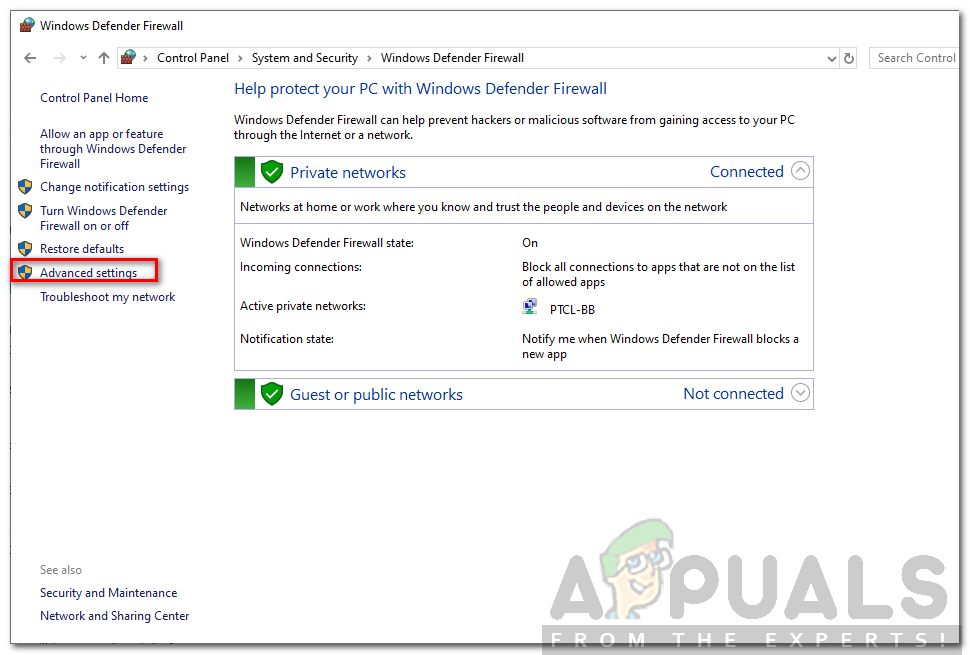
Firewall Settings Note: When you’re prompted by the User Account Control, click Yes to grant administrative privileges.
- Inside the Windows Firewall settings, click on Inbound Rules from the left-hand menu, then click on New Rule.
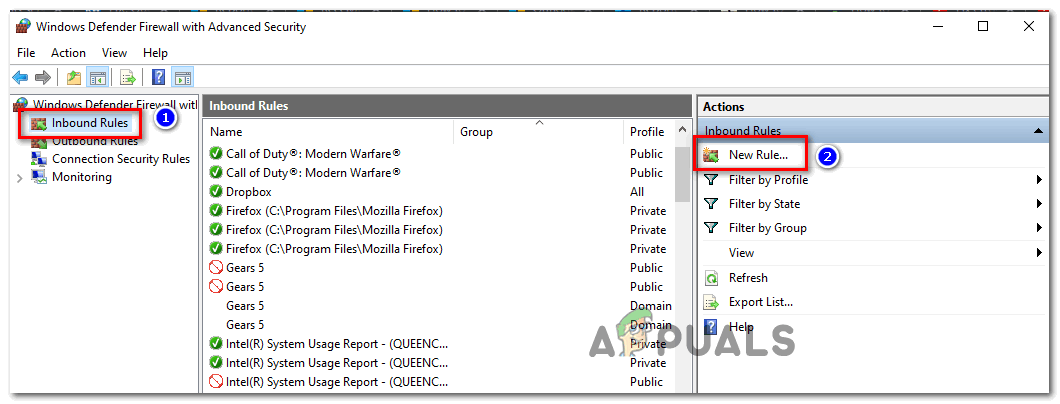
Creating New Rules in Windows Firewall - Once you’re inside the New Inbound Rule Wizard window, select Port at the Rule Type prompt and click Next. Next, select TCP, then choose the Specific local profits toggle and paste the following ports before clicking Next: 110, 995, 143, 993, 25, 465, 587
- At the Action prompt, select Allow the connection and click Next once again.
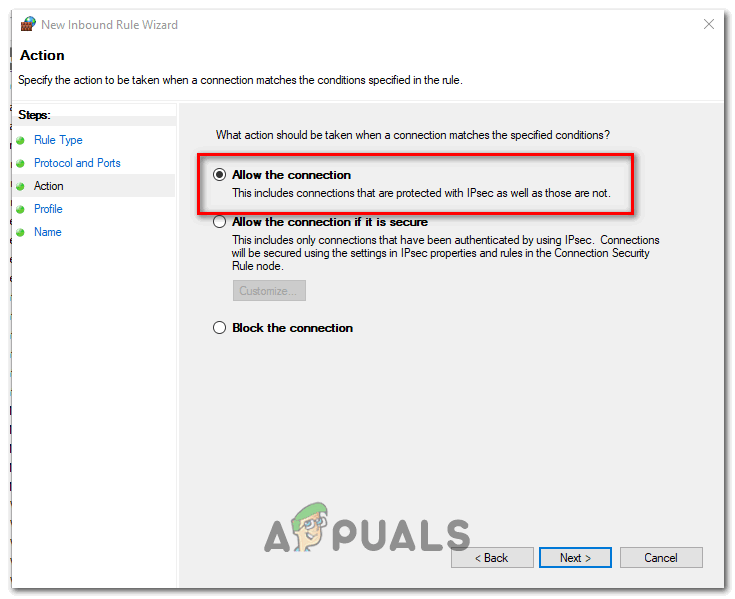
Allowing the connection - At the Profile step, check each box (for Domain, Private and Public) before clicking Next once again.
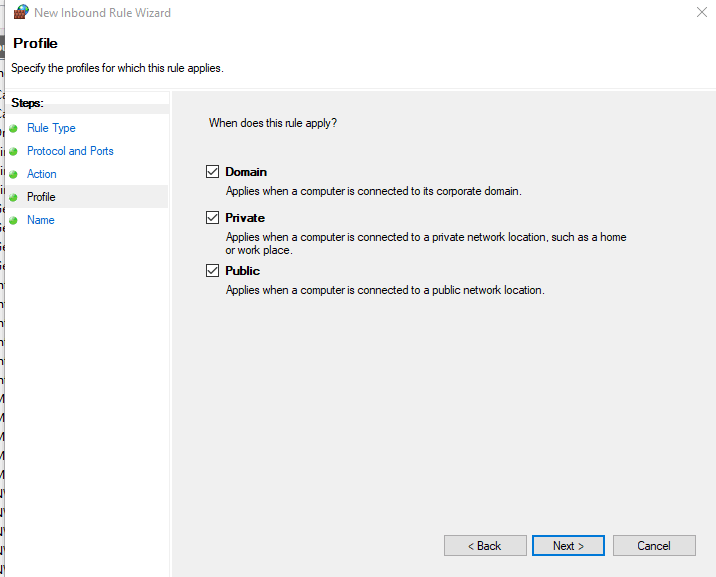
Enforcing the rule on various network types - Establish a recognizable name for the new rule you’re about to create, then click on Finish to save the changes.
- Restart your computer, then launch Outlook once the next startup is complete to see if the problem is now fixed.