Origin Won’t Install with Error Code 20:2? Here’s How to Fix it
Fix: Error Code 20:2 (Whoops - the installer encountered an error.) in Origin
Some Windows users are reporting that every time they attempt to install Origin on their Windows computer they end up with the Error Code 20:2 (Whoops – the installer encountered an error.) {Please quit and restart the installation. You’ll be up and running in no time).
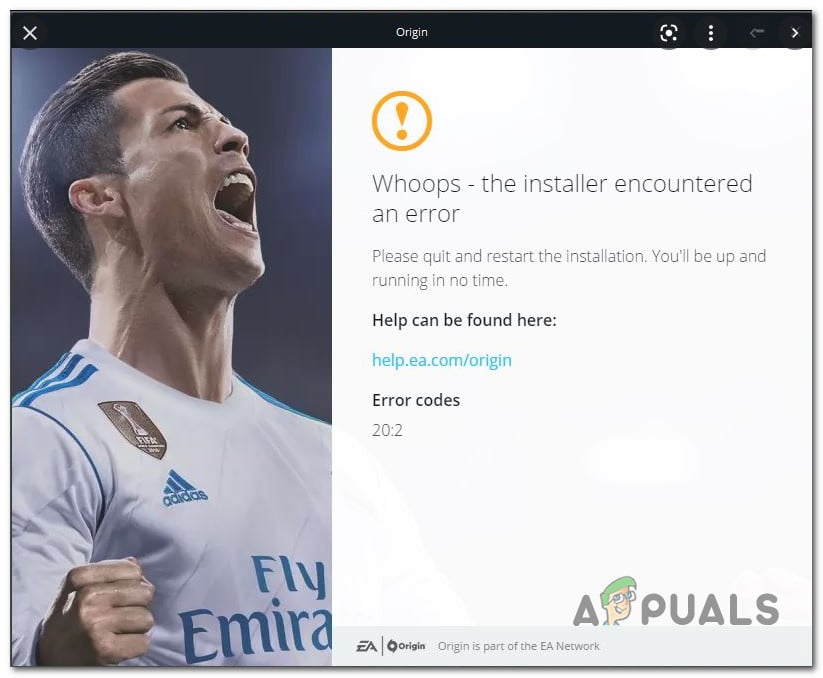
But upon following the error instructions, nothing has changed as the same error code returns promptly. This problem is confirmed to occur on Windows 7, Windows 8.1, Windows 10, and Windows 11.
Upon investigating this issue thoroughly, we actually discovered that there are several different underlying scenarios that might ultimately be responsible for this particular error code.
Here’s a short list of scenarios where you can expect to encounter this type of error:
- Missing admin rights – Before you try any other fix features in this article, you should ensure that you’re opening the installer with admin rights. A few affected users have confirmed that once they forced admin access on the Origin installer they finally managed to complete the installation.
- Insufficient Disk Space – Although the installer won’t tell you this specifically, this type of error is often encountered when the system partition has less than 10 GB of free space. If this scenario is applicable, you should start by freeing up some system space before reinstalling the game launcher from the official download page.
- 3rd party process interference – As it turns out, there are a lot of different apps that might be conflicting with the Origin installer (especially on Windows 11). You can avoid most of these unpleasant scenarios by installing Origin after booting in Safe Mode with Networking.
- Overprotective Antivirus / Firewall – As a lot of affected users have confirmed, you can expect to face this problem as a result of interference caused by your 3rd party antivirus or firewall. In most cases, you can bypass the error by disabling your active AV or firewall or uninstall it completely (at least until you manage to install Origin).
- Interference caused by Windows Security – If you’re using Windows Security (Windows Defender + Windows Firewall) as the default security suite and you’ve stopped updating the virus signatures, chances are the Origin installation is stopped as a security measure. In this case, you can fix the issue by installing every pending update for Windows Security or by temporarily disabling the real-time protection.
- Unpacking installing failure – One other reason why you can expect to see this particular error occur is due to an unpacking error. This problem seems to be restricted to thin versions of the Origin installer. If this is the cause of the error, you can bypass it completely by installing the app via the non-thin client installer.
- Remnant cache files from the previous installation – If you previously had Origin installed on this PC and now you get this error while attempting to re-install the game launcher, chances are you’re dealing with this issue due to some pesky remnant cache files that were not cleared along with your installation. To fix this issue, you’ll need to perform a series of manual steps to clear the cache files.
- Interfering VPN program – As a lot of Origin users are reporting, this launcher seems to hate any kind of VPN-related software. You can expect to see the 20:2 error appearing when attempting to install Origin if the installer detects an active VPN, tunneling, or ping booster app. The only way to fix it unfortunately is to temporarily uninstall the VPN software (at least until you complete the installation).
Now that we went over every potential cause of this error, let’s move over to the actual fixes. Follow the methods below to troubleshoot and fix the Error Code 20:2 Origin issue.
Run the origin installer with admin rights
Before you try any of the other fixes below, you should start this troubleshooting guide by ensuring that the Origin installer has admin rights. This is mainly an issue with Windows 10 users that are using aggressive User Account Control (UAC) settings.
If your operating system denies admin rights to the Origin installer, you can expect the installation to fail with the 20:2 error code.
Follow the instructions below to download the latest Origin installer version and run it with admin rights:
- Open up your default browser and open up the official download page of Origin.
- Once you’re inside the download page, scroll down to the Windows section and download the latest version of the Windows installer.

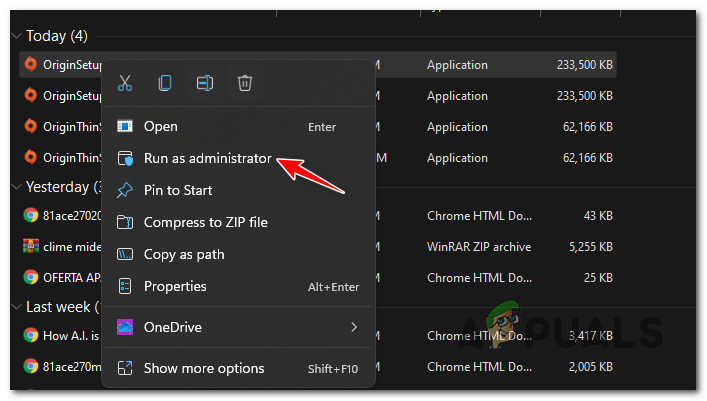
Downloading the Windows installer - Once the installer has been downloaded, navigate to the locations where it was downloaded (Downloads folder), right-click on it, and click on Run as Administrator from the context menu.
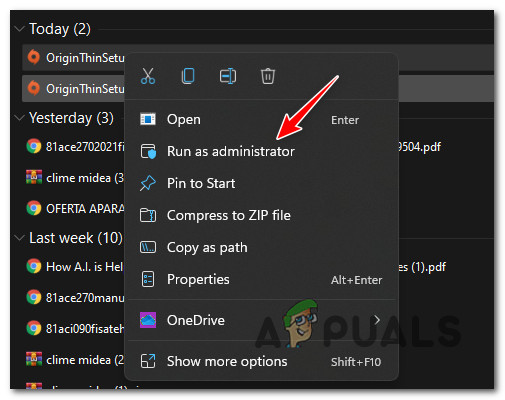
Run Origin’s installer with admin rights - Follow the remaining installation steps normally and see if you can complete the operation without seeing the same error code.
If the installation of Origin fails with the same 20:2 error, move down to the next potential fix below.
Free up enough disk space
When troubleshooting this particular issue, you should start by making sure you have sufficient disk space on the system partition.
Note: Even if you plan on installing the game on a secondary partition, Origin will refuse to install if your system partition drive is filled to the brim.
Other affected users are recommending at least 10 GB of free space, but our recommendation is to keep always keep a buffer of at least 30 GB of free space on your system partition (most likely the C: drive) at all times.
When it comes to freeing up space, you can either do it manually or automatically (via the Windows Cleanup Utility).
We recommended the automated approach since it’s much easier and will save you from mistakenly deleting files that you shouldn’t delete.
If you have large games or applications that you’re no longer using installed on the Windows partition, start by uninstalling those first.
But if that’s not enough, follow the instructions below for a step by step guide on using the Disk Cleanup utility to free up system space:
- Press Windows key + R to open up a Run dialog box. Next, type ‘cleanmgr’ inside the text box and press Enter to open up the Disk Cleanup utility.

Open up the Disk Manager utility - Depending on your User Account Control (UAC) settings, you might be prompted to grant admin access at this point. If this prompt occurs, click yes to grant admin access.
- At the first prompt of Disk Cleanup, select your Windows drive (the one with the windows logo) using the drop-down menu below.
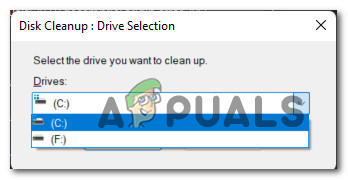
Choosing the Windows drive - Once you’re inside the Disk Cleanup utility, start by checking the following boxes while leaving everything else unchecked:
Downloaded Program Files
Temporary Internet Files
Recycle Bin
Temporary Files
- Next, click on Clean up system files and click Yes at the User Account Control prompt.
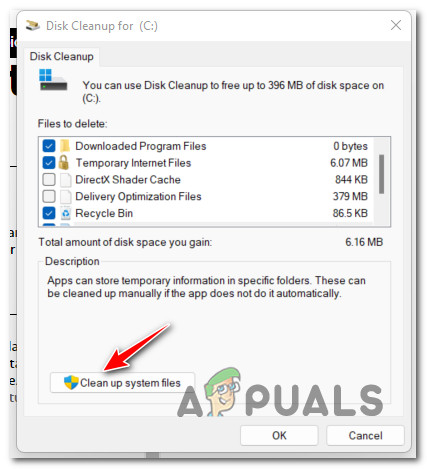
Cleaning up system files - Wait until the initial scan is complete, then confirm the deletion of the temporary files by clicking on Ok.
- Once enough files have been cleared, reboot your PC and wait for the next startup to complete.
- Attempt to install Origin once again using the official download page and see if you still get the same error code during the installation.
If you still end up seeing the 20:2 error code during the installation of the Origin game launcher, move down to the next potential fix.
Install Origin in Safe Mode with Networking
As it turns out, there are a lot of different 3rd party processes that might interfere with the installation of Origin, especially if you’re using Windows 11.
You can bypass most of these scenarios by forcing your PC to boot in Safe Mode with Networking.
Info: Booting in safe mode will force your system to boot up with only the bare minimum startup items, and processes that are necessary for your operating system. This will ensure that nothing is conflicting with the Origin installation.
Follow the instructions below for a step-by-step guide on installing Origin after booting in Safe Mode with Networking:
Note: The instructions below will work on every recent Windows version including Windows 7, Windows 8.1, Windows 10, and Windows 11.
- Press the Windows key to open up the Start menu, then click on the power icon and hold the Shift key while clicking on Restart.
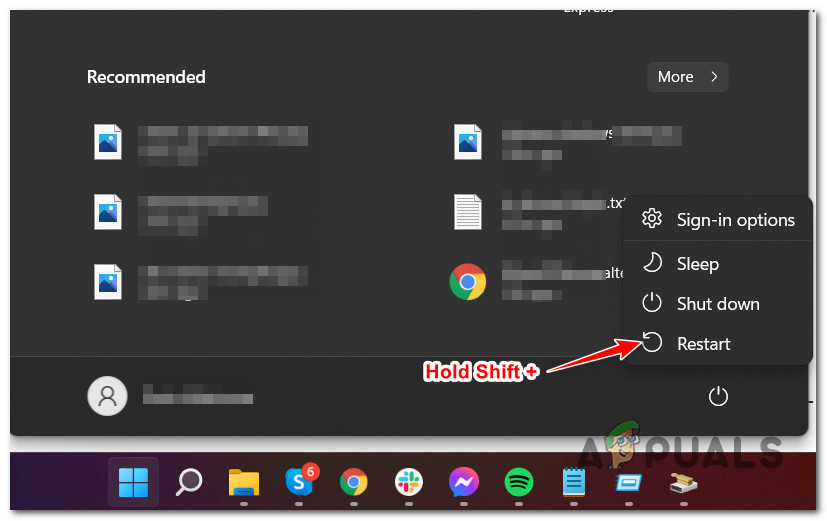
Restart into the Recovery menu Note: This will force your PC to restart directly into the recovery menu which will enable you to trigger a Safe Mode boot.
- Wait until your PC boots into the Advanced Recovery menu. Once you’re inside, click on Troubleshoot from the available options.
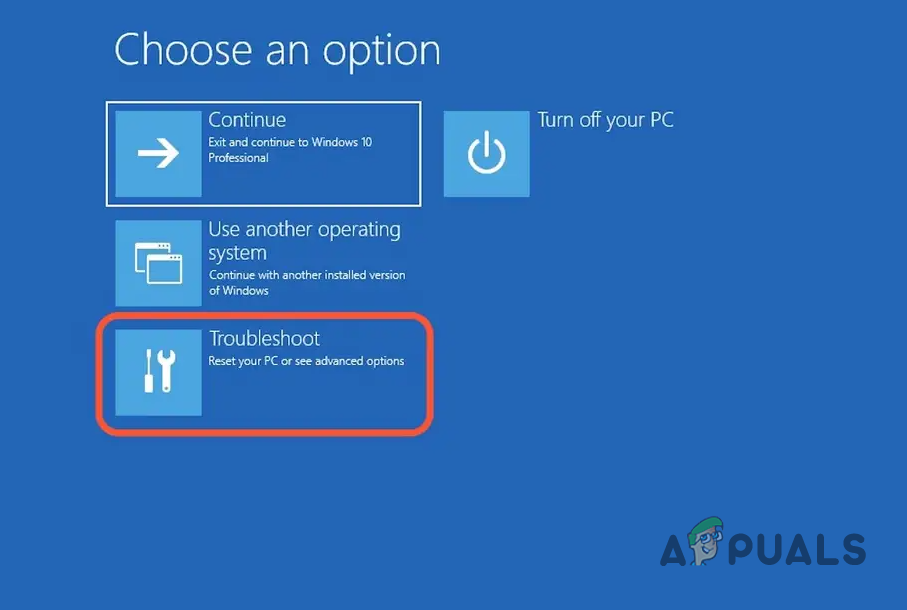
Accessing the Troubleshoot menu - Once you’re inside the Troubleshoot menu, click on Advanced Options, then click on Startup Settings.
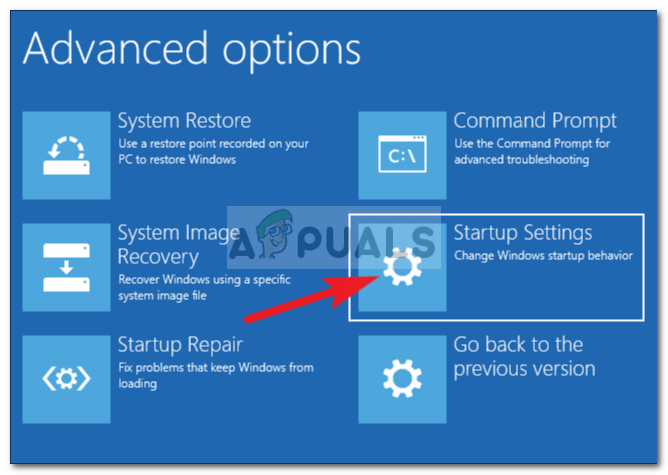
Click on Startup Settings - Next, you will be prompted to confirm the option of restarting inside the Startup settings. You can do so by clicking on Restart at the prompt.
- After you click Restart, your PC will restart directly into the Startup Settings menu. Once you’re inside, press the F5 key to boot your Windows installation in Safe Mode (with Networking).
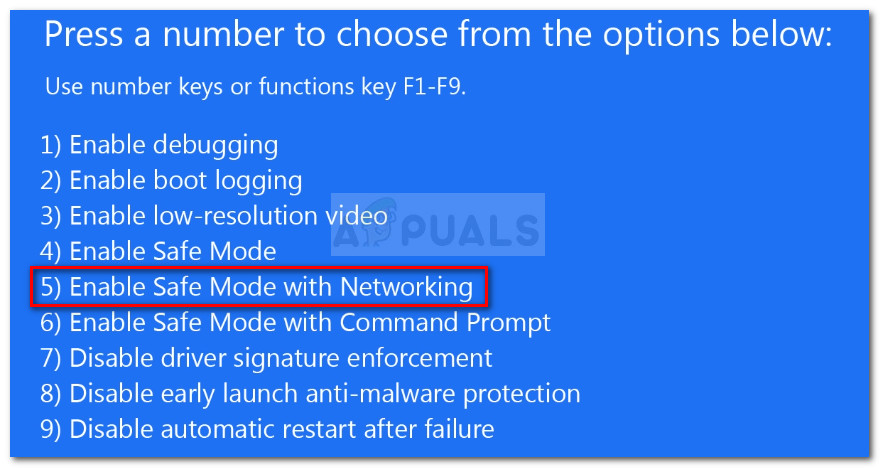
Safe Mode with Networking - Once the next startup sequence is complete and your PC successfully booted in Safe Mode with networking, open your browser and visit the official download page of Origin.
- Scroll down and click on the Download button associated with Windows, then double-click on the installer (once the download is complete) and follow the on-screen prompts to complete the installation.
Downloading the Windows installer
If the installation from Safe Mode results in the same 20:2 error code, move down to the next potential fix below.
Disable or uninstall 3rd party antivirus/firewall (if applicable)
Another fairly popular potential culprit that might contribute to the apparition of the 20:2 error when installing Origin is an overprotective antivirus or firewall suite.
This problem is mostly reported with security suites that have a firewall component attached to them. In most cases, the 3rd party firewall ends up blocking the connection between your PC and the Origin servers.
In certain situations (if you’re using an Antivirus without a firewall component), you should be able to avoid this type of conflict by temporarily disabling the real-time protection.
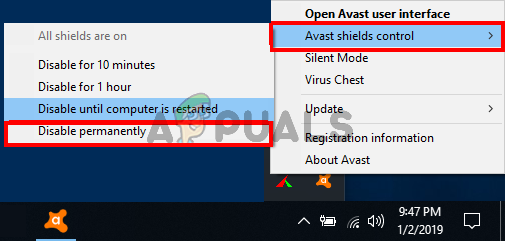
You can do this by accessing the Settings menu of your AV or by right-clicking on the taskbar icon and disabling the active shields.
If this is not applicable in your case or you’re using a 3rd party security suite with a firewall component, chances are the same security rules that are blocking Origin’s installation will remain in place even with the active shields disabled.
In this case, the only option to eliminate the conflict is to temporarily uninstall the overprotective security suite (until after you manage to install Origin).
Follow the instructions below for steps on doing this:
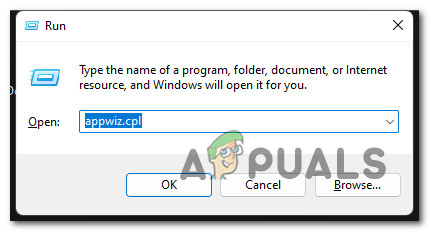
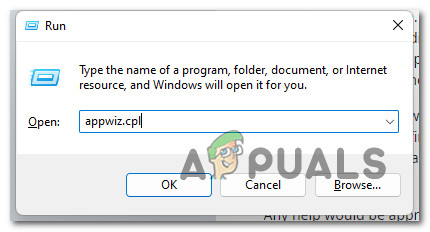
- Press Windows key + R to open up a Run dialog box. Inside the Run dialog box, type ‘appwiz.cpl’ and press Enter to open up the Programs and Features menu.
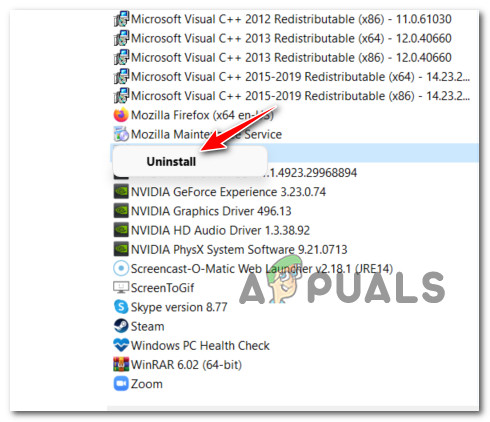
Open up Programs and Features - Once you’re inside the Programs and Features menu, scroll down through the list of installed programs and locate the security suite that you suspect is interfering with the installation of Origin.
- After you locate the security suite that you wish to uninstall, right-click on it and choose Uninstall from the context menu that just appeared.
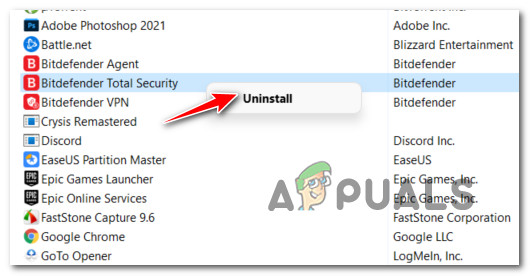
Uninstall the antivirus - Follow the on-screen prompts to complete the uninstallation, then reboot your PC and wait for it to boot back up.
- Attempt to install Origin from the official download page and see if you’re still seeing the same 20:2 error.
If the problem is still not fixed, move down to the next potential fix below.
Temporarily Disable Windows Defender and Windows Firewall (if applicable)
If you’re using Windows Security (Windows Defender + Windows Firewall) and you choose not to update the security signatures (for whatever reason), chances are your active security suite will treat Origin as a potential security threat.
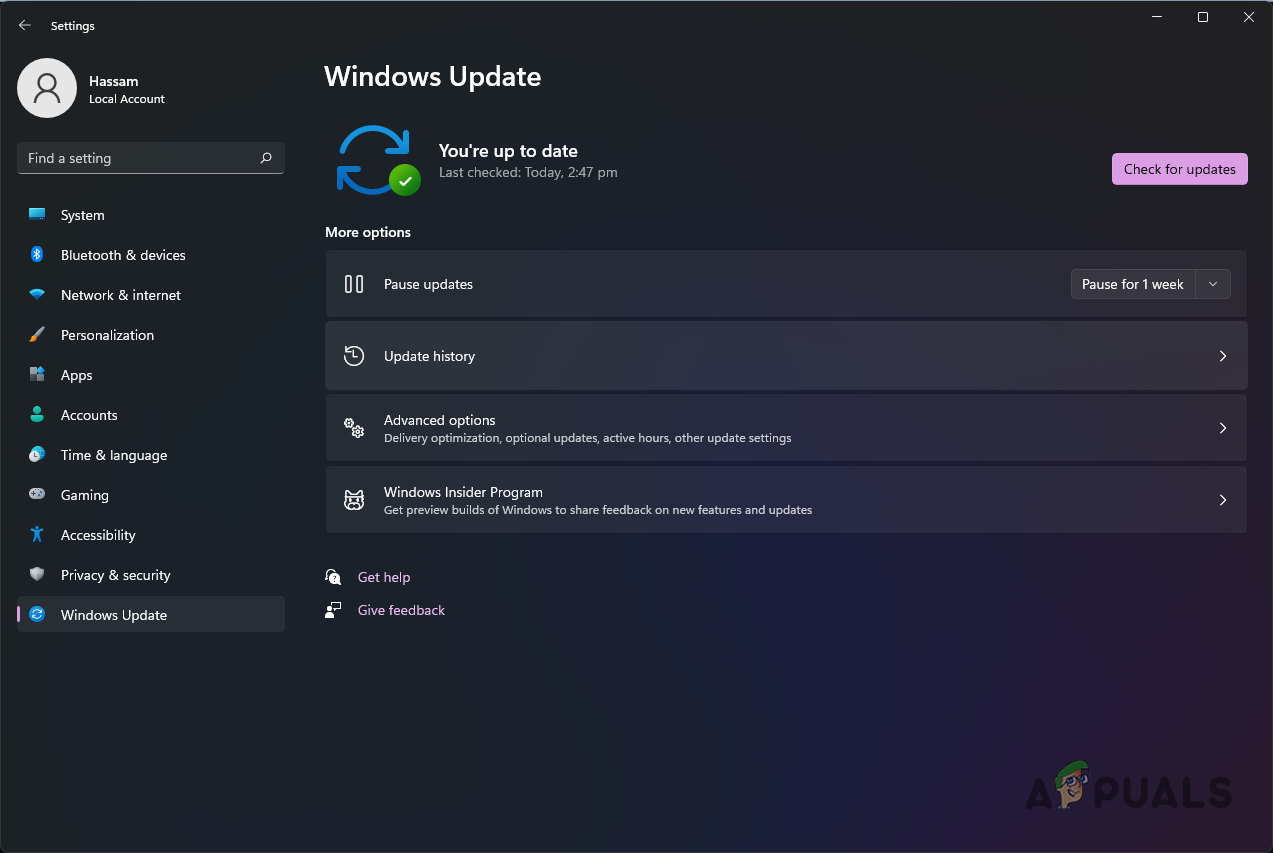
In this case, the easiest solution would be to simply install every Virus Signature update via Windows Update.
If this is not an option (you can’t update the virus signatures for whatever reason), the only solution to eliminate this type of interference is to disable the real-time protection of the Windows Firewall:
- Press Windows key + R to open up a Run dialog box. Next, inside the run box, type ‘ms-settings:windowsdefender’ and press Enter to open up the Windows Defender Security Center.

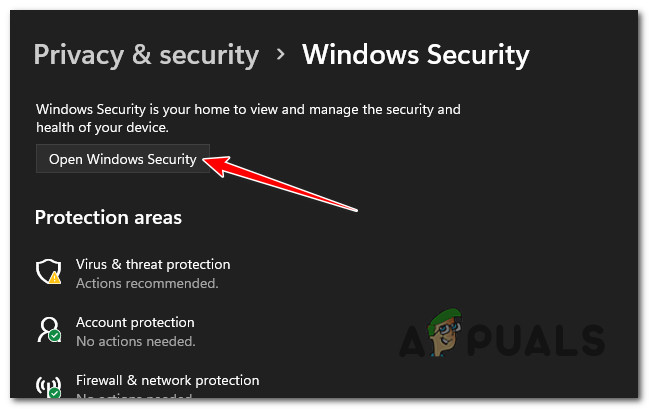
Opening up Windows Security - Once you’re inside the Windows Security tab, move over to the right-hand section and click on Open Windows Security.
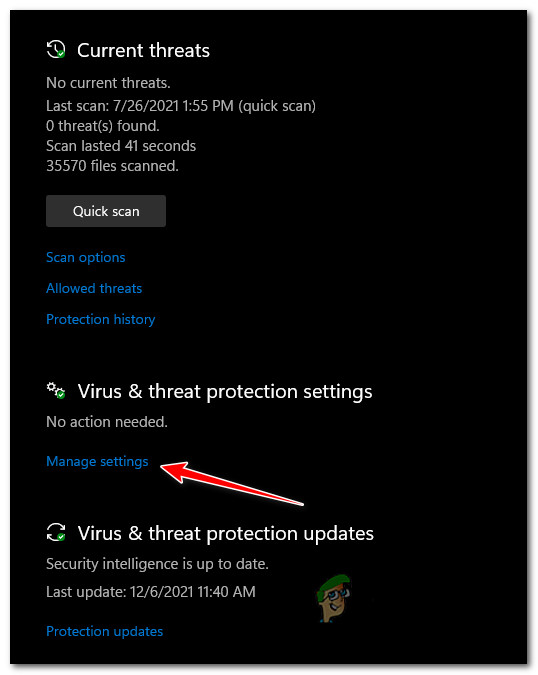
Opening up Windows Security - From the next cluster of options, click on Virus and Threat Protection.
- Next, scroll down to the Virus & threat protection settings and click on Manage settings from the context menu.
Open up the Virus & Threat Protection settings - Once you’re inside the custom Virus & threat protection settings, scroll down to the Real-time protection settings and switch the toggle to OFF.
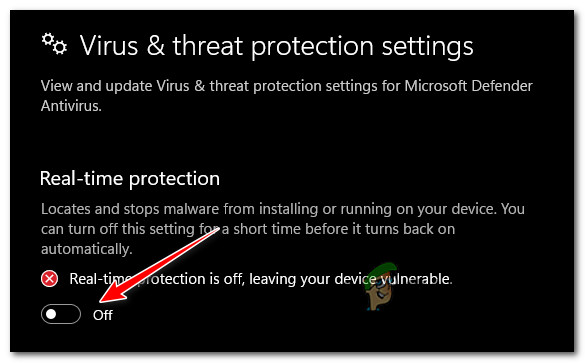
Disable the Real-time protection menu - Once the Real-Time protection is turned off, return to the initial Windows Security menu again, move over to the right-hand section and click on Firewall & network protection.
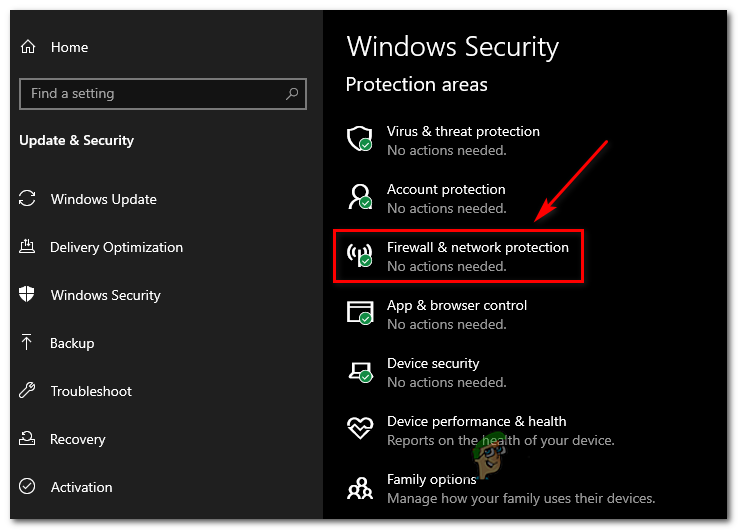
Accessing the Firewall & network Protection menu - After you arrive at the next menu, click on the network that you’re currently using (work or home).
- Next, scroll down through the list of items and disable the toggle belonging to Windows Defender Firewall. Make sure it’s set to Off.
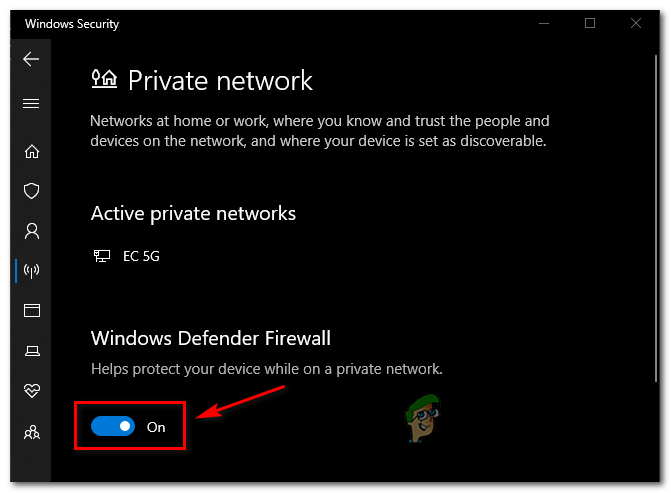
Disable the firewall component - Once both the Antivirus and the firewall from Windows Security are disabled, retry the installation of Origin and see if you can complete it without encountering the same 20:2 error.
Clear Origin’s cache from the previous installation
If you had Origin installed on this PC and you get the error 20:2 now when attempting to reinstall the client, chances are you’re experiencing this problem due to some remnant files left behind by the previous installation.
In the vast majority of instances that we’ve researched, this type of problem will originate from the cache folder of Origin (located inside AppData).
Several affected users that we’re also dealing with this problem have confirmed that the issue was finally fixed once they accessed the AppData folder and straight-up deleted the Origin cache folder. Upon doing this and running the setup once again, the installation was completed successfully.
Follow the instructions below for specific instructions on how to do this:
- Press Windows key + R to open up a Run dialog box. Inside the text box that just appeared, type ‘%AppData%’ and press Enter to open up the hidden app cache folder of your Windows installation.
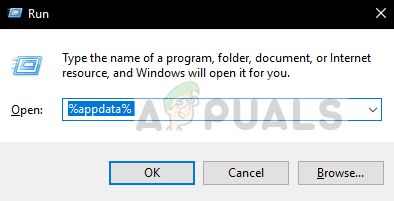
Open up the AppData folder - Once you’re inside the AppData folder, scroll down through the list of cache folders and locate the one named Origin.
- When you finally see it, right-click on it and choose Delete from the context menu that just appeared.

Delete the Origin cache folder - Reboot your PC and wait for the next startup to complete.
- Install the latest Origin version from the official download page and see if you managed to fix the 20:2 Origin installation error.
If the problem is still not fixed, move down to the next potential fix below.
Install via the Non Thin Client Origin Installer
If you’ve come this far without a viable fix, you should also troubleshoot against a potential unpacking issue.
This problem seems to only affect the more lightweight Origin installation clients. Several affected users have reported that they managed to bypass the 20:2 error completely by installing Origin via the non-thin client installer.
Note: This version of the origin installer is a larger file that doesn’t need to be unpacked by Windows Installer when you install it.
Follow the instructions below to install the Origin launcher via the non-thin client installer:
- Open your default browser and download the latest version of the Origin non-thin client installer from the official download page.
- Once the download is complete, right-click on the new installer that you’ve just downloaded and click on Run as Administrator from the context menu.
Opening the Origin non-thin installer with admin access - Once you’re inside the installation window, click on Install Origin, then follow the on-screen instructions to complete the installation and bypass (hopefully) the apparition of the 20:2 error.

Installing Origin - Wait until the installation is complete, then restart your PC if the operation completes successfully.
Uninstall conflicting VPN software (if applicable)
If you’re using VPN software, a tunneling app, or a ping booster, it’s very likely that the Origin installer is rejecting the connection since it detects a filtered connection.
Unfortunately for you (if this scenario is applicable), there is no proper fix for this scenario. All you can do if you’re affected by this issue is to temporarily uninstall the conflicting VPN software, install Origin, then reinstall the Origin launcher once again (to avoid the 20:2) error.
This is not an ideal fix, but it’s a method that a lot of affected users have found to be effective.
Follow the instructions below to uninstall the conflicting VPN software:
- Press Windows key + R to open up a Run dialog box. Next, type ‘appwiz.cpl’ and press Enter to open up the Programs and Features menu.
Open up the Programs and Features menu - If you’re prompted by the User Account Control (UAC) menu, click Yes to grant admin access.
- Once you’re inside the Programs and Features menu, scroll down through the list of programs and locate the conflicting VPN software.
- After you locate it, right-click on the VPN tool and click on Uninstall from the context menu.
Uninstall the VPN software - Follow the remaining steps to complete the uninstallation process, then run the Origin installer (with admin access) once again and see if you are able to complete the installation.


