How to Fix ‘Could not connect to Origin services’ Error?
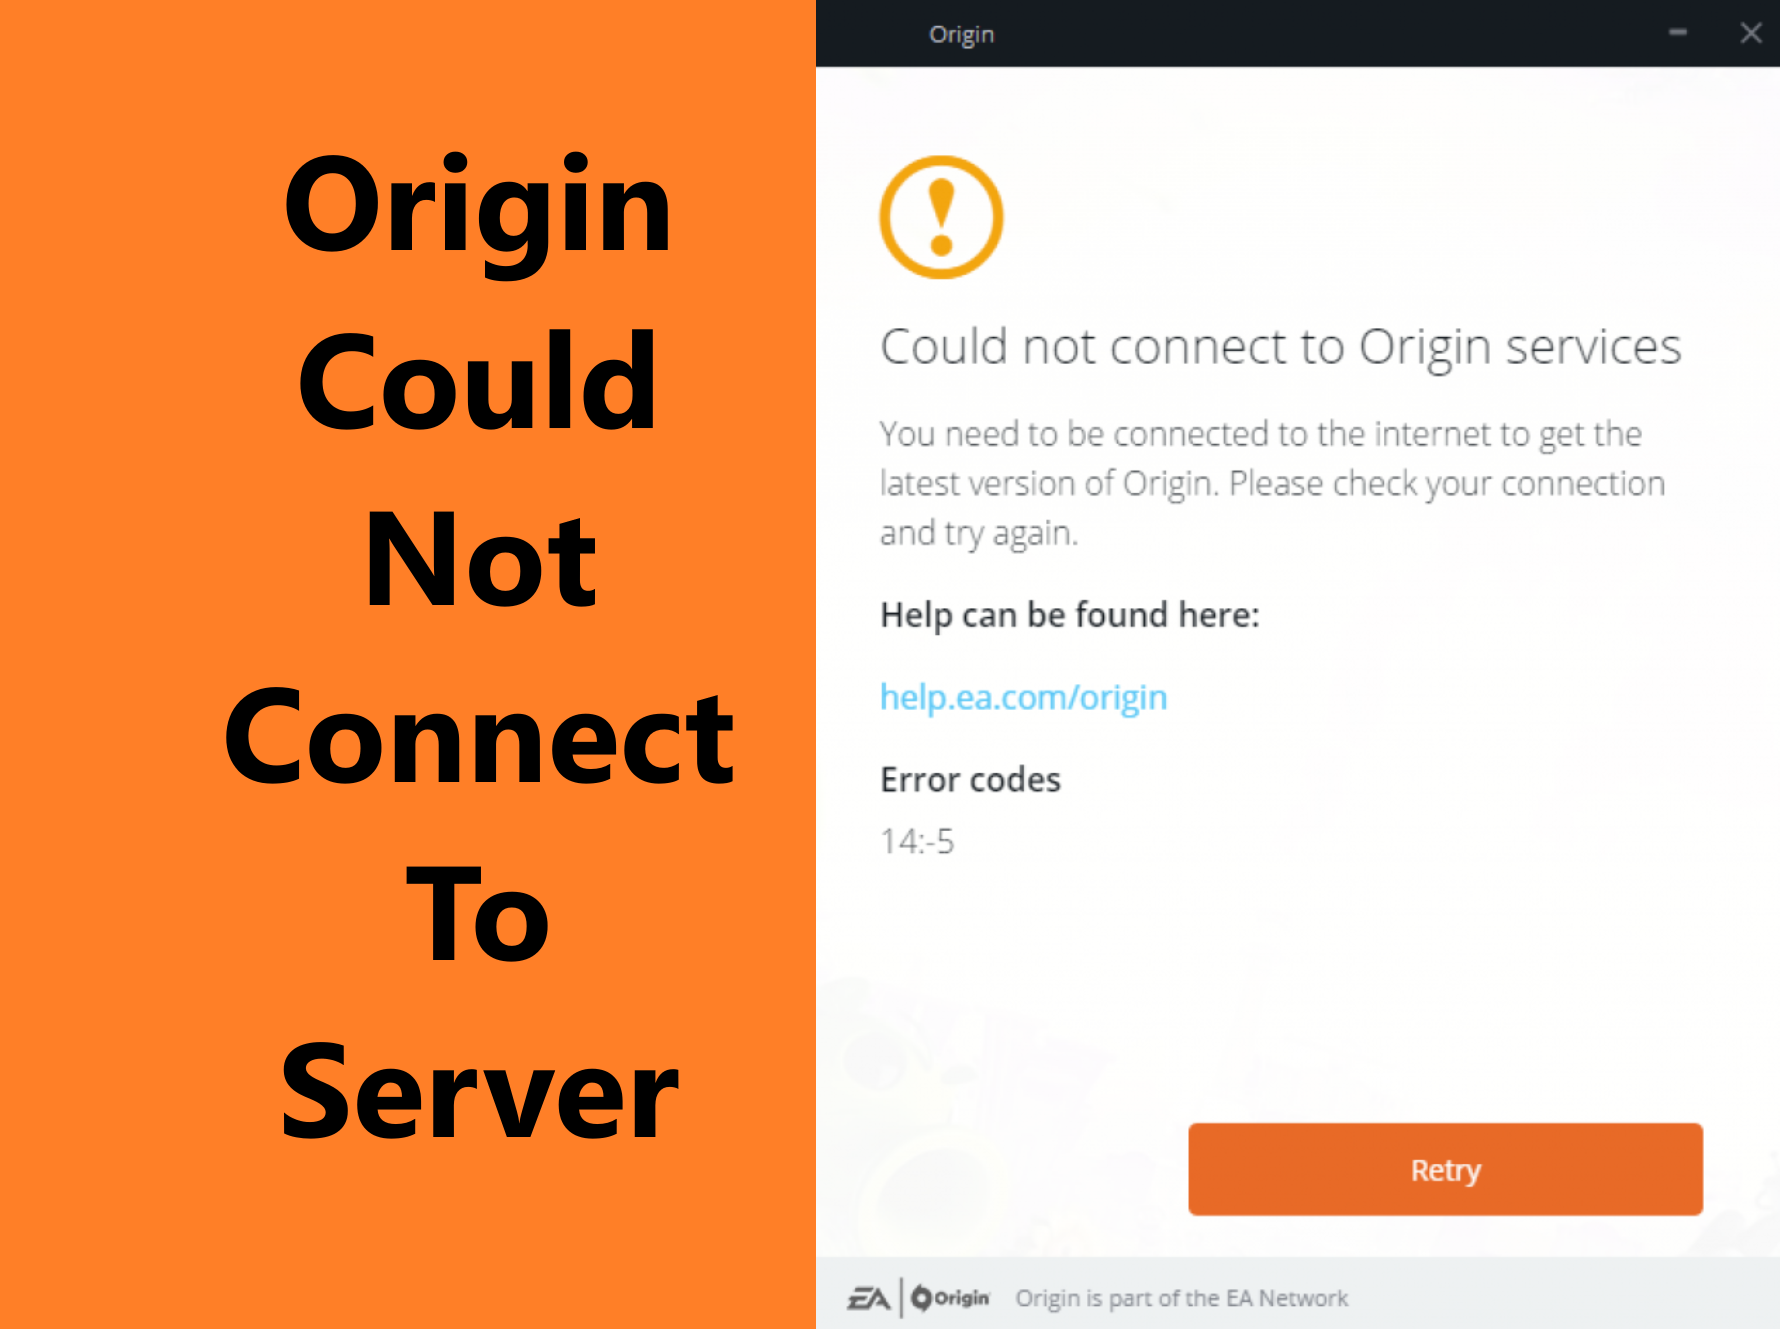
Facing issues with the Origin Client not only hinders your ability to purchase games but can also restrict your access to various features and disrupt the overall gameplay experience. It can become quite frustrating when you keep receiving a message stating that Origin could not connect to the server.
Fortunately, there are several troubleshooting methods to help you resolve this connection problem and regain access to the Origin client swiftly.
Identifying the root cause behind this error is essential to selecting the appropriate solution. Let’s explore some of the main reasons why Origin could not connect to the server before we dive into the technical solutions.
Why Am I Seeing Origin Could Not Connect to Server?
There are various reasons why the Origin client may be unable to connect to EA servers. Some of the primary causes include:
- Network Issues: A strong and stable network connection is required for Origin to connect to its servers. Irregular disconnections can be a leading cause of this error.
- Permission Problems: Origin may be unable to connect to servers because it requires special privileges. Granting the necessary permissions can facilitate a secure and reliable server connection.
- Damaged Cached Data: Cached data can become corrupted over time, leading to issues with program functionality. Clearing Origin’s cache data should resolve the problem.
- Corrupted Origin Installation: An incomplete or corrupted installation of the Origin client may prevent it from connecting to servers.
Before beginning to fix this issue, if you are connected to a VPN, try disconnecting it, as VPNs can sometimes cause server connectivity issues due to regional restrictions or slow connections. Alternatively, try tethering your computer to a mobile hotspot to see if a different network source rectifies the issue.
Another tip is to reset your home router or modem by unplugging it for a few minutes and then plugging it back in, which can refresh your network connection.
1. Quit Origin and Restart
A basic method is to exit Origin and restart it. This action gives the program a fresh start, potentially resolving any system glitches or bugs that may be disrupting the connection with the servers.
- Right-click on the Origin system tray icon on the taskbar.
- Select Quit Origin from the options that appear.

- Restart the application after a moment to check if the server connection is re-established.
2. Set Date and Time to Automatic
Incorrect date and time settings on your system can lead to authentication issues with Origin servers. Setting these to automatic ensures a secure and synchronized server connection.
- Open Settings on your PC by pressing the Win + I keys on your keyboard.
- Click on Time & Language from the left pane.
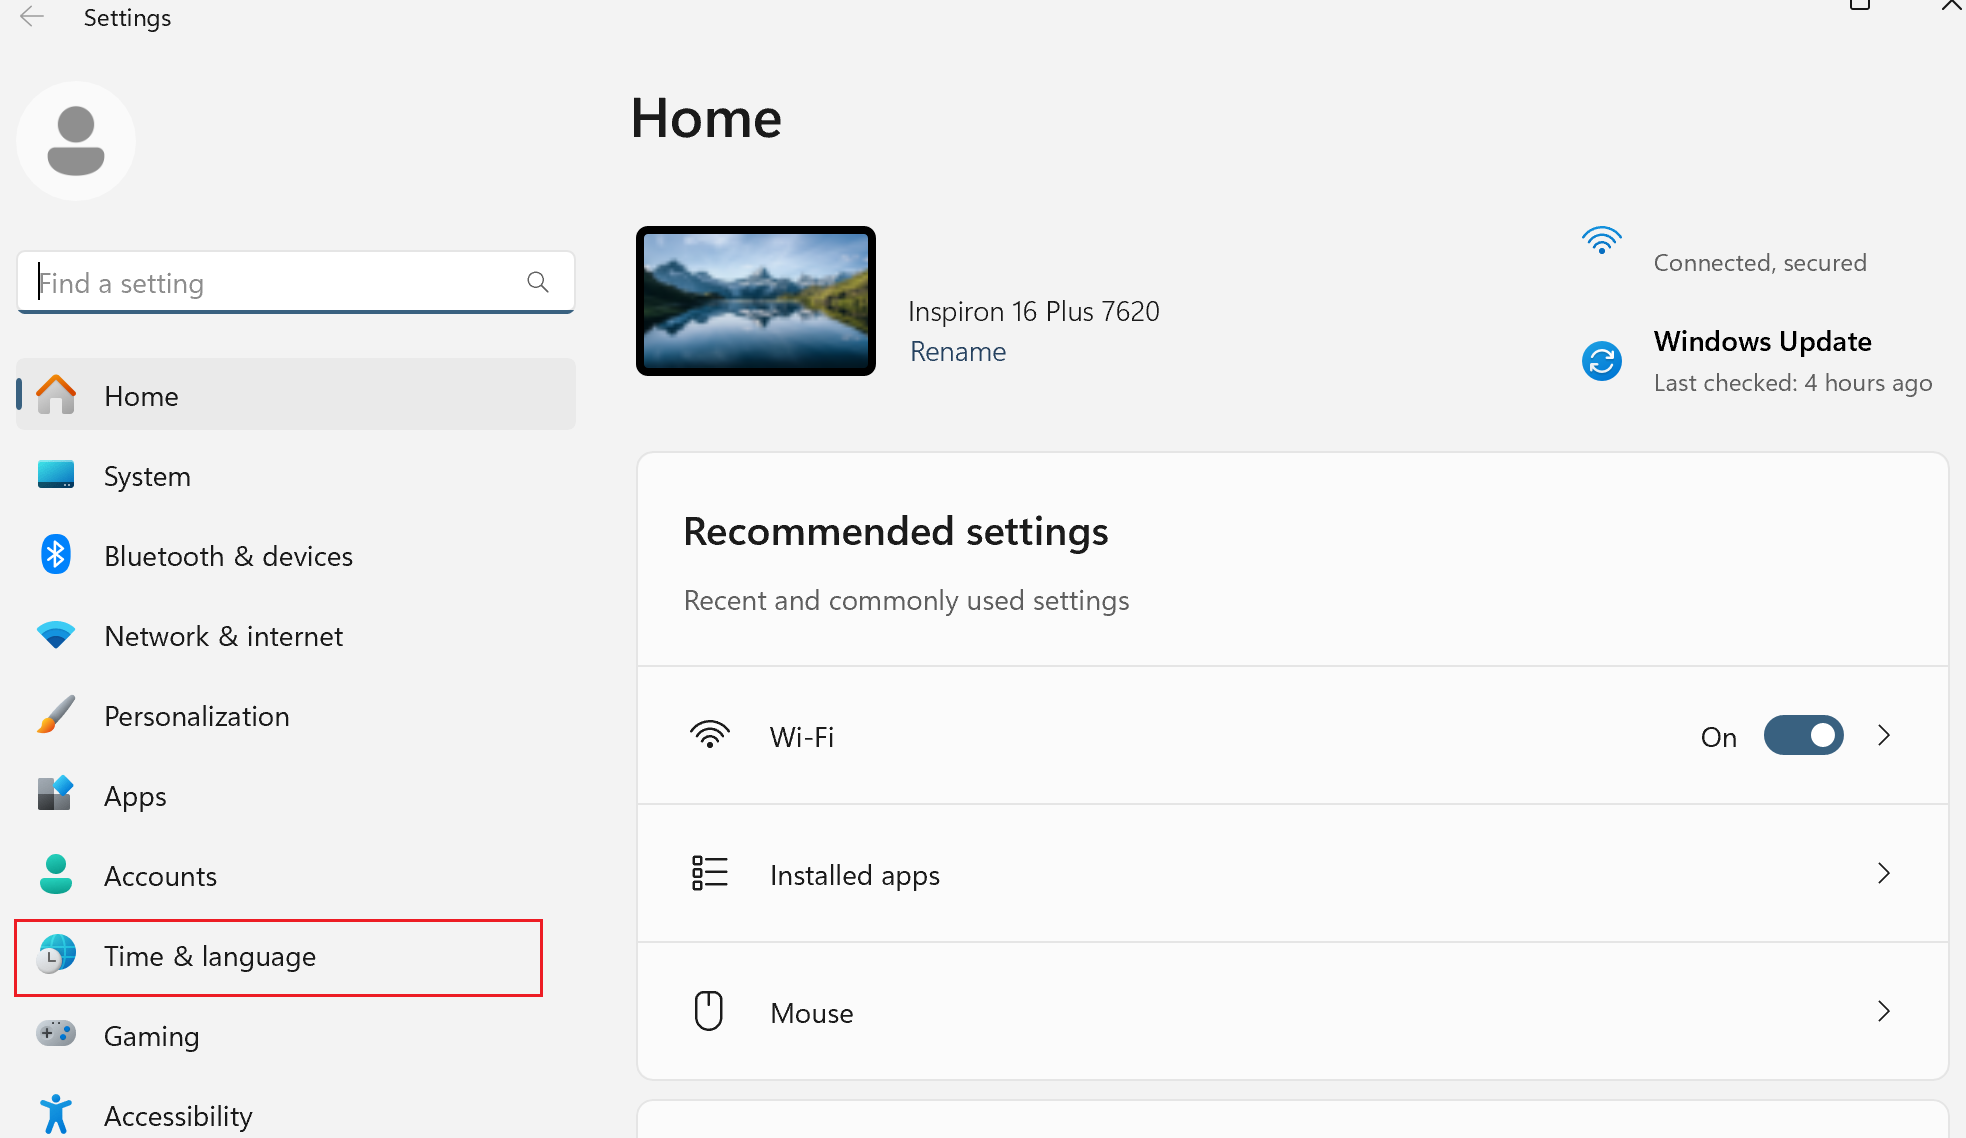
- Select Date & Time.
- Enable the toggle for Set time automatically.
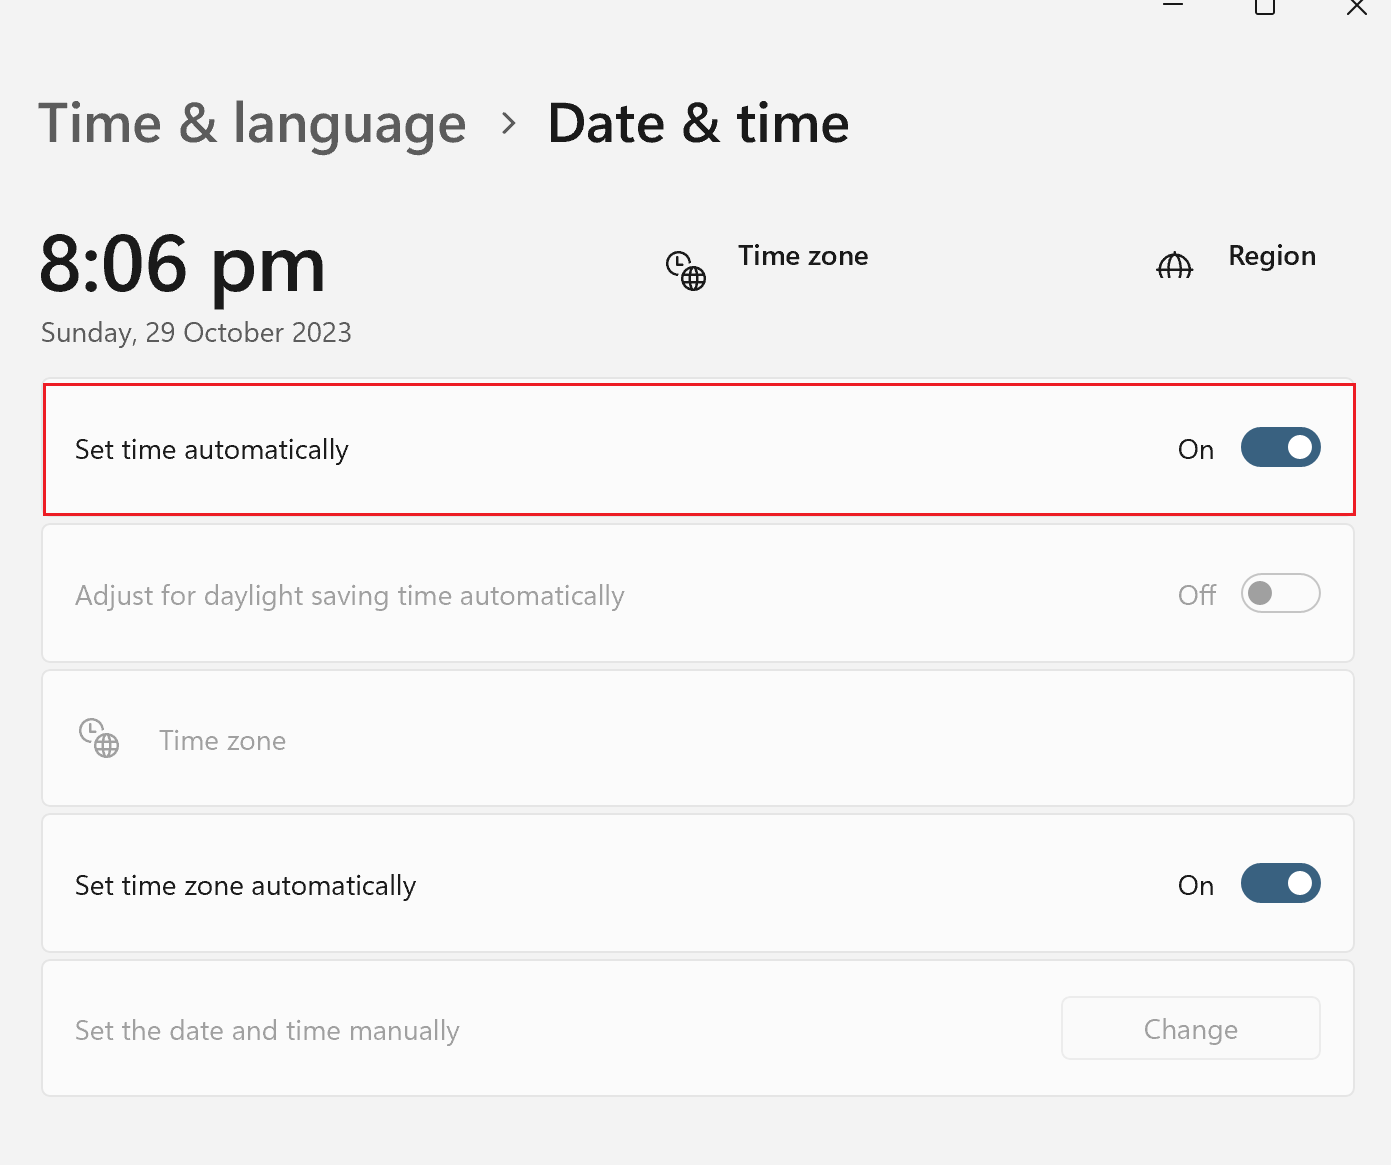
This adjustment should fix any time-related errors when trying to connect to Origin servers. If the issue persists, proceed with the next solution.
3. Run Origin as Administrator
Executing the Origin client with administrator rights often resolves permission-related issues, providing the application unrestricted communication with the server.
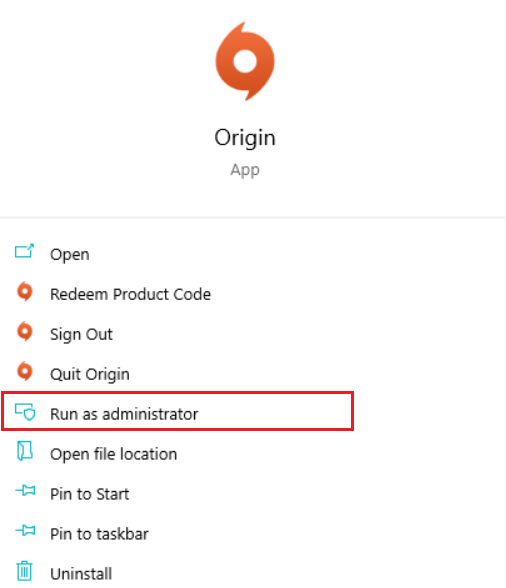
- Type ‘Origin’ into the search bar and select the application from the search results.
- Click on Run as administrator.
4. Authorize Origin in Antivirus Software
Antivirus programs can inadvertently block legitimate applications like Origin. To circumvent this, add Origin and any related games to your antivirus or firewall’s exceptions list, allowing them to operate without interference.
- Search for ‘Allow an app through Windows Firewall’ and select it from the results.
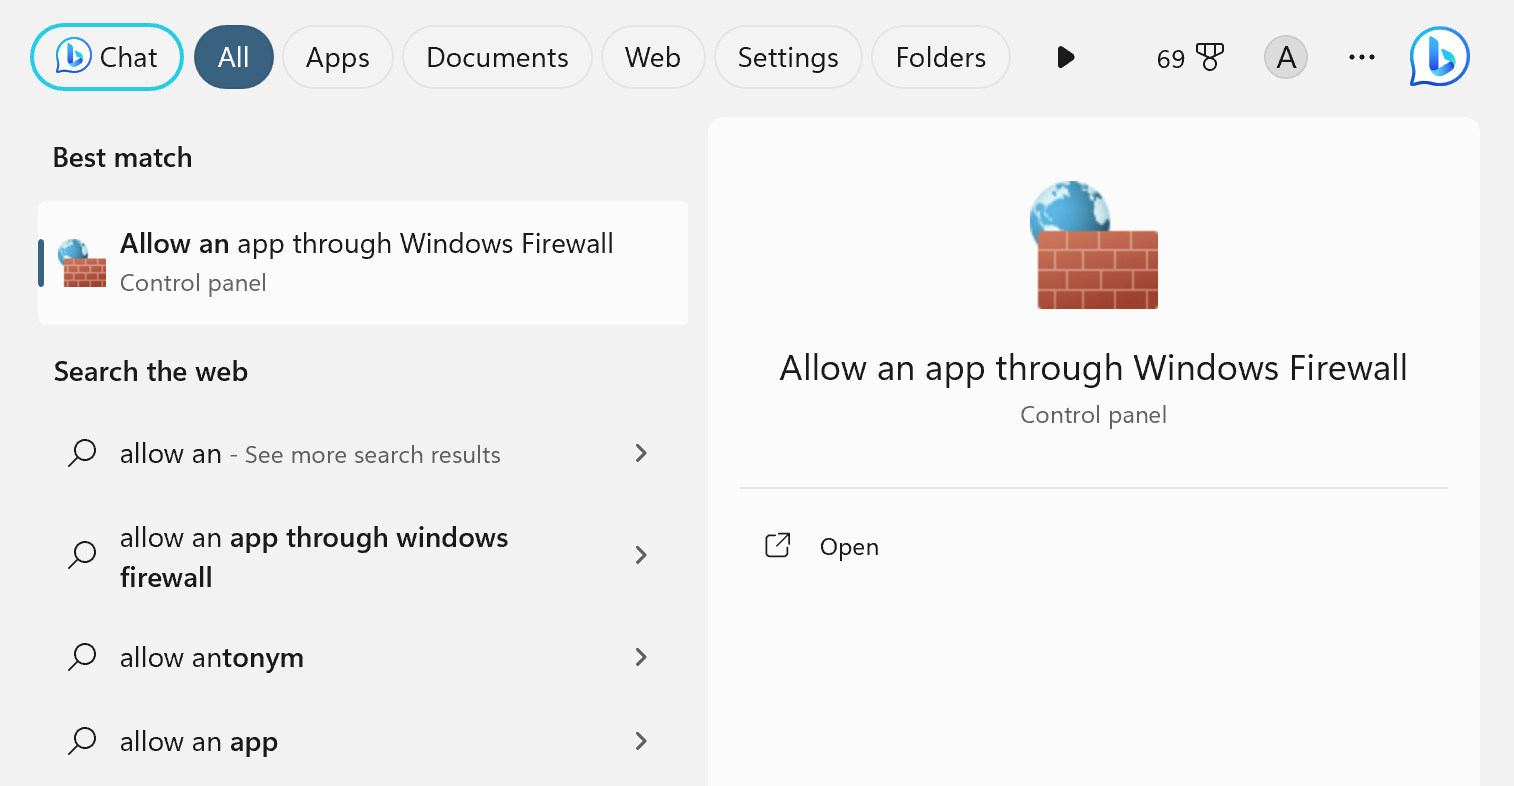
- Click on Change settings.
- In the prompt that appears, click Yes.
- Scroll to find Origin and check both Private and Public to prevent the Windows Firewall from affecting Origin.

After making these changes, try accessing Origin again to see if the connection issue has been resolved.
5. Clear Origin Cache
If Origin’s cache is corrupted or outdated, clearing it can help the client establish a fresh connection with the servers.
- Press Win + R to open the Run dialog box.
- Type ‘%ProgramData%/Origin’ and press Enter.
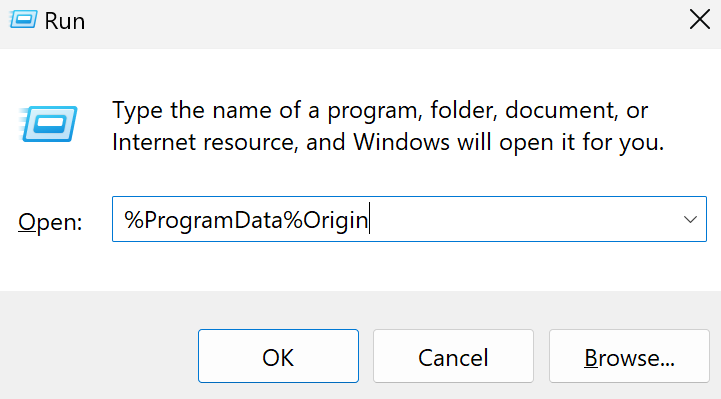
- Within the Origin folder, delete all files and folders except the ‘LocalContent’ folder.
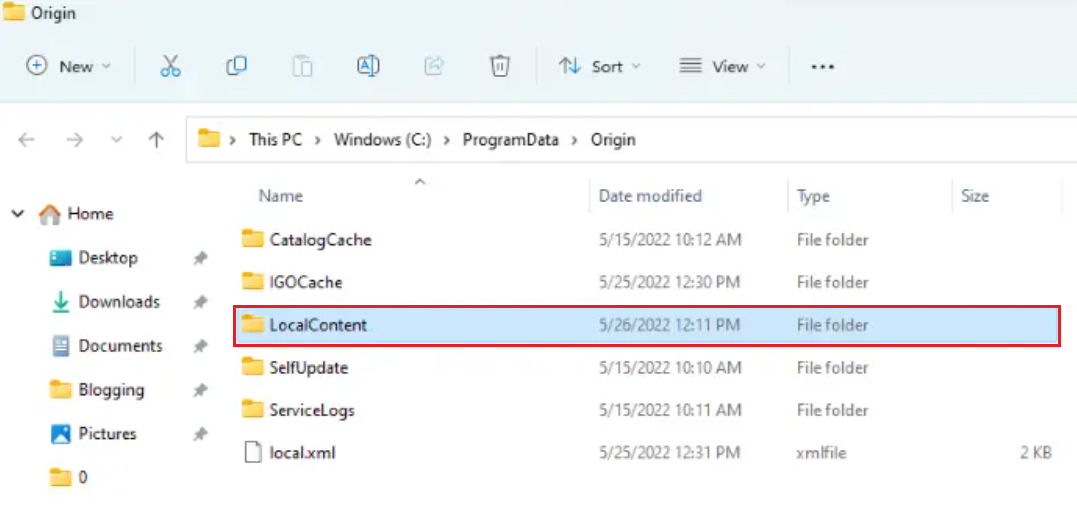
- Press Win + R, type in ‘%AppData%’, and hit OK.
- In the Roaming folder that opens, find and delete the Origin folder.
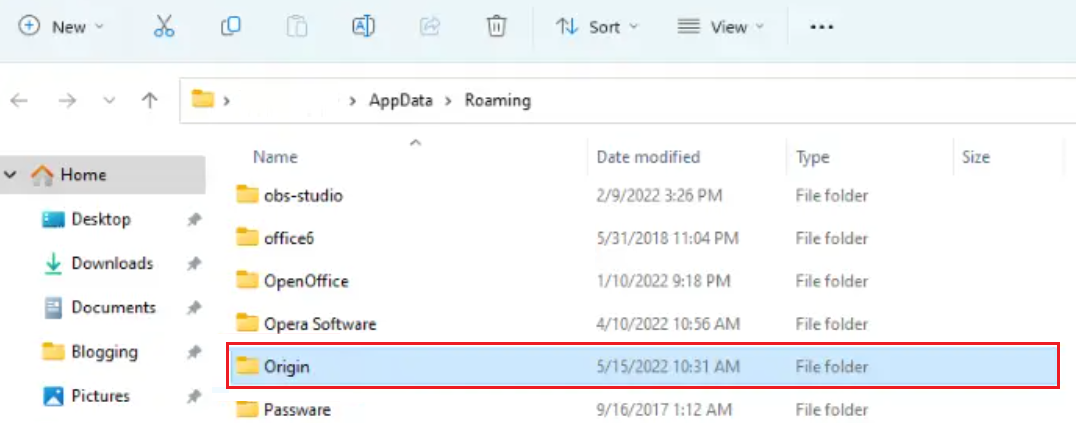
- Use the address bar to navigate back to AppData.
- Open the Local folder.
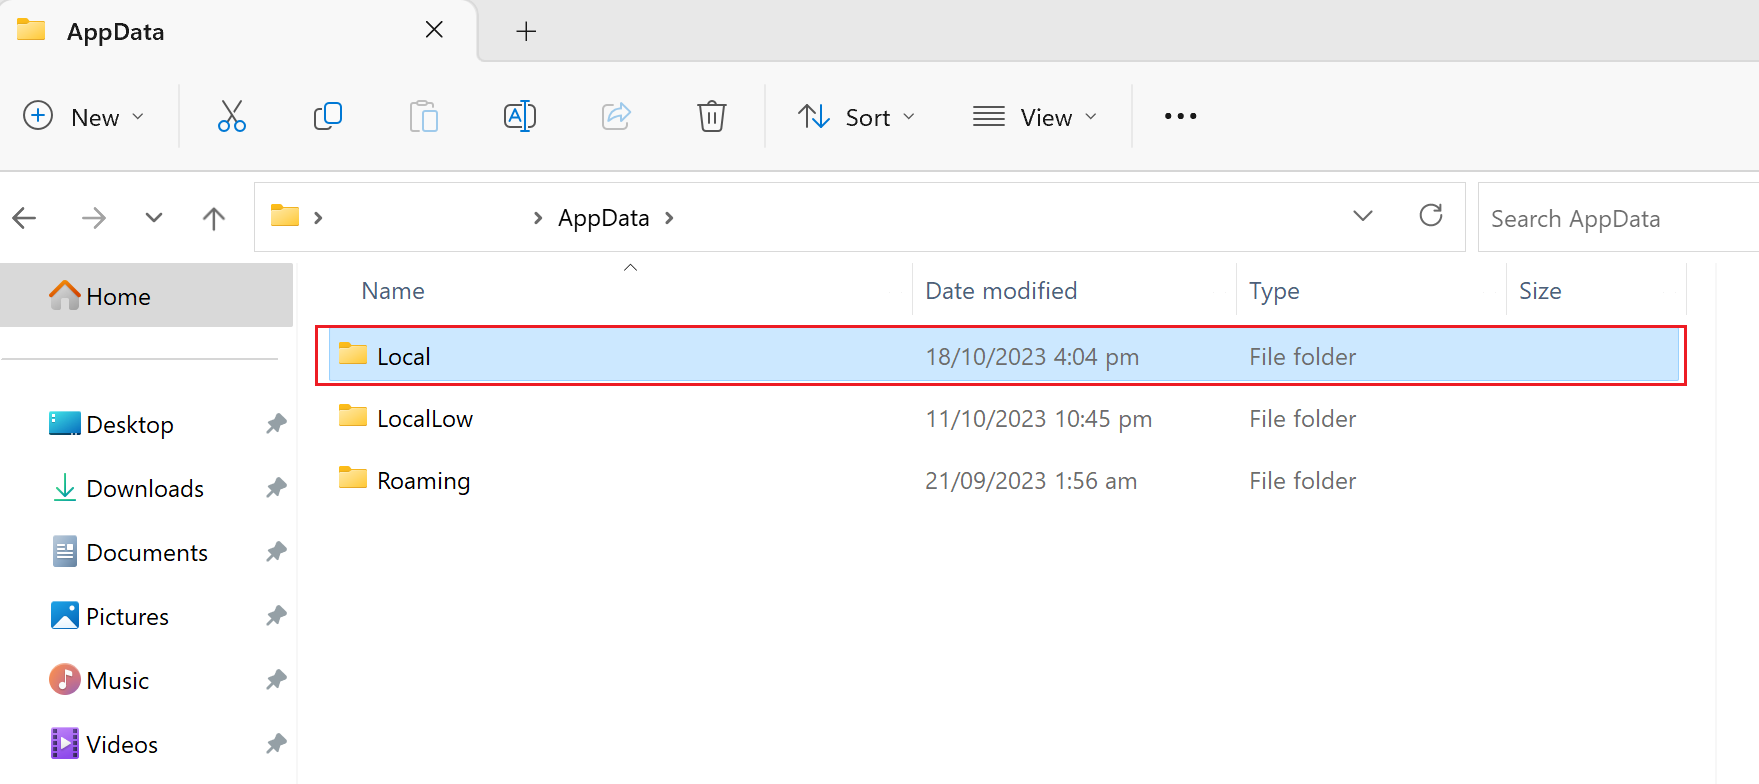
- Delete the Origin folder found there.
After completing these steps, restart your PC and check if the server connection issues are resolved.
6. Reinstall Origin
Problems with Origin’s files or an incomplete installation could cause server connection issues. Reinstalling Origin gives you access to the latest version of the software, free from any connection errors.
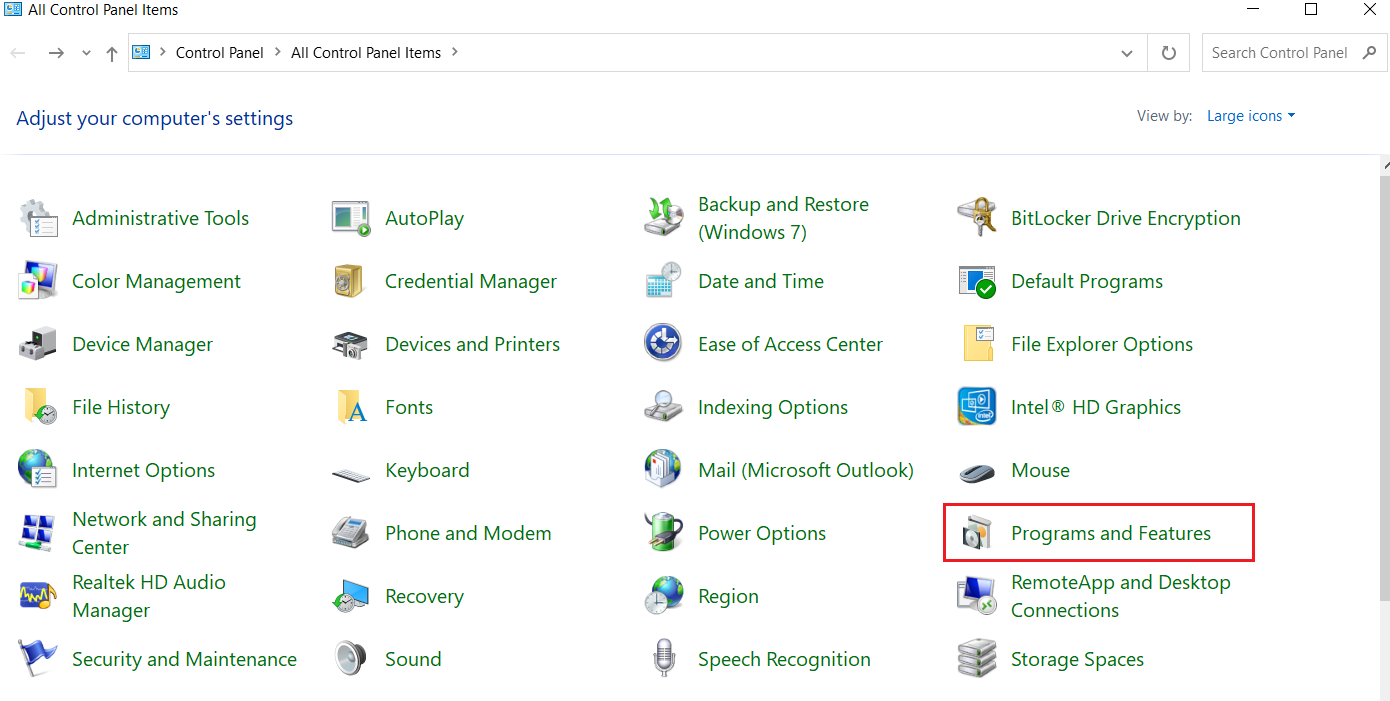
- Type ‘Control Panel’ into the search bar and select it from the results.
- In the Control Panel window, click on Programs and Features.
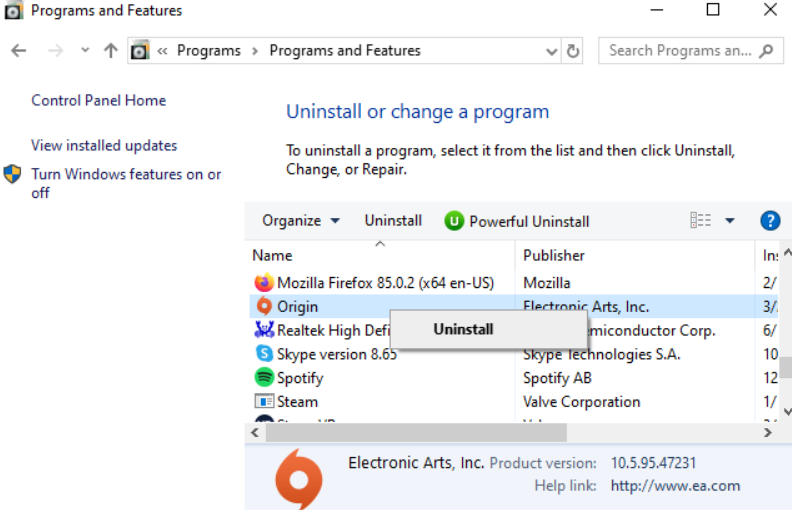
- Locate Origin or EA in the list, right-click on it, and select Uninstall.
- To reinstall, visit the official EA website from your PC.

7. Perform a Clean Boot
If third-party applications are interfering with Origin’s server connectivity, a clean boot can be an effective solution. It starts the system with only essential services, eliminating potential culprits.
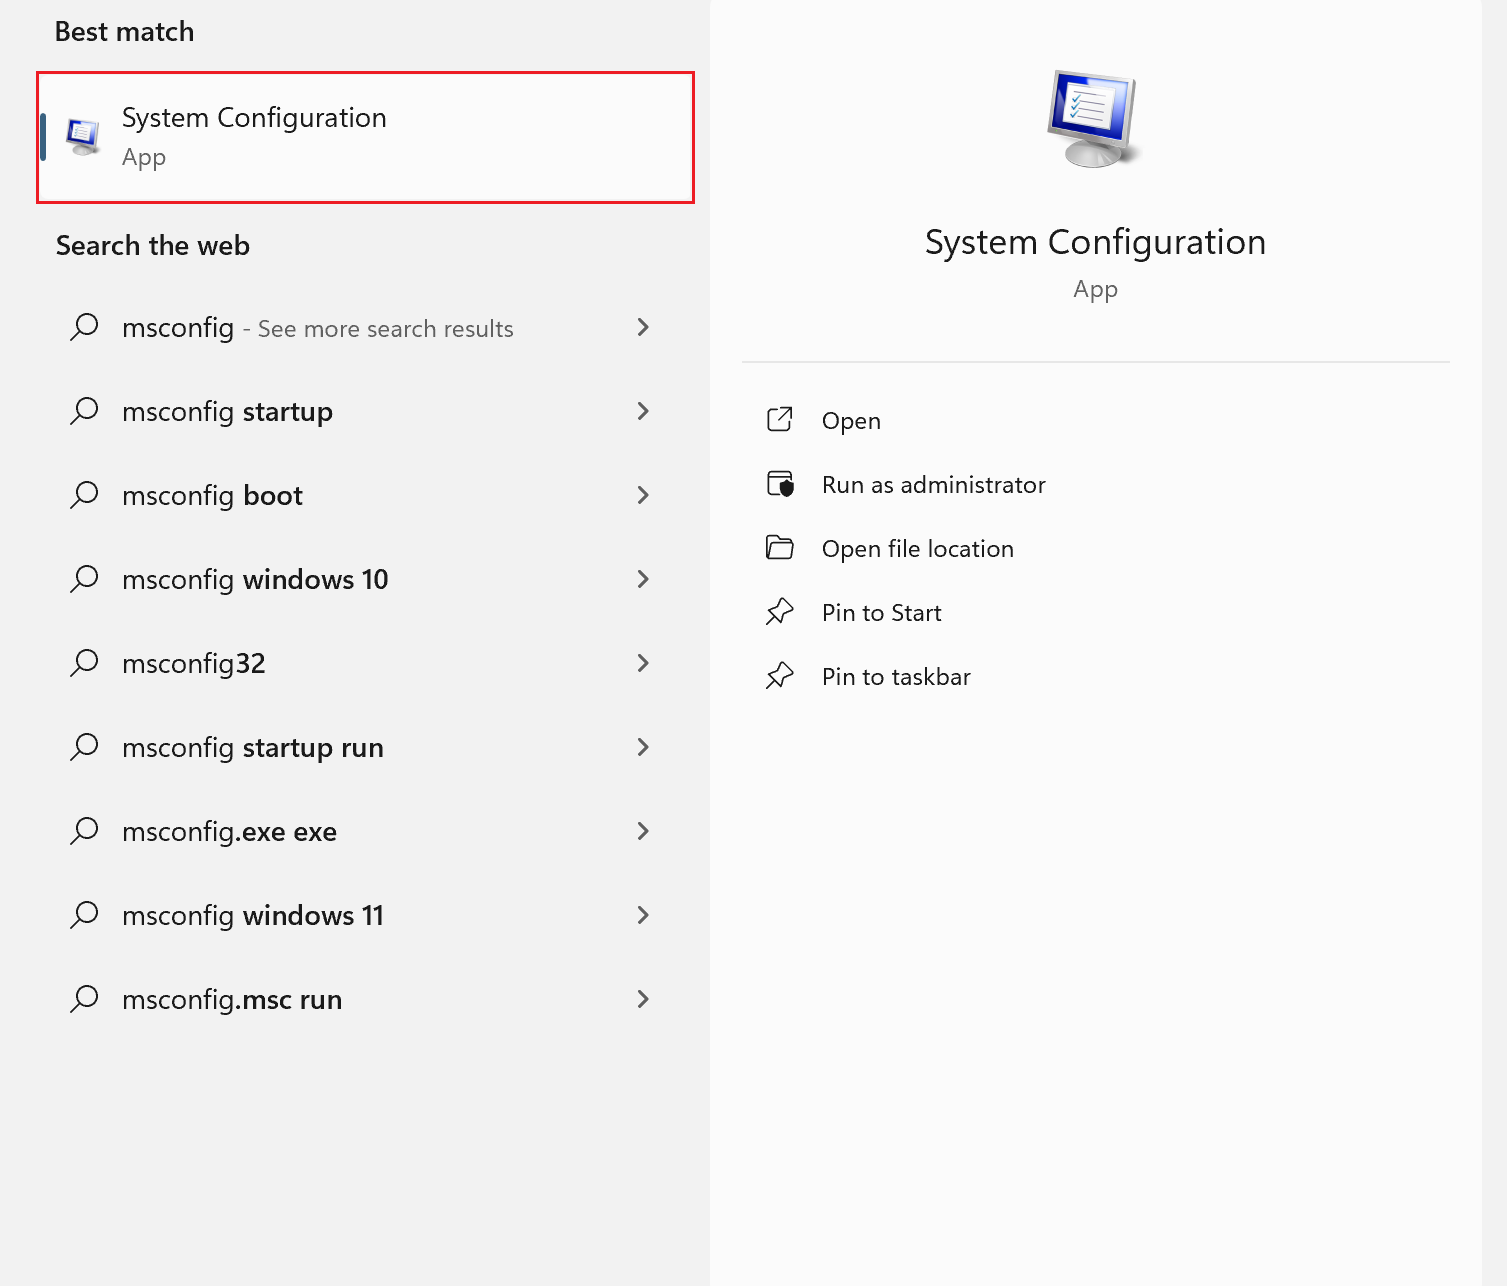
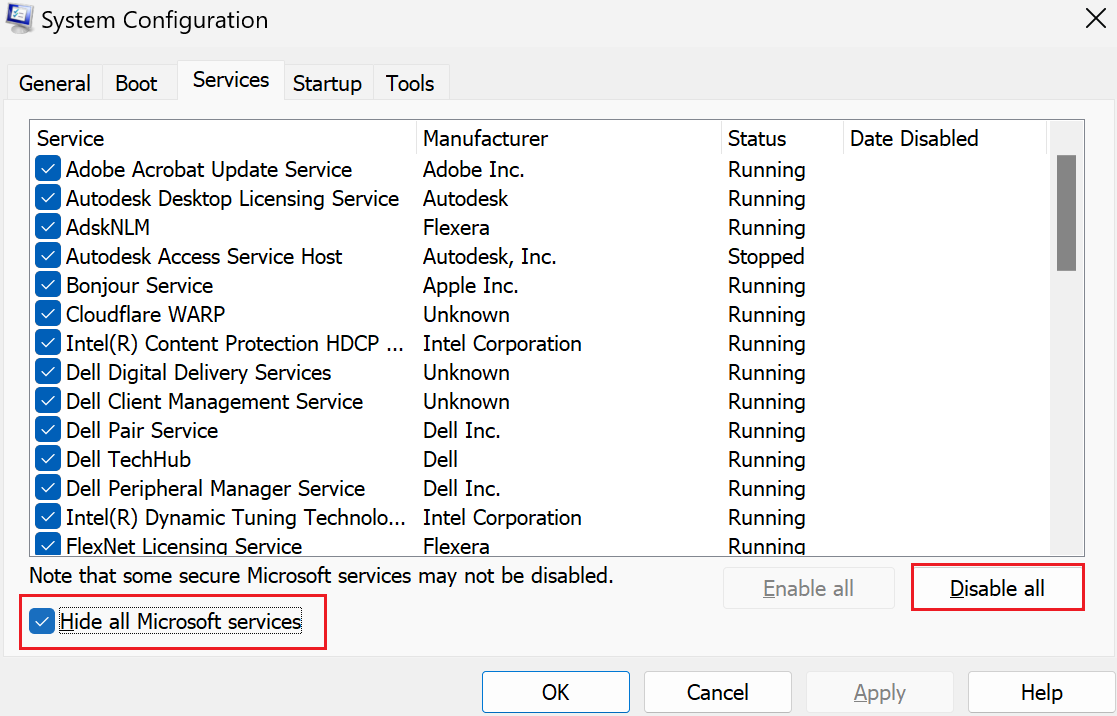
- Open the Search menu, type in ‘msconfig’, and hit Enter to launch System Configuration.
- Go to the Services tab, check Hide all Microsoft services, and then click Disable all.
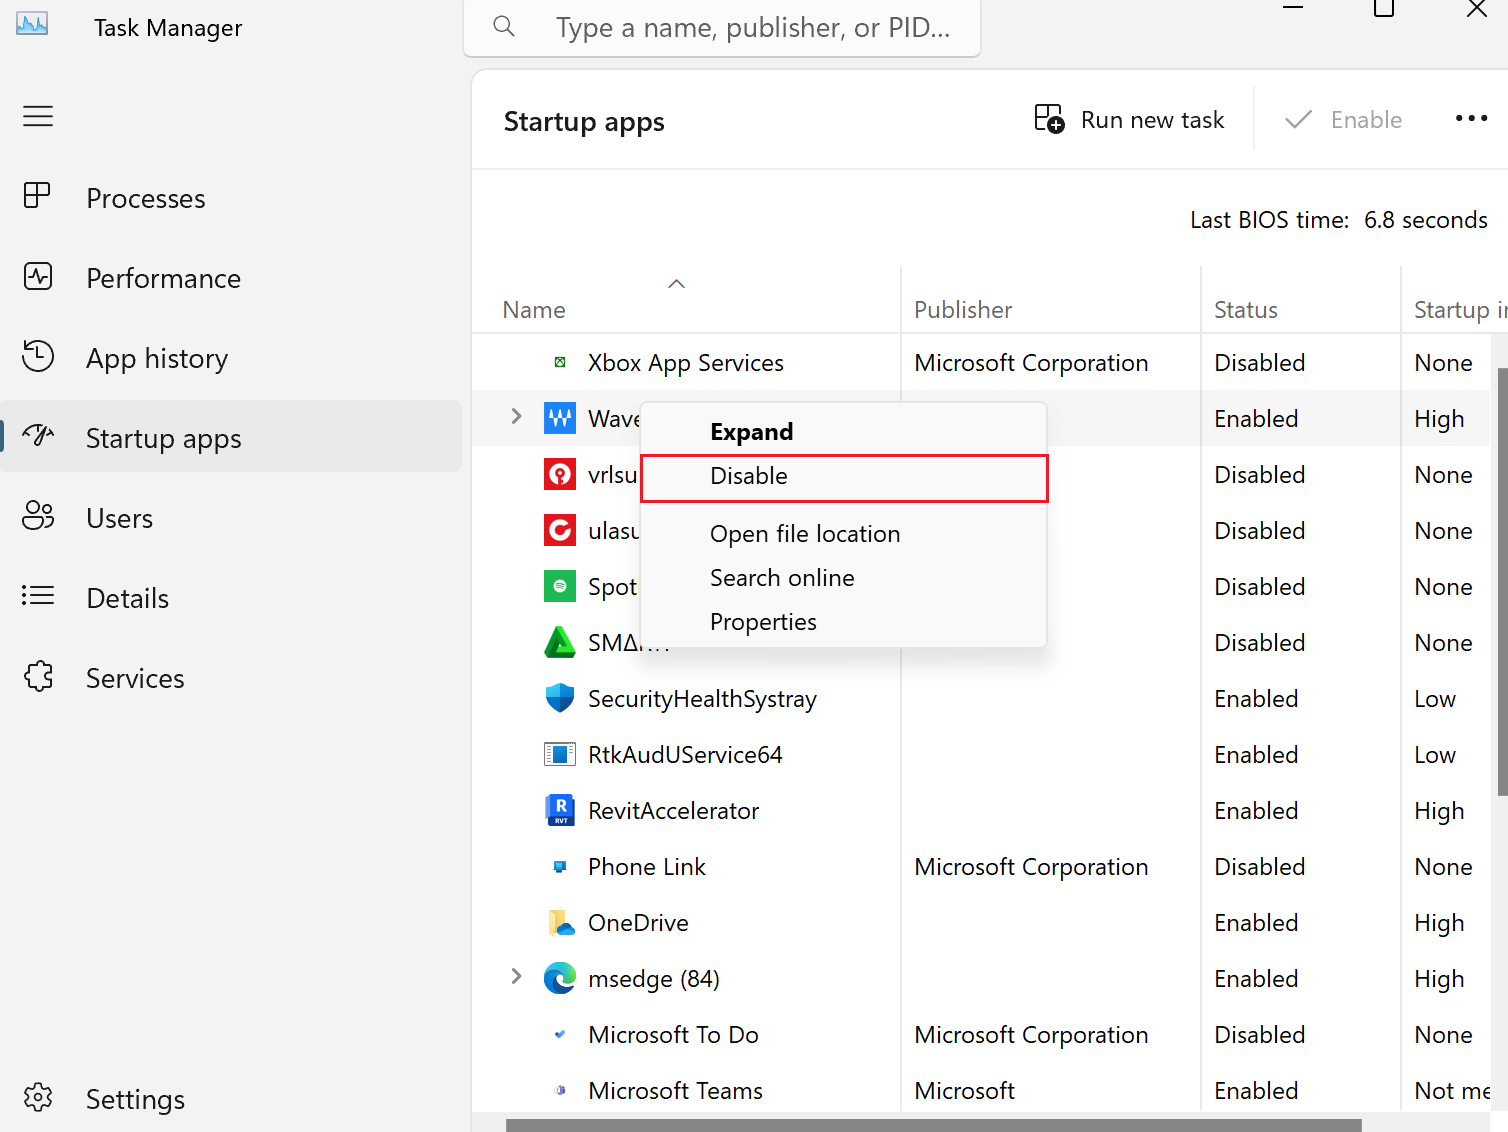
- Switch to the Startup tab and click on Open Task Manager.
- In the Task Manager, disable each program by right-clicking and selecting Disable.
- Close the Task Manager and click OK in the System Configuration window.
By following these troubleshooting methods, you should be able to resolve the connection issue and enjoy your experience with Origin Client.


