How to Open OXPS Files on Windows 10?
The OXPS (Open XML Paper Specification) file is the standardized version of the original XPS format. Many users fail to open the files with the OXPS extension if their system does not have the XPS Viewer installed.

Solution: Install the XPS Viewer
The XPS Viewer of Windows OS can open the OXPS files but this applet is not installed by default (although, its counterpart, i.e., the XPS Writer is installed by default). In this context, installing the Windows 10 XPS Viewer and then using it to open the OXPS file in Window 10 may solve the problem. But before proceeding, make sure your system has an active internet connection.
Launch the XPS Viewer from the Windows Accessories
Before installing, it will be a good idea to check if the said feature is already not installed on your system.
- Press the Windows key and scroll down till you find the Windows Accessories option.
- Now, expand the Windows Accessories and open XPS Viewer (if present).
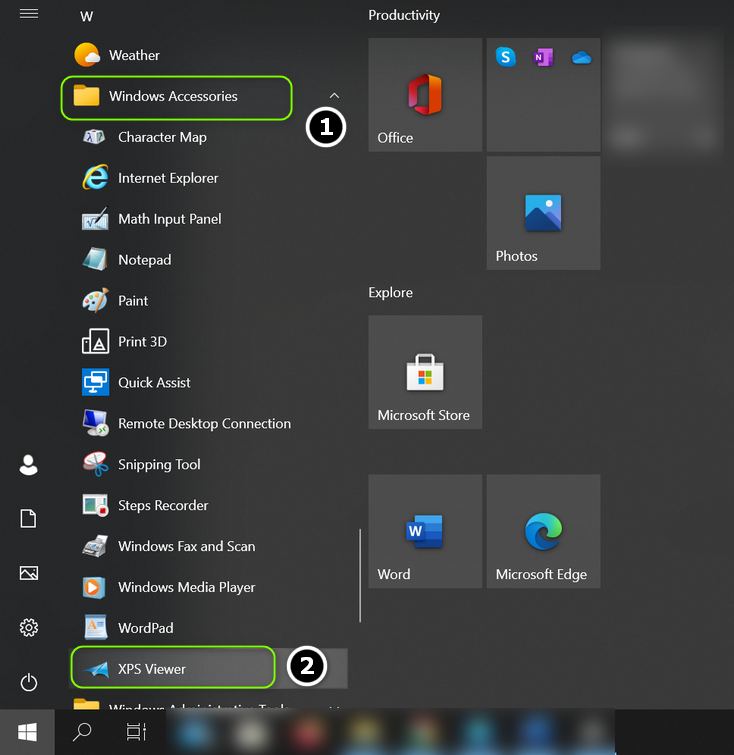
Open XPS Viewer from the Windows Accessories - Then check if you can open the OXPS file in the Viewer.
If the XPS Viewer is not opening the file, then check if reverting the default system browser to Edge or Internet Explorer resolves the issue.
Install Through the Optional Features of Apps
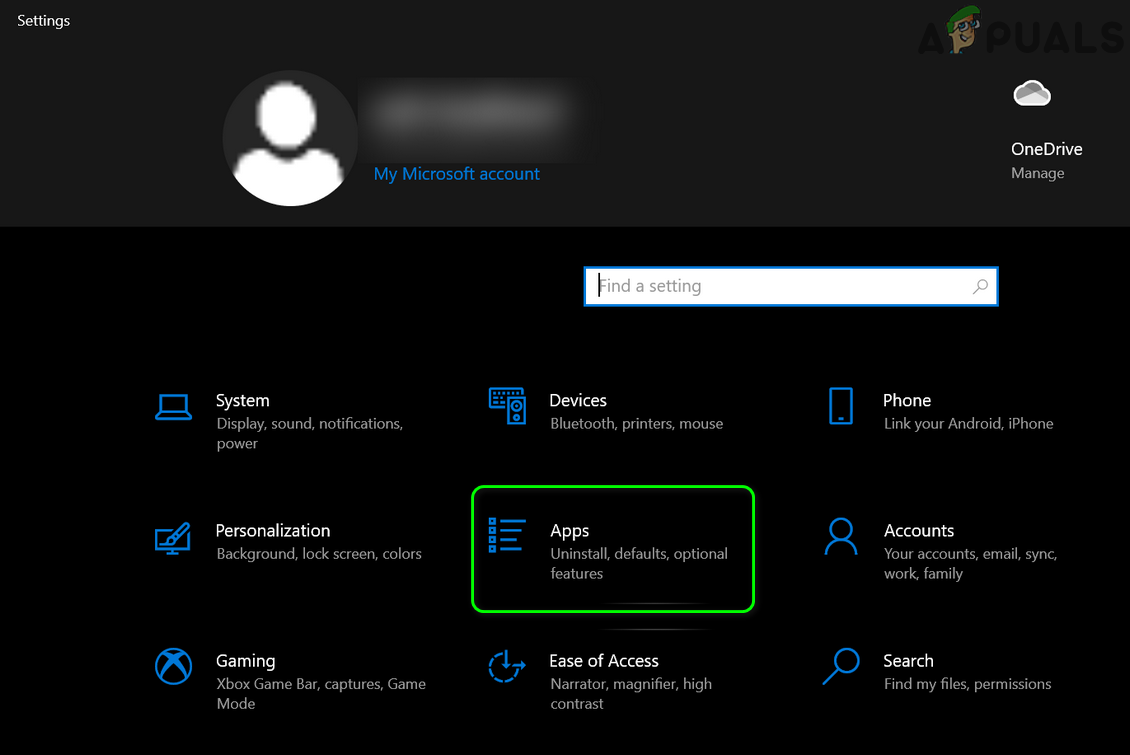
- Press the Windows key and open Settings.
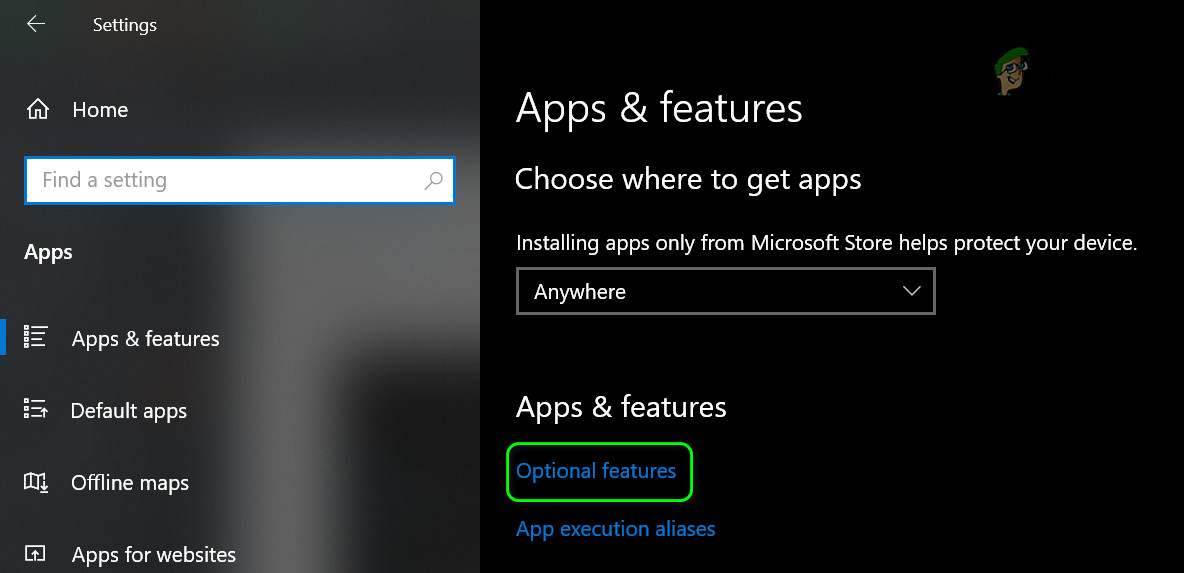
- Now select Apps and open Optional Features.
Open Apps in the Windows Settings - Then click on Add a Feature and in the search bar of the new window shown, type XPS Viewer.
Open Optional Features in Apps - Now, checkmark XPS Viewer and click on Install.
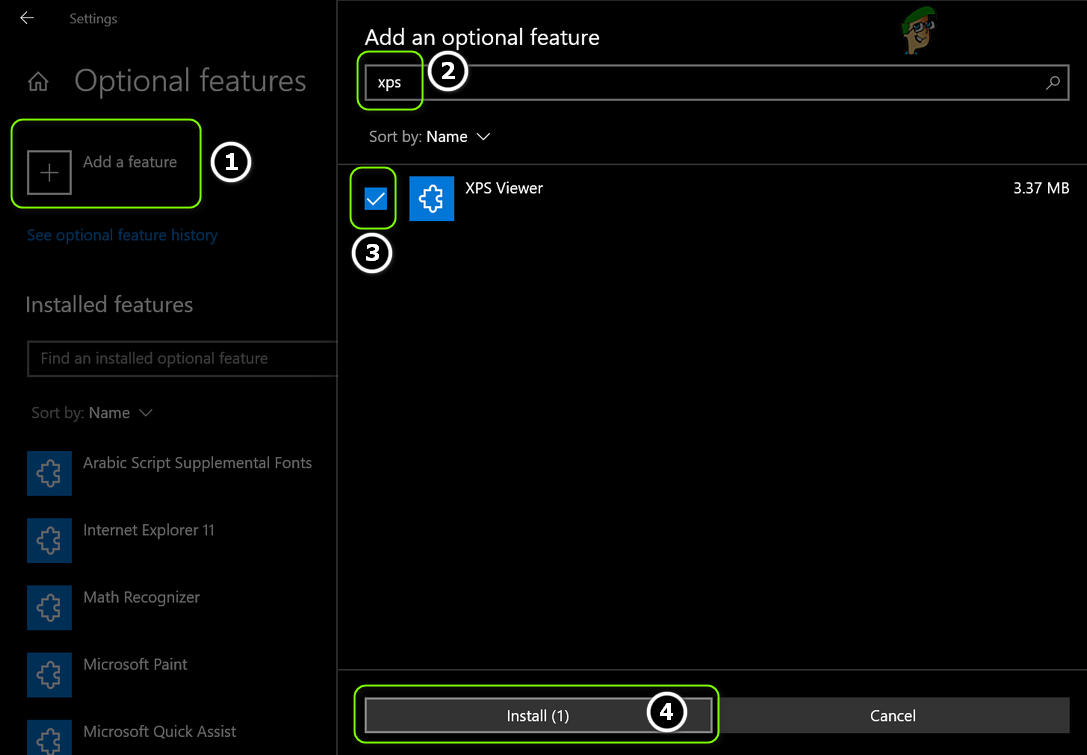
Install the XPS Viewer Feature - Then let the installation complete and reboot your PC.
- Upon reboot, check if the OXPS file can be opened with the Viewer application.
Use the PowerShell (Admin) to Install the XPS Viewer
- Launch the Power User menu (by right-clicking the Windows button) and select PowerShell (Admin).
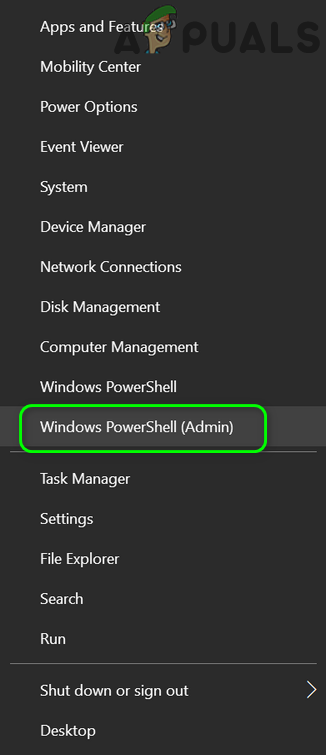
Open Windows PowerShell Admin - Now execute the following:
Get-WindowsCapability -Online |? {$_.Name -like "*XPS*" -and $_.State -eq "NotPresent"} | Add-WindowsCapability -Online - Now let the process complete and reboot your PC.
- Upon reboot, launch the XPS Viewer (from Start menu>> Windows Accessories) to check if it can open the OXPS file.
Use the DISM Command to Install the XPS Viewer
- Press the Windows key and type (in the Windows Search) Command Prompt. Then, right-click on the result of the Command Prompt and choose Run as Administrator.
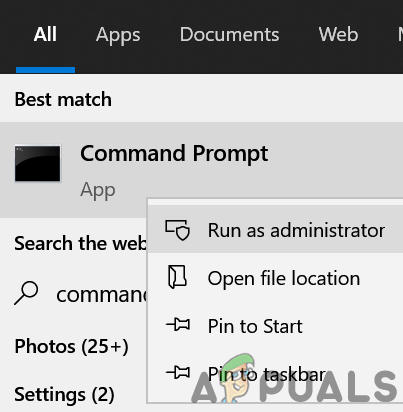
Open Command Prompt as Administrator - Now execute the following DISM command:
dism /Online /Add-Capability /CapabilityName:XPS.Viewer~~~~0.0.1.0
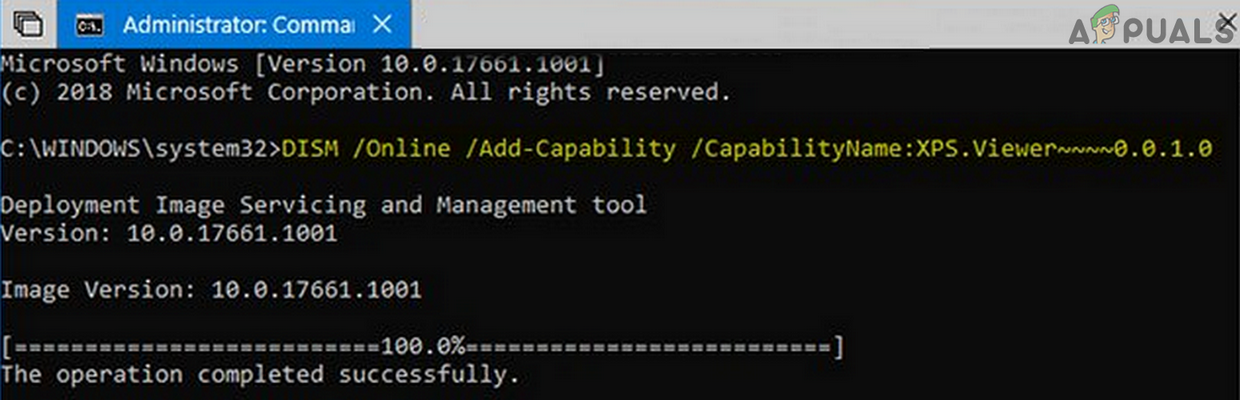
Install the XPS Viewer by Using the DISM Command - Then let the process complete and reboot your PC.
- Upon reboot, check if the OXPS file can be opened by the XPS Viewer.
If the XPS Viewer fails to open the OXPS file, then check if opening the file with MS Word or Excel resolves the issue. If the issue persists, then you may try a 3rd party PDF reader or convert the OXPS files by using Microsoft XpsConverter or any of the other online tools.


Thank you