Fix: OneDrive Icon Missing from Taskbar in Windows 10
Your taskbar may not show the OneDrive icon if the Windows and OneDrive installation are outdated. Moreover, a wrong configuration of the system’s registry or group policy may also cause the issue at hand.
The user encounters the issue when he cannot see the OneDrive icon on the taskbar (or in the system’s tray) and the OneDrive client could not be launched from the Start menu. Although some of the users were able to launch OneDrive, however, when they hovered the mouse over the OneDrive, the icon disappeared. For a small group of users, the OneDrive icon was also missing from the File Explorer.
Some users reported more than one instance of OneDrive running in the Task Manager of their systems but no icon on the taskbar. The issue usually arises after a Windows update. The problem was reported on personal as well business versions of OneDrive.
Before moving on to restore your OneDrive icon, make sure to backup essential info/data and create a system restore point. Additionally, make sure that OneDrive is enabled in the Select Which Icons Appear on the Taskbar. Moreover, the OneDrive icon may not be shown on the taskbar if the OneDrive is installed from the Microsoft Store.
Last but not least, keep in mind that OneDrive has an item limit (for optimal performance) of 3,00,000 files for all of the document libraries, so, check if that limit is not reached because it may cause crashing of the OneDrive client and thus cause the problem.
Solution 1: Update Windows to the Latest Build
Microsoft updates the Windows OS to satiate the ever-evolving technological horizon and patch the reported bugs. In this context, updating the Windows of your PC to the latest build may solve the problem.
- Update the Windows of your PC to the latest build. Also, make sure none of the optional updates is pending to install.
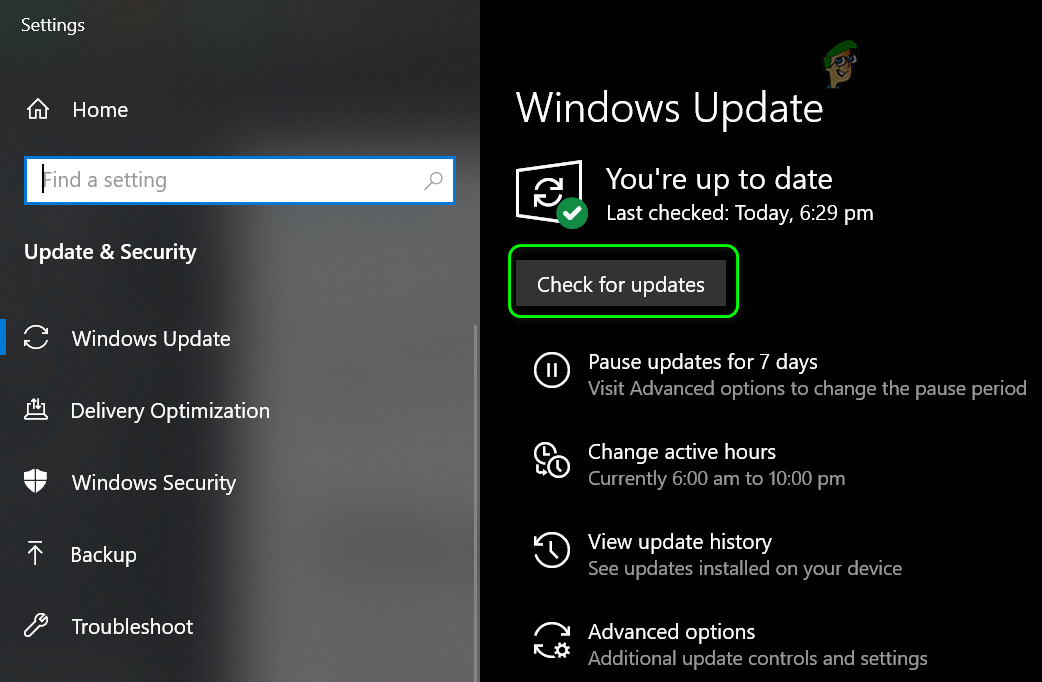
Check for Windows Updates - If the update fails, then launch a web browser and navigate to the Windows 10 download page. If the update was successful, steer to step 5.
- Now click on the Update Now button (under the latest update available, currently, it is Windows 10 October 2020 Update) and let the download complete.
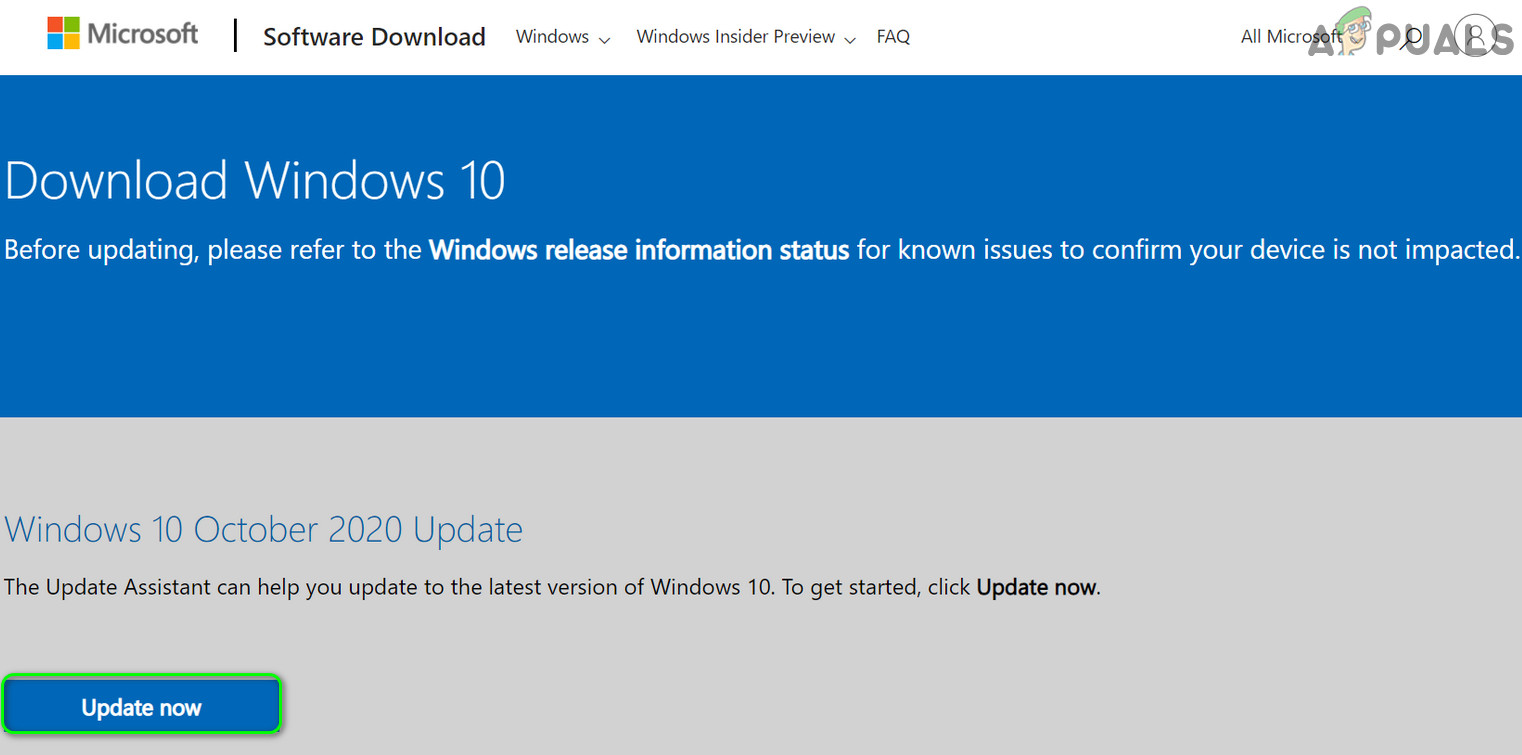
Download Windows 10 Update Assistant - Then launch the downloaded file (i.e., the update assistant) with administrative privileges and follow the prompts to complete the update.
- After updating the OS, check if the OneDrive problem is solved.
Solution 2: Launch OneDrive from its Website
The issue at hand could be a temporary glitch of the communication modules of the OS or OneDrive application. Signing in to the web version of OneDrive and launching it through the browser may clear the glitch and thus solve the problem.
- Launch a web browser and navigate to the OneDrive website.
- Now click on the Sign-in button and log in using your credentials.
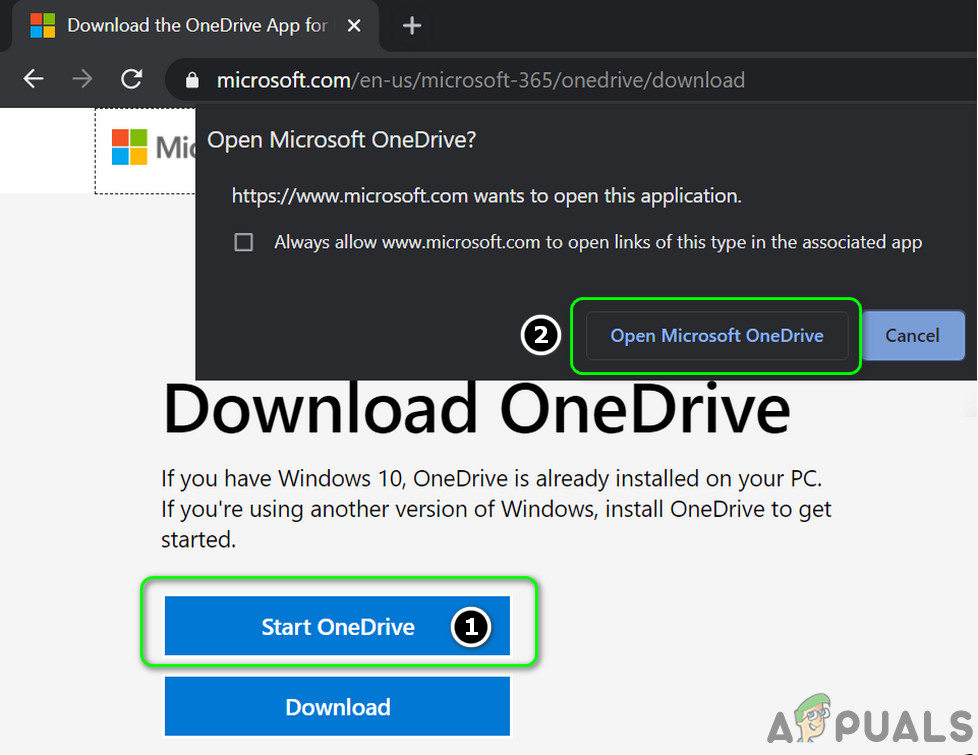
- Then, near the left bottom, click on Get the OneDrive Apps and open Start OneDrive.
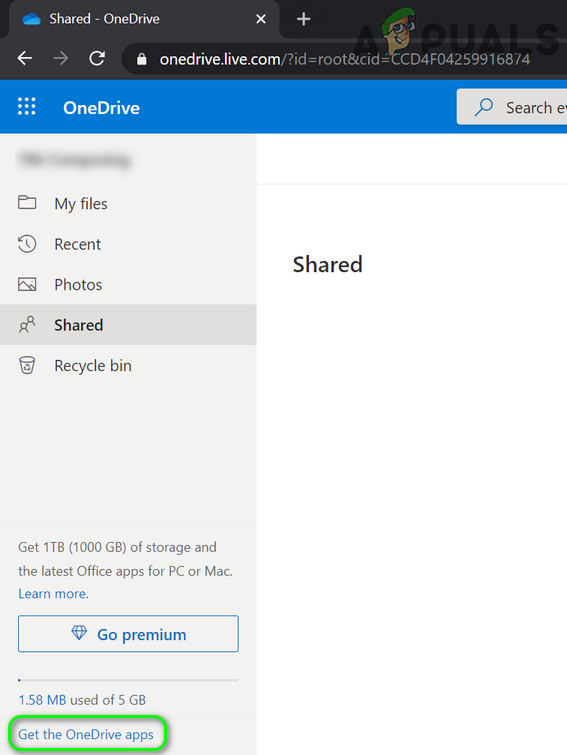
Open Get the OneDrive Apps - Now select Open Microsoft OneDrive and then check if the OneDrive issue is resolved.
Open OneDrive from a Browser - If not, launch a web browser and navigate to the Devices page of your Microsoft account.
- Now, under the problematic device, click Manage.
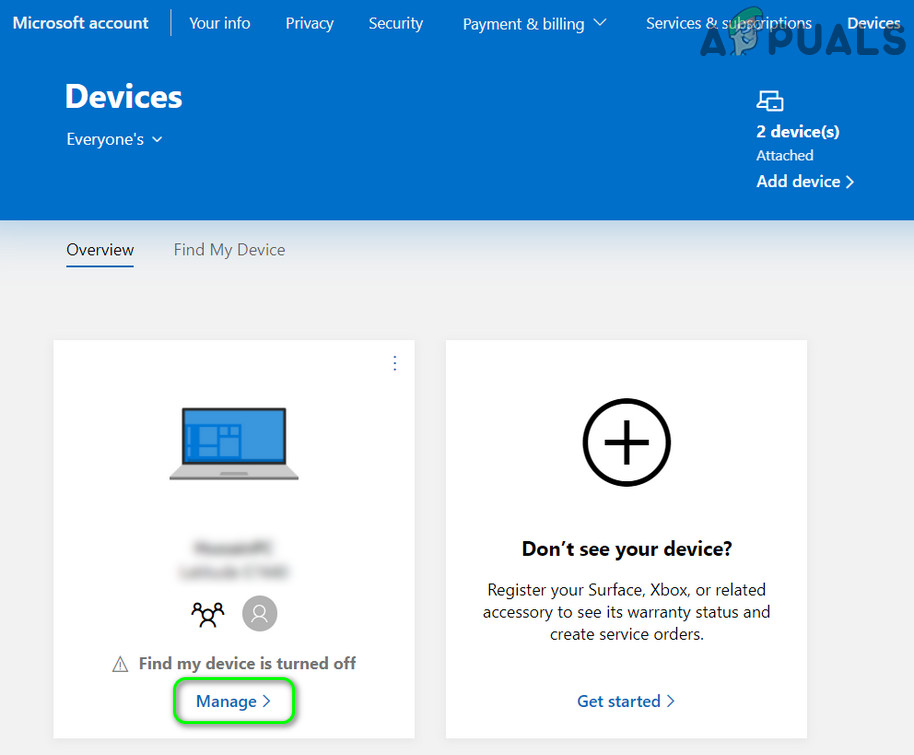
Click Manage Under the Problematic Device - Then, at the top bar, expand Manage (under the problematic device name) and select Remove Device.
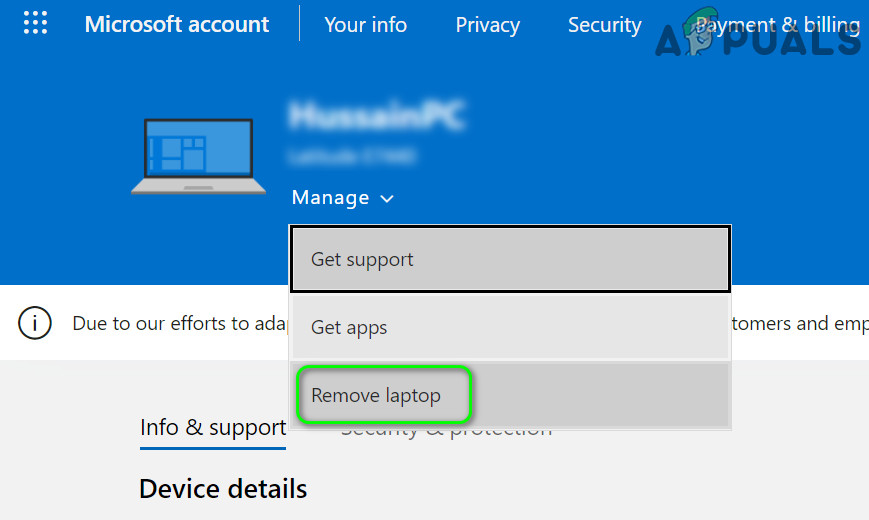
Remove Device in the Devices Settings - Now confirm to remove the device (if feasible, remove all the devices connected to the OneDrive account) and then reboot your PC.
- Upon reboot, launch the OneDrive (steps 1 to 4) to check if that resolves the OneDrive issue.
Solution 3: Enable OneDrive in the Group Policy and at the System’s Boot
The OneDrive icon may not show on the taskbar if the group policy of your system bars OneDrive from operating. In this case, editing the group policy to allow the OneDrive to operate may solve the problem.
- Hit the Windows key and in the Windows Search, type Group Policy. Then open Edit Group Policy.
- Now expand Computer Configuration (under Local Computer Policy) and then Administrative Templates.
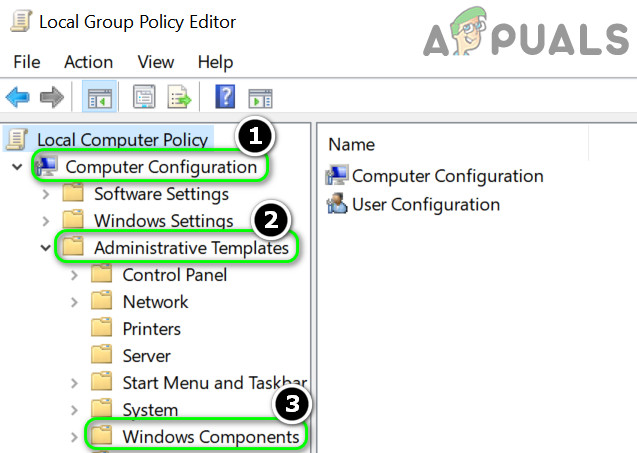
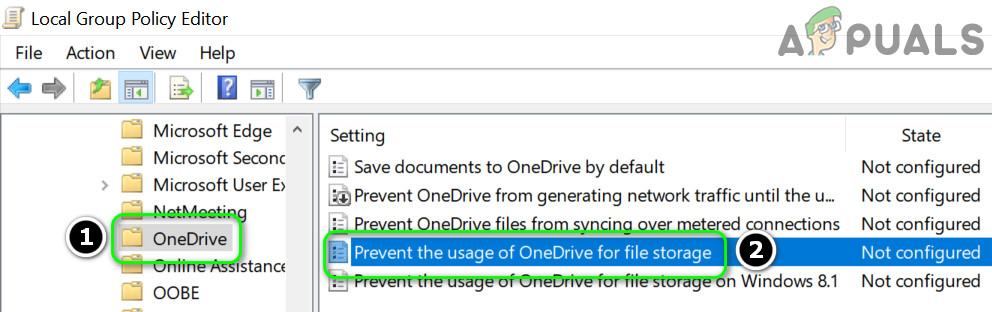
Open Windows Components in the Group Policy Editor - Then expand Windows Components and open OneDrive (in the left pane of the window).
- Now, in the right-pane, double-click on Prevent the usage of OneDrive for File Storage, and in the new window shown, select Enabled (if it is already set to Enabled, then set it to Disabled).
Open the Prevent the usage of OneDrive for File Storage Group Policy Setting - Then click on Apply/OK and reboot your PC.
- Upon reboot, check if the OneDrive is operating fine.
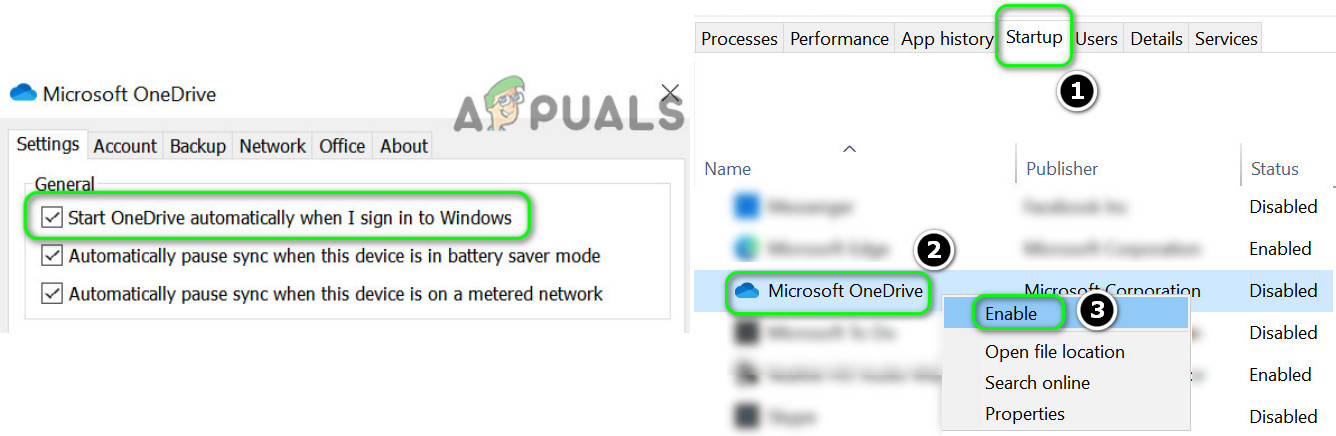
If OneDrive does not start at the system’s startup, then make sure that the “Start OneDrive Automatically When I Sign in to Windows” is enabled and in the Startup tab of the Task Manager, OneDrive is set to Enabled.
Solution 4: Use the Registry Editor
OneDrive might not show on the taskbar if the relevant registry settings of your system are misconfigured or corrupt. In this case, making the relevant registry edits may solve the problem. But before proceeding, make sure to back up the system’s registry (just in case…).
Warning: Be extremely careful as editing the system’s registry requires a certain level of proficiency and if done wrong, you may cause non-repairable damage to your system/data.
- Press the Windows key and in the search box, type Registry Editor. Then, in the results, right-click on the Registry Editor and select Run as Administrator (if UAC prompt received, click Yes).
- Now navigate to the following path:
Computer\HKEY_LOCAL_MACHINE\SOFTWARE\Policies\Microsoft\Windows\OneDrive
- Then, in the right pane, double-click on DisableFileSyncNGSC and set its value to 0 (if the registry key is not present, then skip this step).
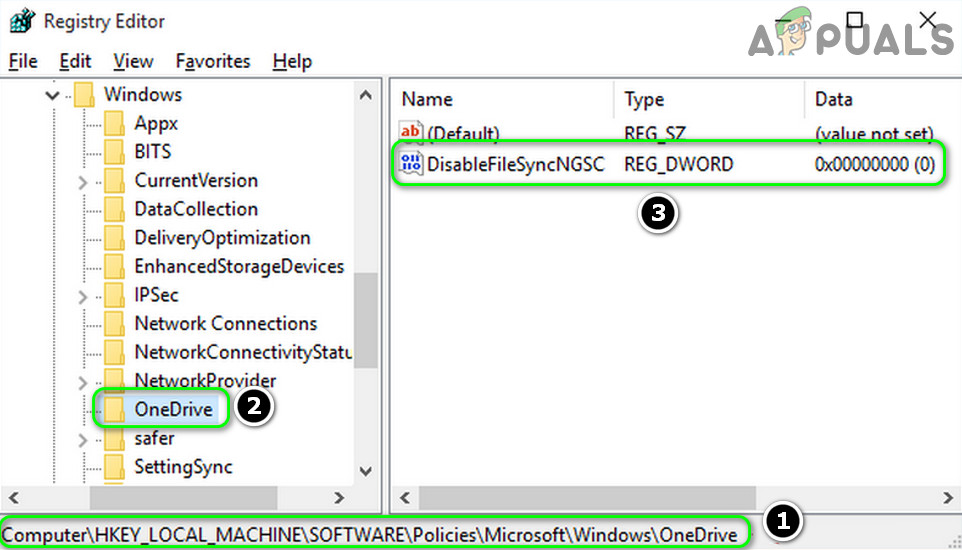
Set DisableFileSyncNGSC Value to 0 in the Registry Editor - Now check if OneDrive is working fine.
- If not, then navigate to the path in the Registry Editor as discussed in step 2.
- Now delete all the contents (no need to worry if you fail to delete the Default entry) in the right pane of the window and then check if the OneDrive is working fine.
Solution 5: Restart/Reset the OneDrive Application
You may face the issue at hand if the installation of the OneDrive application is corrupt. In this scenario, restarting or resetting the OneDrive client may solve the problem.
Restart OneDrive:
- Right-click on the Windows button and in the Quick Access menu, open Run.
- Now navigate to the following:
%localappdata%\Microsoft\OneDrive\
- Then right-click on OneDrive.exe and choose Run as Administrator.
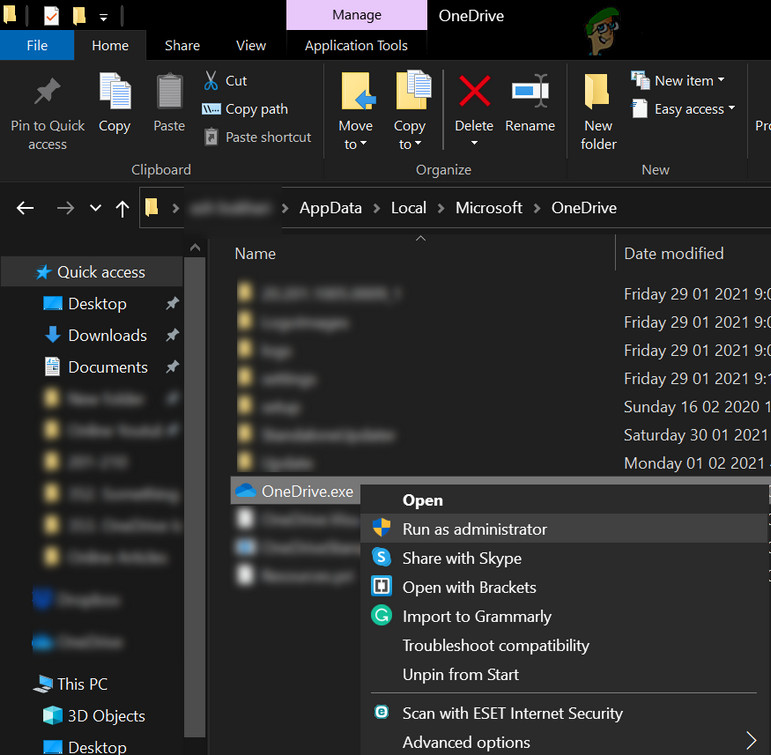
Launch OneDrive.Exe as Administrator - Now check if the OneDrive is functioning normally.
- If not, then navigate to the following path in the Run box:
%localappdata%\Microsoft\OneDrive\Update\
- Now right-click on the OneDriveSetup.exe and select Run as Administrator (click Yes, if UAC prompt is received).
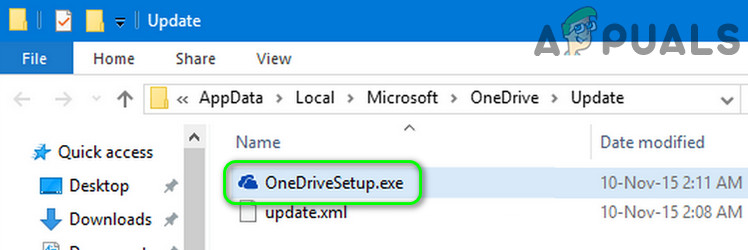
Launch OneDriveSetup.Exe as Administrator - Then check if the OneDrive issue is resolved.
Reset OneDrive
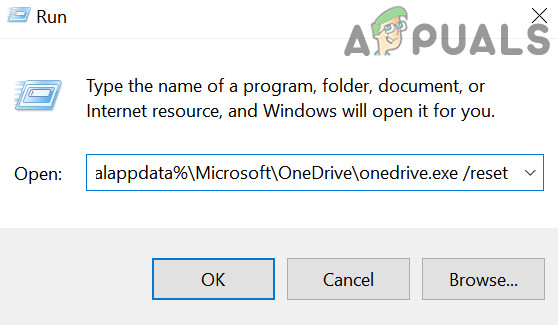
- Launch the Run box and execute the following:
%localappdata%\Microsoft\OneDrive\onedrive.exe /reset
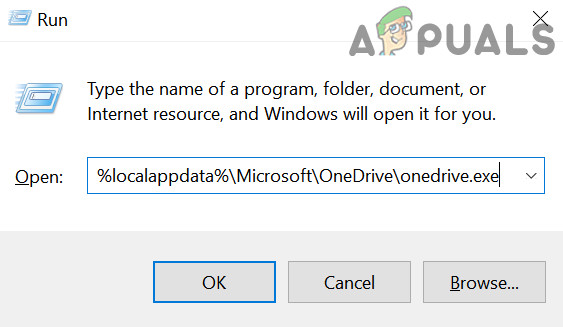
Reset OneDrive - Now wait for two minutes (the OneDrive may be shown for a short moment) and execute the following to check if the OneDrive issue is resolved:
%localappdata%\Microsoft\OneDrive\onedrive.exe
Launch the OneDrive Client from the Local App Data Folder - If at step 1, you encountered the message that Windows cannot find the file, then execute the following and check if the OneDrive is working fine:
%programfiles(x86)%\Microsoft OneDrive\onedrive.exe /reset
If any of the above-mentioned files could not be found, then you can search for the file in This PC window.
Solution 6: Reinstall the OneDrive Application
If the issue persists, then the corrupt installation of the OneDrive client is beyond repair/reset. In this context, reinstalling the OneDrive may solve the problem.
- Launch a web browser and navigate to the OneDrive download page.
- Now click on the Download button and let the download complete.
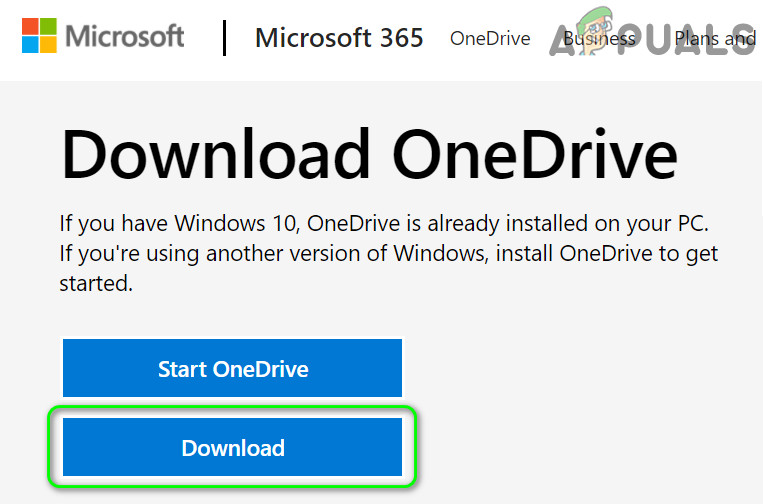
Download the Latest Version of the OneDrive Client - Then launch the OneDrive installer as administrator and follow the prompts to complete the OneDrive installation.
- Now check if the OneDrive is working fine.
- If not, then hit the Windows key and select Settings.
Open Windows Settings - Then open Apps and expand OneDrive.

Open Apps in the Windows Settings - Now click on the Uninstall button and then confirm to uninstall OneDrive.
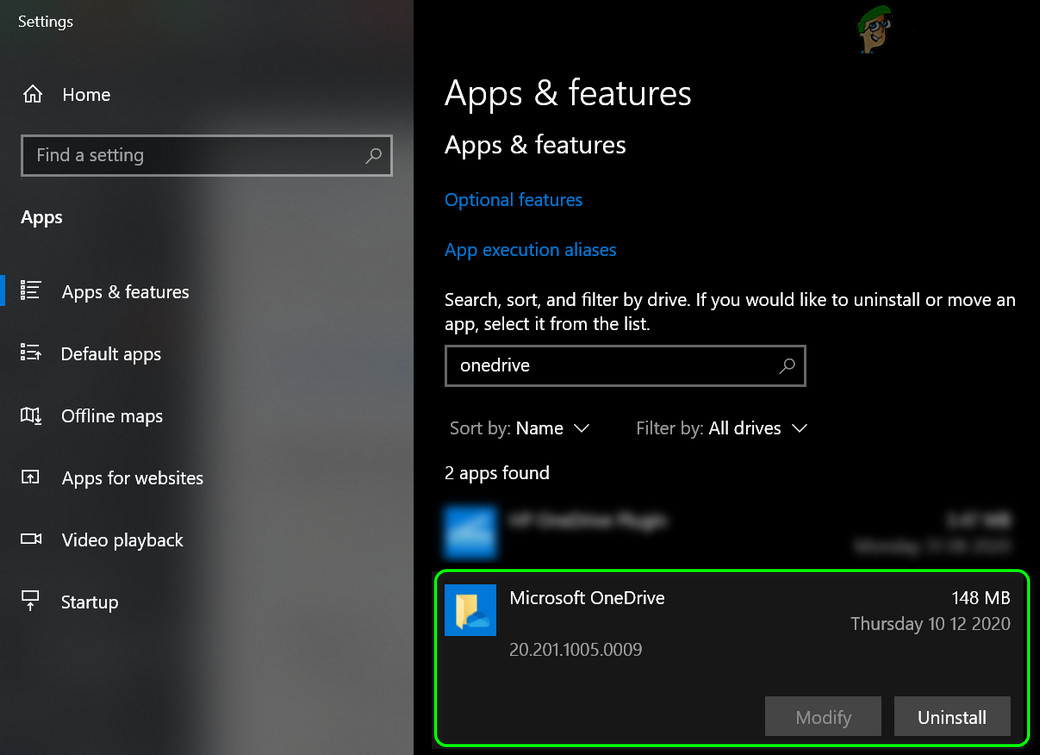
Uninstall OneDrive - Then follow the prompts to complete the OneDrive uninstallation.
- Now reboot your PC and upon reboot, repeat steps 1 to 4 to reinstall OneDrive.
- Upon reinstallation, check if the OneDrive client is working fine.
If the issue is still there, then you may use the Command Prompt to uninstall and reinstall the OneDrive client.
- Press the Windows key and type CMD. Now, right-click on the Command Prompt result and choose Run as Administrator (click Yes, if UAC prompt received).
- Then execute the following (to terminate any running OneDrive process):
taskkill /f /im OneDrive.exe
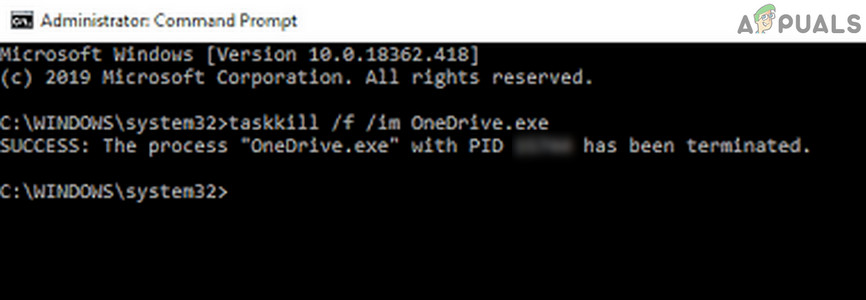
End OneDrive Task from the Command Prompt - Now execute the following as per your OS architecture (to uninstall OneDrive):
For 32-bit
%SystemRoot%\System32\OneDriveSetup.exe /uninstall
For 64-bit
%SystemRoot%\SysWOW64\OneDriveSetup.exe /uninstall
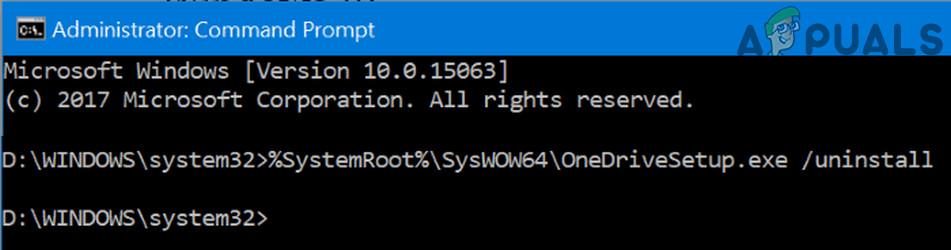
Uninstall OneDrive through the Command Prompt - Then restart your PC and execute the following (to reinstall OneDrive):
For 32-bit:
%Systemroot%\System32\OneDriveSetup.exe
For 64-bit:
%Systemroot%\SysWOW64\OneDriveSetup.exe
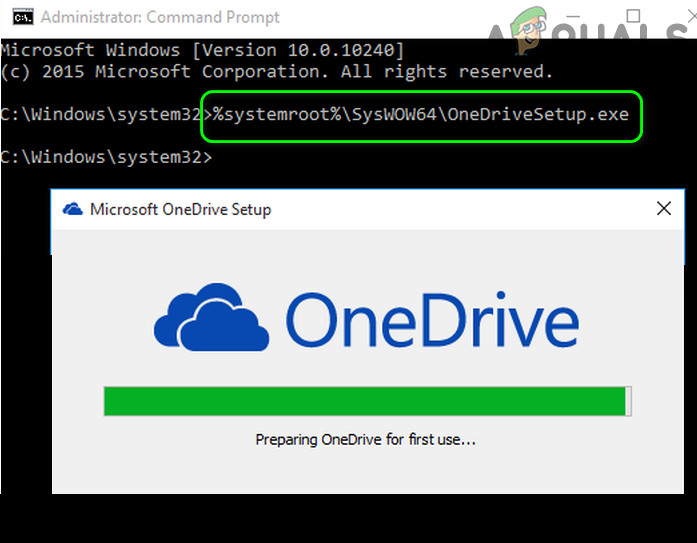
Install OneDrive Through the Command Prompt - Now check if the OneDrive client is working fine.
If the issue persists, then you may use a 3rd party uninstaller to remove the OneDrive installation and then reinstall it.
Solution 7: Copy OneDrive Folder from Another User Profile
If the issue persists, then the OneDrive issue could be a result of a corrupt Windows user profile. In this context, creating a new Windows user profile and using it to sign-in to the OneDrive may solve the problem.
- Create a new Windows user profile (make sure the created account is an administrator one) and log out of the current user.
- Now log in to the newly created user profile and check if OneDrive can be launched (but do not sign-in).
- Then right-click on the Windows button and in the Quick Access menu, open Run.
- Now navigate to the following path (copy and paste it into the Run box):
%LocalAppData%\Microsoft\OneDrive
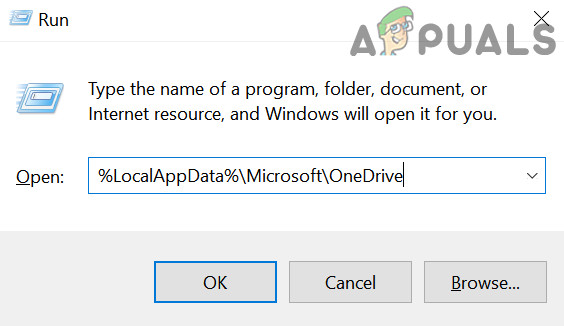
Open OneDrive from the Local App Data Folder - Then copy the contents of the OneDrive folder and navigate to the following in the Run box:
\Users\
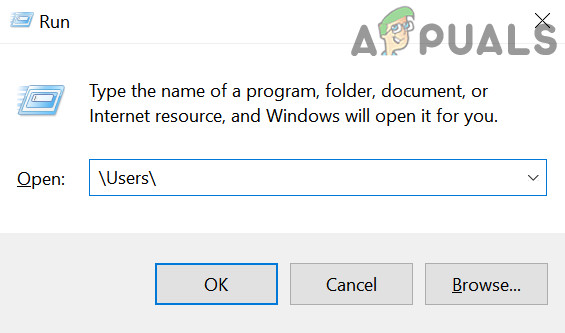
Open Users Folder Through the Run Box - Now open the problematic account folder and then navigate to the following path:
AppData\Local\Microsoft\OneDrive
The complete path will be as under:
\Users\[yourproblematicaccount]\AppData\Local\Microsoft\OneDrive
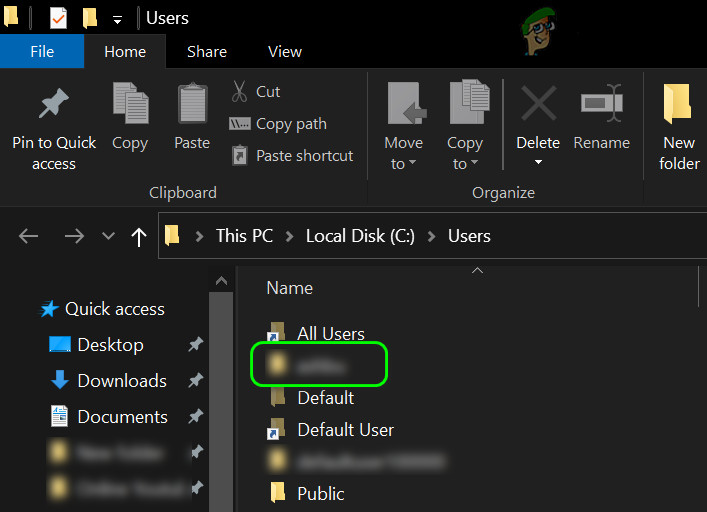
Select the Problematic User Folder - Then paste the contents of the OneDrive folder copied at step 5. If the prompt to overwrite the contents is received, make sure to click Yes.
- Now login with the problematic account and check if the OneDrive issue is resolved.
- If not, then you may transfer all data to the new account and use OneDrive there (if feasible).
If the issue is still there, then set the value of the DisableFileSyncNGSC registry key to 0 (solution 4) and then check if copying the OneDrive folder as discussed above solves the OneDrive problem.
If the issue persists, you may use the DISM or SFC commands or reset the Windows PC to the factory defaults.


It worked, thanks!
I visited the OneDrive webpage and downloaded the app.