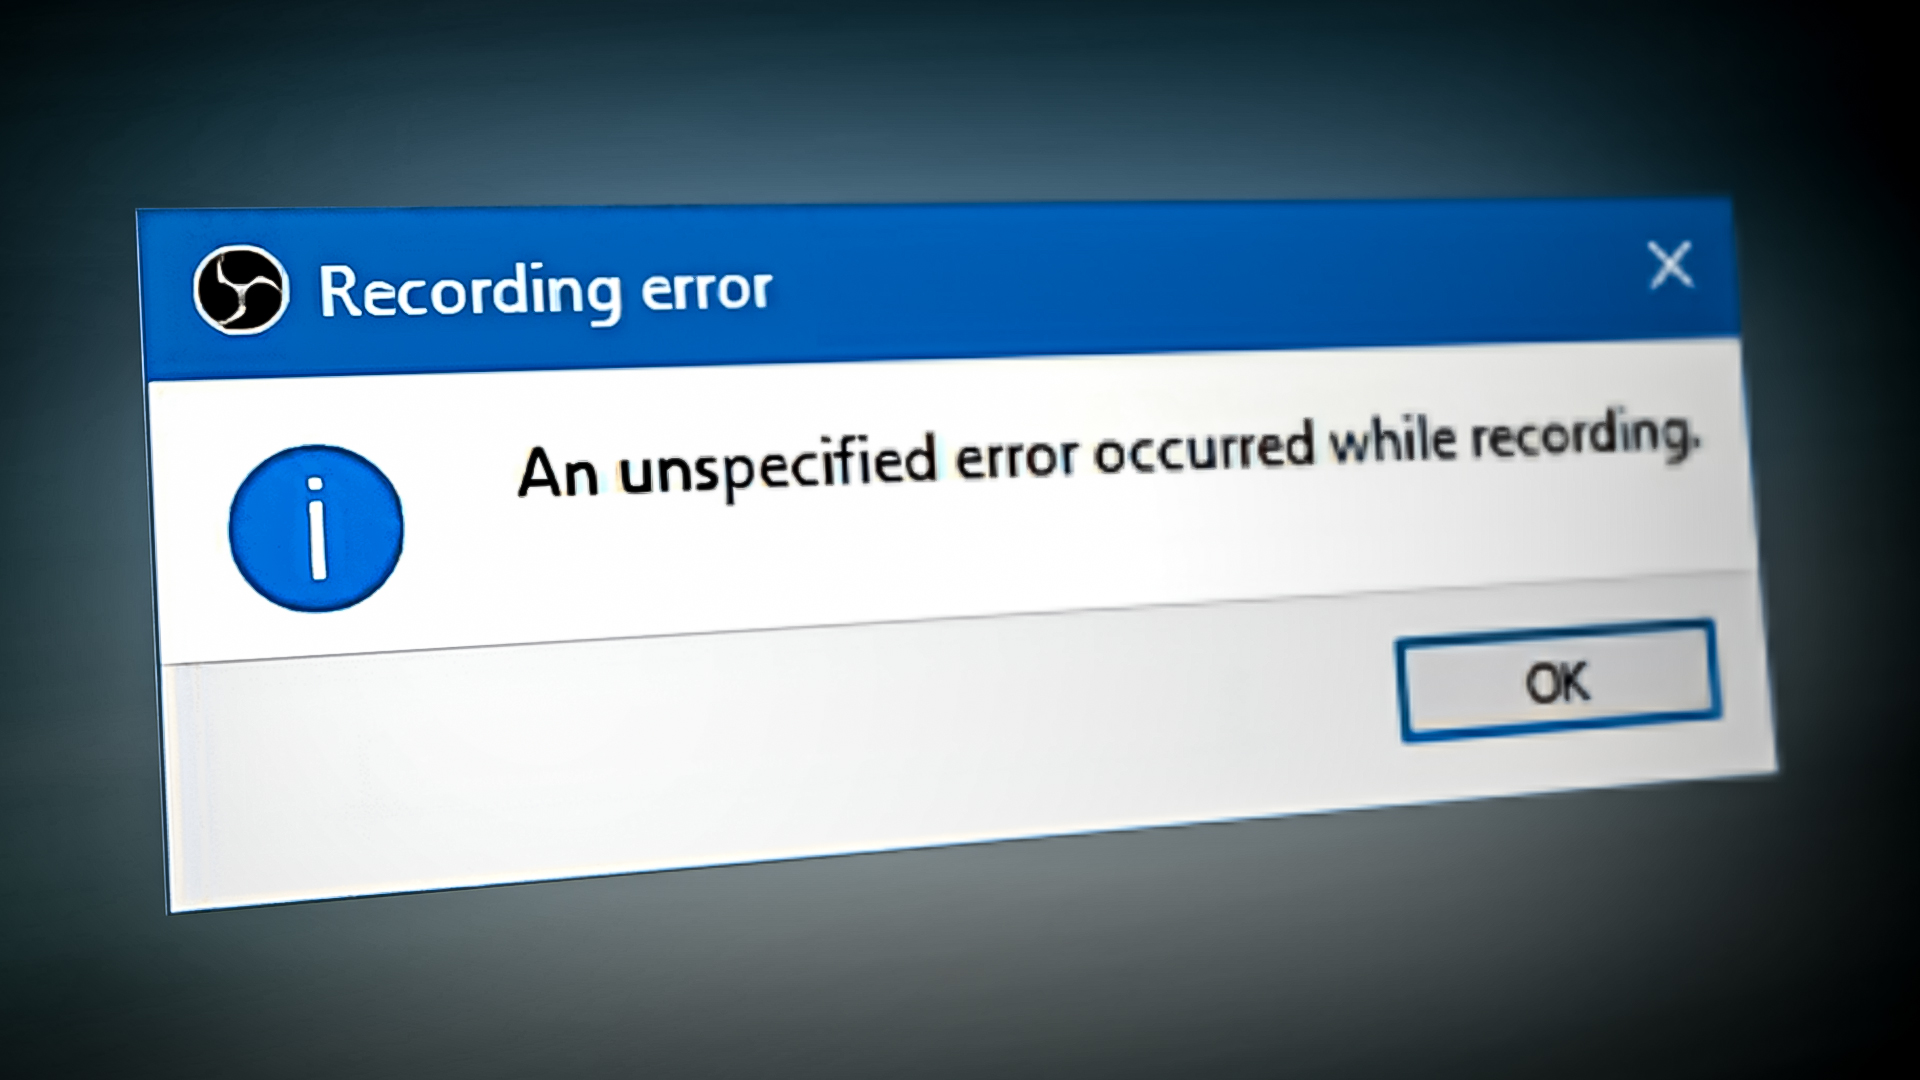
OBS FIX: ‘An Unspecified Error Occurred while Recording’
The error ‘An Unspecified Error Occurred while Recording‘ typically occurs when users attempt to start recording using the open-source program OBS Studio. In most cases, these are the log files of the error “[ffmpeg muxer: ‘adv_file_output’] os_process_pipe_write for info structure failed”.
Most users experiencing this issue have confirmed that the streaming function of OBS usually works, but the whole suite crashes when they start the recording.
If you’re trying to fix this issue, the first thing you’d want to do is ensure that you are using the correct recording settings to prevent outside interference with other programs using the same dependencies.
However, this problem can also occur due to a missing DLL or when the variable path needs to be updated. Other potential causes include a GPU driver inconsistency, an AV interference, or a VPN or proxy interference.
Below you’ll find a selection of confirmed methods that other affected users have successfully used to fix the ‘An Unspecified Error Occurred while Recording’ error.
1. Change the recording type
You’ll often get the ‘An Unspecified Error Occurred while Recording’ error in situations where the recording function in OBS defaults to a Custom Output (FFmpeg) instead of using the standard recording mode.
Using a custom will also have the unintended consequence of adjusting the default encoder away from H265 / HEVC Encoder (AMD Advanced Media Framework).
Note: OBS is notoriously unstable when forced to record with a custom encoder from an integrated GPU. Depending if you’re using an integrated or a dedicated GPU, the recommended recording type is different as you’ll see below.
If you’re just starting to troubleshoot the issue, follow the instruction below to change the recording type settings before reinitiating the recording:
- Open OBS and make sure you’re not actively streaming or performing any other task. If your OBS application is busy, the certain settings menu will not be available.
- Load your project, then click on the Settings menu from the bottom-left section of the screen.
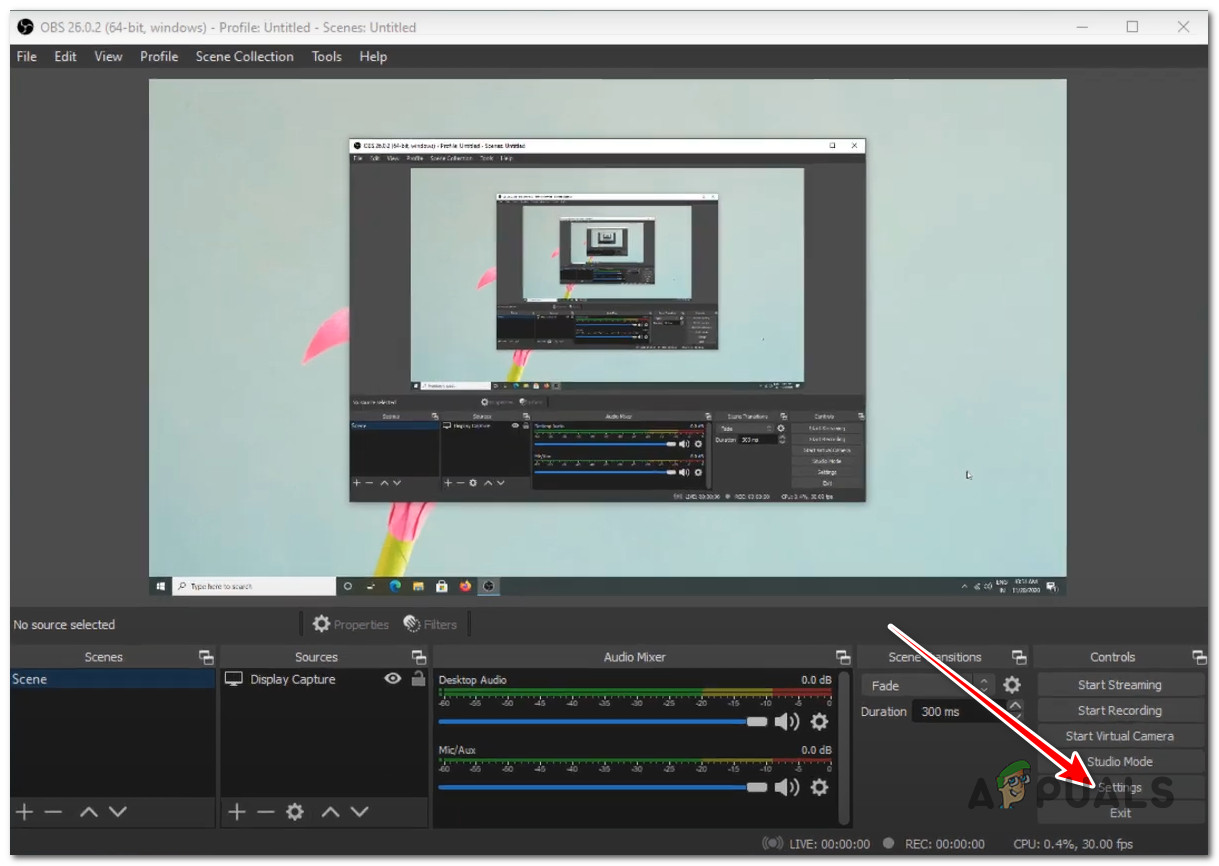
Access the Settings menu - Inside the Settings menu, click on Output from the left-hand side menu, then go over to the right-hand pane and select the Recording tab.
- Next, see the currently used option for the Recoding Type:
- If it’s set to Standard, change it to Custom Output (FFmpeg)
- If it’s set to Custom Output, change it to Standard.
- Once you successfully changed the type, move down below to the Encoder section and set it to H265 / HEVC Encoder (AMD Advanced Media Framework).
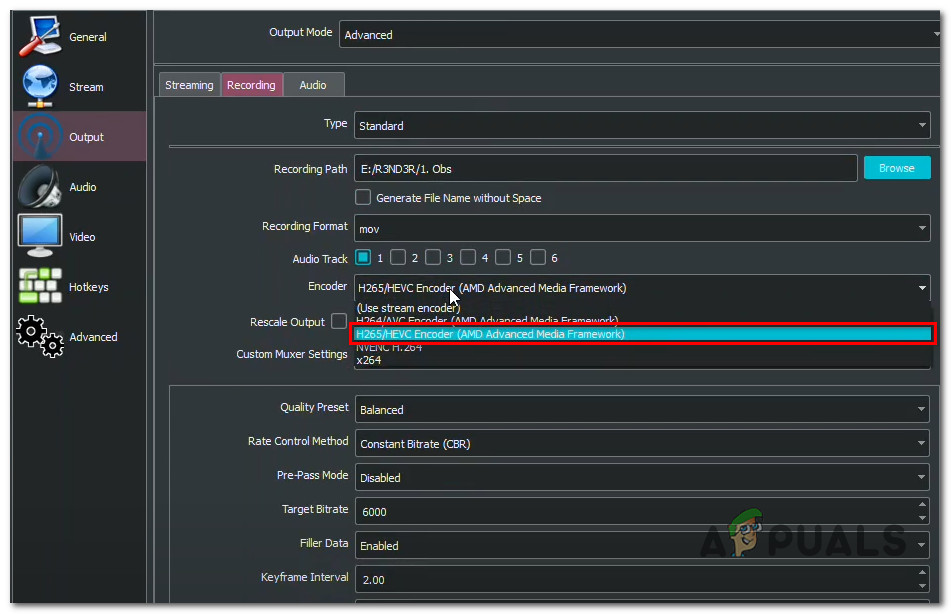
Setting the Advanced Media Framework - Click Apply to save the changes, then restart OBS and see if the issue is now fixed.
2. Download the missing DLL manually
If you already tried adjusting the encoding engine and the same ‘An Unspecified Error Occurred while Recording’ is still occurring, take a look at the underlying message of the error.
If any essential .DLL files are missing, they were probably removed by an overprotective AV suite and are either in quarantine or completely removed from your PC.
If this scenario is applicable, you can fix the issue easily by downloading the missing .dll files from a specialized directory locally and copying them inside the obs-ffmpeg folder.
It’s always good practice to check DLL files for bundled malware or adware when dealing with DLL files. To make sure you don’t expose your system to security threats, we will show you how to check these files for any virus infection before you actively use them on your system.
Follow the instructions below to download the missing DLL dependencies and ensure that they are not bundled with adware or malware:
- Press Windows key + E to open up File Explorer.
- Next, navigate to the installation location of OBS. By default, you’ll find it in the following path:
C:\Program Files\OBS\\data\obs-plugins\obs-ffmpeg\
- Once inside, double-click on both ffmpeg-mux64.exe and ffmpeg-mux32.exe and see which .dll dependencies are missing. Most commonly, the following you the error message will point toward one of the following dependencies:
avcodec-57.dll
avformat-57.dll
avutil-55.dll
swresample-2.dll
Note: Note the missing dependencies down as you will need to download them in the next steps.
- Open your default browser and navigate to the root directory of DLL-Fles.com.
- Use the search function to find and download every missing .dll file you discovered in step 3.
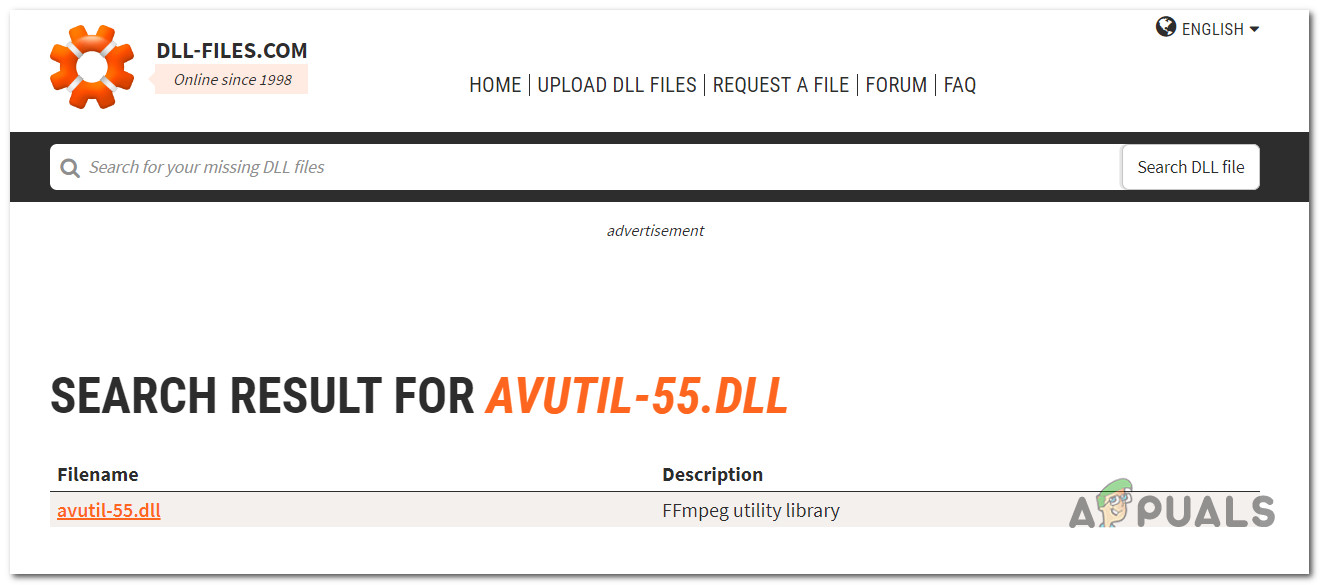
Download the missing DLL dependency IMPORTANT: Don’t try to open, rename or move the file after you’ve downloaded it.
- Navigate to the upload page of Virus Total and upload every file that you previously downloaded.Note: Make sure that you check every dependency individually.
- Once you make sure that every DLL file is safe, copy them into the obs-fmpeg folder. The default location is:
C:\Program Files\OBS\\data\obs-plugins\obs-ffmpeg\
Note: If you installed OBS in a custom location, navigate there instead.
- If the OBS program is currently open, close it before opening it again to force it to load the missing dependencies.
- Initiate recording once again and see if the ‘unspecified error’ is still being thrown.
Note: If the steps above didn’t fix the issue, you can also re-add the dependencies by uninstalling your current OBS version before reinstalling the latest version from the official website. But keep in mind that going this route will clear all projects that are currently saved in the OBS program.
3. Update the variable PATH
If you already tried reinstalling OBS and you are still seeing the same ‘unspecified error’, it’s likely because the ffmpeg executables that OBS users are not finding the expected DDLs even if you have them on your system.
You can correct this issue by tweaking the PATH environment to ‘help’ OBS find the expected DLLs.
Note: This procedure is technical and involves doing PATH alterations that might negatively affect other programs that are also using ffmpeg.
Here’s how to update the PATH variable using an elevated CMD to help OBS locate the missing .DLL dependencies that are indirectly causing the ‘unspecified error’:
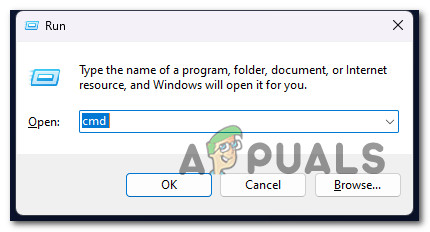
- Press Windows key + R to open up a Run dialog box.
- Next, type ‘cmd’ and press Ctrl + Shift + Enter to open up an elevated CMD prompt with admin access.
Opening up an elevated CMD window - At the User Account Control (UAC), click Yes to grant admin access.
- Once you’re inside the elevated CMD prompt, run the following command to navigate to the obs-ffmpeg installation folder:
CD C:\Program Files (x86)\obs-studio\data\obs-plugins\obs-ffmpeg
Note: The command above assumes that OBS Studio is installed in the default installation path and Windows is installed on the C drive. If your path is different or you’re using the 64-bit version of OBS, adjust the command above accordingly.
- Type the following command to run the ffmpeg-mux32 executable:
start ffmpeg-mux32
- At the UAC prompt, click Yes to grant admin access.
- If the pop-up error is still occurring, you’ve just confirmed that the problem is happening due to a variable PATH issue.
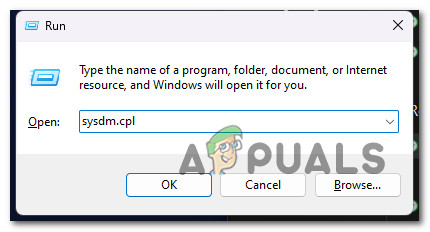
- Press Windows key + R to open up another Run dialog box
- Type ‘sysdm.cpl’ and press Ctrl + Shift + Enter to open System Properties with admin access.
Open the Advanced System Settings - Accept the UAC prompt by clicking Yes.
- Next, click on the Advanced tab and click on Environment Variables.
- Once you’re inside the Environment Variables screen, select thee Path variable from the ‘System Variables’ section and click the associated Edit button.

Editing the path Note: Before you modify anything in this window, copy and paste the current variable path in a notepad or somewhere safe. If this fix does not work, it’s advised to return this path to it’s original value.
- Inside the ‘Variable value’ text box, move the cursor to the beginning of the text and paste the following path:
C:\Program Files (x86)\obs-studio\bin\32bit;
- Click Ok, then confirm one last time to close the dialog box.
- Now to check if the issue is fixed, press Windows key + R to open up a Run dialog box.
- Next, type ‘cmd’ and press Ctrl + Shift + Enter to open up an elevated CMD prompt with admin access.
Opening up an elevated CMD window - At the User Account Control (UAC), click Yes to grant admin access.
- Run the following command to navigate to the location where obs-ffmpeg is installed for OBS Studio:
CD C:\Program Files (x86)\obs-studio\data\obs-plugins\obs-ffmpeg
- Type the following command to run the ffmpeg executable:
start ffmpeg-mux32
- All required DLLs will be found by ffmpeg-mux32. You might get a different error message (‘expected option missing’), but you can just close it and turn to your application. Note: If you get an additional error complaining about deflateBound not being located in zlib.dll, you can fix it by copying the specific version of zlib.dll into the obs-ffmpeg folder. To do this, you can just run the following command:
copy "C:\Program Files (x86)\obs-studio\bin\32bit\zlib.dll" "C:\Program Files (x86)\obs-studio\\data\obs-plugins\obs-ffmpeg"
Make sure to double-check the paths to make sure they fit your situation.
4. Disable GPU driver before launching OBS (temporary fix)
Another popular fix among the OBS Studio community is to disable the active GPU driver after opening the program.
This fix supposedly works because it refreshes the GPU log that OBS uses and forces the program to create a new one.
To do this, you’ll need to go in Device Manager and disable the active dedicated GPU before re-launching OBS and initiating a recording session.
Here’s a quick guide on disabling the GPU driver before launching OBS to fix the ‘An Unspecified Error Occurred while Recording’ error:
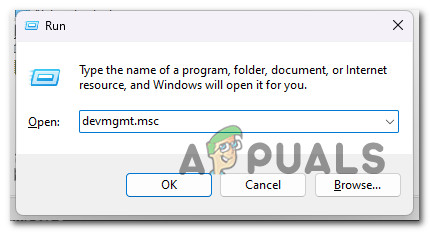
- Press Windows key + R to open up a Run dialog box.
- Next, type ‘devmgmt.msc’ and press Ctrl + Shift + Enter to open up Device Manager with admin access.
Open Device Manager - Click Yes at the UAC (User Account Control) prompt to grant admin access.
- Inside Device Manager, expand the drop-down menu associated with Display Adapters.
- Right-click on the active dedicated GPU and click Disable device from the context menu that just appeared.
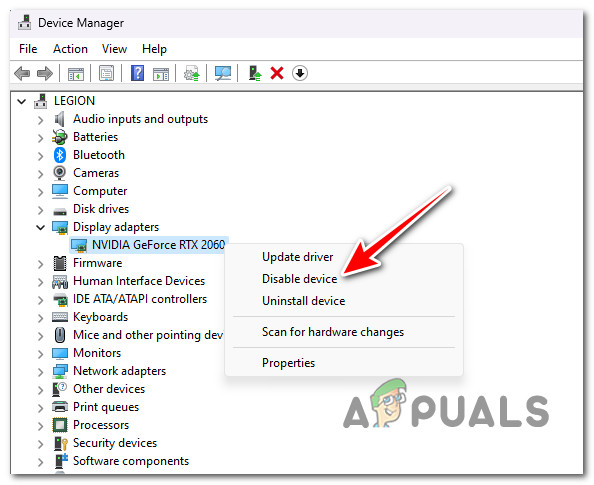
Disable the dedicated GPU - At the confirmation prompt, click Yes once again.
Note: After you confirm, you might experience screen flickering as the generic driver is being started. - Once the video signal returns, open OBS Studio and load your project.
- Return to Device Manager, right-click on the disabled GPU (under Display Adapters), then click on Enable.
- Return to OBS Studio, initiate a recording session, and see if the issue is fixed.
5. Whitelist the obs-ffmpeg-mux file (if applicable)
Another reason why you might see the ‘An Unspecified Error Occurred while Recording‘ is interference caused by a false-positive triggered by your AV. OBS Studio is open source and a lot of the available mods and addons are prone to be flagged by both 3rd party AV suites and Windows Security.
If you’re using a 3rd party suite, go into your AV settings and whitelist the installation Folder + the mainobs-ffmpeg-mux executable separately.
Note: This procedure will be different depending on the 3rd party AV that you’re using.
If you use the built-in Windows Defender (Windows Security), follow the steps below to whitelist the obs-ffmpeg-mux executable + the installation path:
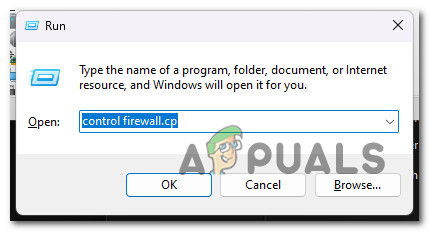
- Begin by pressing the Windows key + R to bring up the Run dialog box.
- Type “control firewall.cpl” and press Enter to open the classic Windows Firewall interface.
Open the Firewall Menu - To grant admin access, click Yes in the UAC (User Account Control).
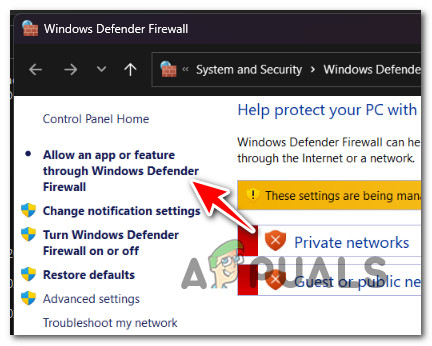
- Next, select Allow an app or feature through Windows Defender Firewall from the menu on the left.
Allowing an app - From the Allowed apps menu, select Change settings and grant admin access by selecting Yes at the UAC (User Account Control) question.
- Once you have the appropriate rights, go down the list of permitted applications and check if you can find any entries related to OBS Studio.
- If they aren’t there, click the Allow another program option, then Browse, navigate to their location, and add the ffmpeg-mux + the installation folder.
- Save your modifications, restart your PC, and restart OBS Studio.
- Start the recording session and see if the problem is fixed.
6. Disable VPN or Proxy Connection
Another third-party component that could cause this issue with OBS Studio is a proxy or VPN client. If you’re trying to initiate a recording session while using OBS Studio to live stream, the usage of an anonymity app might cause the program to throw the ‘An Unspecified Error Occurred while Recording’ error.
If your scenario is similar to the one described above, try removing your VPN client or disabling your proxy server before restarting OBS studio.
We created two guidelines to address both of these scenarios, so select the one that relates to you.
6.1. Disable the VPN connection
The method for disabling a VPN service on a Windows machine differs depending on whether it was configured by Windows or by a third-party program.
If you are using a standalone program, you must go to the VPN interface and disconnect the connection there.
However, if you set up your VPN using the built-in option, you can disable it by doing the following:
- Open the Run box by pressing the Windows key + R.
- Then, after typing “ms-settings:network-vpn” hit Enter to launch the VPN tab in the Windows Settings app.
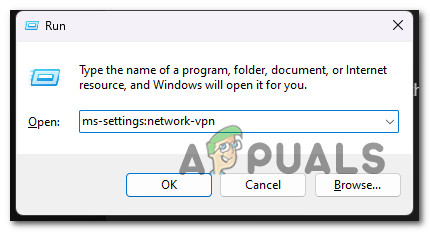
Open the VPN tab - On the right side, click on your VPN connection.
- Select Remove from the new context menu to prevent it from interfering with connections to the outside world.

Remove the VPN - Relaunch OBS Studio and see if the recording function works properly now.
6.2 Turn Off the proxy connection
If you’ve previously set up a proxy server locally, you can easily disable it by going to the Settings menu and selecting the Proxy tab.
Here’s how to do this:
- Open the Run box by pressing the Windows key + R.
- Type “ms-settings:network-proxy” in the next menu and click Enter to access the Proxy tab in the Settings app.
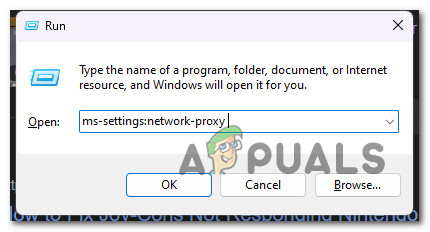
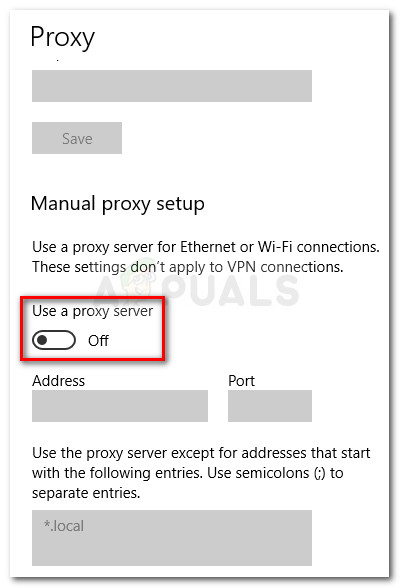
Access the Proxy tab - In the Settings menu, navigate to the Proxy tab and select Manual Proxy Setup.
- Uncheck the box that reads “Use a proxy server” on the right side of the screen.
Using a proxy server - Restart your PC after shutting off the proxy server and try to connect remotely with Cisco AnyConnect again to determine if the problem has been resolved.


