(Solved) 0xA00F4244 NoCamerasAreAttached Error Code
Windows Unable to Find Your Camera? Here's How to Get It Detected
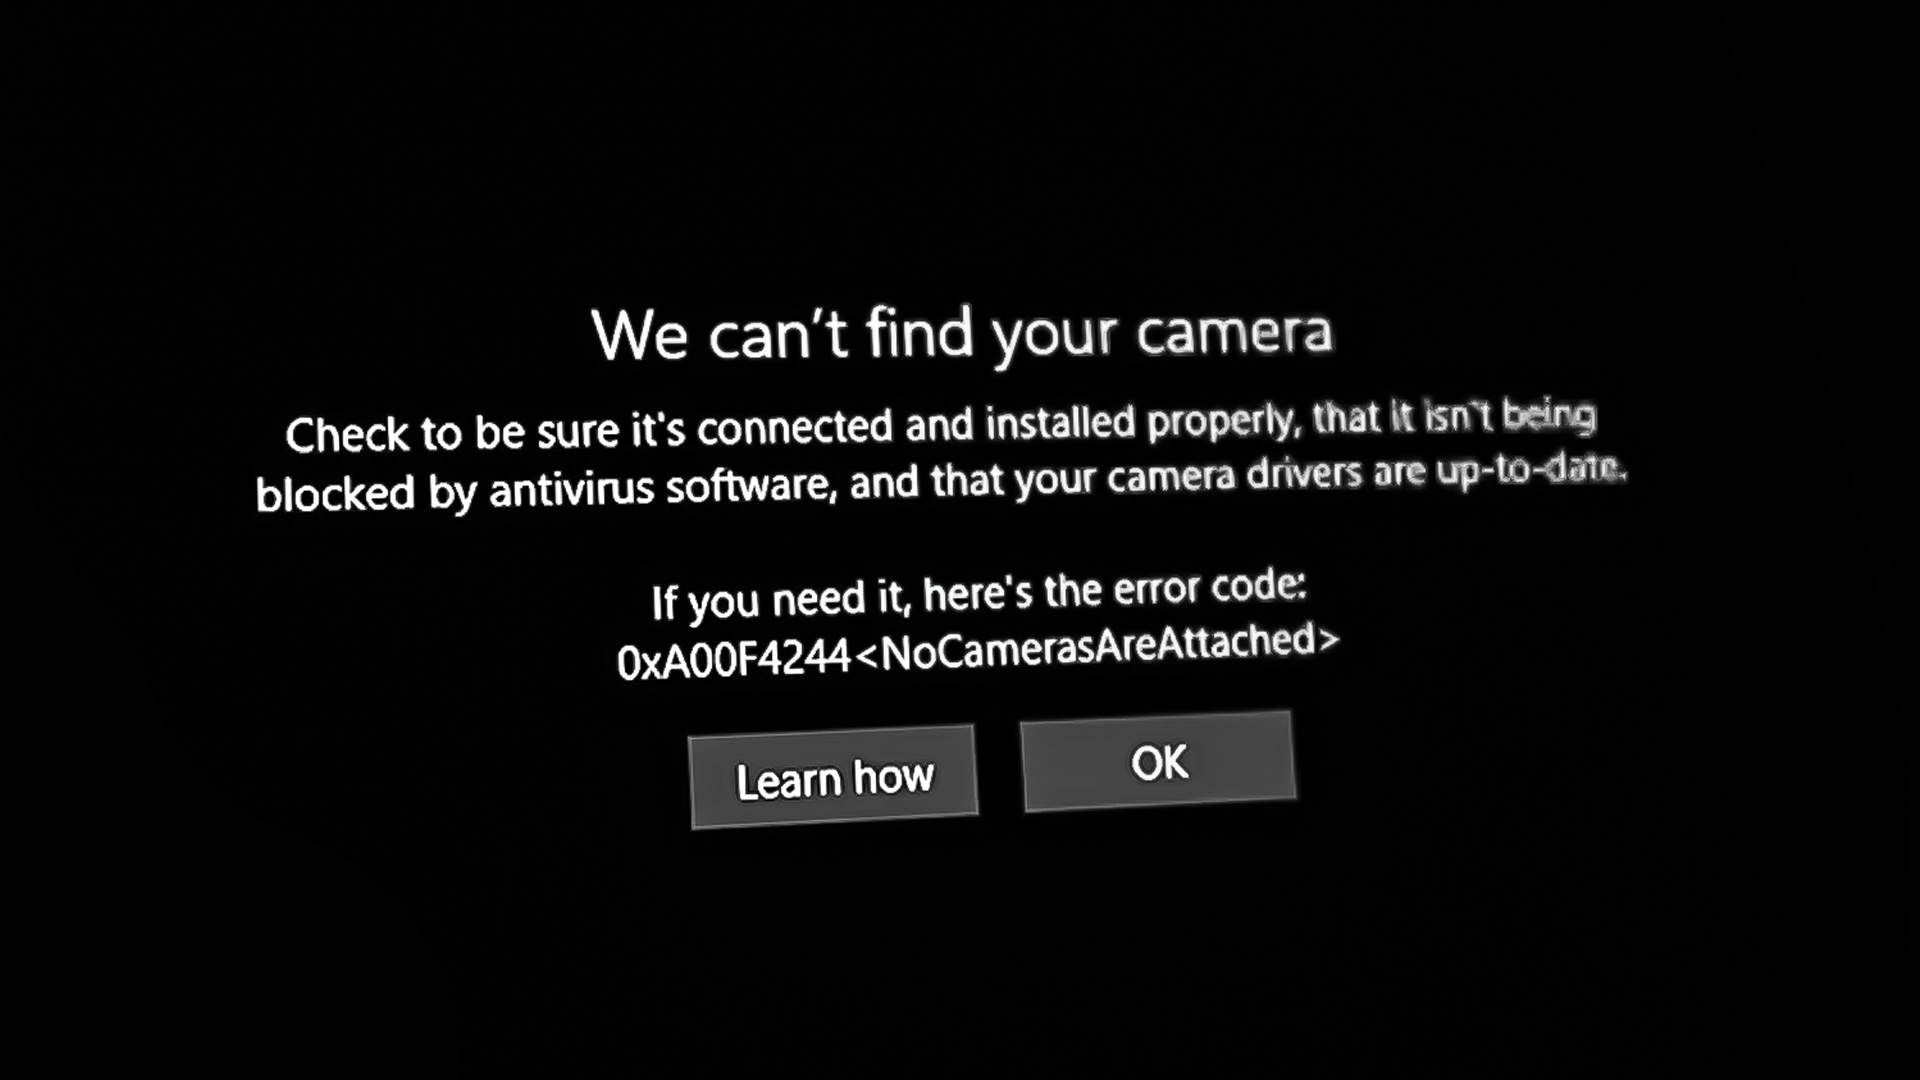
As the error says, ” We can’t find your camera,” which means your Windows is unable to recognize the camera installed on your laptop or computer. This mainly happens when your Camera is hardware disabled, or you don’t have its drivers installed. The following message occurs alongside error code: 0xA00F4244 <NoCamerasAreAttached>
| Issue | We can't find your camera Error code 0xA00F4244 |
| Reported On | Computers Laptops |
| Most common cause | Camera is hardware disabled Missing or Corrupted Camera driver |
| Solutions | Enable the hardware disabled Camera Reinstall Camera Driver |
Therefore, make sure that the camera is enabled. You can find the key with the camera icon on your laptop to enable and disable the camera. If you cannot find it, you can search on google by your laptop’s model number.
You can also face this error if your camera has hardware damage. To ensure that, follow all the methods listed in this guide.
1. Update or Re-install the Camera Driver
This error often occurs when the drivers are corrupted or missing from the laptop or computer. After installing the drivers, you will be able to use your camera again because the new driver will overwrite the corrupted one.
1.1 Update Camera driver
- Right-click the Start Menu from the bottom and then select Device Manager.
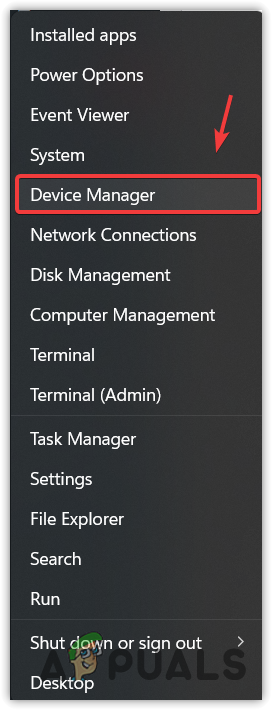
Opening the device manager by right-clicking the start menu - Now expand the Cameras menu and then right-click the Camera Driver.
- Select Update Driver from the options.
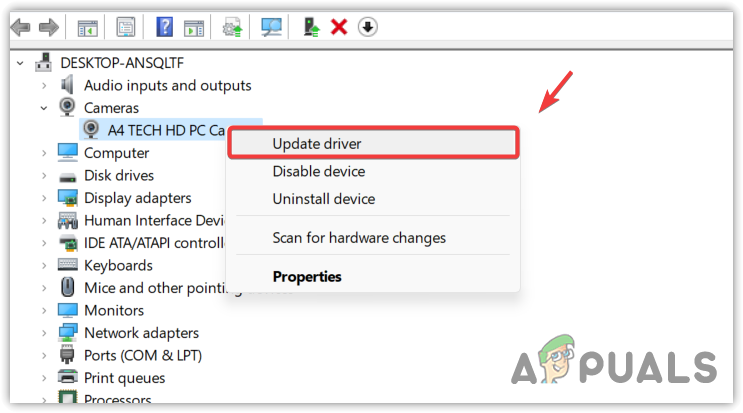
Updating Camera driver - Choose Search automatically for the drivers.
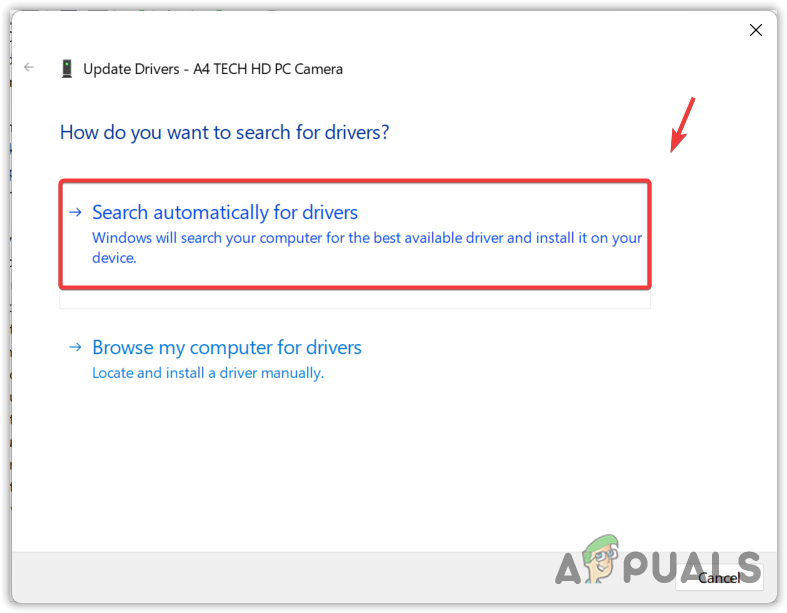
Searching automatically for drivers - Click on Search for updated drivers on windows updates and Check for windows updates to install them if available.
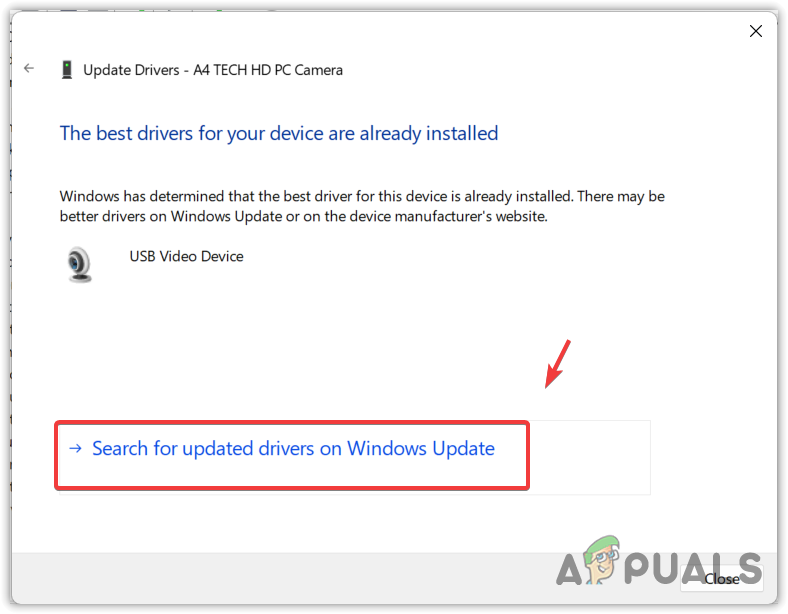
Searching for updated drivers on Windows Update If you cannot install the driver through the Windows update utility. Please refer to How to update drivers on Windows.
1.2 Re-install Camera driver
- Press the Windows key and type Device Manager.
- Open the device manager and expand the Cameras or Imaging devices.
- Right-click the Camera driver and select Uninstall device.
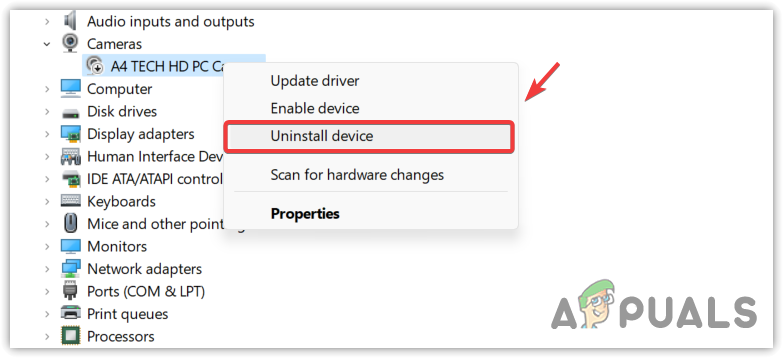
Uninstalling the Camera device driver - Again click Uninstall to confirm.
- Once done, click the Action from the top and select Scan for hardware changes.
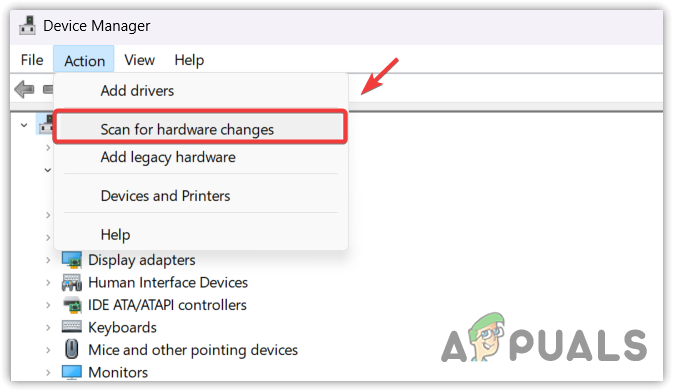
Scanning for hardware changes If you cannot find the camera driver in the device manager, it means either it is not installed or the camera has internal hardware damage, preventing it from initializing the camera device - To install the camera driver, go to your manufacturer’s site, and search for your laptop with the model number.
- Download the camera driver and install it on your system once done. If you have an external camera, download its driver using its model number from its manufacturer’s site.
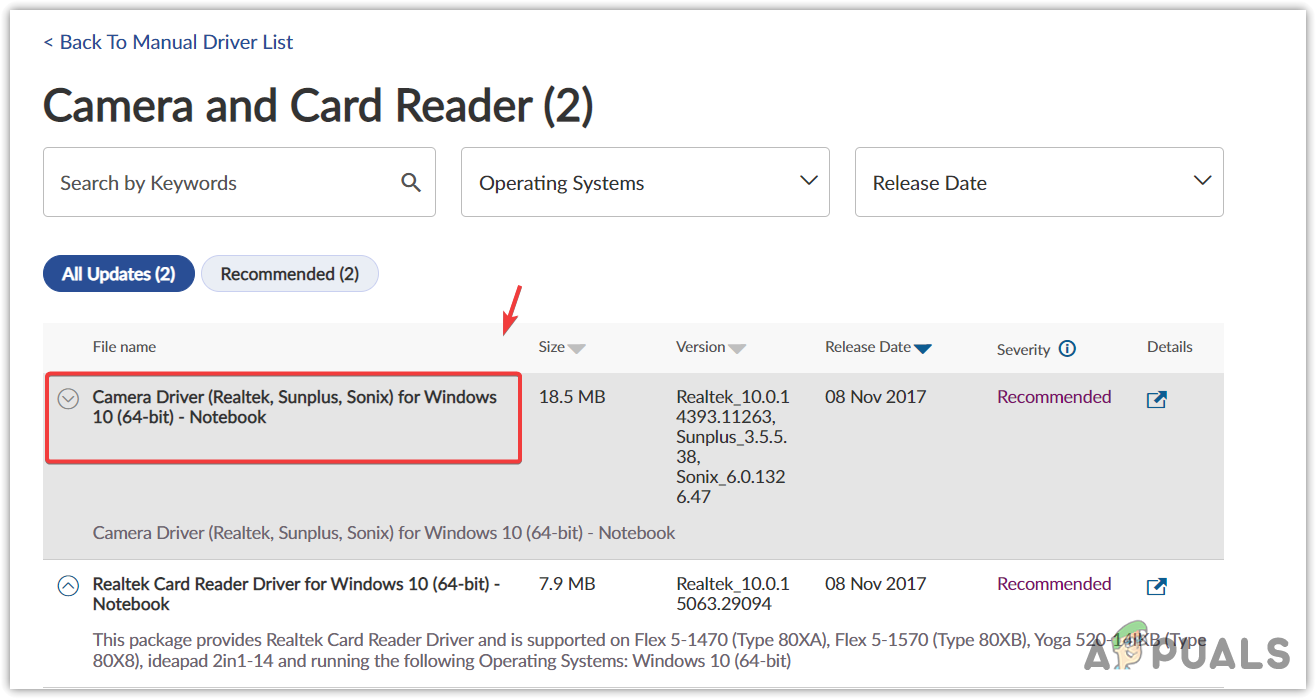
Downloading the Camera driver from the laptop manufacturer’s
2. Re-enable your Camera
Re-enabling the camera means disabling and enabling the camera driver from the device manager. When you disable the camera, it will unload the device driver from the RAM, and when you enable it, it will load the driver again. In simple words, it will restart the driver along with the device, which often helps revive a malfunctioned device.
- To do so, right-click the Start Menu and select Device Manager.

Opening Device Manager - Once the device manager is opened, expand the Cameras Menu.
- Right-click the camera driver and click Disable device.
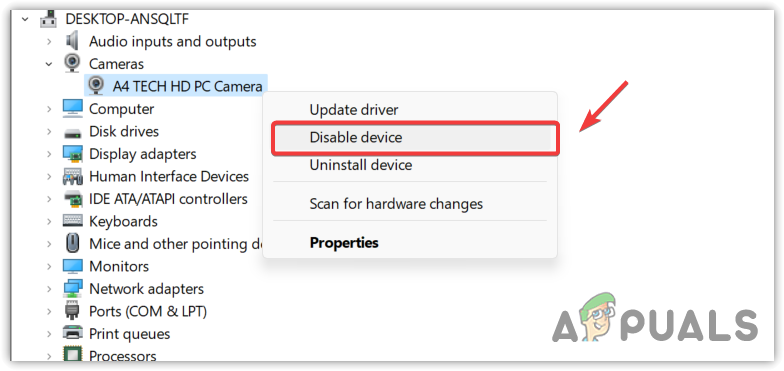
Disabling Camera driver - Click Yes to avoid the warning.
- Again right-click the driver, and this time, click Enable device.
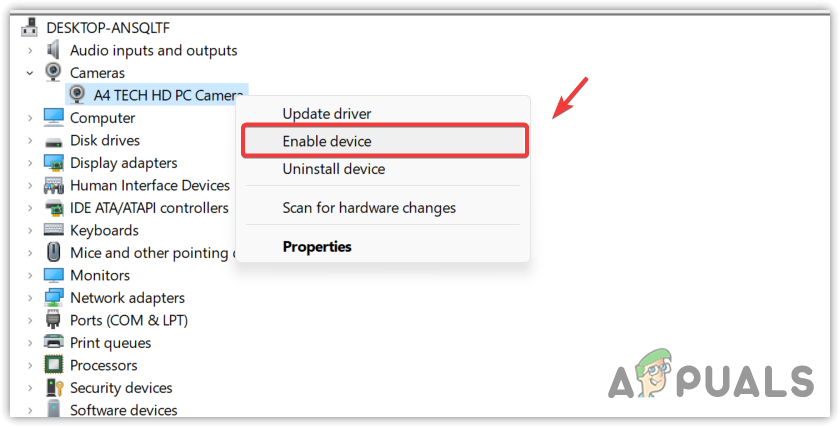
Enabling the Camera driver from the device manager
3. Switch to the UVC Driver
Most recent Cameras or Webcams support UVC (standard USB Video Class) driver, which is included in Windows. If the Camera driver is not working properly, switching to the UVC driver can work with your Camera. Hence, try using the UVC driver with the help of the following steps.
To use a UVC driver:
- Press the Windows key and type Device Manager.

Opening Device Manager - Open the device manager, and expand the Cameras or Imaging devices.
- Right-click the Camera driver and select Update driver.
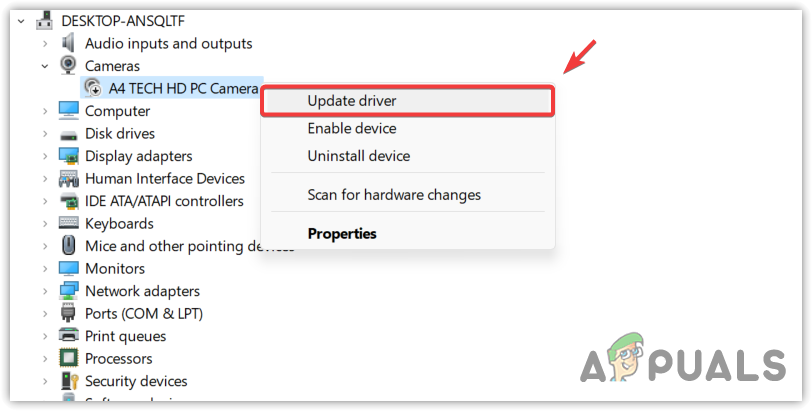
Updating the Camera driver from the device manager - Select Browse my computer for drivers, then Let me pick from a list of available drivers.

Browsing the Camera driver from the PC - Select USB Video Device and click Next to install.
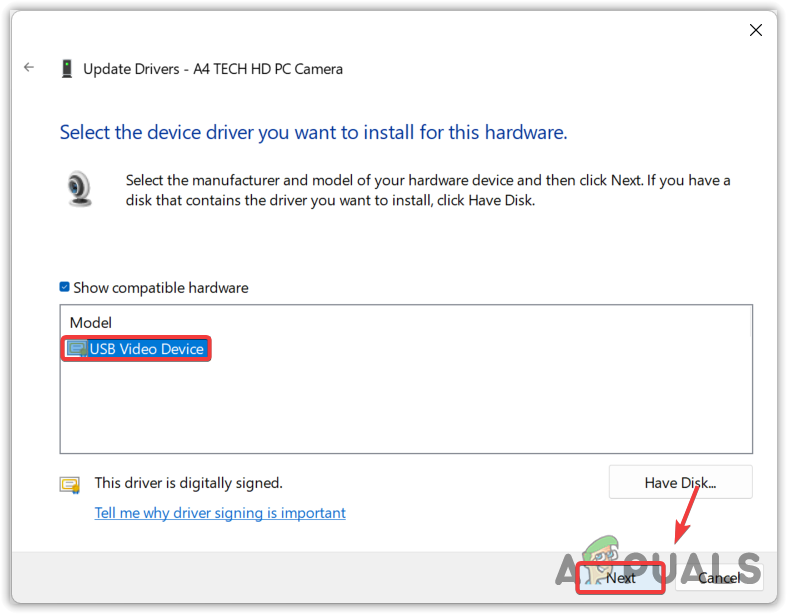
Installing UVC driver - Once done, open the camera and see if you still encounter the same error message.
4. Run Camera Troubleshooter
Camera troubleshooter will help you detect and fix the problem automatically. It will first check for drivers if they are properly installed or not; then, it will restart some essential services that are important for the Camera to work properly, such as Windows Camera Frame Server service.
After updating to the latest driver using the Camera troubleshooter, check whether the issue persists. If it is, then the troubleshooter will offer you to switch to a built-in Windows Camera driver. Just click Yes to install and see if the problem is resolved or not.
- Press the Windows key and type Troubleshooting Settings.
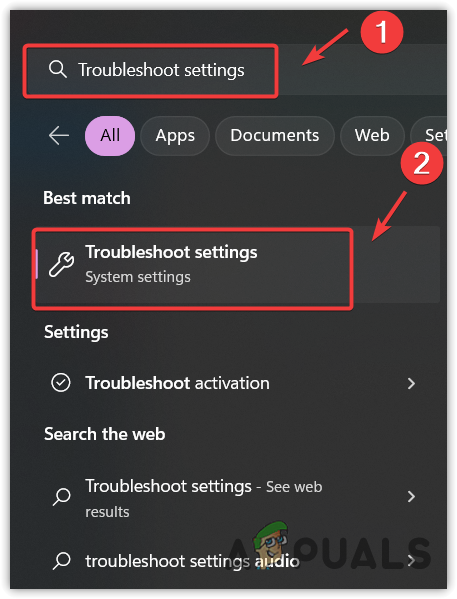
Navigating to Troubleshooting Settings - Open Troubleshooting Settings and click Other Troubleshooters.
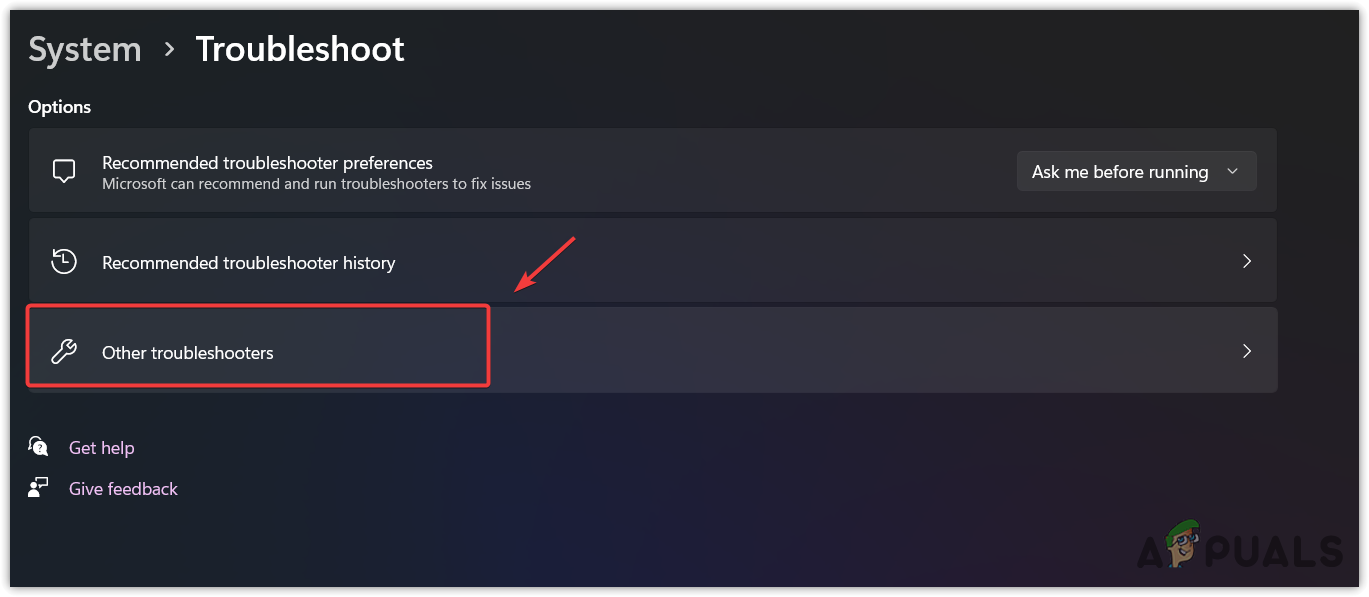
Navigating to Other Troubleshooting Settings - Find the Camera troubleshooter and run it.
- Since the Camera belongs to Microsoft Store apps, run Windows Store Apps troubleshooter as well.
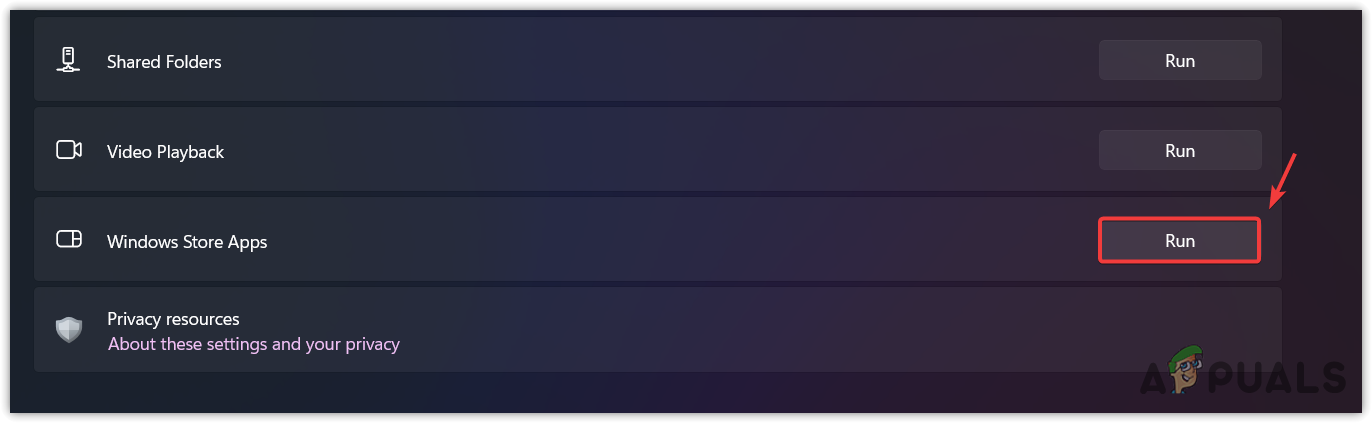
Running Windows Store Apps Troubleshooter - Once done, check if your problem is resolved or not.
5. Check your antivirus software
As the error says, the Camera can be blocked by your antivirus, which means if you use any third-party antivirus software, make sure it is not blocking the camera. To ensure that, turn off the antivirus temporarily to see whether the issue persists or not.
To disable the antivirus temporarily:
- Right-click the antivirus icon from your system tray.
- Hover over your antivirus name and click select Disable Permanently.
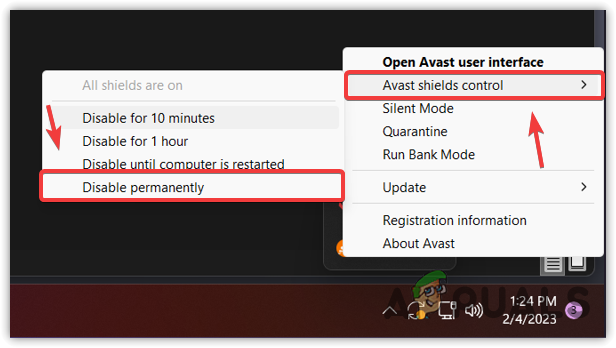
Disabling Third-Party Antivirus Software - Once done, check if your camera starts working again.
6. Repair or Reset the Camera App
Finally, you can try resetting or repairing the Camera App because none of the solutions have worked. Since we have tried all the possible solutions, it is possible that your Camera app has some corrupted cache files preventing it from detecting the Camera. To fix this, you will need to reset the camera, which will clear the cache files.
To do so:
- Go to Settings by pressing Win + I on your keyboard.
- Navigate to Apps the Installed Apps.

Navigating to Installed Apps - Search for Camera, then click Three dots and click Advanced Options.
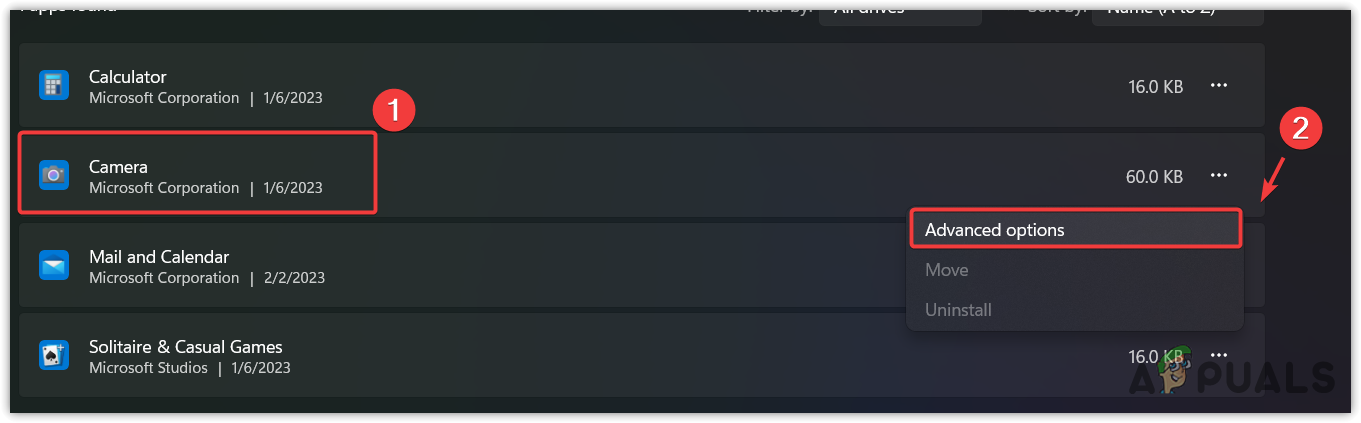
Opening Advanced Camera Settings - Scroll down to Reset and click Reset.
You can also repair your camera if you want. We recommend you reset it instead of repairing it. - Again, click Reset to confirm.

Resetting Camera app - Once done, check if the error is resolved.
7. Enable the Camera from Your Laptop Bios
You can disable or enable the integrated devices from the laptop bios settings, such as the Camera, Microphone, and Internal Speakers. If your camera is disabled from the bios settings, you will see this error.
To enable the Camera:
- Turn off your laptop if it’s on.
- Press the power button and wait for the manufacturer’s logo.
- Once you see the logo, press the F2, Delete, or the key, which takes you to the bios settings.
- Once you enter the bios settings, go to Advanced and make sure that the Enable Camera option is checked.
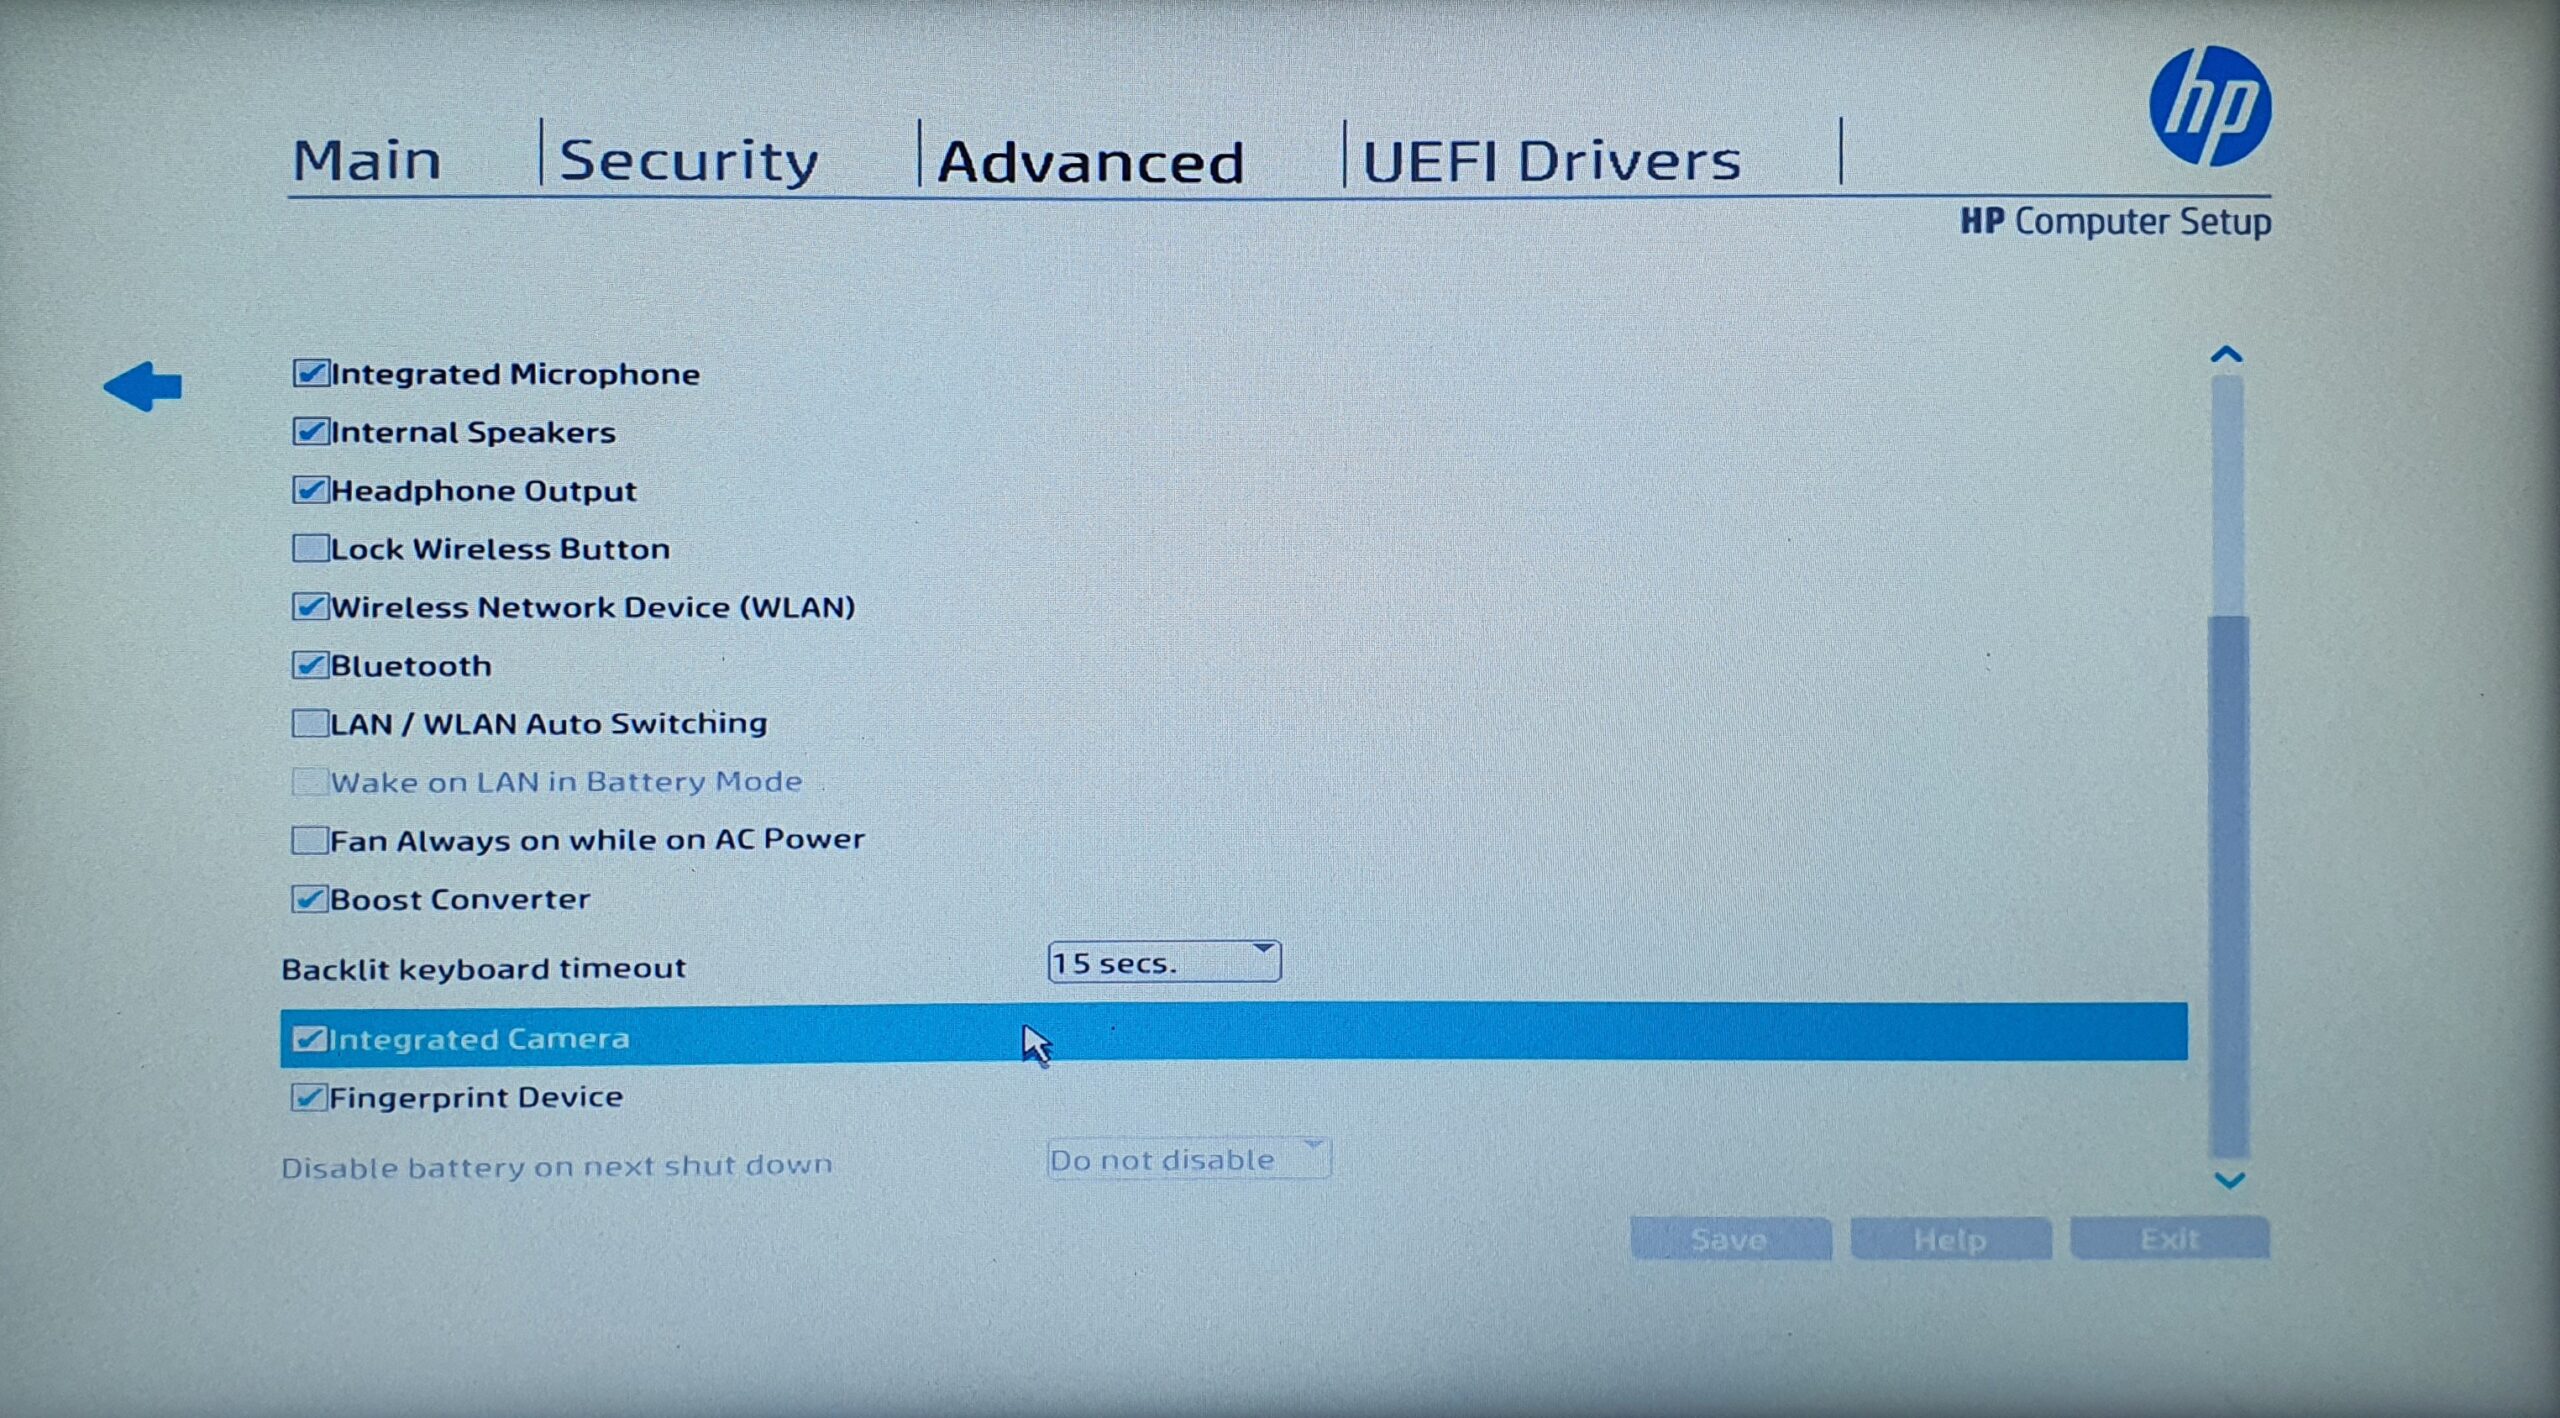
Enabling Integrated Camera from laptop bios settings
8. Enable the Camera from Windows Camera settings
In Windows 11, there is a separate section that detects the connected camera devices along with disabled camera devices. Hence, if your camera is disabled, it will be displayed under Disabled cameras. To do so, follow the steps:
- Press the Windows + I keys together to open the settings.
- Navigate to Bluetooth & devices from the left pane.
- Then, go to the Cameras and click Search for cameras.
- If your camera is disabled, enable it.
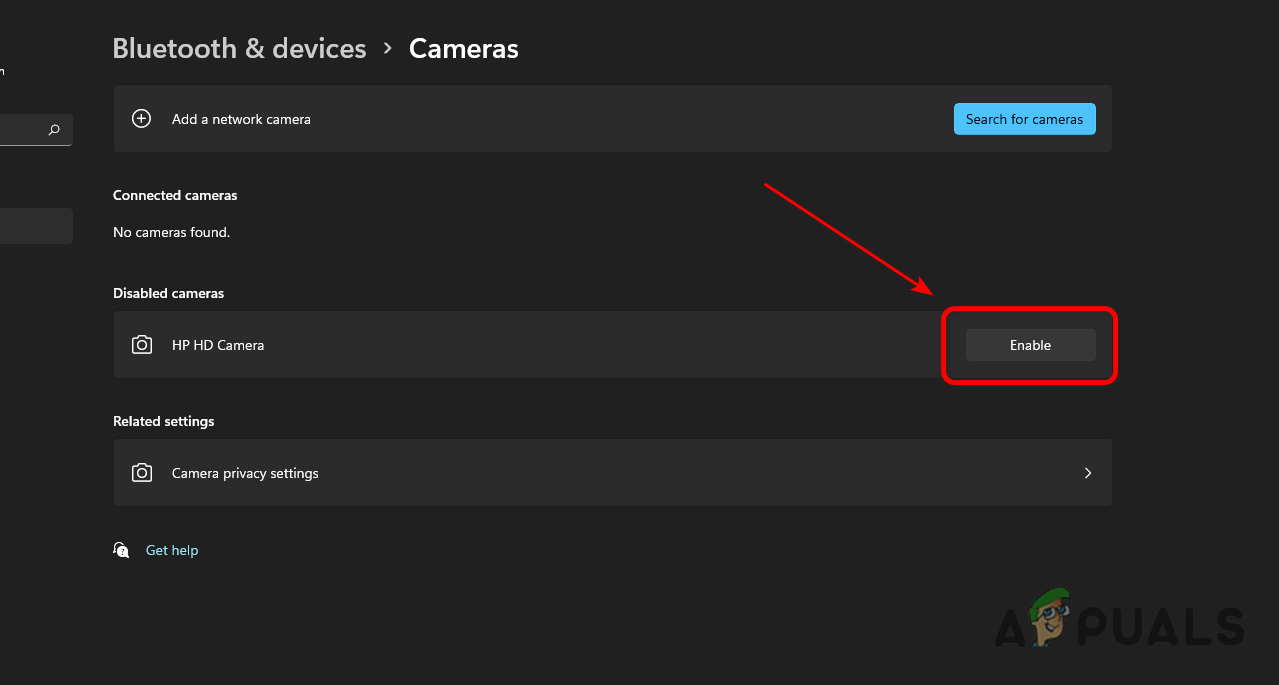
Enabling Camera from Windows Settings - Once done, the error should be fixed.
9. Give Access to Your Camera
If the camera app does not have access to your webcam, it will result in this error message. To fix this, you will have to give access to your webcam or camera. To do so, follow the steps:
- Press Windows Key + I to open the Windows Settings.
- Select Privacy & Security from the left pane and then scroll down to App Permissions.
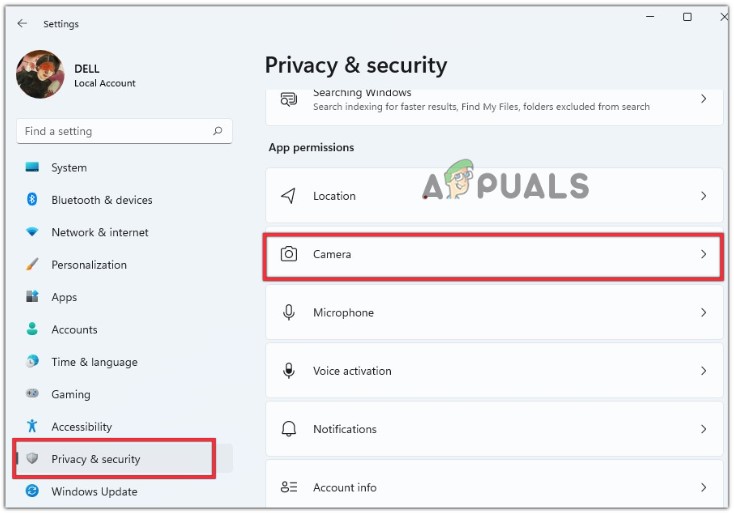
Check the Privacy of the Camera App - Click on Camera and Enable Camera Access and Camera from the Apps List.
- Also, enable the access of the Camera to Desktop Apps.
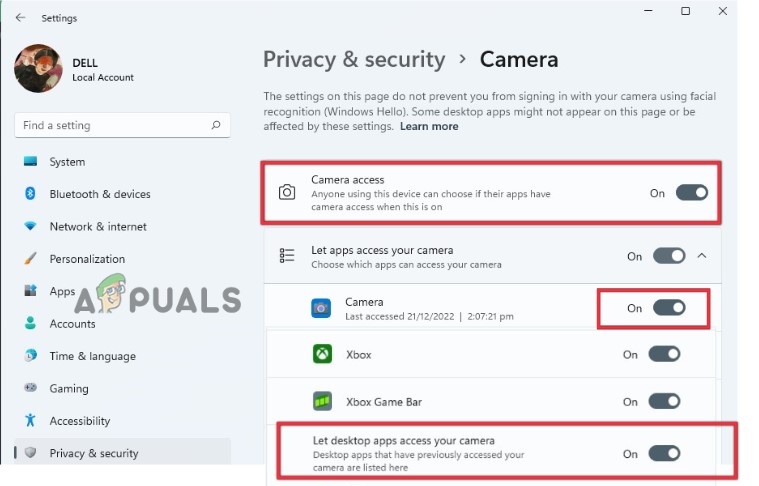
Give Access to the Camera App - Relaunch the camera, and check whether it fixes the error.
10. Check for a hardware problem
If the issue still persists, it can be due to a hardware problem with your camera. If you have a laptop and it’s under warranty, we recommend you claim your warranty. Otherwise, take your laptop to a repair shop.
If you use an external camera, try plugging it into another device or USB port. If the error appears, it means the camera has a hardware problem. Consider buying a new webcam.
We can't find your camera Error Code 0xA00F4244 - FAQs
This error mostly occurs on laptops because users occasionally press the key, which disconnects the Camera from the laptop. Since most recent laptops contain the Camera key, make sure that the Camera is not hardware disabled.
There is no direct explanation, but it mostly says when the Camera driver is not installed or the laptop has hardware damage, preventing it from connecting to the Camera.
According to Lenovo Laptop users, this error can easily be fixed by pressing the Camera lock key, which you have pressed by mistake. As a result, you have encountered this error. To enable the Camera, you will have to press the key or a switch button with the Camera Icon.


