No Brightness Option in Windows 11? Try these fixes
Some users on Windows 11 are experiencing an issue with the brightness of their screen. As it turns out, they are missing an option to adjust the brightness of their screen on the Windows Settings app. In addition to that, no option is available in the action center found on the taskbar as well. This can be due to a few reasons which include wrong drivers installed for the monitor while in some cases, the problem can be due to the Teamviewer application installed on their system. This usually happens when you have upgraded to Windows 11 instead of performing a clean install. Regardless of the scenario, we will be showing you how to resolve the problem in question quite easily in this article.

As it turns out, Windows 11 has been released officially for quite a few days now to the general public. While many people have already tried it in the Insiders Preview, more users are now getting on board and giving the new operating system a try. Being able to adjust the brightness is a great option for certain while most of us are just fine with the default brightness of the screen. If you are missing the brightness option on your computer, it can be due to a few reasons as we mentioned above. Therefore, let us first look at the possible causes in more detail in order to establish a better understanding of the issue. So, let us get into it without any further delay.
- Teamviewer — In some cases, the problem can arise due to the TeamViewer application installed on your computer. This happens when Teamviewer handles the drivers for your monitor which results in the option disappearing. To resolve this, you will have to uninstall Teamviewer from your computer.
- Monitor Drivers — Another reason that the issue can appear as we have mentioned is due to the monitor drivers that are installed on your computer. In some cases, the drivers may be outdated or disabled from the Device Manager in which case you will have to either reinstall the drivers on your system or simply enable them to resolve the issue.
Now that we have gone through the possible causes of the problem in question, let us get started and show you the different ways you can actually resolve the issue. With that said, let us dive right into it without further ado.
Uninstall Teamviewer (if applicable)
As it turns out, the first thing that you should do when you encounter the problem mentioned above is to get rid of the Teamviewer application on your computer. The problem appears when your monitor driver is handled by the Teamviewer application due to its functionality.
If this case is applicable, you will have to simply uninstall Teamviewer from your computer to resolve the problem. To do this, follow the instructions given down below:
- First of all, open up the Control Panel by searching for it in the Start Menu.
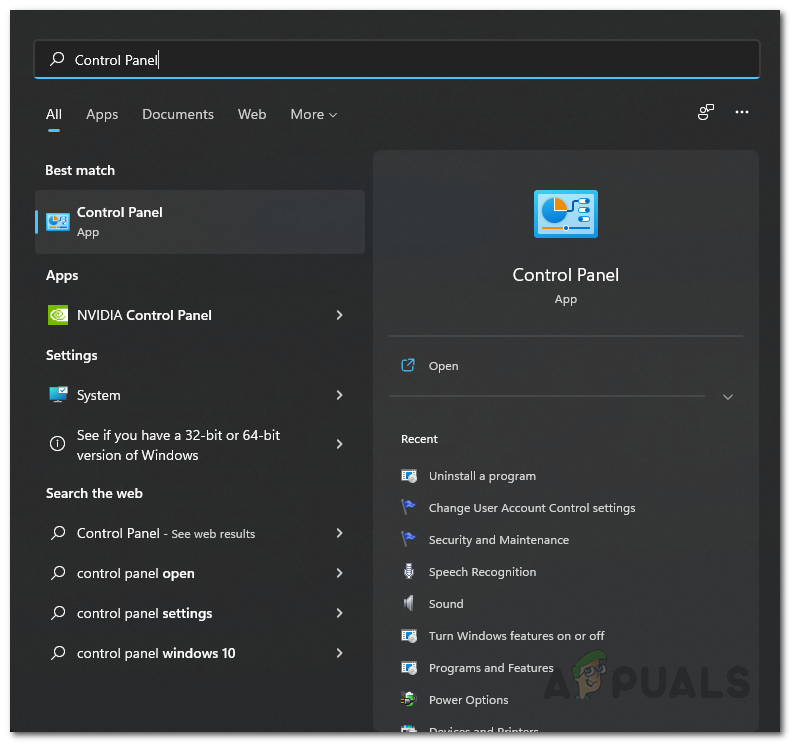
Opening up Control Panel - On the Control Panel window, click on the Uninstall a program option under Programs.
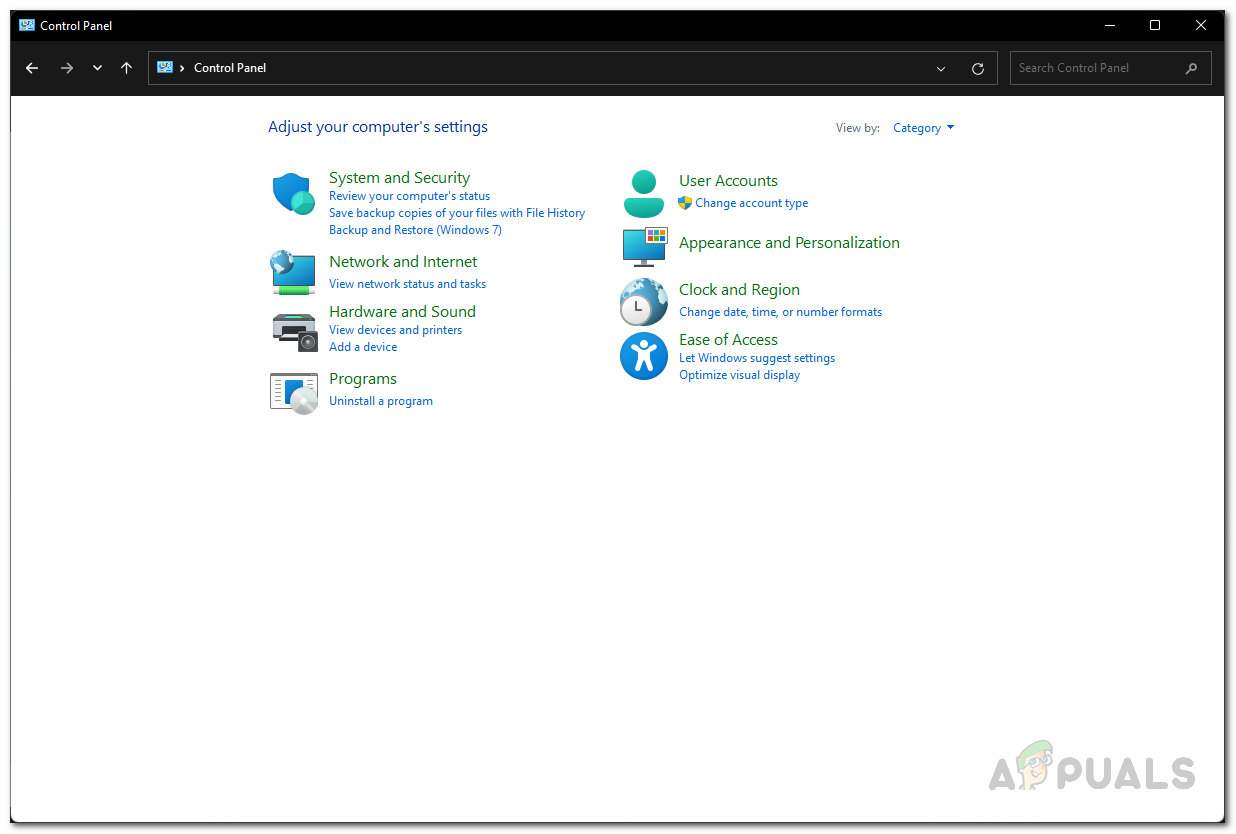
Control Panel - This will take you to a list of applications that are currently installed on your computer.
- From the list of applications, look for Teamviewer and then double-click on it.
- Alternatively, you can select Teamviewer by clicking it and then click the Uninstall option given at the top.
- Once you uninstalled Teamviewer, go ahead and restart your computer. After your PC boots up, see if the problem is still there.
Enable Monitor Driver
Another reason that you might be missing out on the brightness option on your Windows 11 machine can be due to the fact the monitor drivers on your system are disabled.
If this case is applicable, you will have to simply enable the driver again through the Device Manager window in order to resolve the problem. Doing this is pretty easy and you can follow the instructions down below to do so:
- First of all, open up the Device Manager by searching for it in the Start Menu.
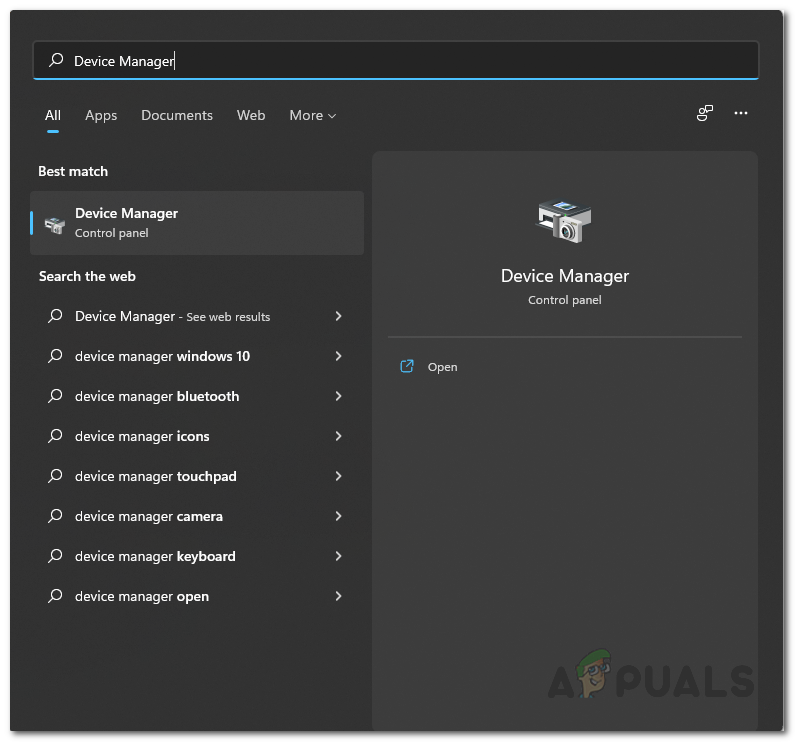
Opening up Device Manager - Then, in the Device Manager window, expand the Monitors list.
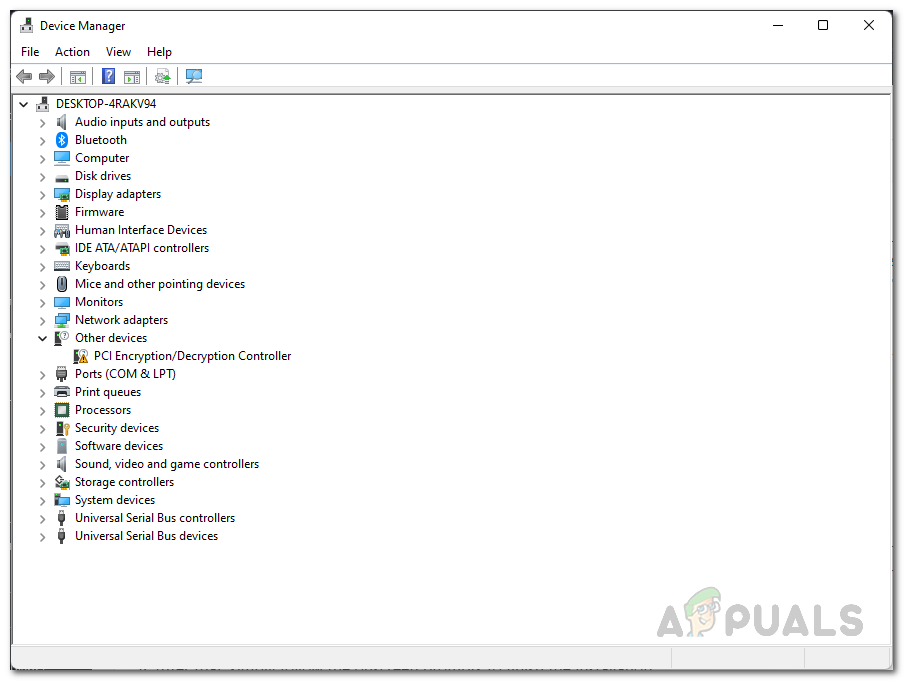
Device Manager - From the list, right-click on your monitor driver and click the Enable from the drop-down menu.
Monitor Driver - Once you have done that, go ahead and check if the problem is resolved.
Update Generic Monitor Driver
As it turns out, one of the reasons for the brightness option missing on your system is the presence of outdated monitor drivers. This driver handles the monitor that you are using and if the drivers are not up to date, you will be missing certain display features.
If this case is applicable, you will have to update the drivers through the Device Manager window to resolve the problem in question. Follow the instructions that are given down below to do this:
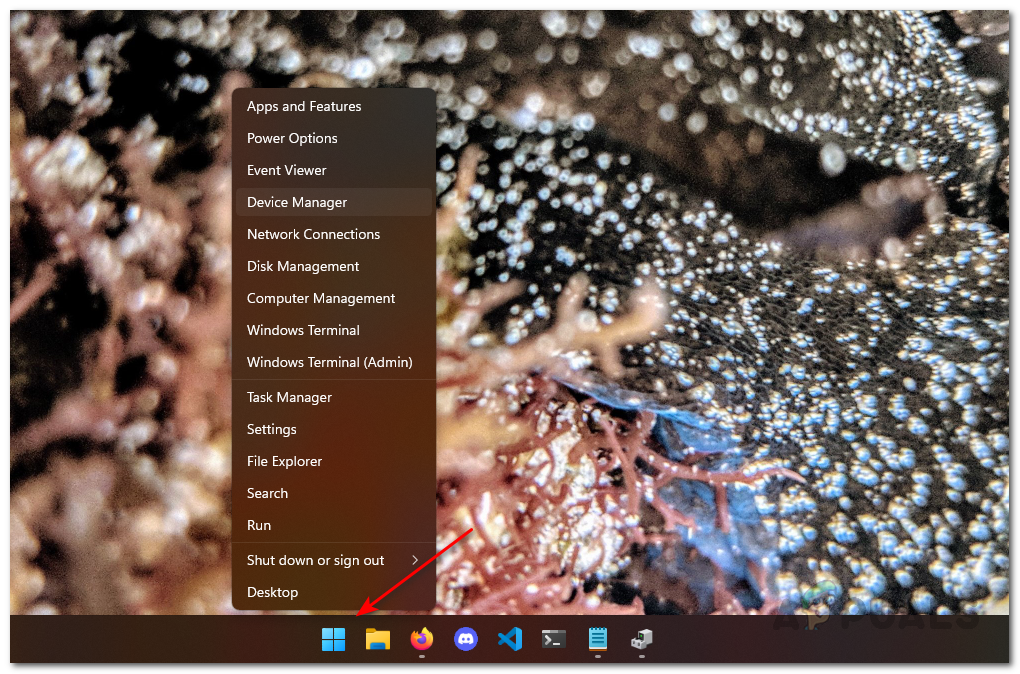
- First of all, right-click on the Windows icon on your taskbar and choose Device Manager from the list that appears to open up Device Manager.
Opening up Device Manager - Then, on the Device Manager window, expand the Monitors list.
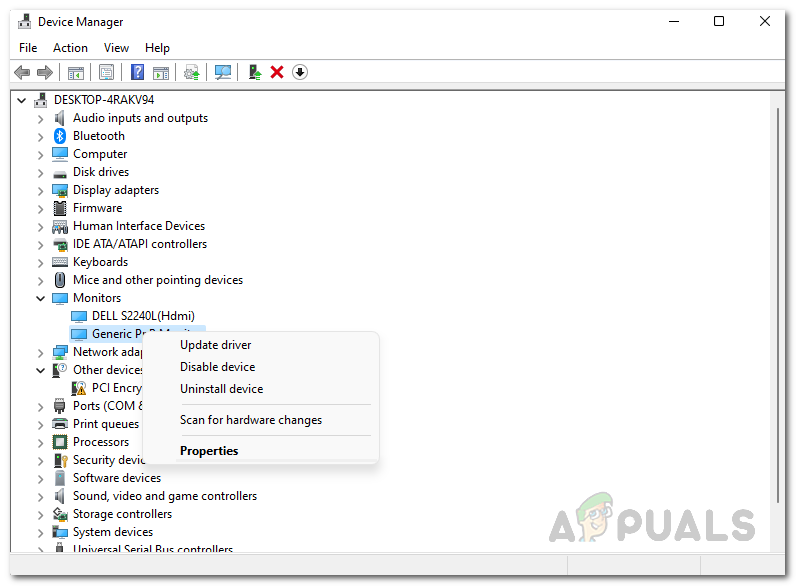
Device Manager - Right-click on your monitor driver and click Update driver from the drop-down menu.
Monitor Driver - Then, click on the Browse my computer for drivers option.
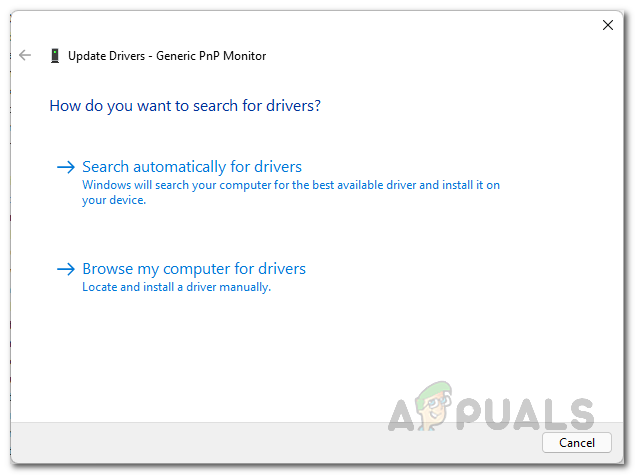
Updating Monitor Driver - On the next screen, click the Let me pick from a list of available drivers on my computer option.
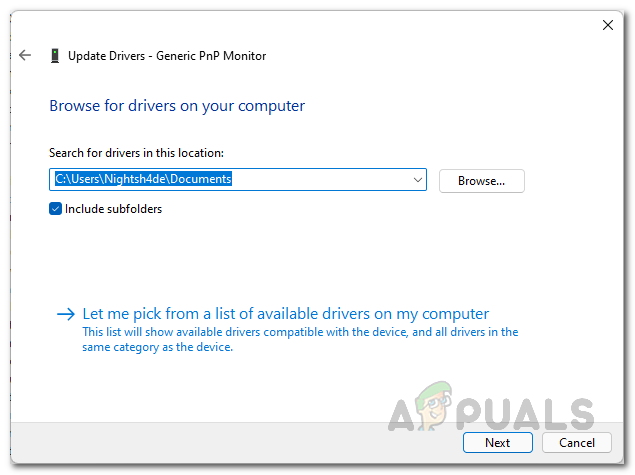
Searching for Monitor Driver - Click on the Generic PnP Monitor option and then click Next.
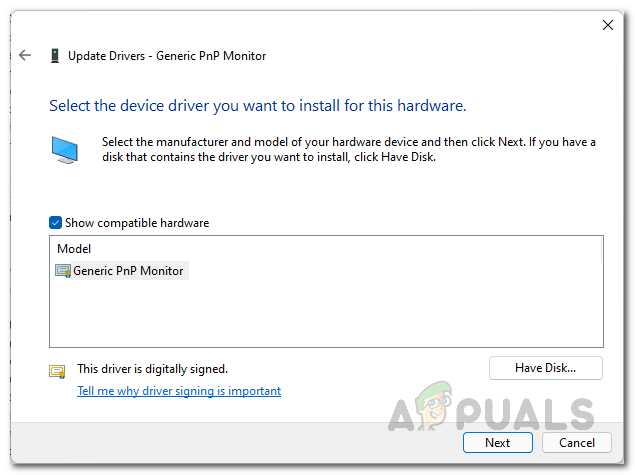
Choosing Monitor Driver - Wait for Windows to install the driver on your computer. After that, click the Close button.
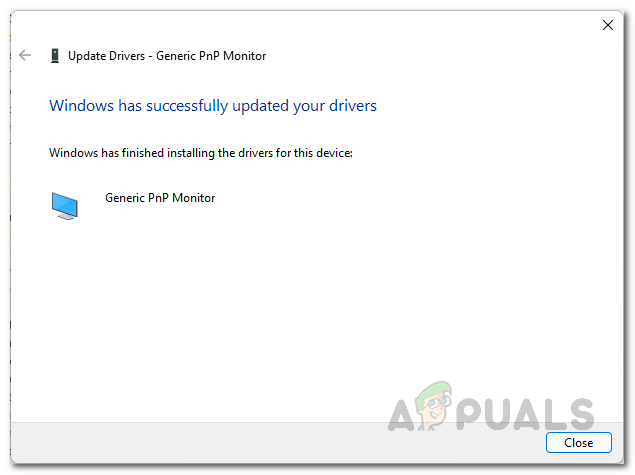
Updated Monitor Driver - Once you have done that, go ahead and see if the issue is still there.
Reinstall Generic PnP Monitor Driver
Finally, if none of the above methods have worked out for you, it is probably due to the fact that the Generic PnP monitor driver on your computer is damaged or corrupted.
In such a scenario, you will have to simply uninstall the driver while also deleting the driver files from your computer and then let Windows reinstall it on your computer. Once you have done that, the problem should go away. To do this, follow the instructions given down below:
- First of all, open up the Device Manager by searching for it in the Start Menu.
Opening up Device Manager - Expand the Monitors list on the Device Manager window.
Device Manager - Right-click on your Generic PnP Manager driver and choose Uninstall device from the drop-down menu.
Monitor Driver - Once you have done that, go ahead and click the Scan for hardware changes icon at the top which has a magnifier in it.
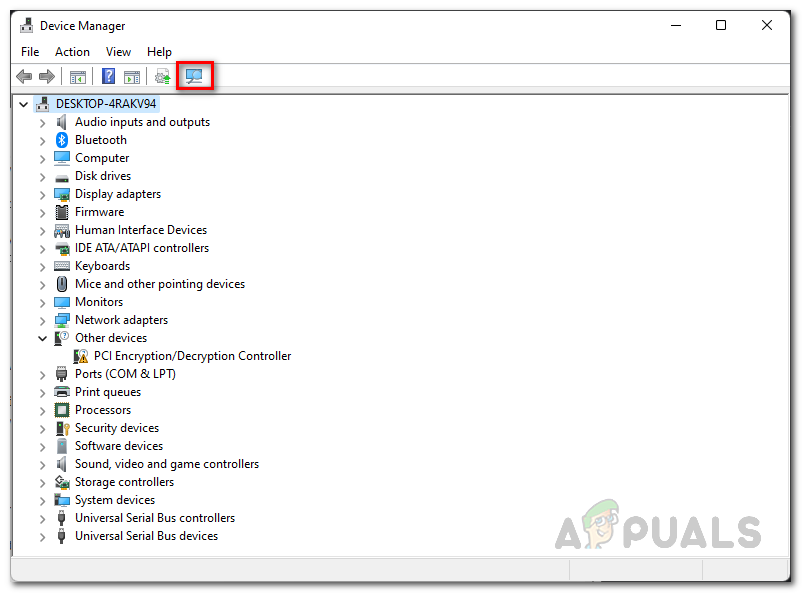
Scanning for Hardware Changes - This may take a minute or two so make sure to wait for it.
- Once you have done that, go ahead and see if the problem has been resolved.


