(Fix) NFS: Unbound Not Launching and Crashing at Startup
Need For Speed: Unbound is a graphically demanding game that requires a substantial computer to run it smoothly. If you encounter launch issues, it may be due to a corrupt DX12 file in the shader cache folder, which contains pre-compiled shaders optimized for use with Directx12.
Here are a number of methods that’ll help you resolve the NFS: Unbound unable to launch problem for you.
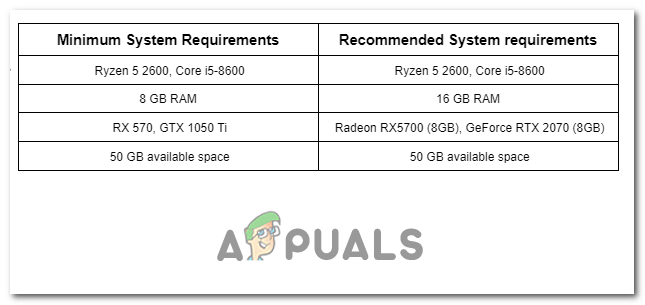
1. Check System requirements
To troubleshoot launch issues, it’s important to ensure that your computer meets the minimum system requirements. If your computer doesn’t meet the requirements, the game may fail to launch.
2. Delete DX12 file
If your computer does meet the requirements and you’re still experiencing issues, it’s possible that the DX12 file in the shader cache folder has become corrupt. To fix this, you can try deleting the contents of the shader cache folder and restarting the game. This will allow the game to recompile the necessary shaders.
- Open the game installation folder. The default installation paths are:
EA play: C:\Program Files\Electronic Arts
Origin Games: C:\Program Files (x86)\Origin Games
- Navigate to the “shader cache” folder located in the NFS root directory.
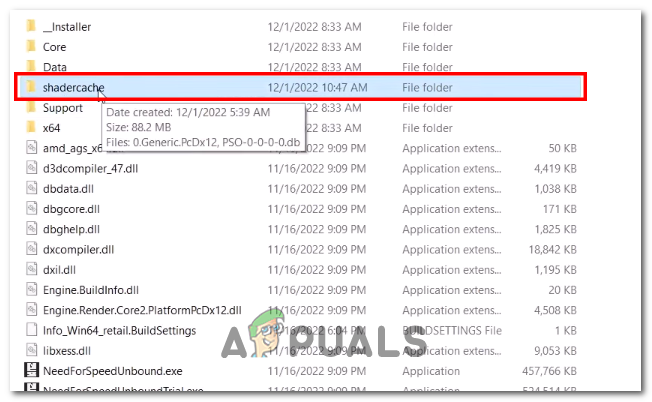
Opening the “shader cache” folder inside of the NFS root directory - Create a backup of the “0.Generic.PcDx12” file by copying and pasting it to another location.
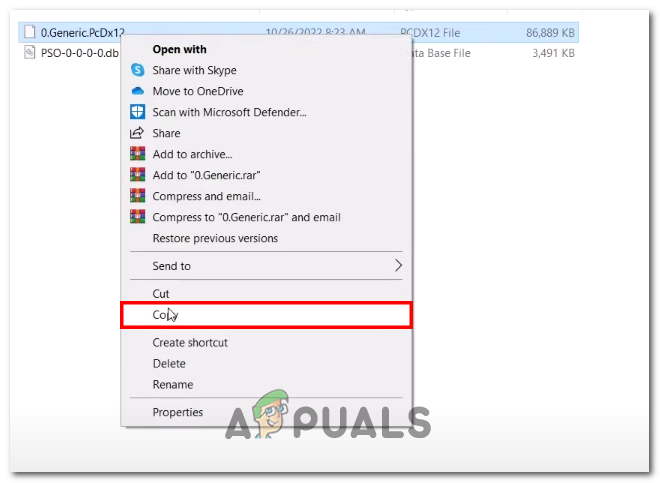
Creating a backup of Dx12 files of NFS just in case - Delete the “0.Generic.PcDx12” file from the shader cache folder.
- Open the Documents folder and navigate to the Need For Speed (TM) Unbound > Cache folder.
- Create a backup of the DX12 file by copying and pasting it to another location.
- Delete the DX12 file from the cache folder.
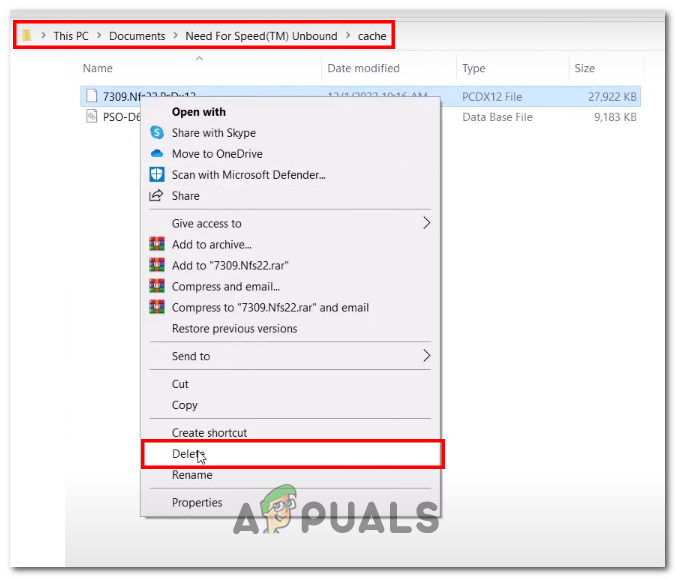
Deleting the Dx12 file inside of the NFS folder found in the documents folder - Finally, launch the game.
Launching NFS unbound via the origin game launcher
3. Allow the game executable file to your antivirus
Adding an exception for the game’s executable file in your antivirus software can help resolve issues with the game failing to launch due to antivirus software mistakenly flagging it as malware. Follow these steps to add an exception for the game executable file in your antivirus software:
Game executables can sometimes be mistakenly flagged as malware or viruses by antivirus software, leading to blocking or quarantine. Here are the steps to add an exception for a game executable in your antivirus software:
- Press the “Windows + I” keys simultaneously to open the settings application.
- Navigate to Privacy and security > Update and security
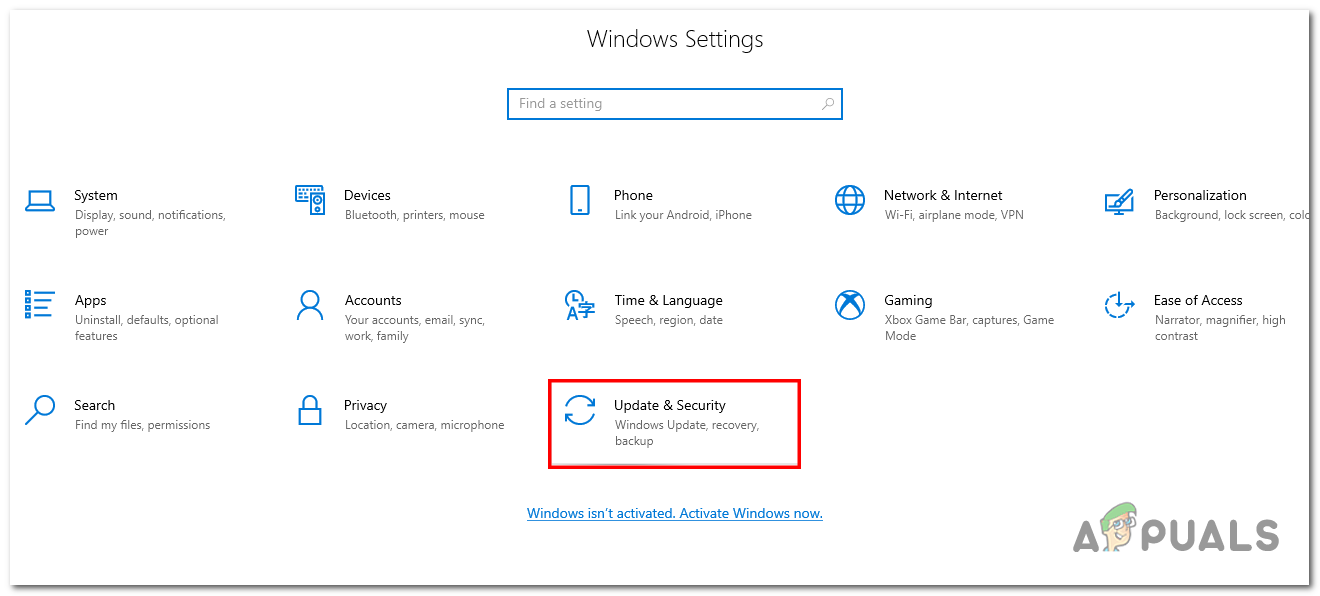
Opening the Update and Security via the windows settings application - In the left panel, click on the “Windows Security” menu.
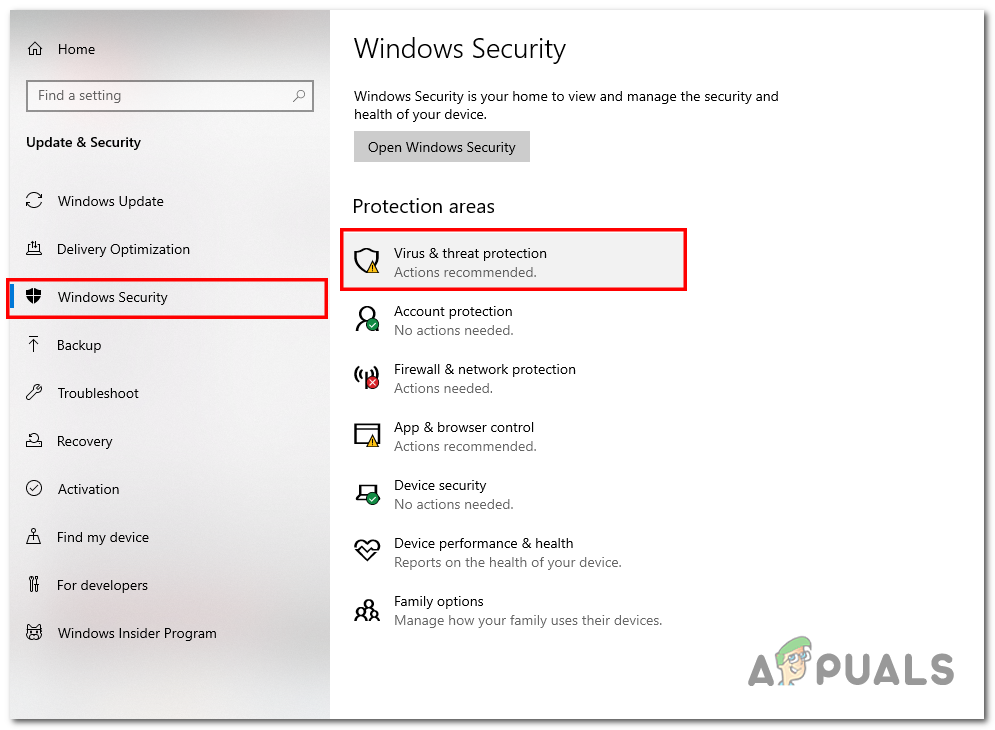
Opening Windows security via the settings - Navigate to Virus and threat protection > Manage Ransomware Protection and Click on “Allow an app through controlled folder access”
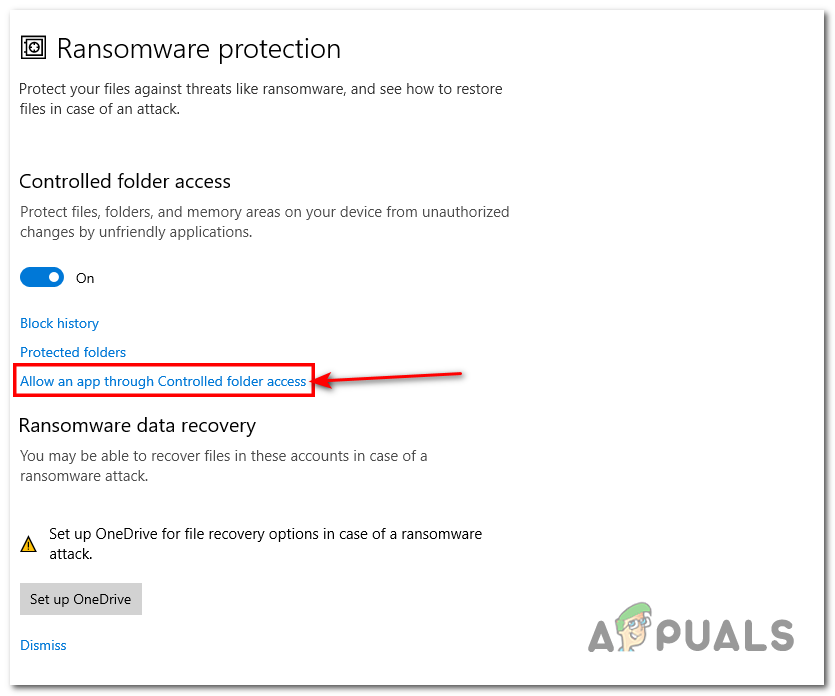
Navigating to the Ransomware protection settings and clicking on the “Allow an app through controlled folder access” - Click on Yes to allow and click on the “Add an allowed app” button.
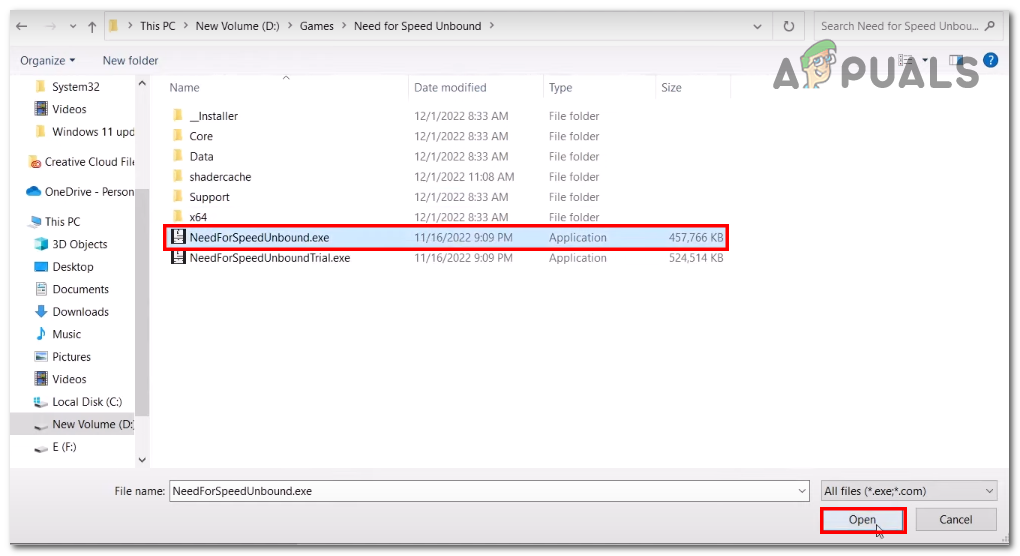
- Click on the “Browse All apps” option and navigate to the NFS: Unbound Installation folder. The default installation paths are:
EA play: C:\Program Files\Electronic Arts
Origin Games: C:\Program Files (x86)\Origin Games
- Select the “NeedForSpeedUnbound.exe” application file and click on the Open button.
Selecting the NFS: Unbound application file - Similarly, repeat the procedure and add the “NeedForSpeedUnboundTrial.exe” application file.
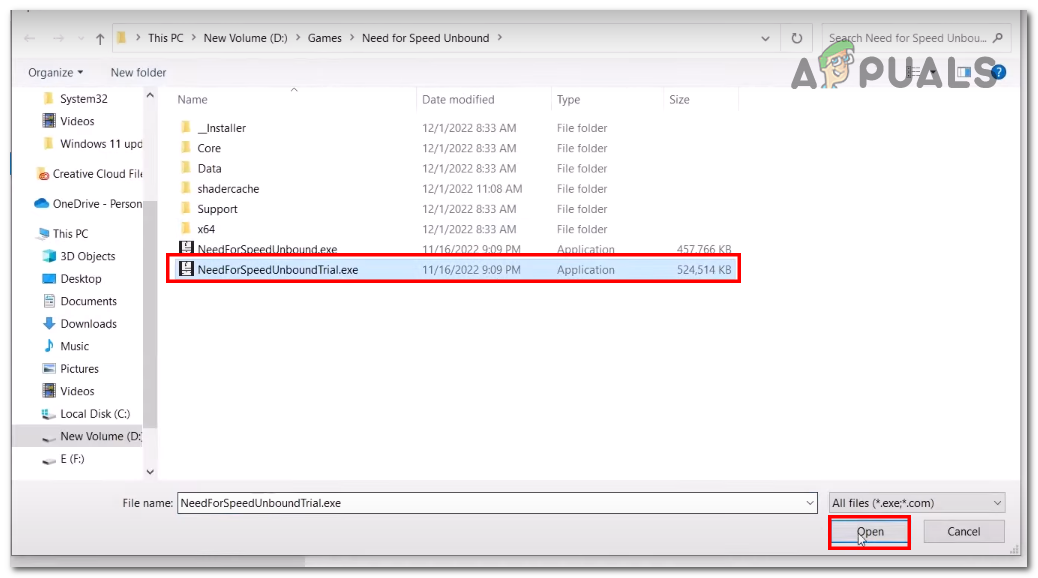
Selecting the NFS: unbound trial application file
5. Perform a clean installation of the Display Drivers
A clean installation of display drivers involves completely removing all traces of a graphics driver from your system and installing a fresh set of display drivers. This process can improve system performance and resolve issues related to outdated or corrupted drivers.
Display Driver Uninstaller (DDU) is a utility tool that can effectively remove all traces of a graphics driver from your system, including empty registry entries and files, ensuring a clean slate for a new installation. Follow these steps to perform a clean installation of display drivers using DDU:
5.1 Uninstalling existing display drivers
Follow these steps to uninstall the existing display driver:
- Click here to download a Display driver uninstaller (DDU).
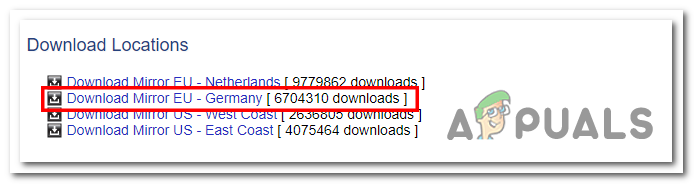
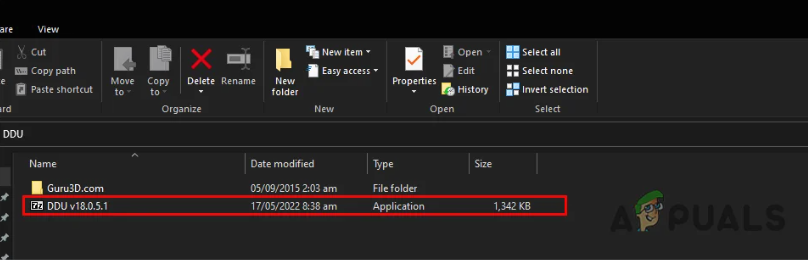
Downloading Display driver uninstalled (DDU) - Once you have the file downloaded, extract the contents of the archive to a location on your hard drive, such as the desktop.
- Now shut down your computer and then boot it in Safe Mode by repeatedly pressing the F8 key during startup, This is to prevent windows from loading the current graphics driver.
- Locate the DDU executable file in the folder where you extracted the contents of the archive, and then double-click on the Displaydriveruninstaller.exe application file to launch the program.
Launching the Display driver uninstaller - Close the popup window and on the left side of the application’s interface, Select the type and manufacturer of hardware as shown in the image below.
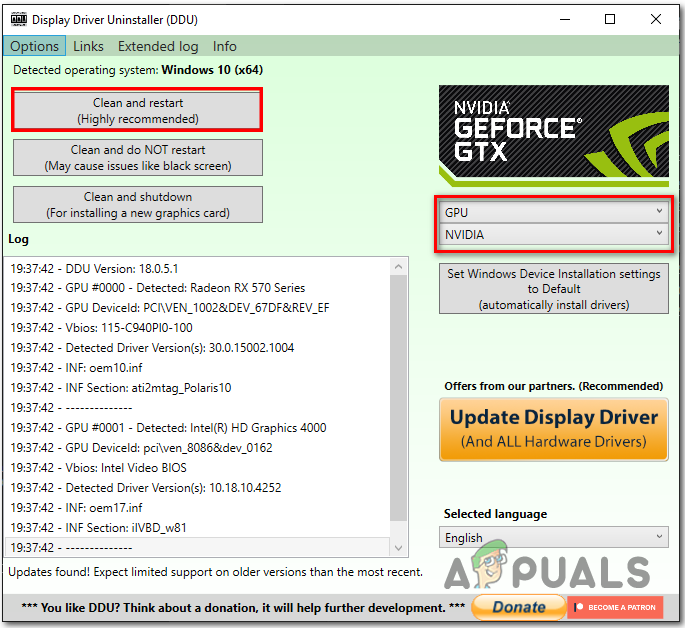
Selecting the vendor and type of manufacturer in the DDU - Now, Click on the “Clean and restart” button.
- Once done, Restart your computer.
5.2 Download and install display drivers
To download and install the latest version of display drivers for your computer, visit your graphic card’s manufacturer’s website, as an example here is how to download and install the display drivers for your Nvidia Graphics card:
- Click here to visit Nvidia’s download catalogue website.
- Under the Manual driver search section, Specify your graphics card model i.e GTX 1050ti.
- Click on the Start search button.
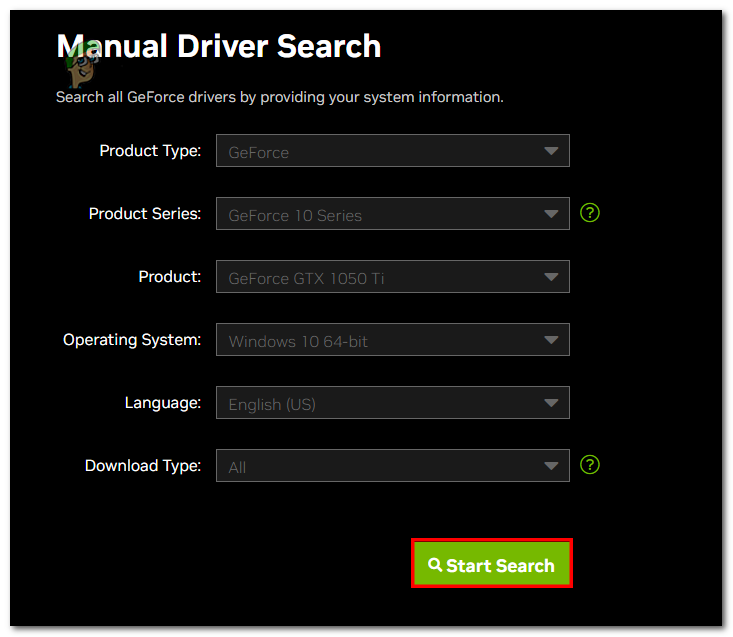
Manually selecting your graphics card model on Nvidia’s download catalogue - Scroll down, and click on the “Download Now” button next to the GeForce Game Ready Driver as shown in the image below.
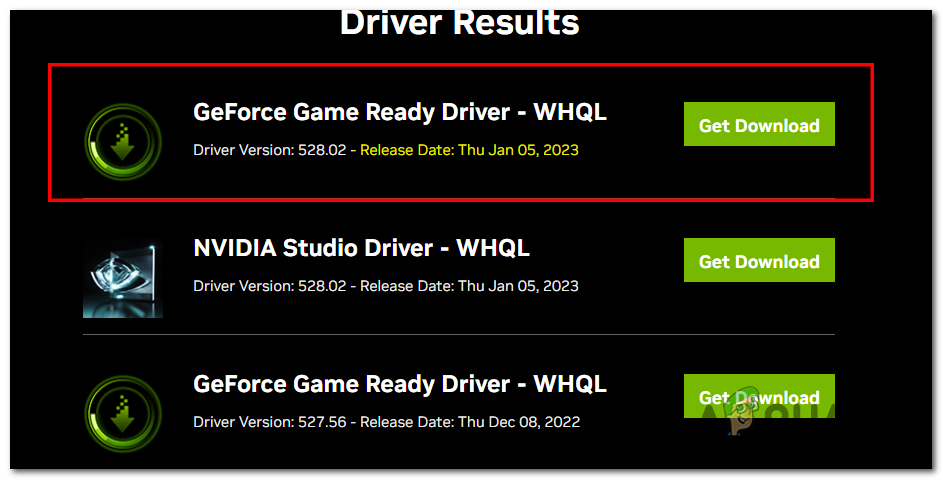
Downloading GeForce Game-ready drivers - Open the downloaded file and click on “Agree and continue”.
- Click on the Custom (Advanced) radio button, and click on the Next button.
- Click on the checkbox next to Perform a clean installation text and click on the next button.
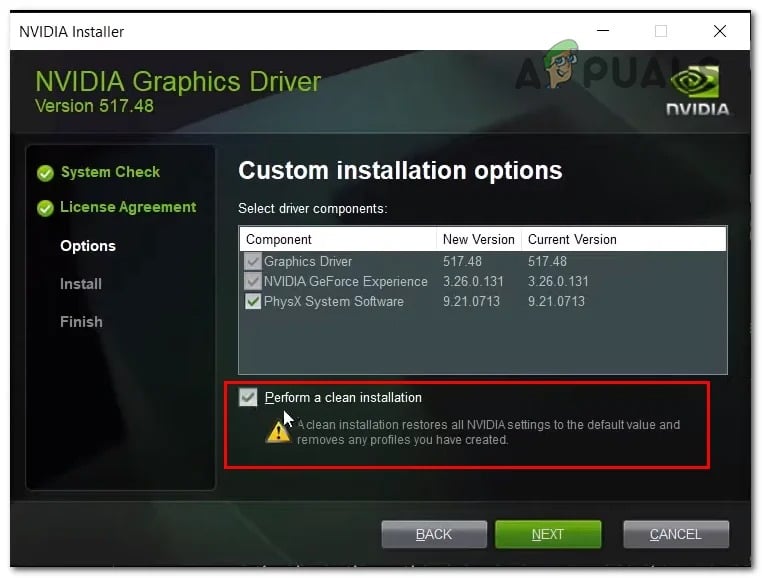
Checking the perform clean installation box in the Nvidia driver installer - After that, Continue with the straightforward installation process.
- Once done, Restart your computer.
After your computer has successfully restarted, try launching the game. If the problem presumes continue to the next step.
6. Verify the game files
Repairing or verifying game files is an essential troubleshooting technique that detects any missing or corrupted files in a game’s installation. This technique includes checking for faulty textures, models, sounds, and other game assets. It can also check for the absence of or corruption in configuration files, which can lead to issues in the game’s performance or stability. Follow these steps to verify Need for Speed: Unbound on Origin:
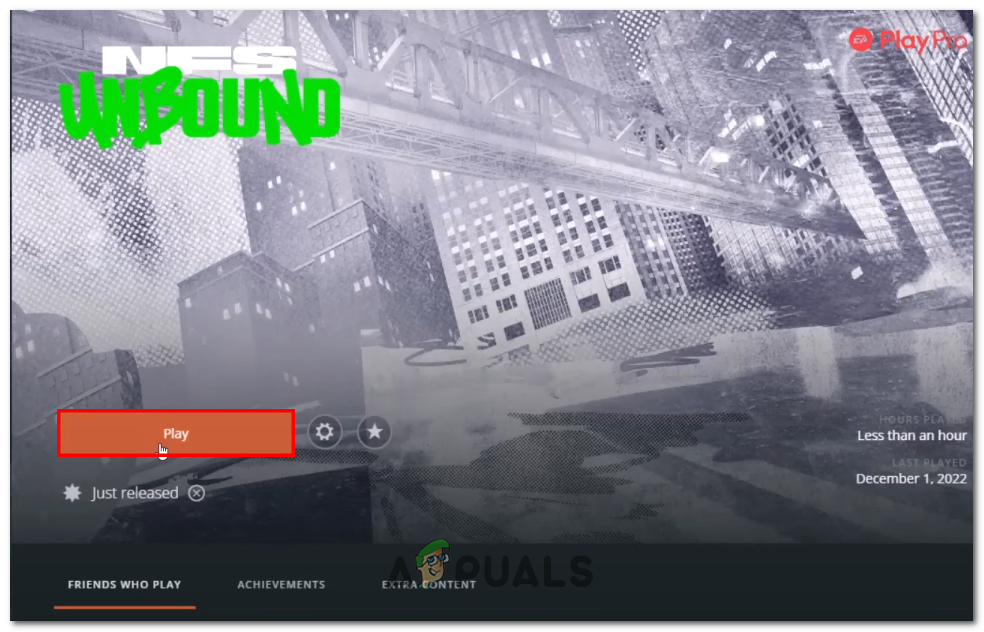
- Open the Origin game launcher.
- Navigate to libraries and open the Need for Speed: unbound launch screen.
- Click on the settings gear icon and click on the Repair option.
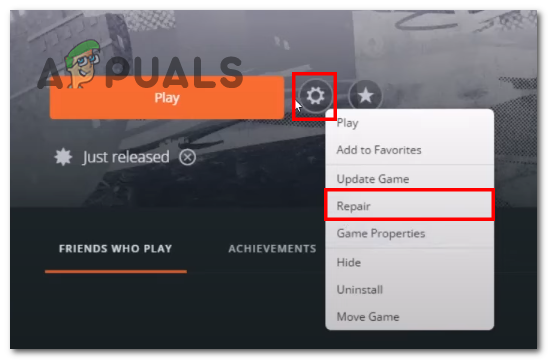
Repairing game files of need for speed via the origin game launcher - Wait for a while, Try launching the game once finished processing.
7. Run the game on a Dedicated Graphics card
When running the game with a dedicated graphics card the game’s graphics processing is handled by the dedicated graphics card rather than the integrated graphics processing unit (GPU) which is optimal, This can result in improved performance and higher frame rates, as dedicated graphics cards are typically more powerful and optimized for gaming than integrated GPUs. Here are the steps to run the game on a dedicated graphic card:
- Press the Windows key on your keyboard to open the windows start menu and in the search bar type “Graphics settings”.
- Click on the Browse button.
- Navigate to the Need For Speed: Unbound installation folder. Here is the default path to the installation folder for your ease
Paste the following into your address bar
EA play: C:\Program Files\Electronic Arts
Origin Games: C:\Program Files (x86)\Origin Games
- Select the NeedForSpeedUnbound.exe application file and click on the “Add” button.
- Similarly, add the NeedForSpeedUnboundTrial.exe application file to the list.
- Now, In the list of games, Locate NFS Unbound Click on it, and click on the Options button as shown in the image below.
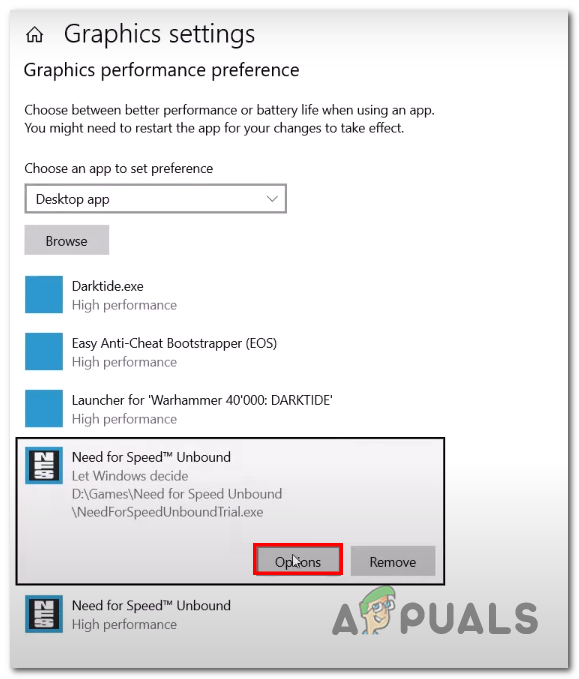
Adding NFS unbound to the graphic performance preference list and opening the options menu - Select your Dedicated Graphics card e.g Gtx 1050ti.
- Save the changes, and try launching the game.
9. Perform a clean boot
Clean boot is a troubleshooting method that allows you to start your computer with a minimal set of background services or drivers thus easing the process of identifying if an application or software running in the background is causing a software conflict. Follow these steps to perform a clean boot:
- Press the Windows key + R to open the Run dialogue box.
- Type MSConfig and press Enter.
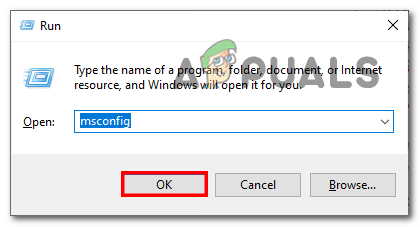
Opening the MSConfig application via the run dialogue box - In the System Configuration window, switch to the “Services” tab.
- Check the box for “Hide all Microsoft services” and then click “Disable all.”
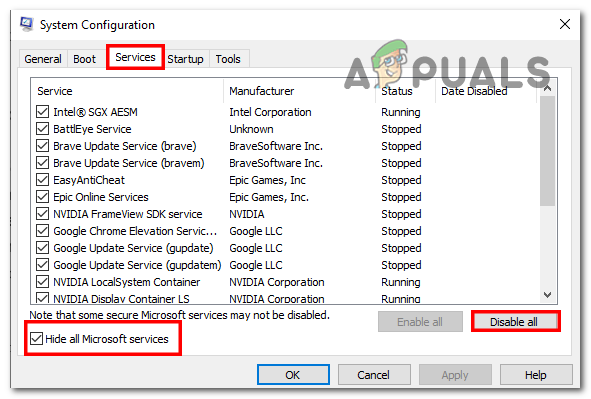
Hiding all Microsoft services and disabling background services to perform a clean boot - Switch to the “Startup” tab and click “Open Task Manager.”
- In the Task Manager window, select each startup item and click “Disable.”
- Close the Task Manager and click “OK” in the System Configuration window.
- Restart your computer.


