How to Fix Netwsw00.sys BSOD on Windows?
When ‘Netwsw00.sys’ crashes, a blue screen of death appears, resulting in the loss of all work and forcing the device to restart. The Netwsw00.sys is a driver for the Intel Wireless WiFi Link Adapter, which controls all the wireless connections on the device. This error occurs mostly due to corrupted network drivers.

Moreover, misconfigured network settings can also cause this problem. In this article, we will solve this problem using different methods.
1. Update Network Driver
Outdated network drivers can cause problems in running properly. Updating drivers to the latest version will provide a newer version with fixed bugs from previous updates, which can help in solving this problem.
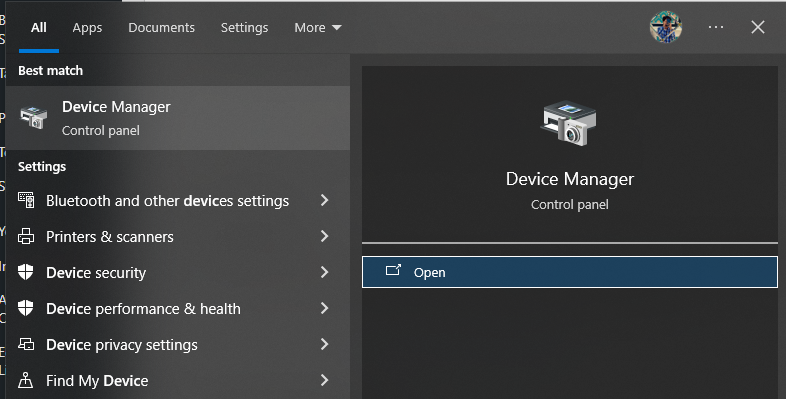
- Search for Device Manager in the search box and open it.

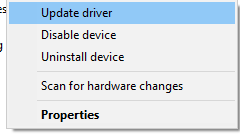
- Look for the network driver, right-click on it, and hit the Update driver button.
2. Reinstall Network Driver
Corrupted network drivers can cause problems. Reinstalling the driver will install a fresh version, which can help in solving this problem.
- Search for Device Manager in the search box and open it.
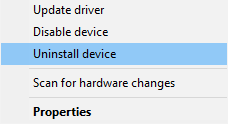
- Look for the network driver, right-click on it, and hit the Uninstall driver button.
- Restart your PC, and Windows will automatically install the drivers.
3. Reset Network Configurations
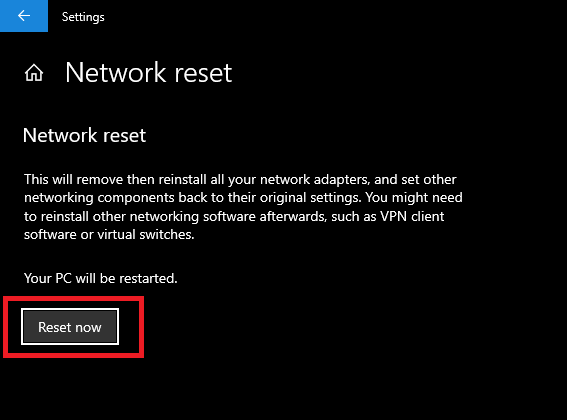
Network settings might be misconfigured and cause problems. Resetting these will restore the configuration to default, which can help in solving this issue.
Note: Save your work before doing this, as the device will require a restart after resetting the network.
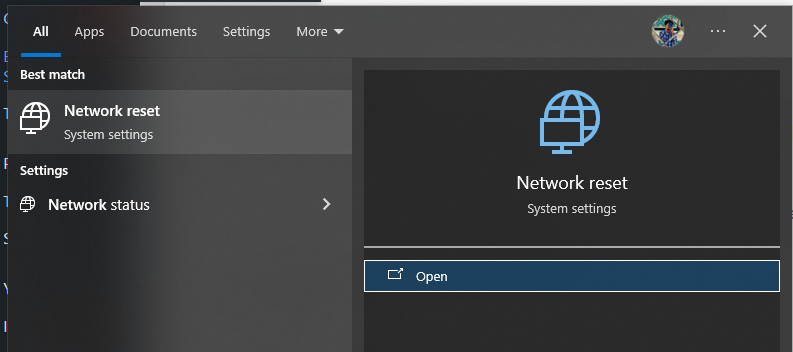
- Search ‘Network Reset’ in the search box and open it.
- Click on Reset Now.
- Restart your PC.
4. Perform a Clean Boot
Third-party services can interfere with the drivers and cause problems. To determine if they are the cause, try performing a clean boot of Windows; this stops all non-Microsoft services from running at startup, which might resolve the problem.
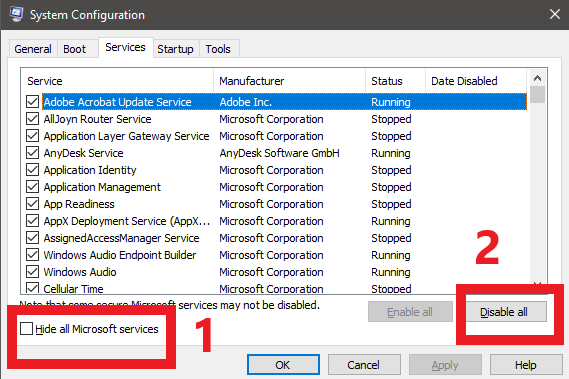
- Press Windows + R, type ‘msconfig’, and press Enter.

- Navigate to the Services tab, tick the Hide all Microsoft Services checkbox, click Disable all, and then click OK.
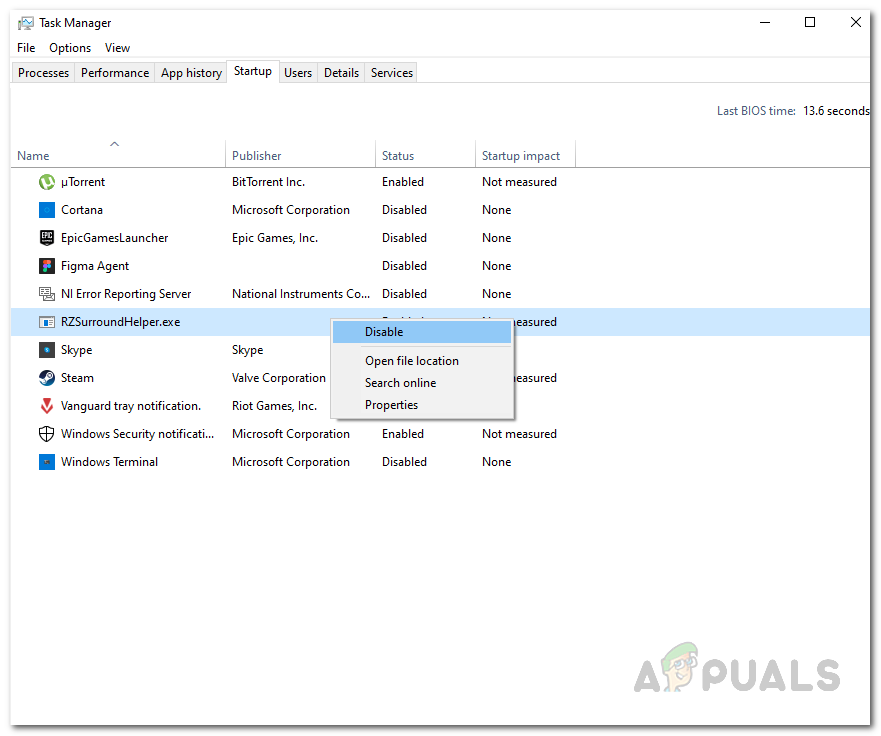
- Press Windows + SHIFT + ESC to open the Task Manager.
- Switch to the Startup tab and disable all third-party programs.
- Restart your PC.
5. Perform a System Restore
Utilize a system restore point; Windows automatically creates these restore points periodically (unless disabled) to allow reverting your system to a prior state should issues arise.
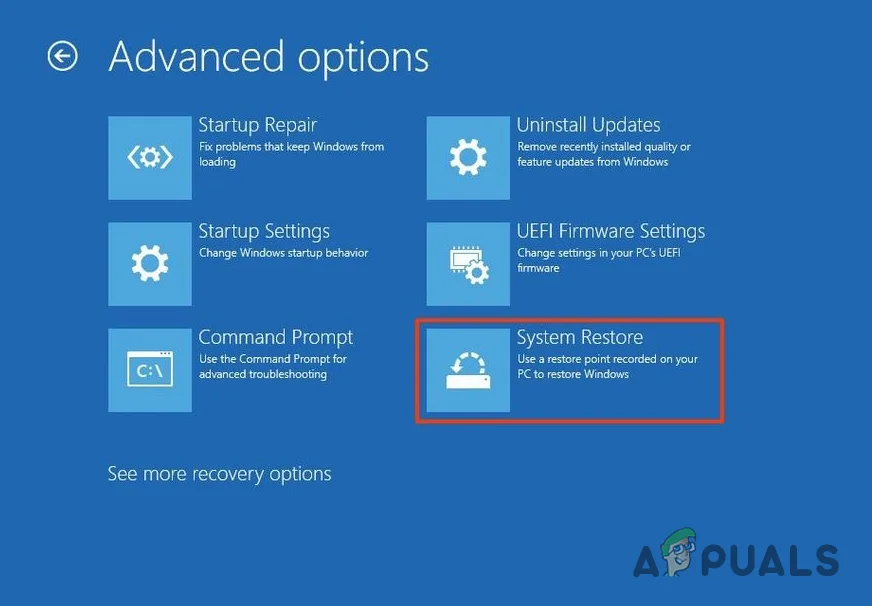
- Boot into Advanced Startup.
- Navigate to Troubleshoot > Advanced Options > System Restore.
- Choose your user profile and enter the corresponding password.
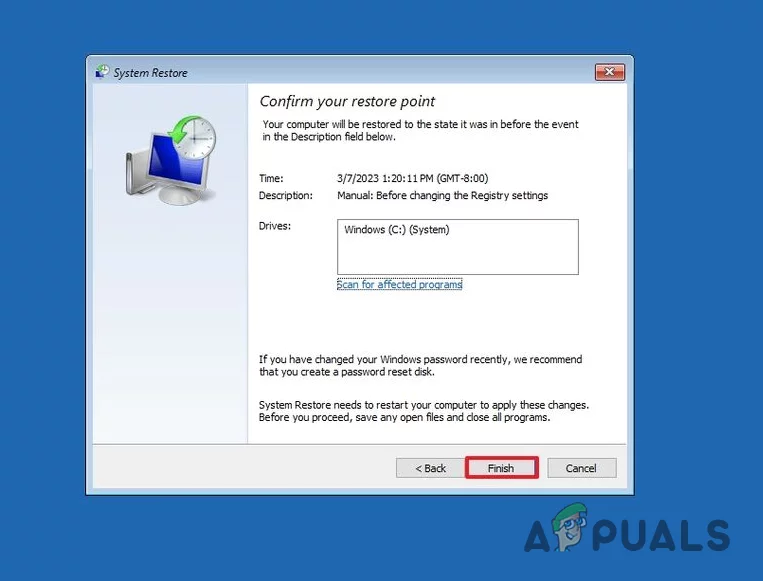
- Choose a system restore point from before the difficulty and press Next.
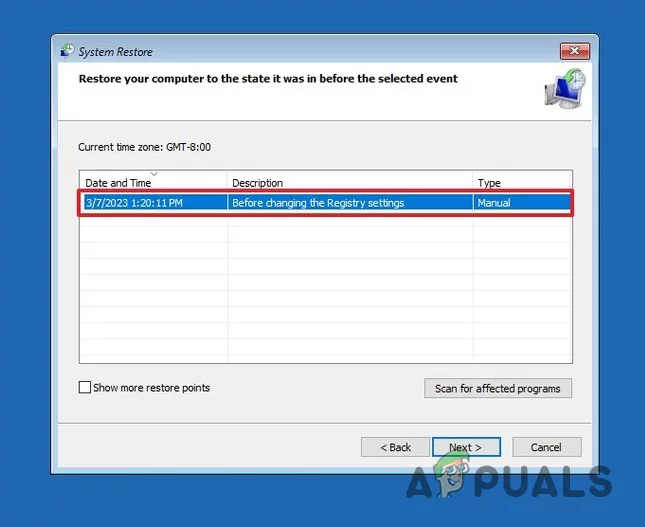
- To initiate the restoration, click the Finish button.