How to Fix “MSEDGEWEBVIEW2.EXE” Consuming Memory in Windows 11?
After upgrading to Windows 11, a lot of users have been facing a memory leak issue where certain processes keep accumulating memory every time they are opened or used. MSEDGEWEBVIEW2.exe is a process that is related to the default browser Microsoft Edge. Users have reported that upon booting up their system, a lot of instances of the process in question are open even though they haven’t opened up Microsoft Edge. The problem being the process consumes a lot of memory for nothing which can often lead to confusion for most of the users. As it turns out, most of these instances are related to the Microsoft Teams and the Widgets app running on your system. In this article, we will show you how to reclaim the memory that is being used by the MSEDGEWEBVIEW2.exe process so follow through.
As it turns out, Microsoft Edge WebView2 is essentially used to embed web pages in your native applications. Thus, this is used in the widgets app to show you the news stories as well as the Microsoft teams for different purposes. If you are not an avid user of both of these applications, the memory being used goes to nothing in which case the obvious option would be to reclaim the memory back. If you open up the Task Manager window on your system, you will often find several instances of the MSEDGEWEBVIEW2.exe process running that are being used by the mentioned apps. There are different ways you can resolve this problem from uninstalling Microsoft Teams to using a third-party utility to remove the WebView2 application. With that said, let us get started and show you how to get your memory back.
Close Microsoft Teams and Widgets from Task Manager
The first thing that you should do when you encounter this is to go ahead and end any processes of Microsoft Teams and Widgets. The MGEDGEWEBVIEW2.exe process is used by both of these apps primarily which is why you may see a bunch of instances of the said process. This is not a permanent fix as the same behavior will be back on the next reboot. However, for those that want a quick workaround, then this should be your goto option. To do this, follow the instructions down below:
- First of all, go ahead and open up a Task Manager window. This has changed up a little in Windows 11 as you can’t right-click anywhere on your taskbar and open it up.
- To open the Task Manager, right-click on the Windows icon on your taskbar and from the menu that appears, choose Task Manager.

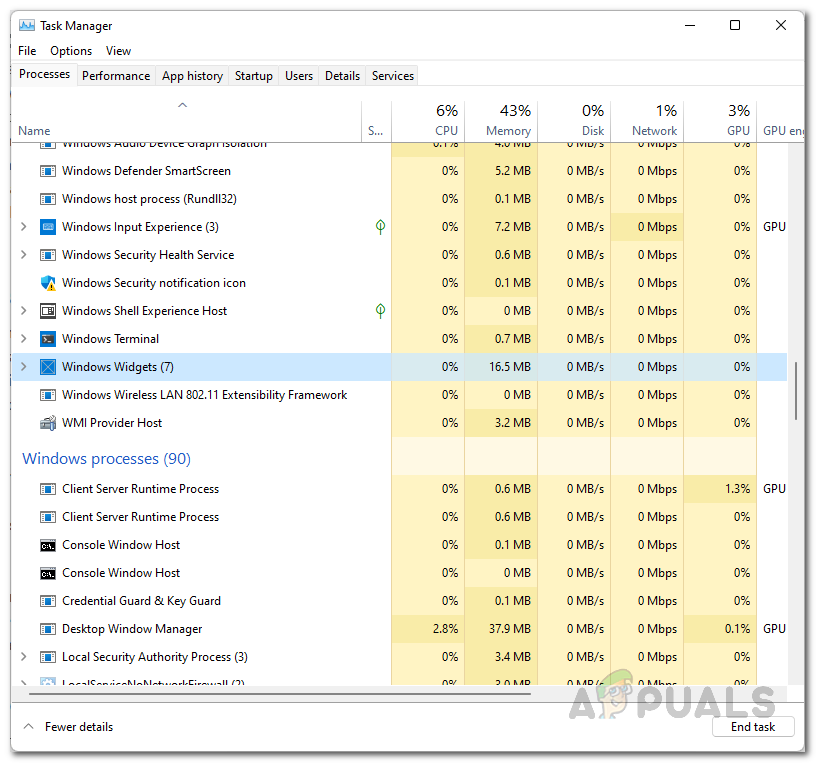
Opening up Task Manager - On the Processes tab, go ahead and locate Windows Widgets and Microsoft Teams.
- Click on the process and then click the End task button at the bottom.
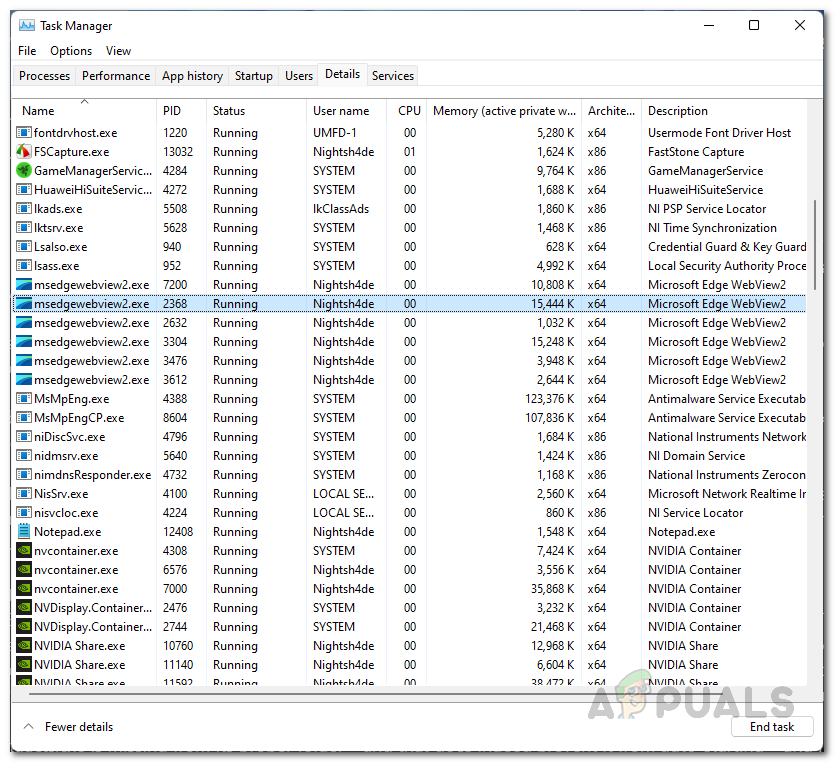
Ending Windows Widgets Process - Do this for both the applications. Once you have done that, you will notice that the msedgewebview2.exe processes will disappear from the Details tab of the Task Manager.
Disable Microsoft Teams on Startup
Like we have mentioned, the above method is not a permanent fix as the processes will be back the next time you reboot your computer. If you are not one who often reboots their computer, then the method is well and good for you. However, to address most of us who reboot their systems on the daily, there is a better workaround to the dilemma here. As it turns out, another remedy to this is to simply disable Microsoft Teams on startup. By doing this, even when you restart your computer, Microsoft Teams will not startup automatically which is contrary to the default behavior. This means that you will have fewer msedgewebview2.exe processes to worry about. To do this, follow the instructions given down below:
- First of all, open up the Task Manager window by right-clicking on the Windows icon on your taskbar and choosing Task Manager from the menu that comes up.
Opening up Task Manager - Then, on the Task Manager window, go ahead and switch to the Startup tab.
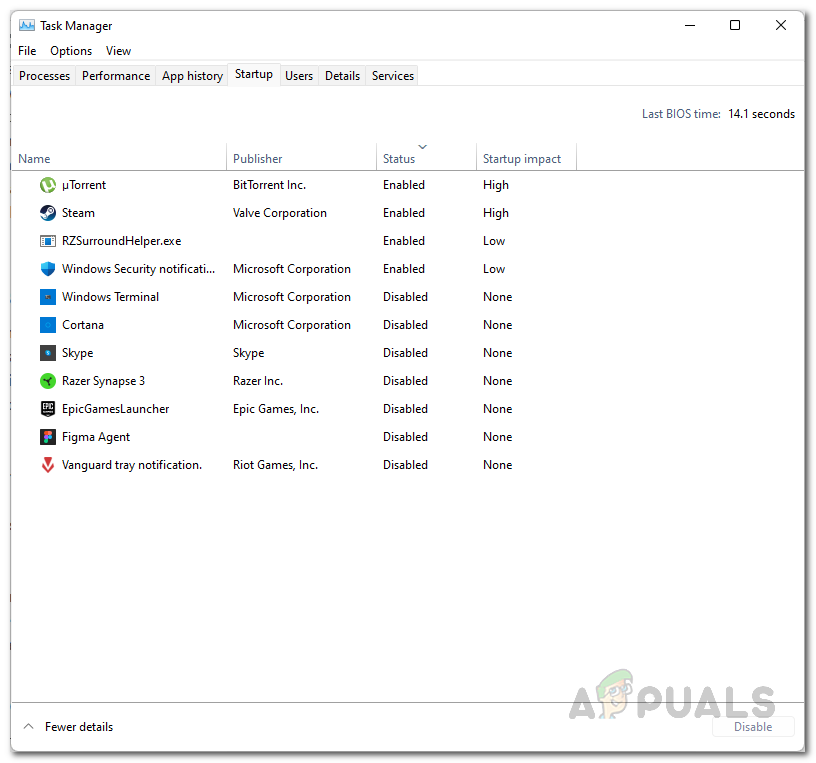
Task Manager Startup - On the Startup tab, locate Microsoft Teams and highlight it. Then, click the Disable button at the bottom to stop it from launching at startup.
- Once you have done, close the Task Manager window as you have successfully stopped Microsoft Teams from launching on startup.
Disable Windows Widgets using Windows Registry
Now, since the Microsoft Edge WebView2 process is used by Windows Widgets as well, we need to do something about that as well. As it turns out, even if you use the conventional methods of removing the Widgets icon from the taskbar, the app still runs in the background, eating away your memory. This means that when you perform a restart, the app will still be there running in the background and thus you will have to deal with the msedgewebview2.exe processes again. In such a case, the best solution is to turn it off for good using the Windows Registry. Before we proceed, if you are not really a power user, we would recommend creating a backup of the Windows Registry in case something goes wrong. With that said, follow the instructions given down below to do this:
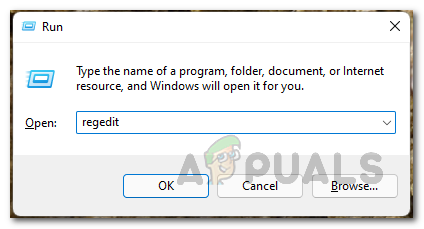
- First of all, open up the Run dialog box by pressing Windows key + R on your keyboard.
- In the Run dialog box, type in regedit and hit the Enter key. Click Yes on the UAC dialog box when you are prompted.
Opening up Windows Registry - Now, in the Windows Registry window, expand the HKEY_USERS list.
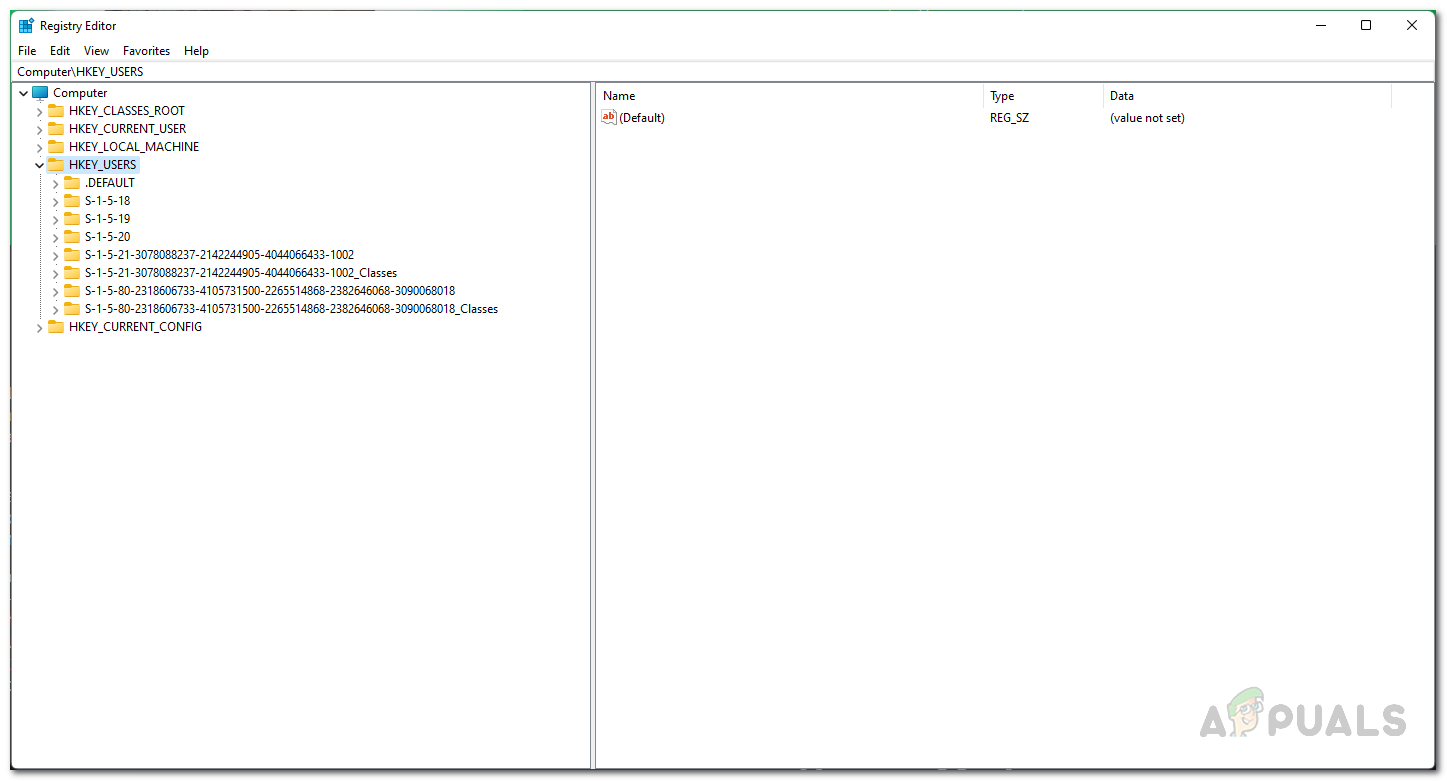
Expanding HKEY_USERS List - Here, you will see folders named like S-1-5-21-3078088237-2142244905-4044066433-1002. The numbers may vary depending on your computer.
- If you have multiple folders like that, you will have to go through each one of them to locate a folder called Dsh. Skip the folders that end with the Classes suffix. We can’t provide an exact path that you can just copy paste because of the difference in the numbers of the above folder. However, the rest of the path remains the same.
- Inside the folder, navigate to:
Software > Microsoft > Windows > CurrentVersion > Dsh
- In our case, the full path looks like this:
Computer\HKEY_USERS\S-1-5-21-3078088237-2142244905-4044066433-1002\Software\Microsoft\Windows\CurrentVersion\Dsh
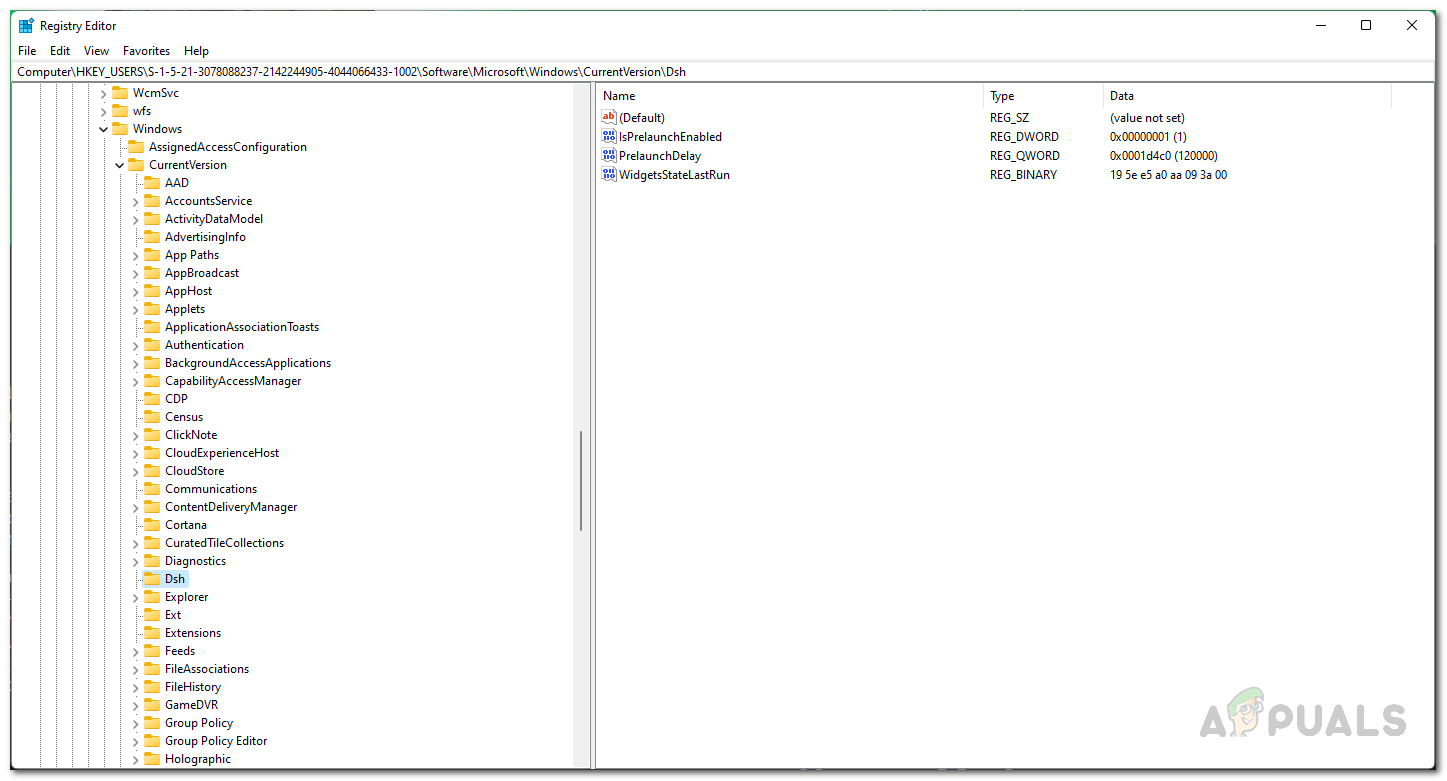
Navigating to Dsh Folder - Once you have found the Dsh folder, on the right-hand side, double-click on the IsPrelaunchEnabled key.
- Change the value from 1 to 0 and then click OK.
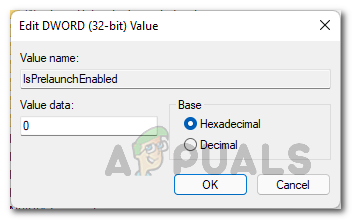
Disabling Windows Widgets - Once you do this, Windows Widgets will be turned off for good. Restart your computer for the changes to take effect.
Uninstall Microsoft Edge WebView2 via Third-Party Utility
Finally, if you wish to completely get rid of Microsoft Edge WebView2 and the annoying processes that run in the background, you can do so by simply uninstalling it from your computer. The problem here is that you will not be able to uninstall it using the conventional methods of using the Control Panel or the Windows Settings app. In such a scenario, we will be using a third-party utility called Revo Uninstaller which comes with both a Pro and Free plan that you can use to get rid of Microsoft Edge WebView2. To do this, follow the instructions that are given down below:
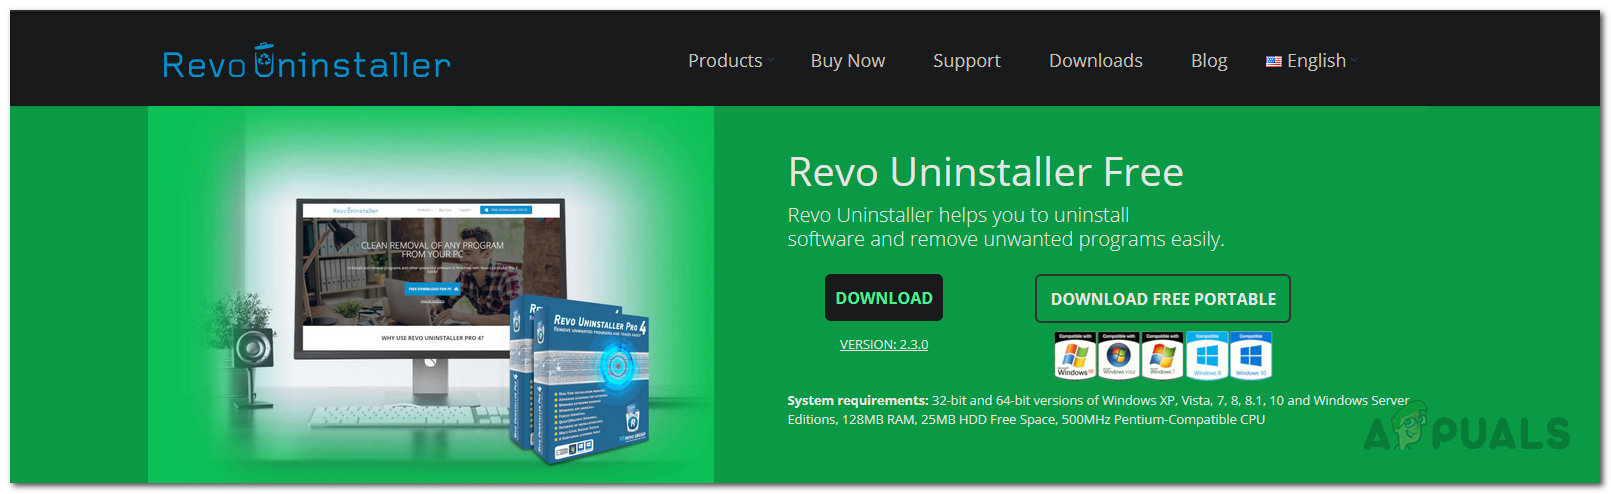
- First of all, in your browser, navigate to the official Revo Uninstaller website by clicking here.
- There, click on the Download Free Portable option to download the uninstaller.
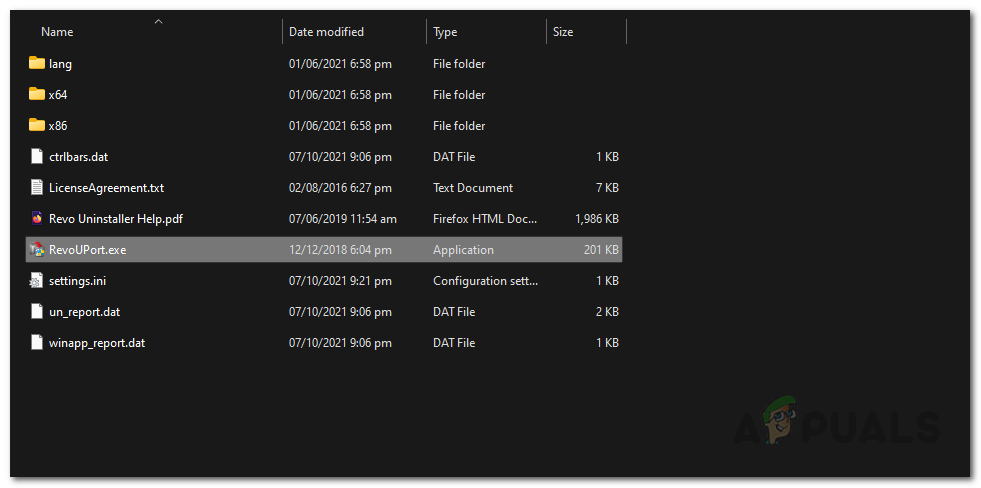
Downloading Revo Uninstaller - Extract the downloaded zip file to your desired location and then navigate to the extracted directory.
- There, open up the RevoUPort.exe file. You will be required to grant it administrative privileges. Click Yes on the UAC dialog box.
Running Revo Uninstaller - Now, once the Revo Uninstaller window is up, on the Uninstaller tab at the top, look for the Microsoft Edge WebView2 Runtime application from the list of apps shown.
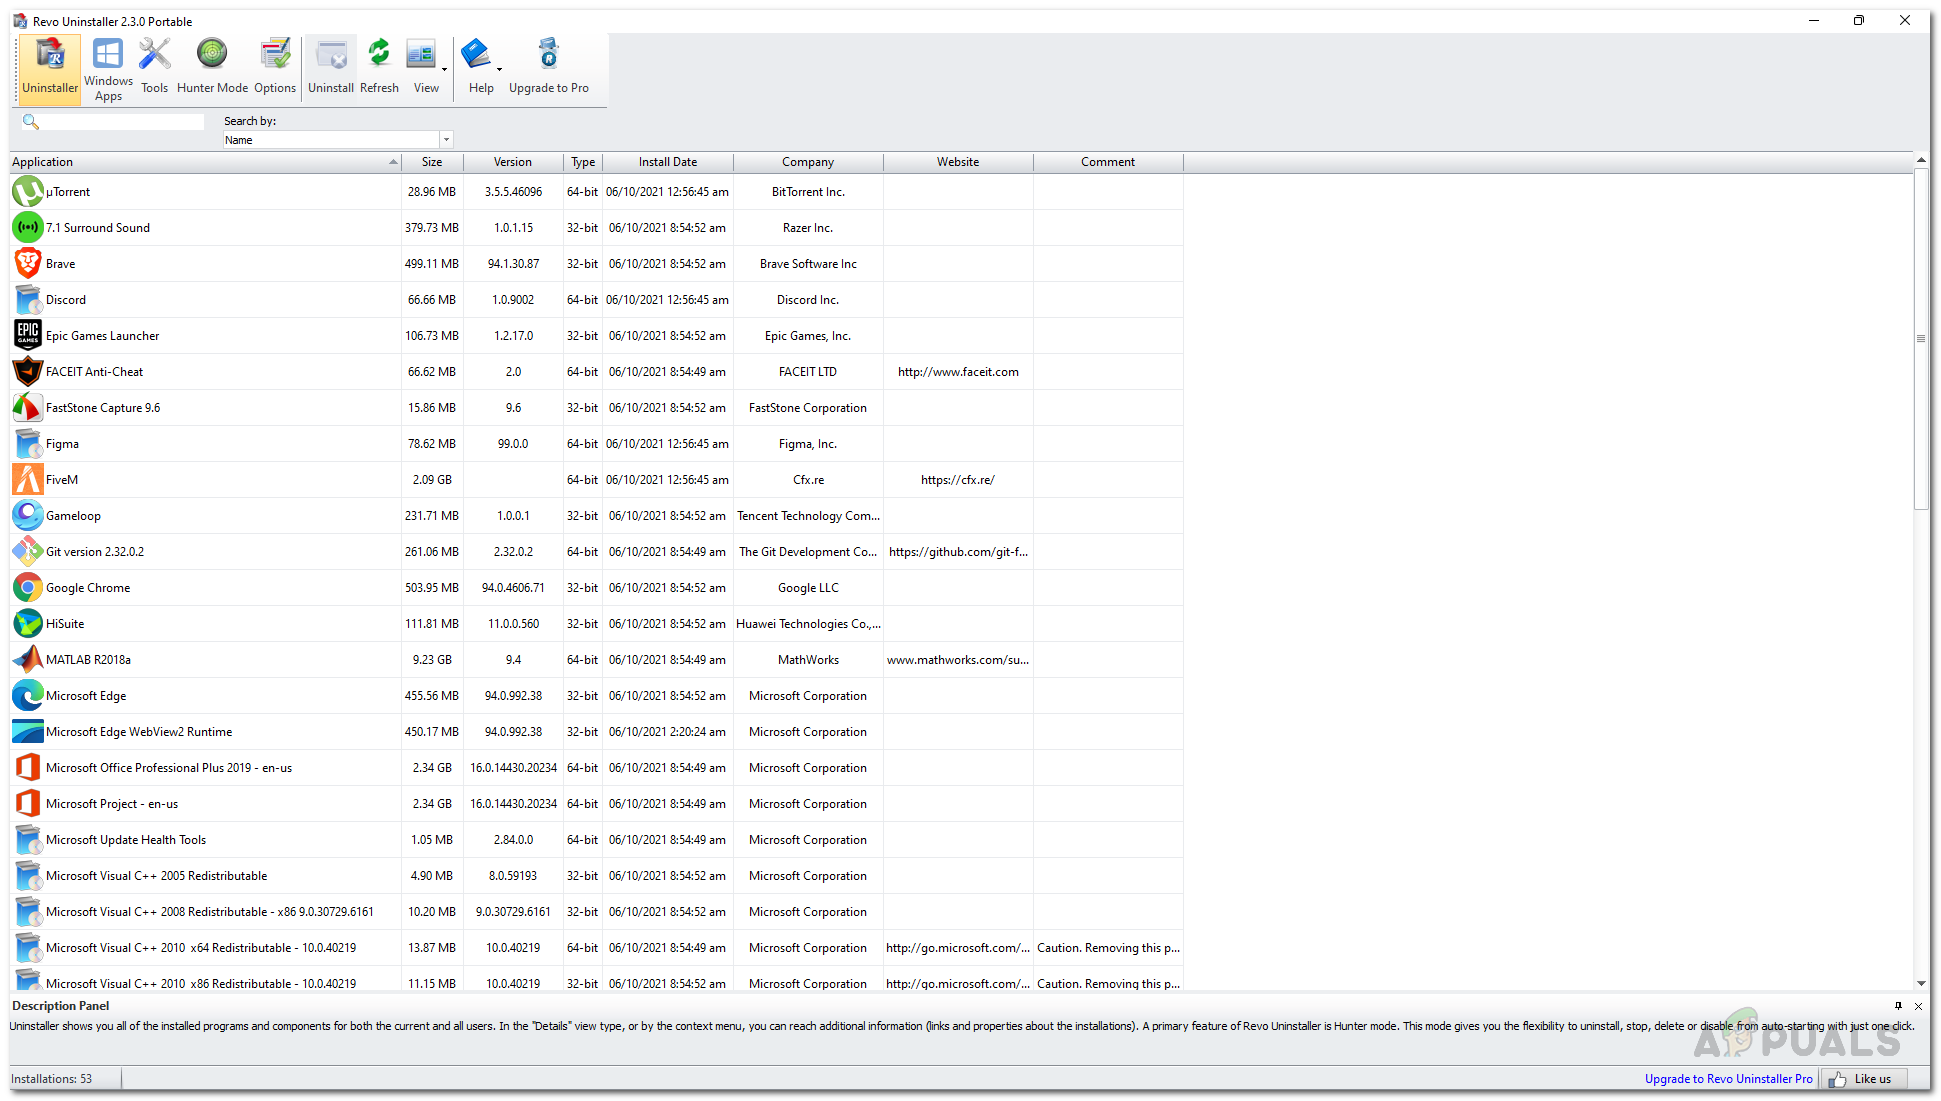
Revo Uninstaller - You can either double-click the application or simply select it and click the Uninstall option at the top to uninstall it.
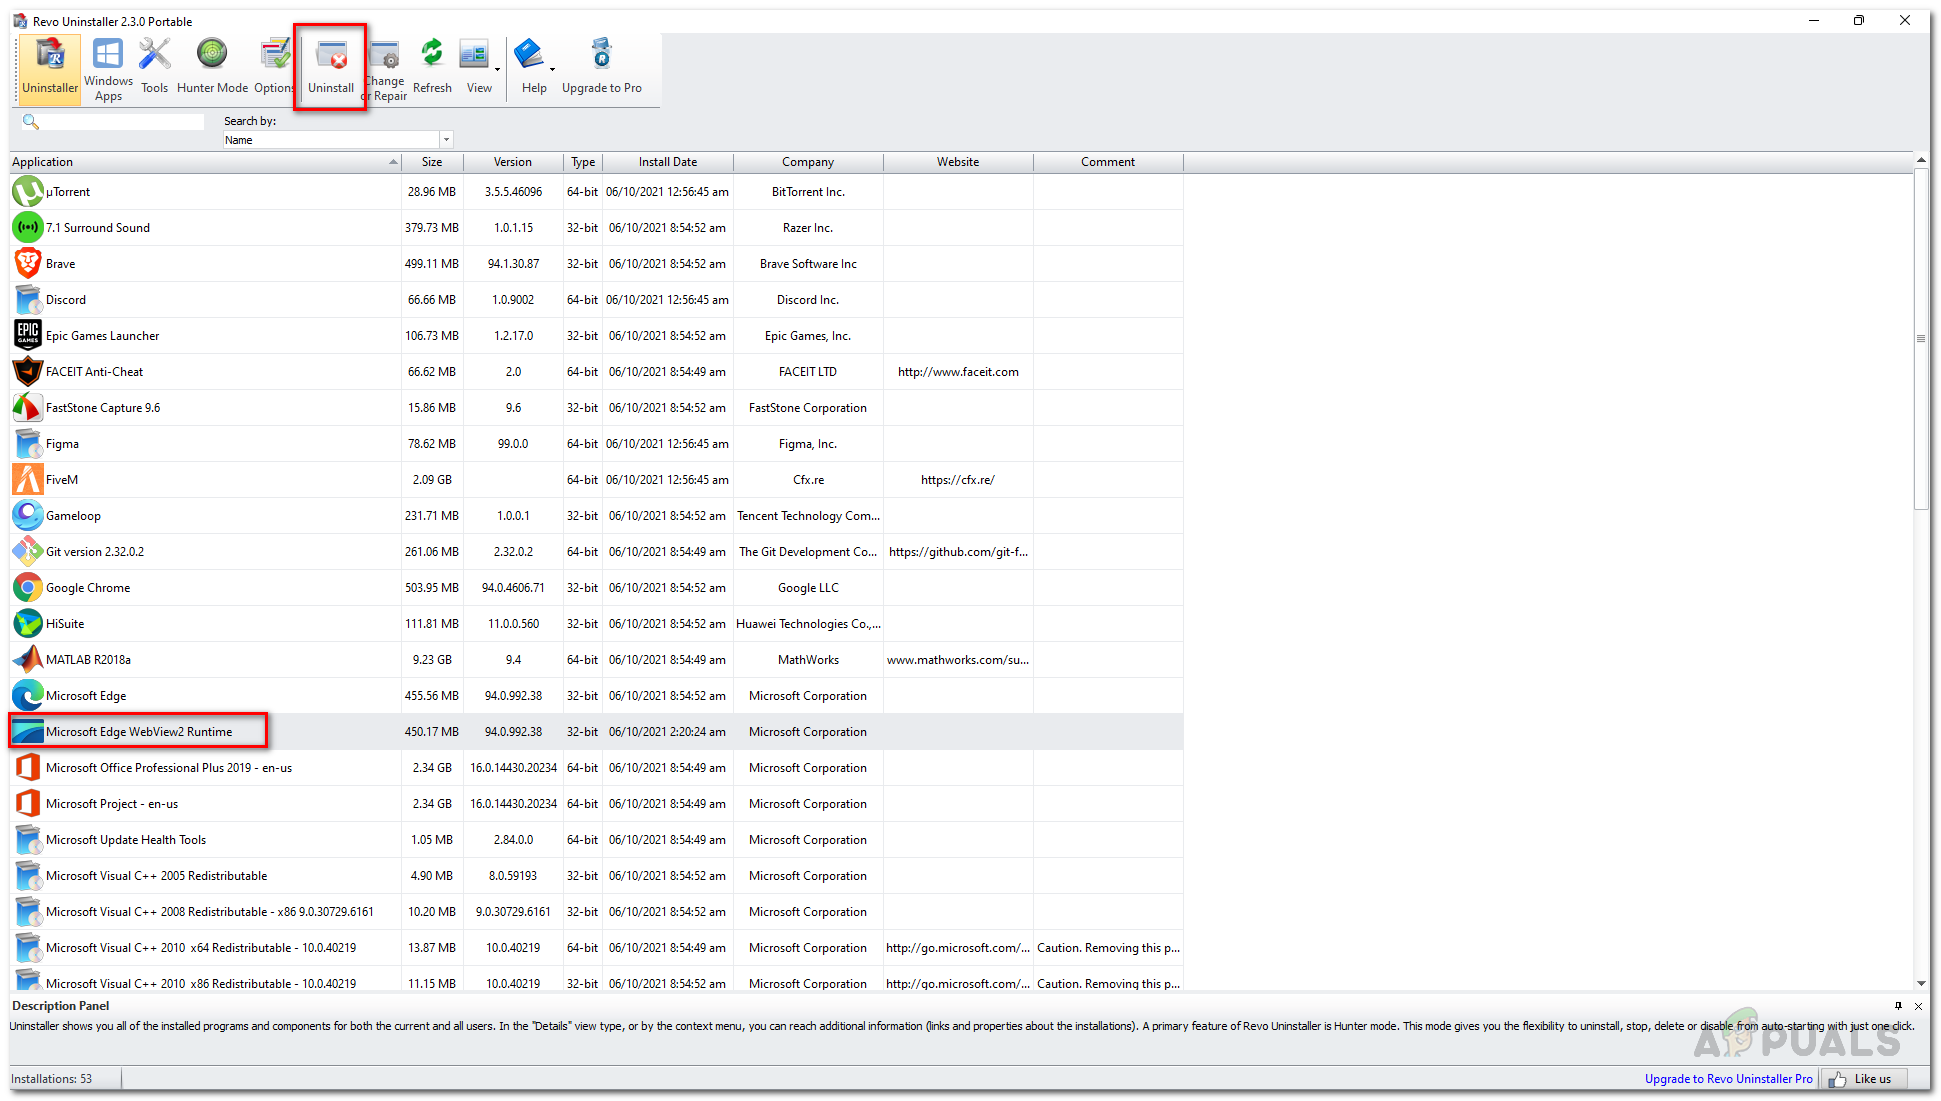
Uninstalling Microsoft Edge WebView2 Runtime - Once you have done that, go ahead and reboot your system.
- After that, you won’t be seeing anymore of the msedgewebview2.exe processes running in the background.


Thank you!