Fix: MoUSO Core Worker Process (MoUsoCoreWorker.exe) Constantly Wakes Computer from Sleep
Your system may fail to sleep due to MoUsoCoreWorker.exe if you have not updated the Windows of your system to the latest build. Moreover, corrupt/misconfigured power settings or conflicting third-party applications (like GoodSync) may also cause the error under discussion.
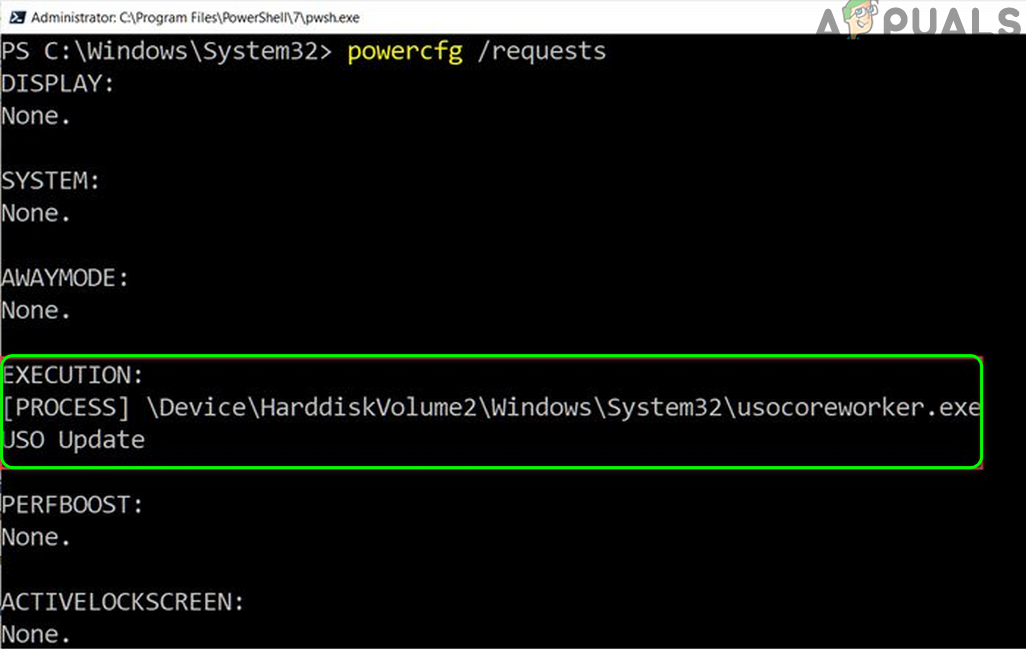
The user encounters the issue when the system does not go to sleep on the defined time but stays awake. For some users, the system keeps on cycling between sleep and waking up. When the user executes the powercfg /systemsleepdiagnostics command, MoUSO Core Worker Process (MoUsoCoreWorker.exe) is found to be responsible for this behavior.
Before moving on with the solutions, make sure the Edge browser is totally closed and no process related to it is operating in the Task Manager of your system.
Solution 1: Uninstall/Disable the Conflicting Applications
Your system may fail to sleep if any of your applications (especially syncing applications) keep the MoUSO Core Worker Process busy (which prevents the system from sleeping). In this context, either disabling these applications or uninstalling them may solve the problem. GoodSync is an application known to cause the issue.
- Click on the Windows button and click on Gear/Settings.
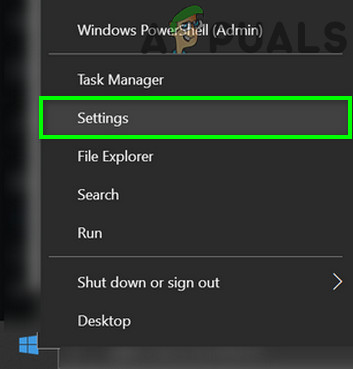
Open Windows Settings - Now, open Apps and then expand GoodSync.
- Then click on Uninstall and then confirm to uninstall GoodSync.

Uninstall GoodSync - Now follow the prompts on the screen to uninstall GoodSync. If you do not want to uninstall GoodSync, then disable its syncing operation (not set to “On Schedule” & “Run without User Interface (Unattended)”) and completely exit it. Also, uninstall/disable all other conflicting applications (that you think are creating the problem).
- Then restart your system and upon restart, check if your system’s sleep issue is resolved.
Solution 2: Disable Wake Timers of Your System
Your system may not go to sleep if its wake timers are hindering in the sleep operation. In this case, disabling the wake timers of your system may solve the problem.
- Press the Windows + Q keys to open the Windows Search and type Control Panel. Now, in the search results displayed, click on the Control Panel.

Open Control Panel - Now open Hardware & Sound and select Power Options.

Open Power Options - Then click on Change Plan Settings and click on the Change Advanced Power Settings.

Change Advanced Power Settings - Now click on the plus sign to open the Sleep settings and then expand Allow Wake Timers.
- Then disable the wake-up timers for both “On Battery” and “Plugged in” and restart your system.
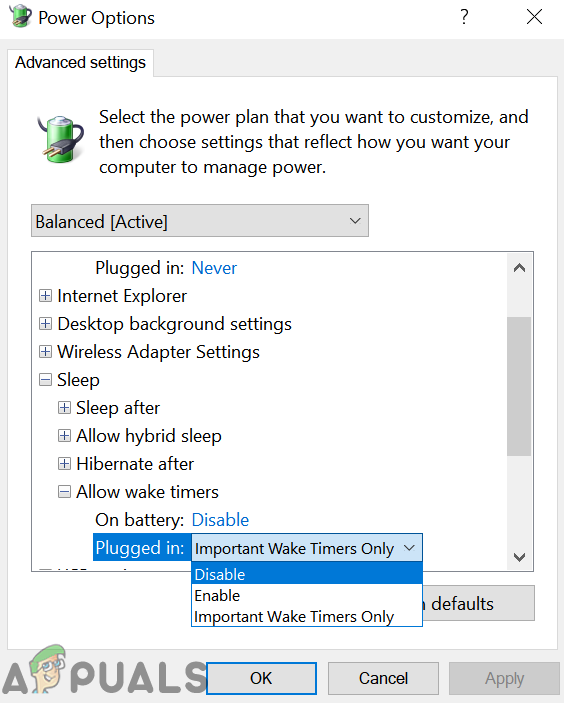
Disable Automatic Wake Timers - Upon restart, check if the sleep issue of your system is resolved.
Solution 3: Disable Update Orchestrator (UOS) Service
The Update Orchestrator Service (UOS) is the service of the MoUSO Core Worker Process and it may cause the error at hand if the said service is in the error start. In this case, disabling the UOS service may solve the problem. But keep in mind that you may have to enable the UOS service when to perform the update.
- Press Windows + Q keys (to open Windows Search) and type Services.
- Now, right-click on the Services (in the search results) and select Run as Administrator.

Open Services as Administrator - Then right-click on the Update Orchestrator Service (UOS) and select Properties.

Open Properties of Update Orchestrator Service - Now open the Startup type and select Disabled. Then click on the Apply/OK buttons.
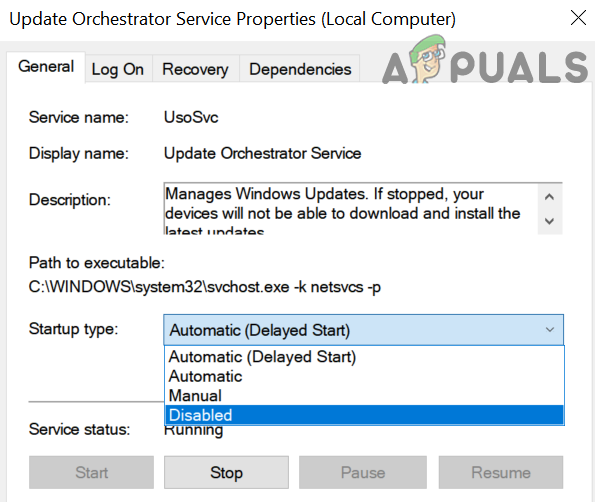
Disable Update Orchestrator Service - Then restart your system and upon restart, check if the sleep issue of your system is resolved.
Solution 4: Update Windows of Your System to the Latest Build
Microsoft regularly adds new features to Windows (to pace with the latest technological developments) and patch its bugs through the Windows update channel. You may encounter the error at hand if you are using an outdated version of Windows as it can create incompatibility between applications and OS modules. In this case, updating Windows of your system to the latest build may solve the problem.
- Press Windows + Q keys to open Windows Search and type Check for Updates.

Check for updates - Now, in the search results shown, select Check for Updates and then, in the updates window, click on the button of Check for Updates.
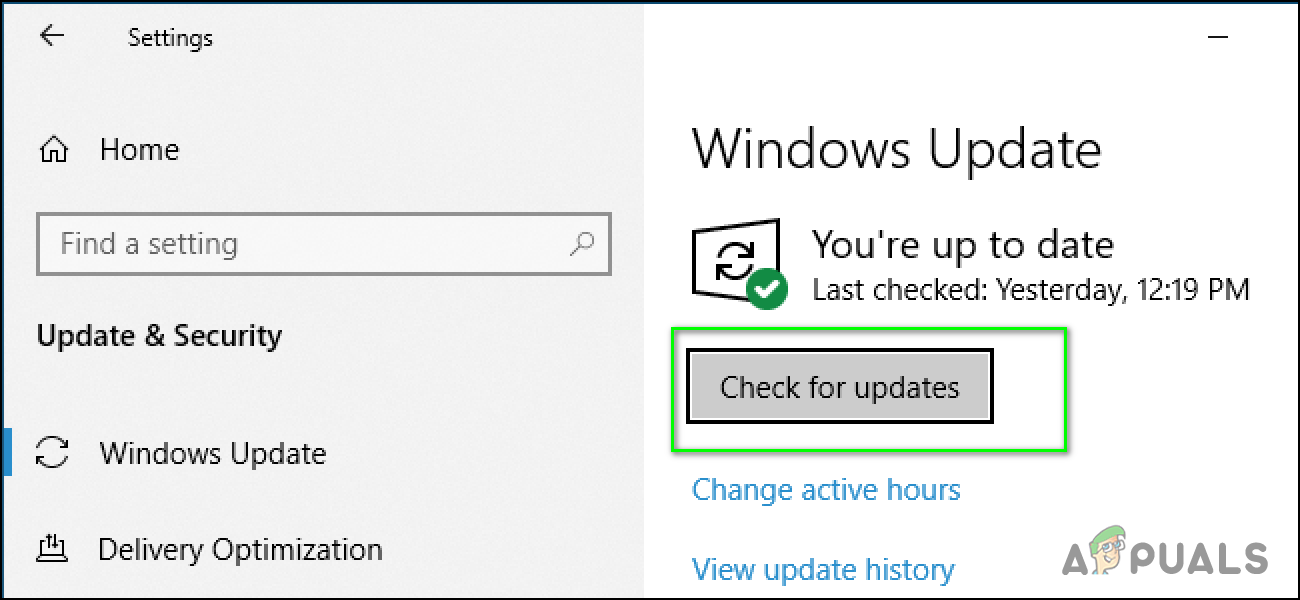
Check for Windows Updates - If there are updates available (including optional updates), download and install all of them. Make sure no update is pending installation.
- After updating the OS of your system, restart your system and upon restart, check if your system can go to sleep normally.
Solution 5: Set Startup Type of Windows Update Service to Automatic
Your system may fail to sleep if the Windows update service is configured to startup manually as a process trying to trigger the service is stuck in the operation. In this scenario, changing the start-up type of the Windows Update service to automatic may solve the problem.
- Press the Windows + Q keys to launch the Windows Search box and type Services. Then, in the results’ list, right-click on Services and select Run as Administrator.
- Now, right-click on Windows Update service and then, in the context menu, select Properties.

Open Properties of Windows Update Service - Then, open the dropdown of the Startup type and change it to Automatic.

Change Startup Type of Windows Update Service to Automatic - Now, click on Apply/OK buttons and then, in the Services window, right-click on Windows Update service and click on Restart.
- Then update your system (as discussed in solution 6) and check if the sleep issue of your system is resolved.
Solution 6: Restart Windows Update Service
Your system may not go to sleep if its Windows Update Service is stuck in the error state. In this context, restarting the Windows Update service may clear the glitch and thus solve the problem.
- Click in the Windows Search box and type Services. Now, in the results shown, right-click on Services and then click on Run as Administrator.
Open Services as Administrator - Now right-click on the Windows Update service and then click on Stop.

Stop the Windows Update Service - Then, right-click on the Taskbar of your system, and in the menu shown, click on Task Manager.
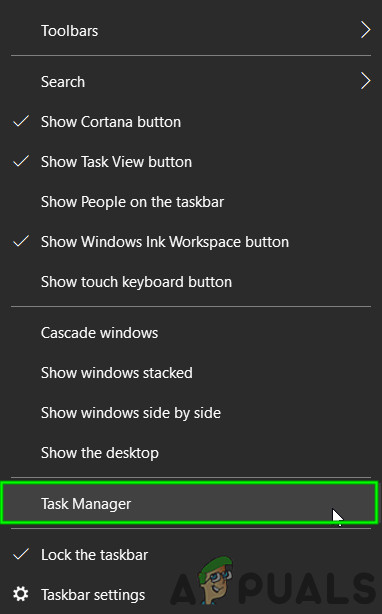
Open Task Manager - Now right-click MoUsoCoreWorker.exe and then click on End Process (confirm to stop the process, if asked to).
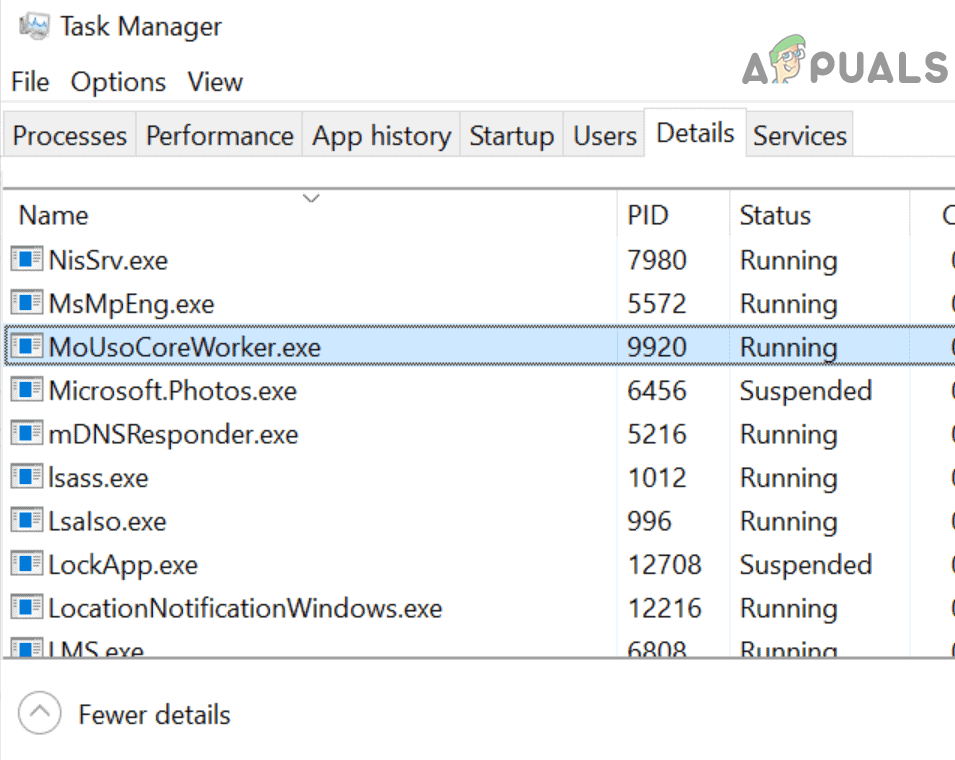
End Process of MoUsoCoreWorker.exe - Then switch to the Services window and right-click on the Windows Update service.
- Now click on Start and then check if your system can go to sleep normally.
- If not, then update your system (as discussed in solution 6) and check if the issue is resolved.
- If not, then press Windows + Q keys to open the Windows Search and type Command Prompt. Now, in the list of results shown, right-click on Command Prompt and select Run as Administrator.

Opening an Elevated Command Prompt - Now, execute the following cmdlets:
net stop wuauserv

net stop bits

net stop dosvc

net start wuauserv

net start bits

net start dosvc

Stop Windows Update Service Through the Command Prompt - Then check if the sleep problem of your system is solved.
Solution 7: Run the Built-in Windows Update and Power Troubleshooters
You may encounter the error under discussion if the update processes of your system are stuck in the operation. Moreover, your system may fail to sleep if its power settings are not configured properly. In this context, running the built-in Power and Update troubleshooters may clear the glitch and thus solve the problem.
- Press the Windows key and then select Gear/Settings.
- Now, select Update & Security and then, in the left part of the window, select Troubleshoot.
- Then, in the right part of the window, click on Additional Troubleshooters.

Navigating Additional Troubleshooters - Now, in the section of Get Up and Running, expand Windows Update and then click on the button of Run the Troubleshooter.

Run the Windows Update Troubleshooter - Then follow the prompts to complete the troubleshooting of the Windows Update.
- Now restart your system and upon restart, check if the sleep functionality of your system is working fine.
- If not, then in the Additional Troubleshooter window (step 1 to 3), expand Power (in Find and Fix Other Problems) and click on the button of Run the Troubleshooter.

Run the Power Troubleshooter - Then follow the prompts on your screen to complete the process of Power Troubleshooter and upon completion of the update process, check for the system updates (as discussed in solution 6).
- Now, restart your system and upon restart, check if the sleep functionality of your system is back to normal.
Solution 8: Restore Power Settings of Your System to the Defaults
The sleep functionality of your system might not work properly if the power settings of your system are misconfigured. In this case, resetting your system to the defaults may solve the problem.
- Click in the Window Search and type Command Prompt. Now, in the results displayed, right-click on Command Prompt and then select Run as Administrator.
- Then, execute the following cmdlet:
powercfg -restoredefaultschemes

Restore the Power Settings of Your System to the Defaults - Now restart your system and upon restart, check if your system is clear of the sleep issue.
Solution 9: Override the MoUSO Core Worker Process Request
If the issue persists, then setting the power configuration of your system to override the MoUSO Core Worker Process request may solve the problem.
- Press Windows + Q keys (to open the Windows Search) and type Command Prompt. Now, right-click on the Command Prompt (in the results shown) and select Run as Administrator.
- Now execute the following command:
powercfg /requestsoverride process MoUsoCoreWorker.exe execution

Override the MoUsoCoreWorker.exe execution - Then verify if the process is overridden by executing the command below:
powercfg /requestsoverride
- Now, restart your system and upon restart, check if your system is clear of the sleep issue. Whenever you want to remove the override, simply execute the following command in the elevated Command Prompt:
powercfg /requestsoverride process MoUsoCoreWorker.exe
Solution 10: Allow the Computer to Power off the Problematic Hardware Devices
You may encounter the error at hand if your computer fails in powering off a hardware device that is keeping MoUSO Core Worker Process busy in the operation. In this scenario, disconnecting the problematic hardware devices or allowing your system to power off the devices may solve the problem.
- Right-click on the Windows button and then, in the menu displayed, select Device Manager.
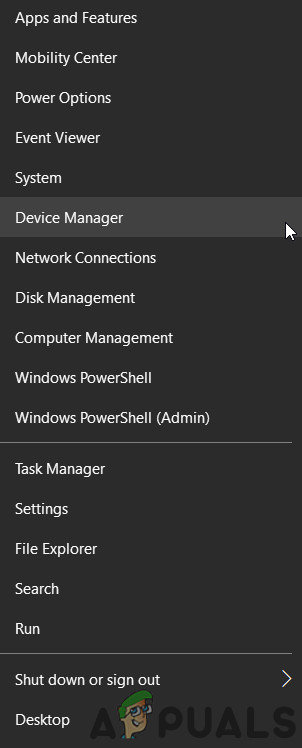
Open Device Manager - Then expand Universal Serial Bus Controllers and right-click any of the devices.

Open Properties of the USB Device - Now, in the menu shown, select Properties and then navigate to the Power Management tab.
- Then check the option of Allow the Computer to Turn off This Device to Save Power and click on the Apply/OK buttons.

Check the Option of Allow the Computer to Turn off This Device to Save Power - Repeat the process for all the USB and other devices (like Imaging Devices, Network Adapters, etc.) which have the Power Management tab in their Properties.
- Now, check if the sleep issue of your system is resolved.
- If not, press Windows + Q keys to open Windows Search and type Command Prompt. Now, in the list of results, right-click on Command Prompt (in the list of results displayed) and select Run as Administrator.
- Now execute the following (which will list down all the commands that cannot be powered off by your system):
Powercfg -devicequery wake_armed

Run the Command of Powercfg -devicequery wake_armed - Then either unplug the devices reported by the Powercfg command or edit the properties of the devices to allow your system to power them off.
- Now, restart your system and upon restart, check if the sleep issue of your system is resolved.
Solution 11: Perform a System Restore
If none of the solutions were effective in solving the issue, then try to restore your system to an earlier date when the system was cleared of the sleep issue.


great it worked thanks