How to Fix Mincecraft Outdated Client Error?
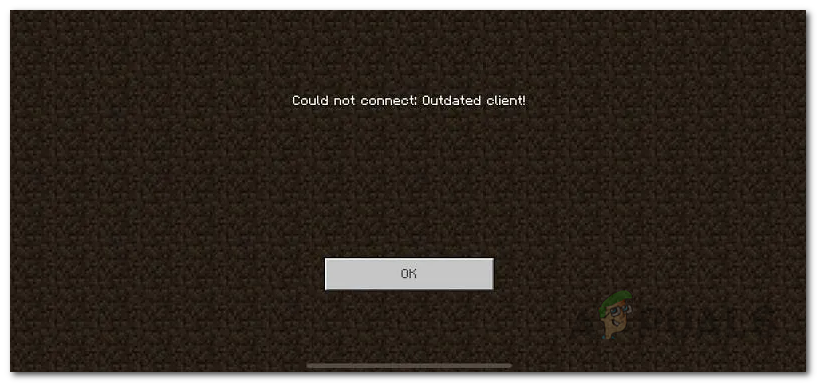
Jumping into a Minecraft realm is always a refreshing feeling. When you are launching Minecraft through the Minecraft Launcher, you might get the “Could not connect. Minecraft outdated client” error message. The error message, in some cases, will prevent you from opening up the game at all while in others, you will receive it while connecting to a Minecraft realm. Thus, the error message in question prevents you from playing the game. This is not limited to a specific realm, but rather every realm that you try to join will prompt the error message in question.
As it turns out, the reason that you are facing the error message in question is because you are running an outdated client of Minecraft. This is obvious from the error message that is shown yet some users go for a reinstall upon facing this. Reinstalling your Minecraft game fixes issues like Minecraft not responding but they may not help in such cases which is because the version that is being installed by the installer is not the latest one either and you will still have to update the game client to be able to play Minecraft. Now, depending on the version of Minecraft that you play, the update process can vary a little which is why, in this article, we will be covering most of them so that you can follow through without any issues despite that the platform that you are playing Minecraft on. With that said, let us get started with showing you how to update your Minecraft client to get rid of the error message. So, without further ado, let us get right into it.
Update Minecraft on PC
If you are running Minecraft on your PC, the update process is pretty simple. Follow the instructions given down below:
- First of all, open up the Microsoft Store by searching for it in the Start Menu.

Opening Microsoft Store - Once you have opened up the MS Store, look for Minecraft and open it up.
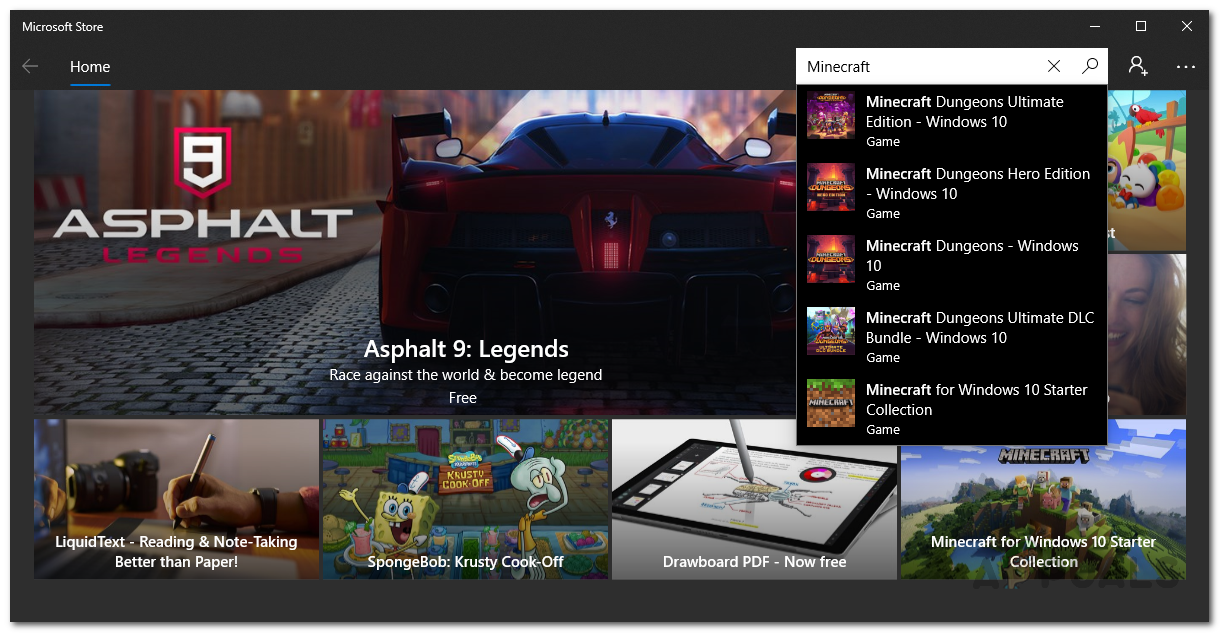
Searching for minecraft - On the Minecraft page, click the Update button to update your game client.
Update Minecraft Java Version
In case you are using the Java version of the Minecraft game on your PC, the process can be a little different. If you try to join a server that is running a different version than users, you will have to install that version from the Installations tab. To do this, make sure that you have the version that the server is running on. Then, you can follow the instructions given down below instead to update the game client:
- First of all, close your game and then open up the Minecraft Launcher.
- Then, on the Minecraft Launcher, switch to the Installations tab.
- On the Installations tab, click on the New button to install a new version.
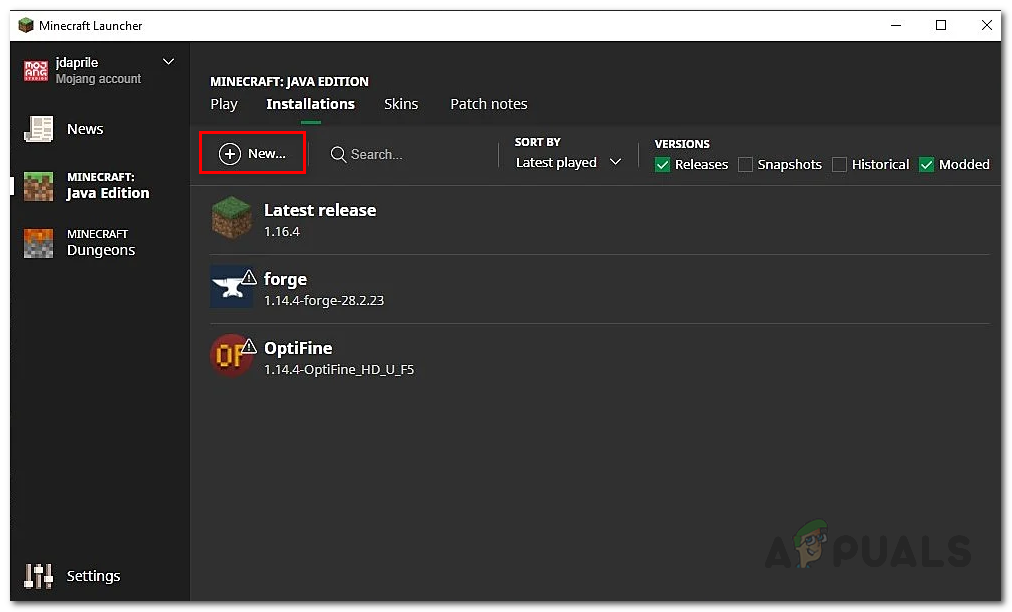
Minecraft Launcher Installations Tab - Give the version a name and then from the Version drop-down menu, choose the one that the server is running on.

Creating a New Profile - Once you have done that, click on the Create button to save this as a Profile.
- After doing that, before opening up the game, choose the Profile that you just created.
- Then, go ahead and launch the game. You will now be able to join the server without any issues if you have followed through correctly.
Update Minecraft on Consoles
In case you are playing Minecraft on a console i.e. Xbox or Playstation, the procedure is pretty much the same. To update the client, follow the instructions given down below:
- First of all, highlight Minecraft from your library. On Xbox, this would be My Apps & Games.
- Once you have selected Minecraft, select the More Options option. On Playstation, this would be only called Options.
- There, on your Playstation console, select the Check for Update option to download the latest update available and install it.
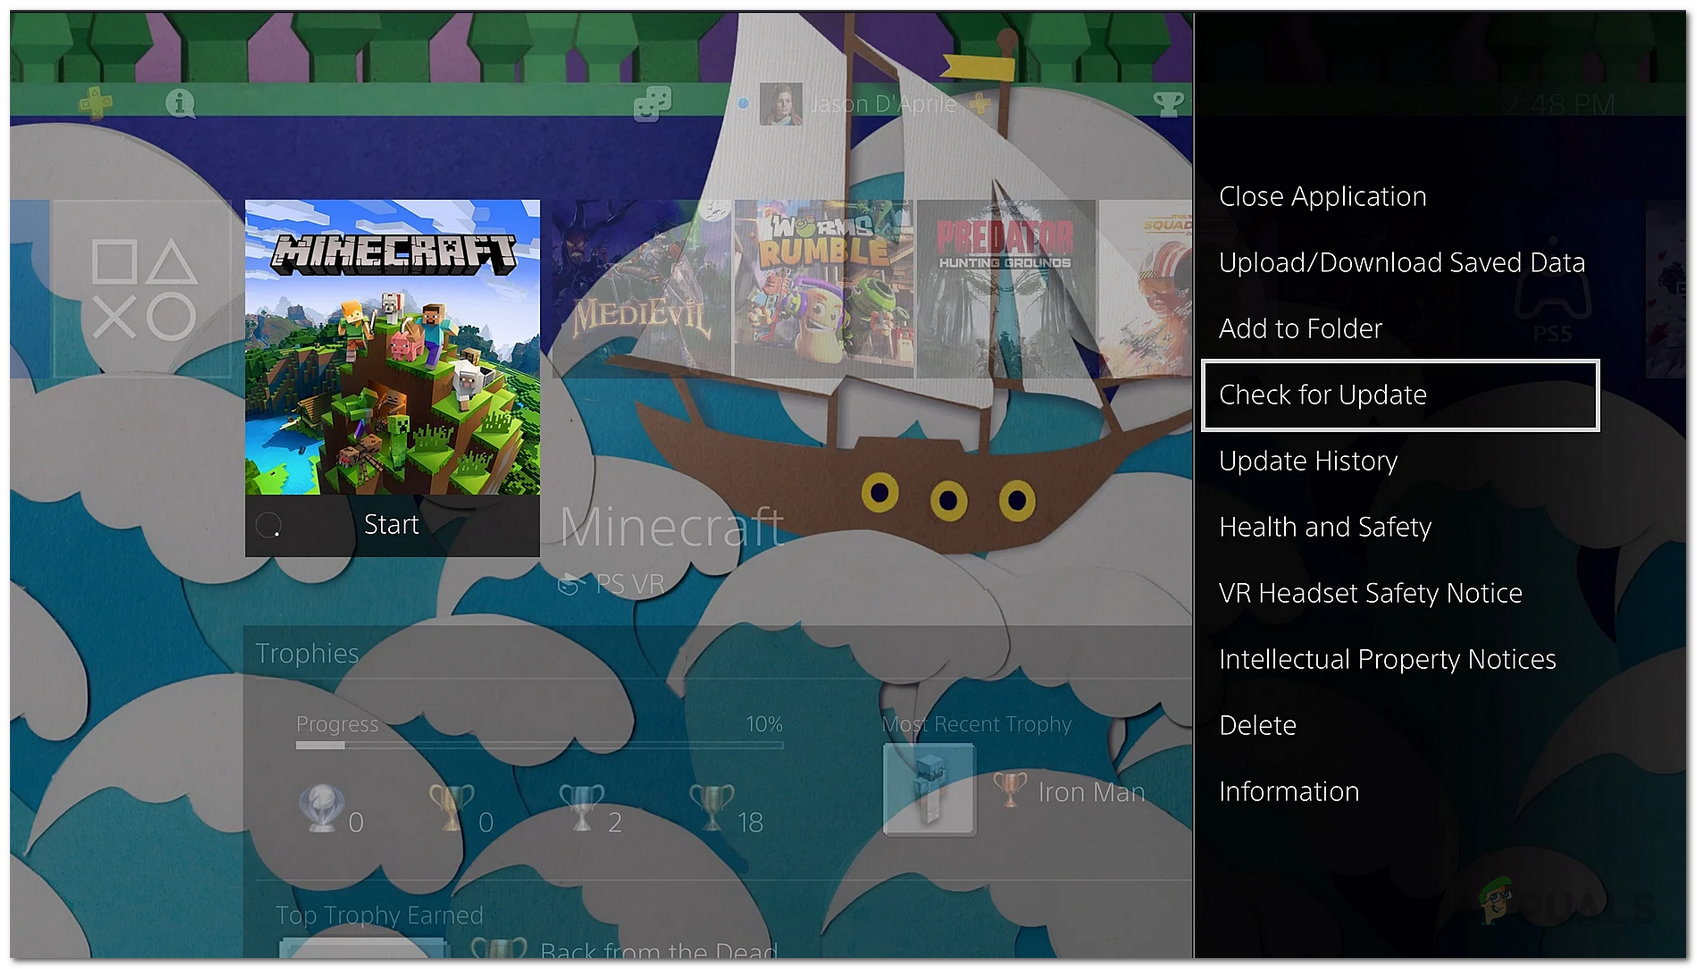
Updating Minecraft on Playstation - On Xbox consoles, you will have to make your way to Manage Game & Add-ons inside the More Options menu.
- There, select the Updates option. All the updates available will be here and you can install them.
Update Minecraft on Nintendo Switch
For Nintendo Switch users, the update process is pretty simple. You just need to launch the game and a window will pop up notifying you of a new version/update available. In case you don’t get this, you can follow the instructions given down below to install the latest available update of Minecraft:
- First of all, highlight the game and then press the + button on your Switch.
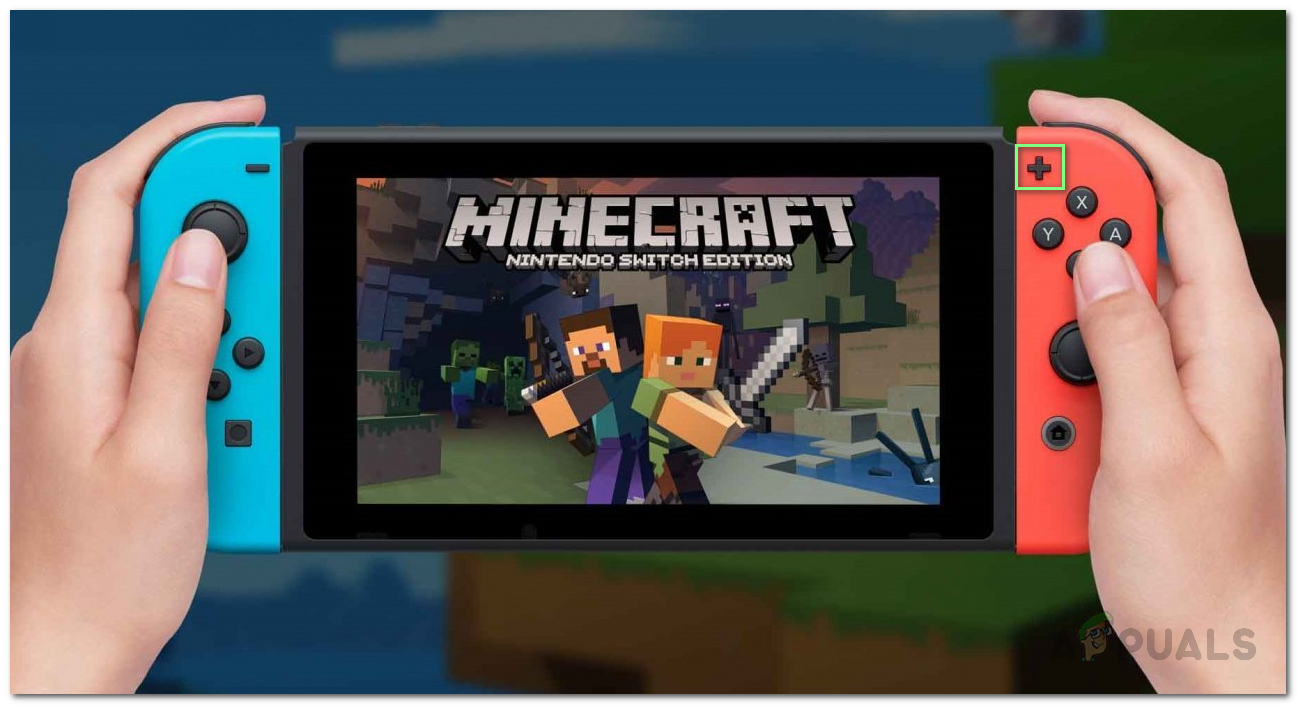
Minecraft on Nintendo Switch - Then, move to the Software update section.
- There, select the Via the Internet option by pressing A on it. This will look for any available updates and download them.

Updating Minecraft on Nintendo Switch
Update Minecraft on Mobile
Finally, if you are playing Minecraft on your smartphone, you can follow the instructions given down below to update it:
- On your smartphone, open up the Google Play Store or Apple App Store.
- Then, simply search for Minecraft in your respective app.
- On the Minecraft page, tap the Update button to update the game on your device.
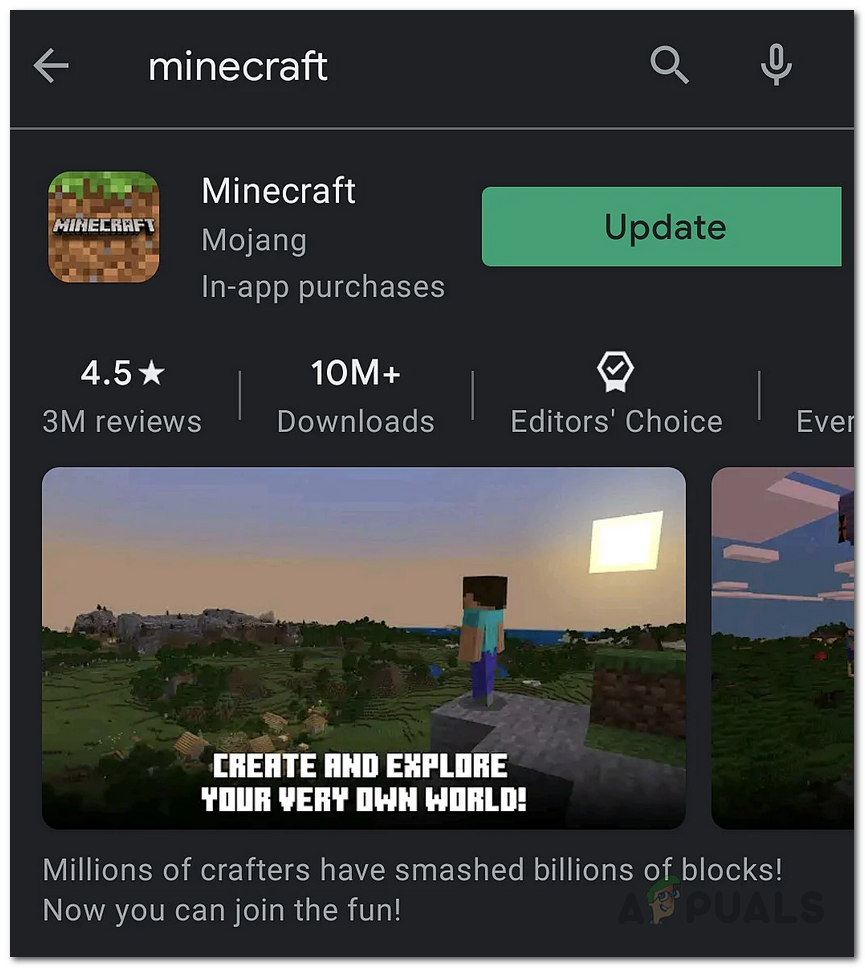
Updating Minecraft on Mobile


