How to Fix Microsoft Store Apps Crashing in Windows 11
Some Windows 11 are reporting that the Microsoft Store version present on the new OS keeps crashing whenever they open the view page of an application or game. With some users, this issue only occurs with certain app listings, while others are unable to visit any game or app listing without the Store interface crashing.
After investigating this particular issue thoroughly, it turns out that there are certain common scenarios that will produce this error on Windows 11. Here’s a list of potential culprits that might be responsible for this error code:
- Windows Store Hotfix not installed – Since Windows 11 became available to insiders, Microsoft has released a couple of hotfixes aimed at resolving interface-breaking bugs that plagued the Microsoft Store. If you have pending updates waiting to be installed on Windows 11, chances are all you need to do in order to fix this issue is install the pending Windows Updates.
- Corrupted Windows Store cache – One of the most common instances that will produce this error is badly cached data that is interfering with the functionality of the Windows Store. If you find yourself in this scenario, a simple Windows Store cache reset should be enough to fix the issue and allow you to visit the dedicated app and game listings.
- Corrupted UWP application dependencies – Keep in mind that on Windows 11, all native applications (UWP apps) share a common infrastructure. This infrastructure includes common dependencies that multiple apps might use at the same time. If this issue occurs due to a corrupted dependency, you can fix the issue by running the Windows Apps troubleshooter and applying the recommended fix
- Glitched Windows Store installation – It’s also possible to experience this issue due to a problem that affects the entire fleet of UWP applications. Several users that found themselves in a similar scenario have confirmed that they finally managed to fix the issue permanently after running a Powershell command capable of re-registering the common App Manifest that every UWP app uses.
- Date and time are not correct – Keep in mind that your operating system might have trouble verifying the integrity of your UWP (Universal Windows Platform) apps if the time and date on your local computer don’t match the values expected by the Microsoft server. In this case, you can fix the issue by setting the date and time to the correct values.
- System File Corruption – It’s not uncommon to deal with this issue in situations where some kind of system corruption ends up affecting the Microsoft Store component. In situations like this one, the best course of action is to deal with the system file corruption by running scans with utilities like SFC and DISM. In more serious circumstances, you might need to for a repair install procedure.
Now that you are familiar with every scenario that could potentially trigger this behavior on Windows 11, let’s get to the troubleshooting part.
Follow the methods below for step-by-step instructions on fixing this issue. We got these fixes from other users confirming their effectiveness on the interwebs.
Install every pending Windows 11 Update
Keep in mind that Microsoft has already released hotfixes for this particular issue a couple of times in the past. As of now, the new Microsoft Store is still in preview mode on Windows 11, so glitches like this are to be expected.
However, if you have pending updates waiting to be installed, it’s possible that the hotfix for this particular issue is waiting to be installed.
So before doing anything else, go over to the Windows Update interface and ensure that every pending update (especially cumulative & feature updates) is installed. If Microsoft has just released a hotfix for this particular issue, installing every pending update should resolve the issue automatically.
In case you find yourself in this particular scenario, follow the instructions below to install every pending Windows Update on Windows 11:
- Open up a Run dialog box by pressing Windows key + R. Once you’re inside the Run box, type ‘ms-settings:windowsupdate‘ and press Enter to open up a Run dialog box.
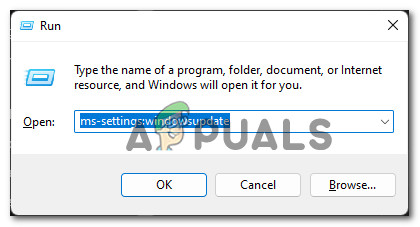
Opening the Windows Update screen on WIndows 11 - Once you’re prompted by the User Account Control, click Yes to grant admin access.
- Inside the Windows Update screen, scroll down to the right-hand pane and click on Check for Updates.
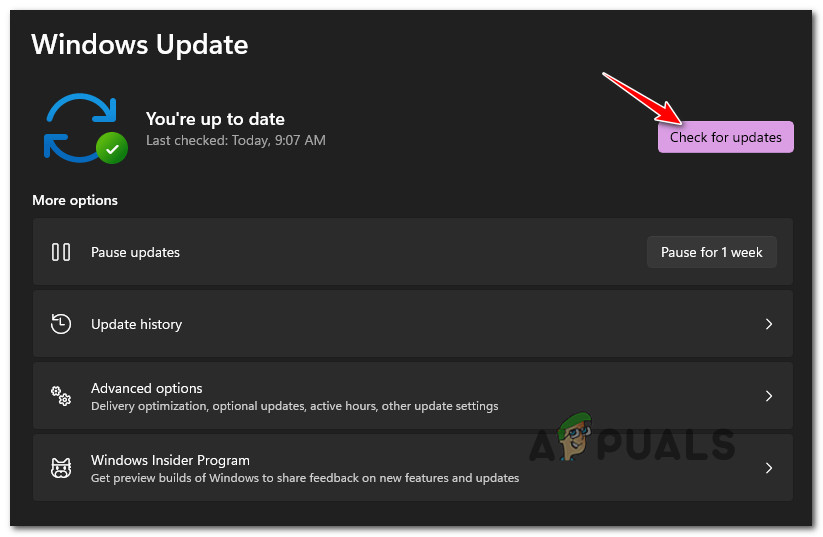
Check for Windows Updates on Windows 11 - Wait until the initial scan is complete, then go ahead and install every pending update (as instructed) and reboot your PC when instructed to do so.
- Once the next startup is complete, repeat the action that was previously causing the Microsoft Store crash and see if the problem is now fixed.
In case the Microsoft Store component still crashes when you try to access a dedicated listing, move down to the next potential fix below.
Reset the Windows Store Cache
Badly cached data is probably the most common culprit that is known to cause this sort of behavior with the Microsoft Store on Windows 11.
And even though cached files are very important for your Microsoft Store installation (they boost the response times and overall performance), removing them will not produce any underlying issue with the store component – after all, you are not able to use Windows Store properly anyways if you’re encountering this issue.
Fortunately, you won’t be required to do this manually – You can simply use a troubleshooting tool called WSReset.exe to reset and clear the Windows Store without changing the account settings or deleting the installed apps.
All you need to do is run this tool in an environment with administrative privileges and all the corrupted cached data that might be affecting the behavior of the Windows Store should be cleared.
Follow the instructions below to reset the Windows Store cache via the WSreset.exe utility:
- Press Windows key + R to open up a Run dialog box.
- Inside the Run box, type ‘wsreset.exe’ inside the text prompt, then press Ctrl + Shift + Enter to open up this utility with admin privileges.
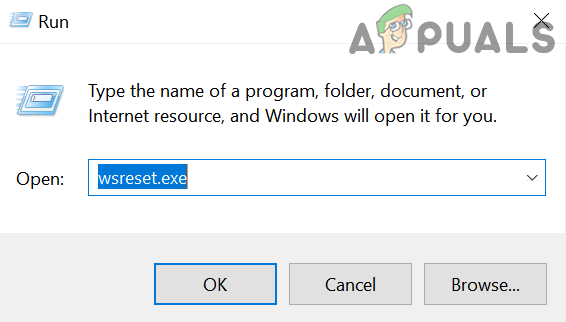
Performing a WSReset - When you’re prompted by the User Account Control prompt, click Yes to grant admin access.
- Inside the elevated command prompt, the utility will automatically run and clear the cached data of your Windows Store installation.
- After 10 seconds or so (depending on your storage capabilities) the window will automatically close and Microsoft Store will open automatically.
- Once the Microsoft Store is opened once again, repeat the action that was causing the utility to crash previously and see if the problem is now fixed.
In case the Microsoft Store utility still crashes when you open a dedicated app or game listing, move down to the next potential fix below.
Running the Windows Apps Troubleshooter
Keep in mind that all native applications that are running on UWP (Univeral Windows Platform) have a set of common dependencies that they share with the main store component (Microsoft Store).
Under certain situations (after a bad update, after some type of file corruption), you can expect these shared dependencies to become corrupted and affect the app retrieval process – in scenarios like this one, the best course of action is to run the Windows Apps Troubleshooter and allow the automated repair component to take care of the issue.
Note: The Windows Apps Troubleshooter is a repair component that is packed to the brim with automated repair strategies that can be applied if a recognizable scenario is discovered.
If you haven’t tried this operation yet, follow the instructions below to run the Windows App Troubleshooter and apply the recommended fix to repair every shared dependency:
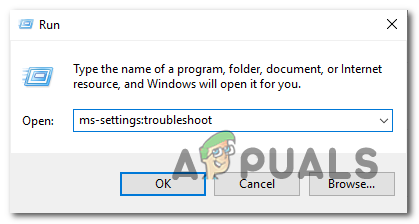
- Open up a Run dialog box by pressing Windows key + R. Next, type ‘ms-settings:troubleshoot’ inside the text box, then press Enter to open up the Troubleshooting tab of the Settings menu.
Opening the Troubleshoot menu - Once you’re inside the Troubleshoot window, move to the right-hand pane, then click on Other troubleshooters at the bottom of the screen.
- Inside the dedicated Other Troubleshooters menu, scroll down all the way to the bottom of the screen and click on the Run button associated with Windows Store Apps.
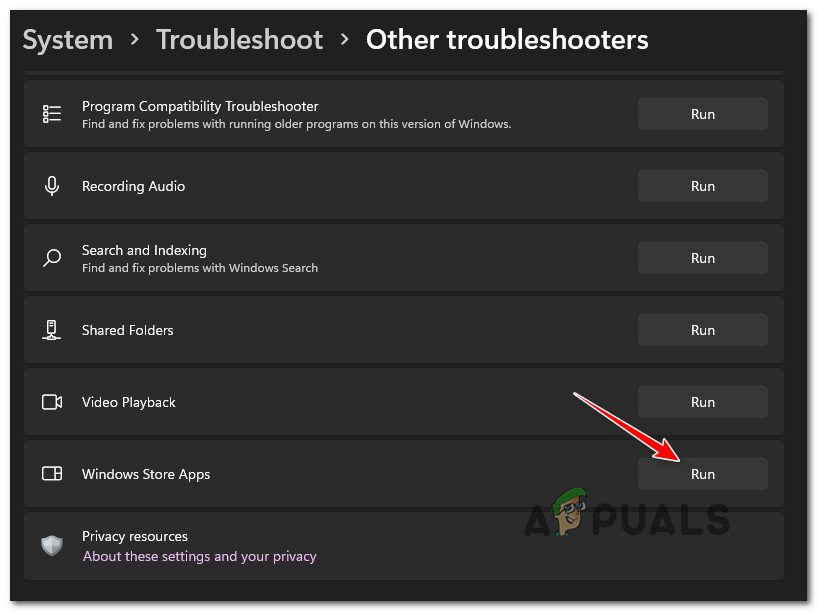
Running the Windows Apps troubleshooter - Once the Windows Store App troubleshooter is open, wait until the initial scan is complete and see if a viable fix is identified.
- If you are presented with a repair method, apply it by clicking on Apply this fix.
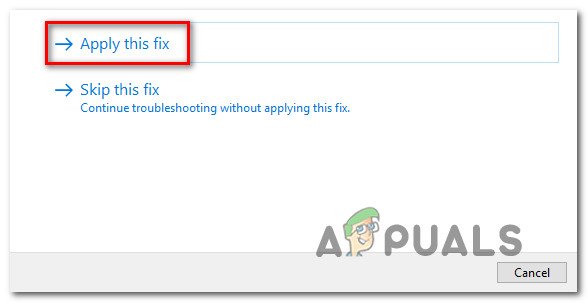
Apply this fix Note: Keep in mind that depending on the type of fix that gets recommended, you might be required to follow a series of manual instructions in order to apply the fix.
- Once the fix is finally successfully applied, reboot your Windows 11 computer and see if the problem is now fixed.
In case the same kind of issue is still occurring and you’re still unable to open dedicated Windows Store listings for apps or games, move down to the next potential fix below.
Reinstall the Windows Store app package
In certain situations, you can expect this issue to occur due to an App package issue that affects the entire fleet of UWP applications. Situations like this one cannot typically be resolved by simply resetting the main Store component from the UI menu of Windows 11.
If you find yourself in this scenario, the best course of action is to run a command (with admin access) that’s capable of removing the Microsoft Store app package from every account and force the package to clean re-install.
This can be achieved by using a custom Get-AppxPackage command in an elevated Powershell window. Other users dealing with a similar issue have confirmed that the problem was resolved entirely after reinstalling the Windows Store app package via the Windows Terminal app.
To deploy the same kind of fix, follow the instructions below:
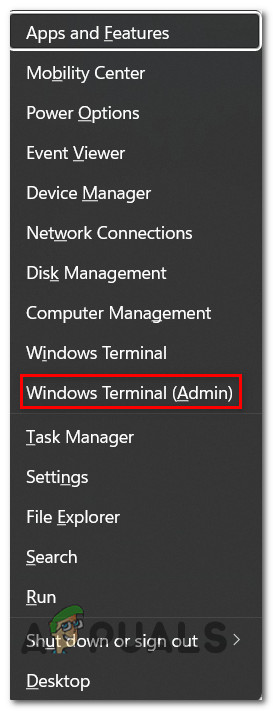
- Press Windows key + X to open up the context menu of the taskbar interface.
- From the context menu of the taskbar, click on Windows Terminal (Admin) from the list of available options.
Opening the Windows Terminal app - Once you’re prompted by the User Account Control (UAC) window, click Yes to grant admin access.
- As soon as you’re inside the elevated Windows Terminal interface, type or paste the following command and press Enter to run it:
Get-AppXPackage *WindowsStore* -AllUsers | Foreach {Add-AppxPackage -DisableDevelopmentMode -Register “$($_.InstallLocation)\AppXManifest.xml”} - Once the command is successfully processed, restart your PC and wait for the next startup to complete before re-trying the same action that was previously causing the Microsoft Store listings to crash.
If the same kind of issue is still occurring, move down to the next potential fix.
Change Date and Time to correct values
If none of the methods above have proven to be effective in your case, the final thing that you should investigate is your system clock.
As it turns out, if the time and date values of your local system are different than the ones expecting by the Microsoft Store server, you might be prevented from accessing personalized listings of Windows Store apps and games – you can get to the home screen, but you won’t be able to make it to the dedicated page.
Fortunately, if you find yourself in this particular scenario, the fix is simple – you need to change the date and time to the correct values so the MS server won’t object to your connection.
If you don’t know how to adjust the date and time to the correct values, follow the instructions below:
- Start by ensuring that your PC is connected to the internet.
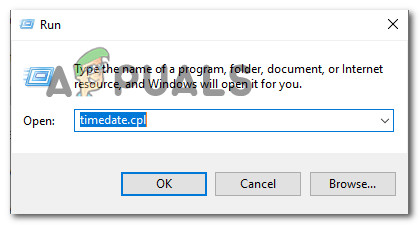
- Next, press Windows key + R to open up a Run dialog box. Inside the run box that just appeared, type ‘timetable.cpl’ and press Enter to open up the Date & time panel.
Opening the TimeDate screen on Windows 11 - Once you’re inside the Date & time window, start by accessing the Internet Time tab, then click on Change settings.
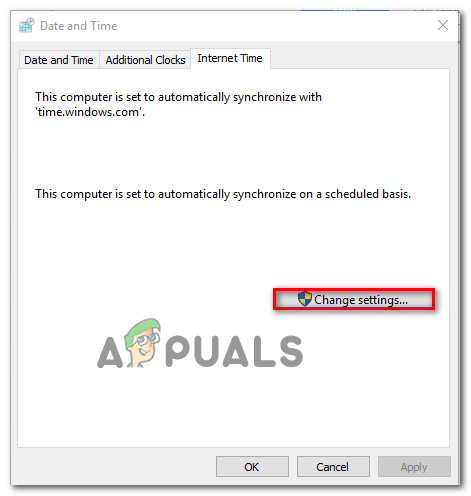
Changing the date & time settings - Once you’re prompted by the User Account Control (UAC), click Yes to grant admin access.
- Inside the Internet Time settings, start by checking the box associated with Synchronize with an Internet time server.
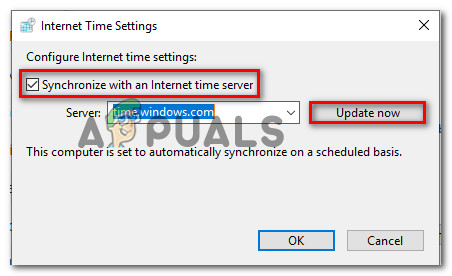
Synchronize with an Internet time server - Next, set the server to time.windows.com and click on Update Now.
- Once the setting is enforced, return to the main Date & Time tab, then click on Change time zone and start by ensuring that you’re using the correct timezone while keeping mind of your current geolocation.
- Once you’ve done this, click on Change date and time to ensure that the date is successfully set.
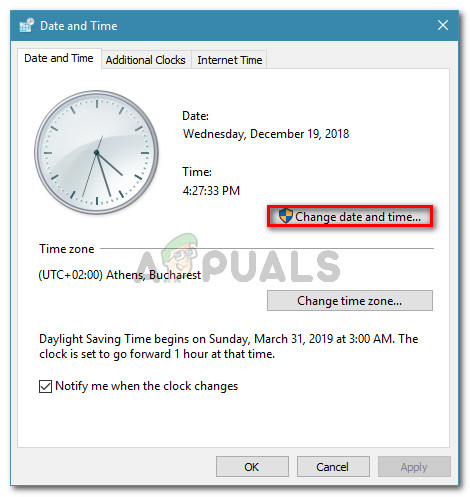
Setting the correct date and time - Finally, make your adjustments and hit Apply to make the modifications permanent.
- Reboot your compute and wait for the next startup to complete.
- Once your Windows 11 computer boots back up, open the Microsoft Store and attempt to open up the same dedicated app listing that was previously crashing the store component. If the problem was occurring due to the date & time values, the issue should now be resolved.
Run DISM and SFC Scans
If you come this far without any progress as you’re still seeing how the Microsoft store component crashes every time you get to a dedicated app listing, you need to start considering a scenario where this behavior is caused by some kind of system file corruption.
When troubleshooting this issue, our advice is to start with the options that won’t touch your personal data and user preferences – DISM (Deployment Imaging and Servicing Management) and SFC (System File Checker) scans.
Note: Both of these utilities are capable of replacing corrupted system files with healthy equivalents, but they do things differently, which makes them ideal to run in tandem.
If you’re looking for step by step instructions on deploying both of these types of scans, follow the instructions below:
- Press Windows key + R to open up a Run dialog box.
- Next, inside the Run box, type ‘cmd’ inside the text box, then press Ctrl + Shift + Enter to open up an elevated Command Prompt.
Opening up a CMD scan - When you’re prompted by the User Account Control, click Yes to grant admin access.
- Once you’re inside the elevated CMD prompt, type the following command and press Enter to initiate a SFC scan:
sfc /scannow
Note: SFC makes us of a locally cached copy that’s capable of replacing corrupted system files with healthy equivalents. No internet access is needed to run this utility.
- Once the SFC scan is complete, reboot your computer and wait for the next startup to complete before opening up another elevated CMD prompt (follow step 1 again).
- After you return to the elevated command prompt window, type the following command to initiate a DISM scan:
DISM /Online /Cleanup-Image /RestoreHealth
Note: DISM will require a stable Internet connection. Instead of using a locally stored cached to replace corrupted Windows files, it uses a sub-component of Windows Update to download healthy equivalents for this system files that need to be replaced.
- Once the DISM scan is completed, reboot your PC one final time and see if the Microsoft Store component is now fixed.
In case the same problem is still occurring, move down to the final potential fix below.
Repair install (in-place upgrade) or Clean install
If none of the methods above have worked in your case, the potential fix left is the nuclear solution – replacing every involved system file dependency with a healthy equivalent.
In case you’re dealing with some kind of system file corruption, going for a clean install or repair install (in-place upgrade) are your only options left.
- Repair install (in-place upgrade) – If you can go this route, this is our official recommendation if you’re forced to resort to this particular scenario. A repair install (in-place upgrade) will only touch the system files (while keeping your personal files, user preferences apps & games)
- Clean install – Clean install might be the better option if certain kernel processes are affected, but the drawback is that by clean installing you’re essentially wiping out every bit of personal data stored on the OS drive. But be warned that if you go this route, you will lose any personal data.


