Fix: Microsoft Office SDX Helper- High CPU in Background
Microsoft Office SDX Helper may show high CPU usage if your Office installation is outdated or corrupt. Sdxhelper.exe is used to securely download and update Office. Moreover, hindrance from antivirus application or corrupt Office Document Cache may also result in the issue at hand.
The user sees the continuous high CPU usage by the Office SDX Helper process (something between 15% to 70%) in the Task Manager of his system as he was encountering the sluggishness in the PC.

Before moving on, make sure your network connection is not set as Metered Connection.
Solution 1: Update Office and Windows of Your PC to the Latest Build
Microsoft updates its Office products to cater to the latest technological advancements and patch known problems. You may encounter the issue at hand if your office installation or Windows of your system is outdated as it can create incompatibility between the Office and OS modules. In this context, updating the office/Windows to the latest build may solve the problem.
- Update Windows of your PC to the latest version. Also, make sure no optional update is pending.
- Now launch an office product (for example, MS Word) and steer to its File tab.
- Then click on More and open Account.
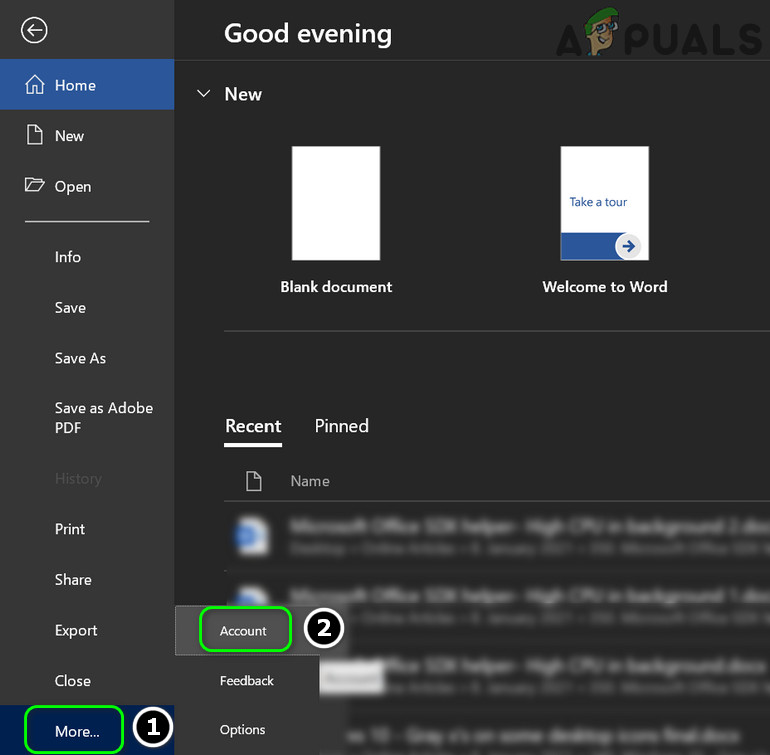
Open Account in the File Menu of MS Word - Now click on Update Options and select Update Now.
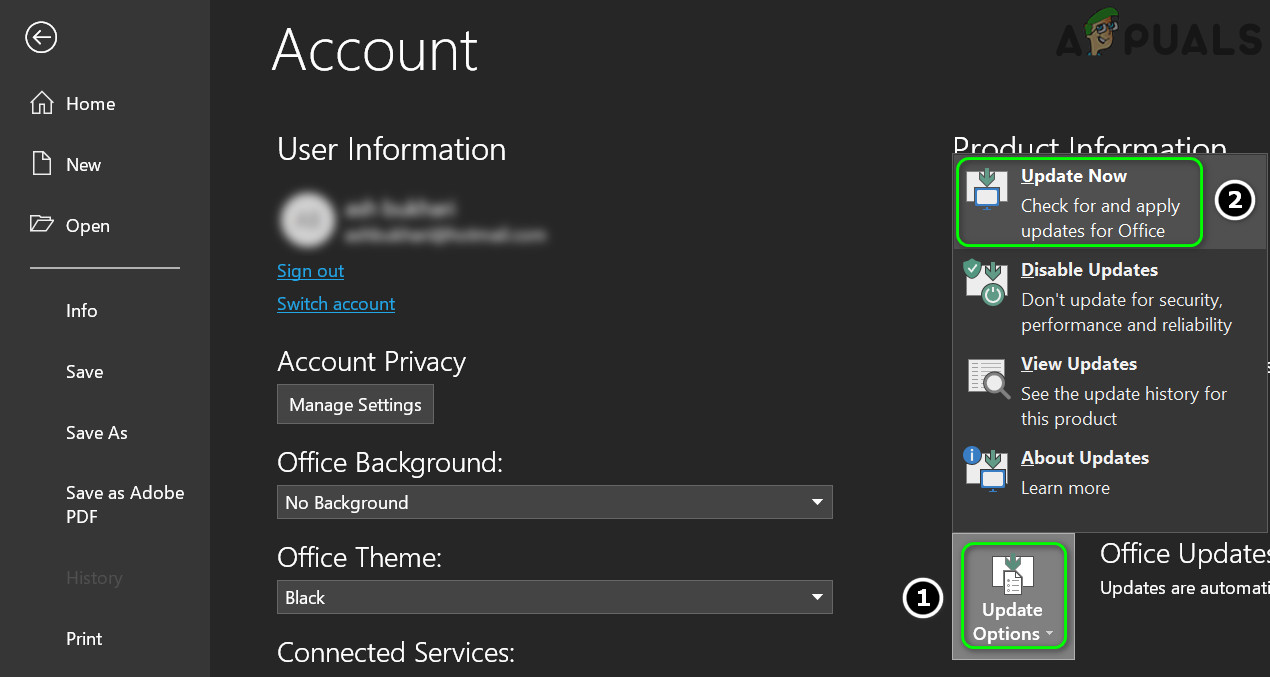
Update Office Application - Then check if an update is available, if so, then update the office installation and check if it solves out the high CPU usage.
Solution 2: Repair the Office Installation
The SDX issue could be a result of a corrupt installation of your office suite. In this case, repairing the office installation may solve the problem.
- Hit the Windows key and open Settings.
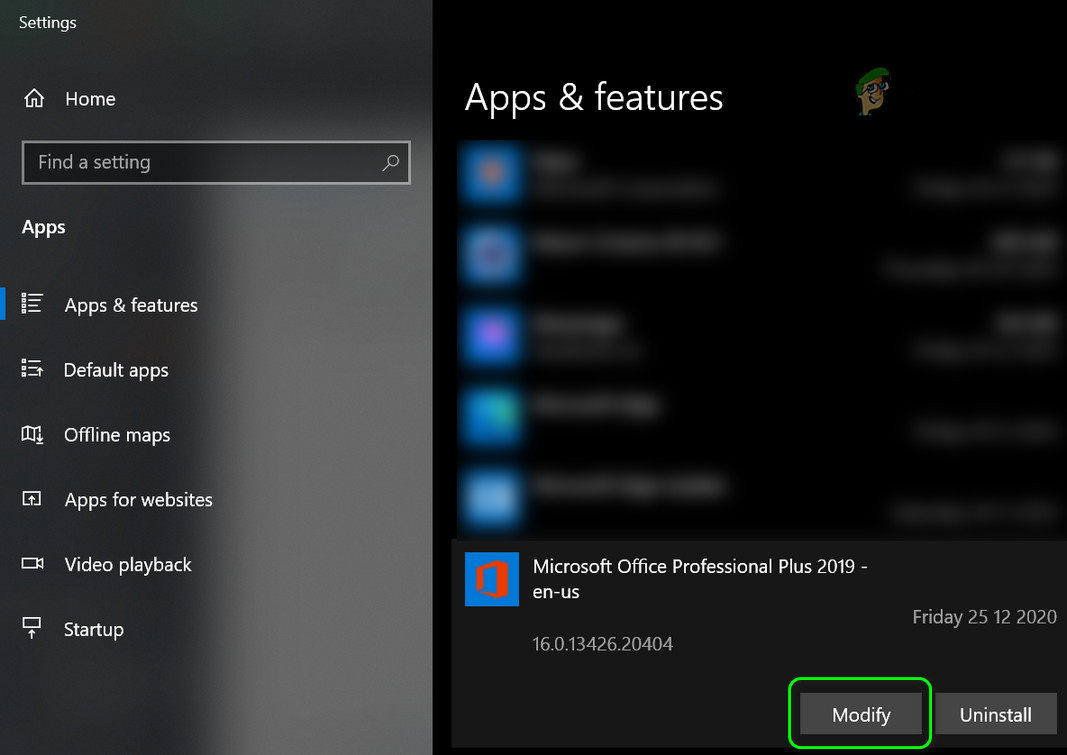
- Now select Apps and then expand the office installation.
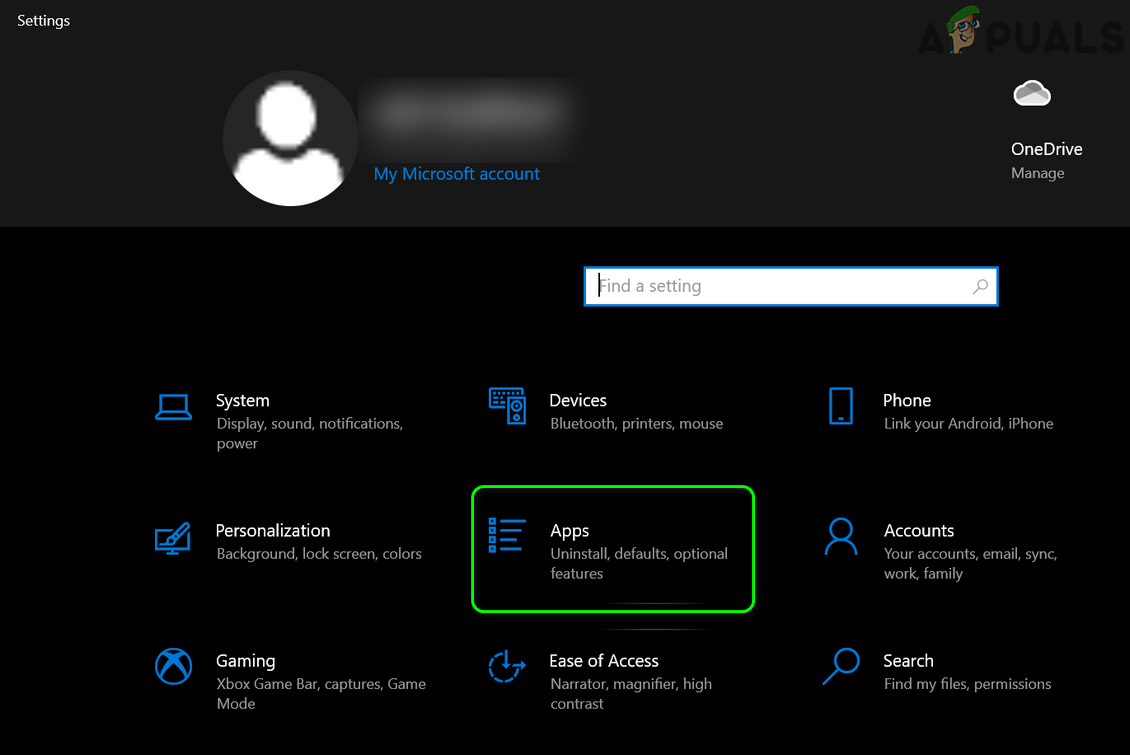
Open Apps in the Windows Settings - Then click on Modify (click Yes if UAC prompt received) and select Quick Repair.
Modify the Office Installation - Now click on the Repair button and wait for the completion of the repair process.
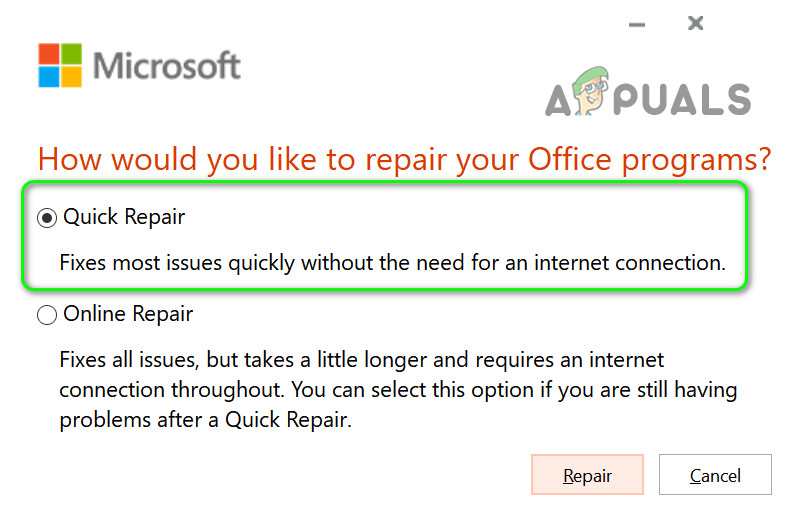
Quick Repair Office - Then check if the SDX helper issue is resolved.
- If not, then repeat steps 1 to 3 but at step 3, select Online Repair.
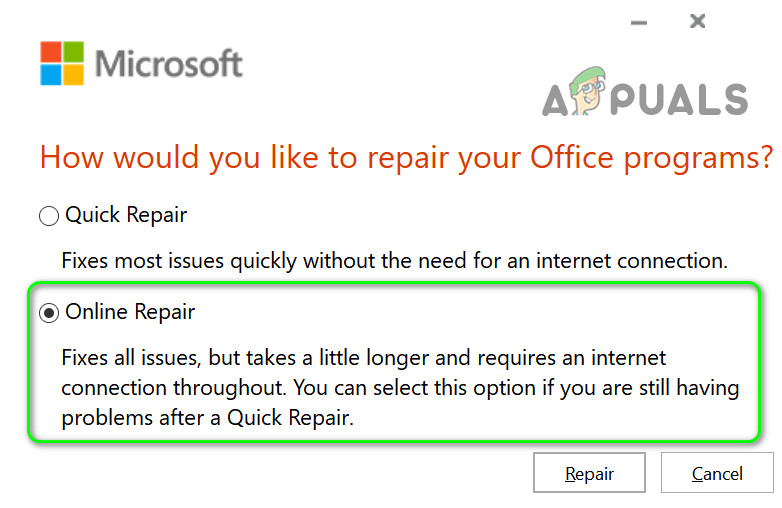
Online Repair Office - Now click on the Repair button and wait for the completion of the repair process (this may take some time to complete).
- Then check if the system is clear of the high CPU usage.
Solution 3: Add Exception for SDX Helper in the Antivirus Settings
You may encounter high CPU usage by SDX Helper if your antivirus is interfering with the operation of the Office Update module. In this case, exempting SDX Helper in the antivirus settings may solve the problem.
Warning: Advance at your own risk as editing the settings of your antivirus product may expose your system/data to threats that are not limited to viruses, trojans, etc.
- Disable your antivirus temporarily and check if the SDX Helper is not causing high CPU usage.
- If so, then you may have to add exceptions for the SDX Helper in the antivirus settings for the following files:
For 64-bit:
%programfiles%\microsoft office\root\vfs\programfilescommonx64\microsoft shared\office16\
For 32-bit:
%programfiles(x86)%\microsoft office\root\vfs\programfilescommonx64\microsoft shared\office16\
- After adding an exception, make sure to enable your antivirus and check if the high CPU issue is resolved.
Solution 4: Clear the Office Document Cache
You may encounter the error at hand if the Office document cache is corrupt. In this case, clearing the office document cache may solve the problem.
- Launch the Office Upload Center (either from the system’s tray or the Start menu) with administrative privileges and open its Settings.

Open Settings of Office Upload Center - Now click on Delete Cached Files and reboot your PC.
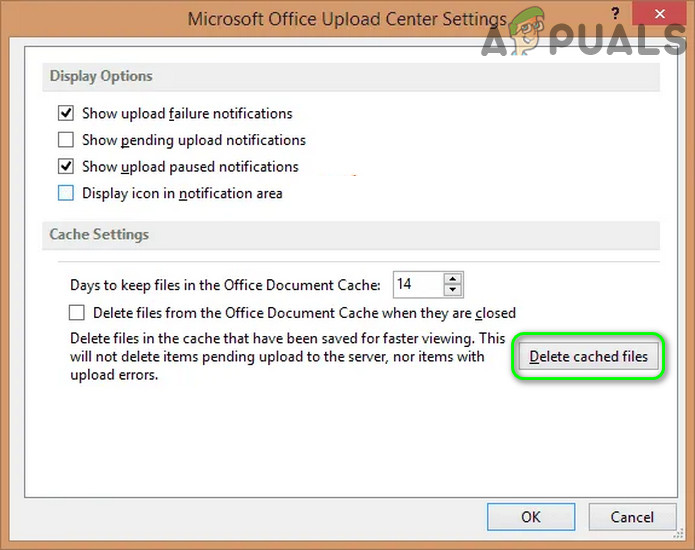
Delete Cached Files in the Settings of Microsoft Office Upload Center - Upon reboot, check if the SDX Helper is working fine.
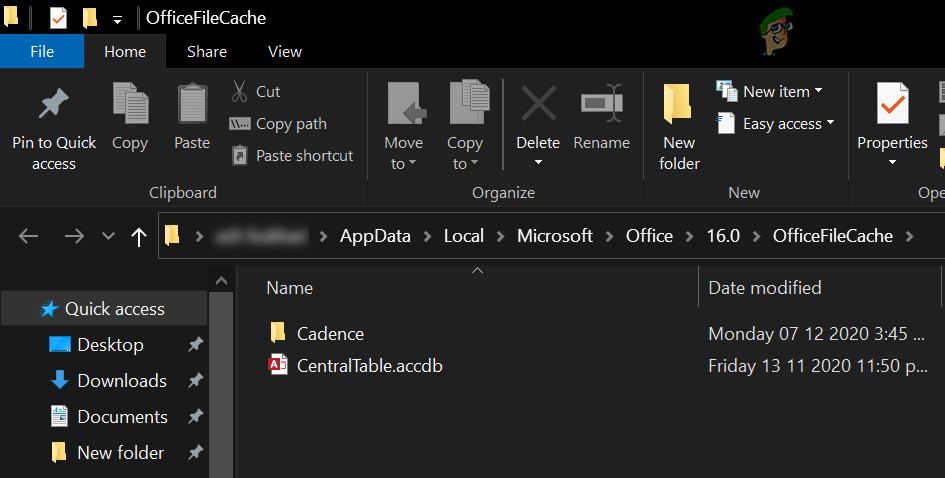
If not, then check if deleting the contents of the following folder and rebooting the PC solves the problem (you may have to delete the files in the Safe Mode):
\Users\%username%\AppData\Local\Microsoft\Office\16.0\OfficeFileCache
Solution 5: Disable the Relevant Tasks in the Task Scheduler
If the SDX Helper keeps on coming back, then the issue could be triggered by a task in the Task Scheduler. In this context, disabling the relevant tasks in the Task Scheduler may solve the problem. Make sure to perform the following steps in the problematic user account (not the admin one). Also, keep in mind that after disabling these tasks you may have to manually update the Office applications.
- Hit the Windows key and in the Windows Search, type Task Scheduler. Now select Task Scheduler.
- Then navigate to the following path:
Task Scheduler Library >> Microsoft >> Office
- Now right-click on Office Feature Updates and select Disable.
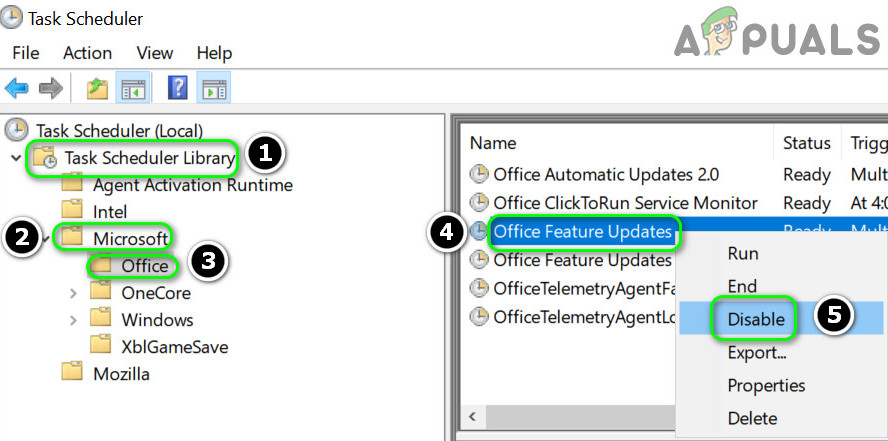
Disable Office Feature Updates - Then repeat the same to disable the task of Office Feature Updates Logon.
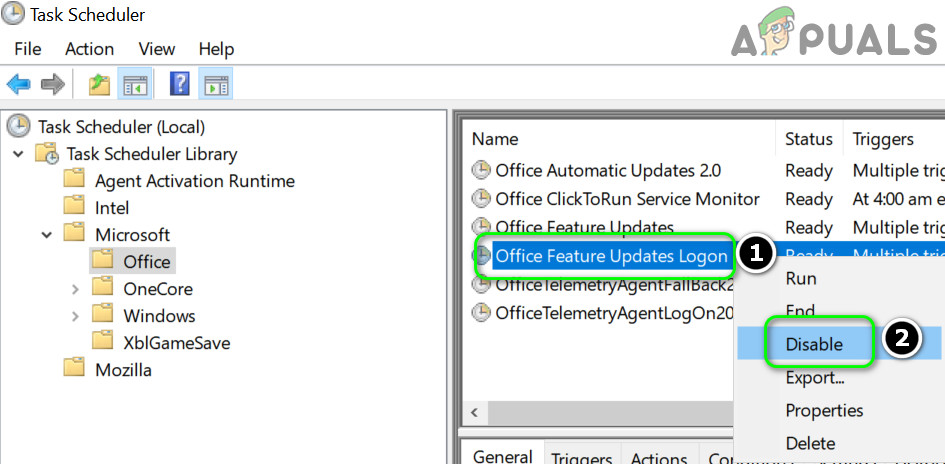
Disable Office Feature Updates Logon - Now exit the Task Scheduler and reboot your PC.
- Upon reboot, check if the SDX Helper issue is resolved.
You can achieve the same by executing the following in the PowerShell (Admin):
Schtasks /change /s $_ /tn ‘\Microsoft\Office\Office Feature Updates’ /disable

Schtasks /change /s $_ /tn ‘\Microsoft\Office\Office Feature Updates Logon’ /disable
Solution 6: Rename the SDX Helper File
If the issue is still there, then you may rename the file to stop it from launching (till the issue is solved). You may have to repeat this solution after every Windows or office update. Keep in mind that SDX Helper is used by the OS to update the office applications (in the background) and after renaming it you may have to manually update the office (in a server-client setup, you may use WSUS or SCCM).
- Right-click on the Windows button and choose Run.
- Now navigate to the following path (copy the address and paste it in the Run box):
%programfiles%\Microsoft Office\root\vfs\ProgramFilesCommonX64\Microsoft Shared\OFFICE16
- Now right-click on the Taskbar and choose Task Manager (do not close the office 16 folder opened in the previous step).
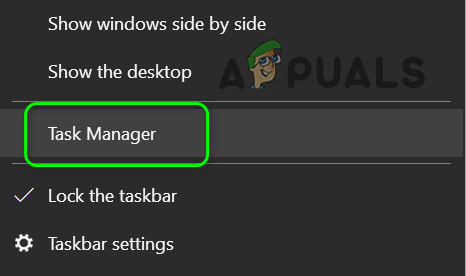
Open the Task Manager of Your System from the Taskbar - In the Task Manager window, right-click on the process of sdxhelper.exe (in the Details tab) and choose End Task.
- Then switch to the window of the Office16 folder (step 2).
- Then right-click on sdxhelper.exe and select Rename (you may backup the file on another location and delete it).
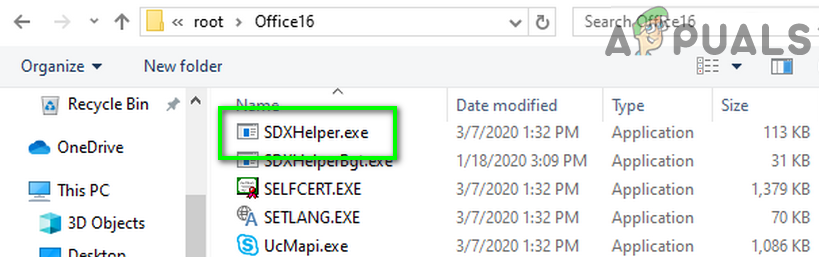
Rename the SDXHelper.exe File - Now enter the name for the file and hit the enter key. Make sure to rename the file extension as well, for example, sdxhelper1.old.
- Then check if the SDX Helper issue is resolved.
- If the issue reoccurs, then check if deleting the complete Office16 folder (location at step 2) resolves the issue (do not forget to back up the folder before deleting it).
If you are encountering an issue in a domain network, then you may use a group policy to rename the file. Also, it will be better to rename the file to the original, once a proper solution is floated by the Redmond giant.
Solution 7: Reinstall the Office Suite
If none of the solutions has worked for you, then the issue could be a result of a corrupt installation of the office (that is beyond repairing). In this context, reinstalling (a cumbersome task for some users) the office may solve the problem. Before proceeding, make sure to backup essential information/data.
- Hit the Windows key and open Settings.
- Now select Apps and expand your office installation.
- Then click on the Uninstall button and confirm by clicking on Uninstall.
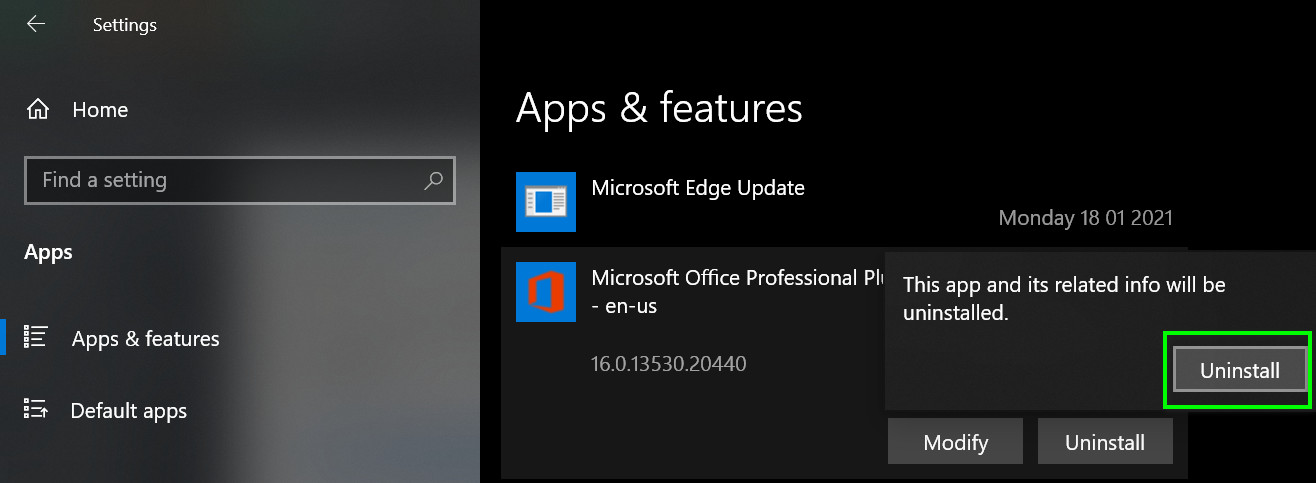
Uninstall Office Suite - Now follow the prompts to complete the office uninstallation.
- Then uninstall any other office products or language packs (if you are using Office 365, then make sure to uninstall the Skype for Business).
- Then reboot your PC and right-click on the Windows button.
- Now select Run and navigate to the following path:
\Users\%Username%\AppData\Local\Microsoft\
- Now delete the Office folder and any other folder related to Office (like Word, Excel, etc.).
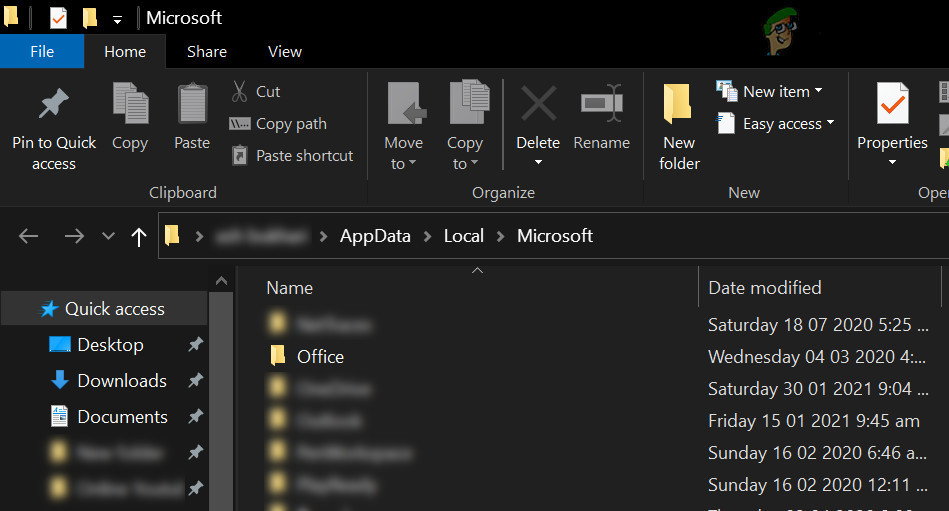
Delete the Office Folder - Then navigate to the following path:
%programfiles%
- Now delete the following folders:
Microsoft Office

Microsoft Office 15
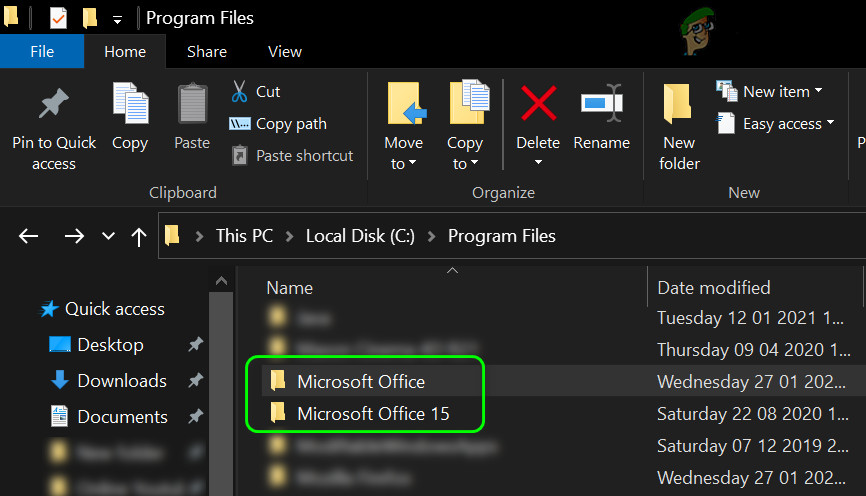
Delete the Microsoft Office and Microsoft Office 15 Folders - Then download the Office from the user portal on the Office 365 website (if using Office 365) and install it.
- Now check if the system is clear of the SDX Helper high CPU usage.
If that did not solve the issue, then you may have to uninstall Office by using Microsoft Support and Recovery Assistant and then reinstall it. If you are using a 64-bit version, then check if removing it and installing a 32-bit version of Office resolves the issue.
If the issue persists, then check if setting up an Office Telemetry Dashboard resolves the issue. If the issue started after an Office update, then check if reverting to an older version of the Office solves the problem. If the issue is still there, then you may have to keep the Task Manager open and kill the SDX Helper process, whenever the process relaunches.


