[FIX] Microsoft Office Activation Error 0X4004F00C
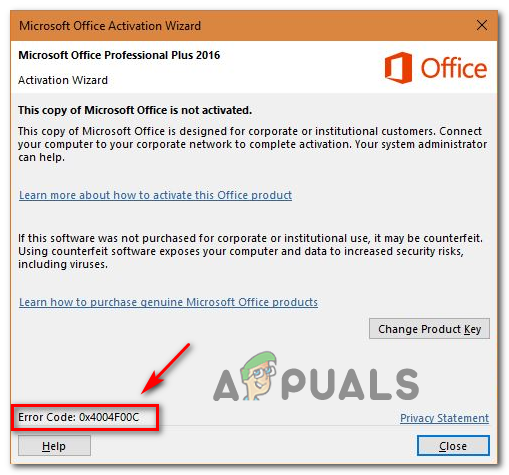
Some Office users are encountering the error 0X4004F00C when using a product from the Microsoft Office suite. This error is reported to pop up at random times or when the user checks the product information window.
There are several different underlying causes that might end up causing the error 0X4004F00C:
- Generic activation glitch – Most of the underlying causes of this error code have been already mitigated by Microsoft via a selection of Activation troubleshooter capable of identifying the of fixing the issue automatically. Before trying anything else, run one of the three Office activation troubleshooters (for Office 365, Office 2016 / 2019 and Office 2013), and apply the recommended fix.
- VPN or Proxy interference – Similar to the Windows subcomponent, the activation feature on Office is sensible to filtered networks that go through a VPN or Proxy server. If this scenario is applicable, you should be able to fix the issue by disabling or uninstalling the proxy server or VPN client that you’re using.
- 3rd party firewall interference – As it’s been confirmed by several affected users, there are certain overprotective AV suites that might end up blocking communications between the Activation server and the end-user computer due to a false positive. In this case, the only solution is to stop enforcing the security rules either manually or by uninstalling the firewall and any remnant data.
- Conflicting license key data – If you have the habit of migrating your single license subscription between multiple devices frequently or you add or remove Office 365 tenants regularly, you might be facing this issue due to a glitch facilitating by roaming credentials. In this case, you should be able to fix the issue by using an ospp.vbs script to invoke the checking of the license status and then uninstalling every trace of your current license key before doing a clean activation.
- Corrupted Office installation – In some rare circumstances, this problem can end up occurring due to some kind of local corruption that is plaguing Office files that are stored locally. In this case, you should be able to fix the issue by forcing Online repair from the Programs and Files menu.
Note: Every potential fix below assumes that your license key is valid – None of the methods below will work if you have this issue with an invalid / pirated license key.
Running the Office Activation tool
As it turns out, this activation consistency is already being mitigated by Microsoft. In fact, the tech giant has already released 3 different troubleshooting utilities capable of dealing with the issue automatically (one for each Office version).
Each of these utilities will hold a series of generic troubleshooting steps that can be applied automatically in case a recognizable scenario is discovered. If the investigation reveals a problem that is already covered by a repair strategy included in the troubleshooter, the utility will automatically apply the recommended fix.
This potential fix was confirmed to work by a lot of affected users. If you want to pursue this method, follow the steps below to download a compatible Office Activation troubleshooter and use it to fix the 0X4004F00C error:
- Download one of the Office Activation troubleshooters below, depending on which Office version you’re using:
Microsoft 365
Office 2016 and Office 2019
Office 2013 - Once the download is complete, open the .exe / .diagcab file and click Yes at the UAC (User Account Control) to grant administrative privileges.
- Once you’re inside the Office Activation Troubleshooter, start by clicking on the Advanced menu and check the box associated with Apply repairs Automatically, then click Next to advance to the next menu.

Forcing the Activation Troubleshooter to apply the recommended fix automatically - Wait until the initial scan is complete and see if an application is discovered. If a viable fix is identified, the fix will be applied automatically. However, depending on the type of fix, you might be required to perform some steps automatically. If that happens, click on Apply this fix and follow the on-screen instructions.
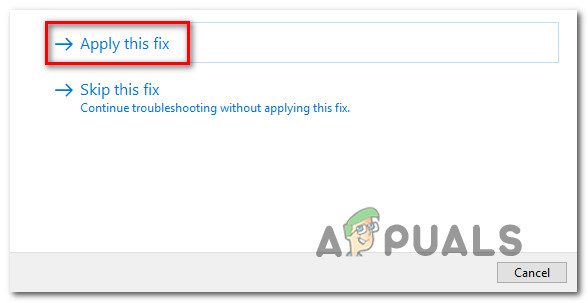
Apply this fix - After the fix is successfully applied, reboot your machine and open Microsoft Office at the next system startup to see if the problem has been fixed.
In case you still end up seeing the 0X4004F00C error, move down to the next potential fix below.
Disabling / Uninstalling Proxy or VPN server (if applicable)
Similar to what might happen with the Windows Update component, the Activation module on Office is prone to blocking communications with the Activation server if it determines that you’re currently on a suspicious network.
And as a lot of users have reported, this problem might be facilitated by a VPN client or Proxy server. This is way more common with Proxy servers (especially Asian-based ones).
If this scenario is applicable to your particular situation, follow one of the guides below to disable VPN or Proxy solution that might be causing the problem.
Disabling the Proxy server
- Open up a Run dialog box by pressing Windows key + R. Next, type “ms-settings:network-proxy” and press Enter to open up a Proxy tab from the native Windows 10 menu.
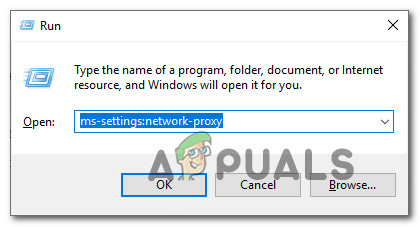
Opening the Proxy menu via a Run command - Once you arrive inside the Proxy tab, scroll all the way down to the Manual proxy setup section, then go ahead and disable the toggle associated with Use a proxy server.
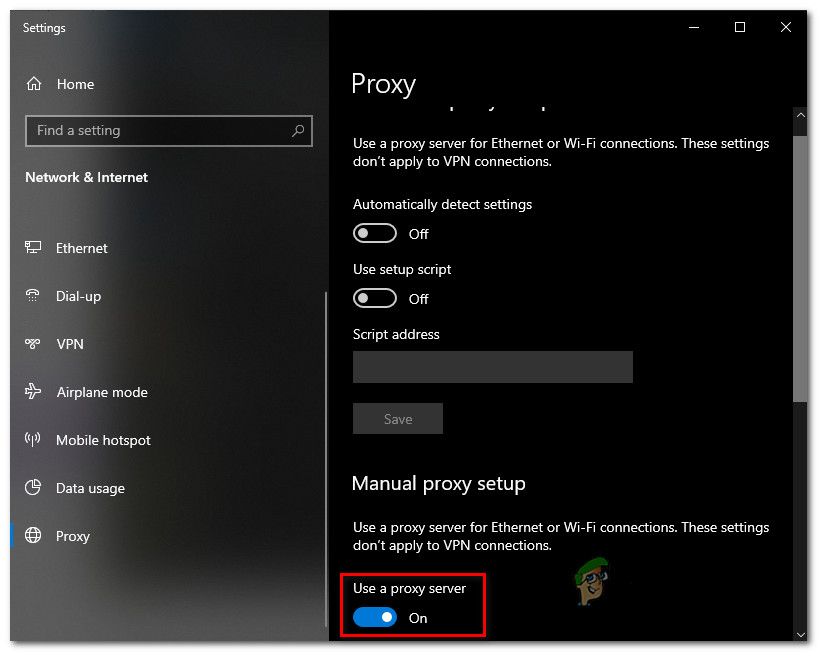
Disabling the use of a proxy server - Once your proxy solution has been disabled, reboot your computer and attempt to do the re-activation once the next startup sequence is complete.
Disabling VPN Connection
- Press Windows key + R to open up a Run dialog box. Next, type ‘appwiz.cpl’ and press Enter to open up the Programs and Features menu.

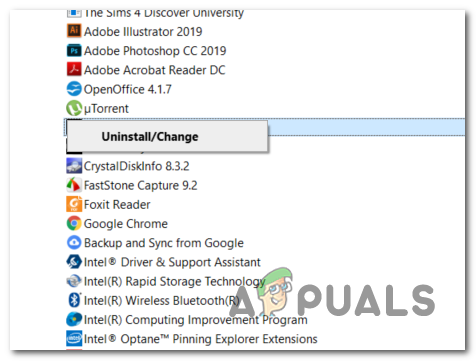
Type appwiz.cpl and Press Enter to Open Installed Programs List - From the Programs and Features screen, scroll down through the list of installed applications and locate the 3rd party VPN that you suspect might be causing the issue.
- Once you manage to locate the problematic VPN solution, right-click on it and choose Uninstall from the newly appeared context menu.

Uninstalling a VPN tool - Inside the uninstallation screen, follow the on-screen instructions to complete the process, then restart your computer manually if you’re not automatically prompted to do so.
- At the next computer startup, open an Office Suite program once again and attempt to do the activation once again.
In case you still end up seeing the 0X4004F00C, move down to the next potential fix below.
Uninstalling 3rd party firewall (if applicable)
Another potential culprit that might end up facilitating the apparition of the 0X4004F00C error is an overprotective 3rd party firewall that ends up blocking communications between your end-user computer and the Microsoft activation server. In most cases, this will occur due to a false positive.
In this case, disabling the real-time protection of your active firewall will likely not be enough to stop this behavior from occurring. This happens because most firewalls impose hardcoded security restrictions, meaning the same rules will remain in place even if the firewall is disabled/closed.
If you’re indeed dealing with a false positive facilitated by an overprotective firewall suite, you should be able to resolve the problem by uninstalling the current firewall program altogether and migrate to the built-in Windows firewall or to a more lenient 3rd party solution.
If you are determined to do this, follow the instructions below to ensure that your firewall is not the culprit behind the 0X4004F00C error:
- Open a Run dialog box by pressing Windows key + R. Inside the text box, type ‘appwiz.cpl’ and press Enter to open up the Programs and Features window.
Type appwiz.cpl and Press Enter To Open Installed Programs List - From the Programs and Features screen, scroll down through the list of installed applications and locate the 3rd party firewall that you’re using. When you see it, right-click on it and choose Uninstall from the next context menu.
Uninstalling Avast Firewall - Once you’re inside the uninstallation window, go ahead and follow the on-screen instructions to complete the process of uninstalling your 3rd party firewall.
- After the operation is complete, reboot your computer and attempt to redo the activation once the next startup is complete.
In case you’re still encountering the same 0X4004F00C error, move down to the next potential fix below.
Reactivating the current Office key
As it turns out, the error 0X4004F00C is most commonly appearing for users that have the habit of frequently switching between devices with a single license subscription. Another common scenario is this error appearing for companies that regularly add and remove Office 365 tenants. In general, roamed credentials are the main cause of this error.
In this case, you should be able to fix the issue by clearing license key data from 4 different locations in order to reset the current activation and then activating Office from a clean state.
We will use an ‘ospp.vbs’ script to invoke the checking of the license status after uninstalling the keys corresponding to previous Office installations that might be currently causing the error 0X4004F00C.
If you are determined to go through with this procedure, follow the instructions below:
- First things first, ensure that Word, Excel, Powerpoint, and any other program that’s part of the Office suite is completely closed. Also, it’s important to open up Task Manager (Ctrl + Shift + Enter) and ensure that no process belonging to Microsoft Office is currently running in the background.
Opening the detailed Task Manager interface - Next, open up a Run dialog box by pressing Windows key + R. Inside the next window, type ‘cmd’ inside the text box and press Ctrl + Shift + Enter to open up an elevated Command Prompt window. When you see the UAC (User Account Control) prompt, click Yes to grant administrative privileges.
Running Command Prompt - Once you’re inside the elevated CMD prompt, type the command below and press Enter to view the current Office 366 license that is currently being used for your Office installation.
C:\Program Files (x86)\Microsoft office\office15>cscript ospp.vbs /dstatus
Note: If you already know your current Office key, skip this step and the next one altogether and move directly to step 5.
- From the result, take note of the currently installed product key since we will need it at the next step.
- Now that you know your license key, type the following command and press Enter to uninstall the current Office product key:
C:\Program Files (x86)\Microsoft office\office15>cscript ospp.vbs /unpkey:“Last 5 Product key Characters”
Note: “Last 5 Product key Characters” is just a placeholder. You need to replace it with the last 5 characters of your product key (the one that you took note of at step 4.
- Once you see the success message “Uninstall Product key successfully” message, you just confirmed that the operation was successful. When this happens, you can safely close the elevated CMD prompt.
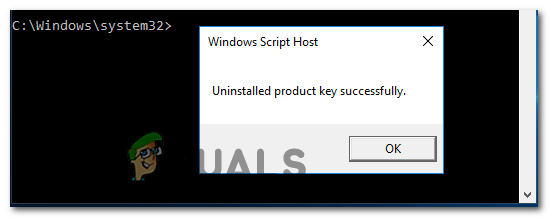
Uninstalling the Office product key - Open up another Run dialog box via Windows key + R. This type, type ‘regedit’ in the text box, and press Enter to open up the Registry Editor utility.

Running the Registry Editor Note: When you’re prompted by the UAC (User Account Control) prompt, click Yes to grant admin access.
- Once you’re inside Registry Editor, use the left-hand menu to navigate to the following location:
HKCU\Software\Microsoft\Office\*Office Version*\Common\Identity\Identities
Note 1: Keep in mind that *Office Version* is a placeholder that needs to be replaced with your particular office version (15.0, 16.0, etc.)
Note 2: You can either get to this location manually or you can paste the location directly into the navigation bar and press Enter to get there instantly. - Select the Identity key from the left-hand menu, then systematically right-click each one of its subfolders and click on Delete to remove them.
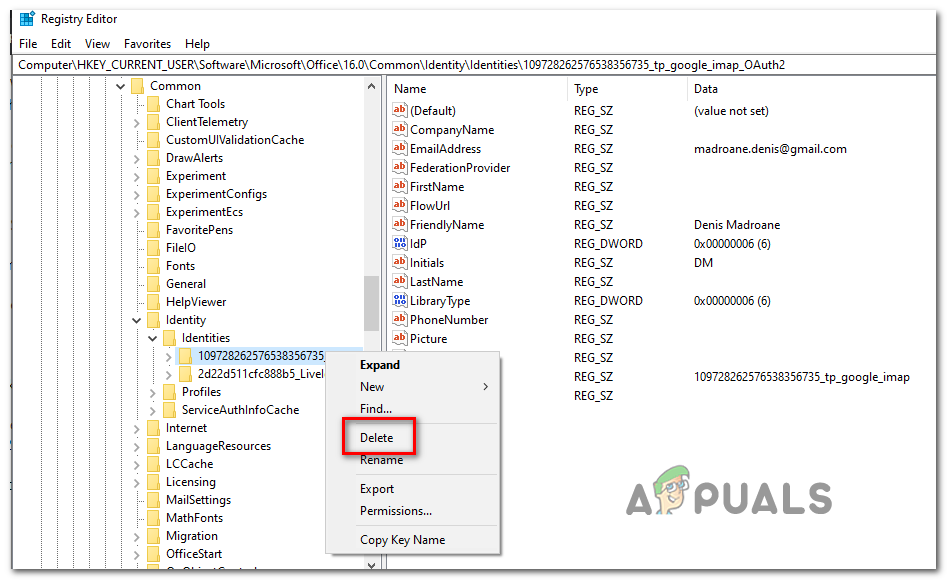
Deleting each identity belonging to Office - Once every relevant Identity subentry is deleted, you can safely close Registry Editor.
- Press Windows key + R once again to open up another Run dialog box. Inside the text box, type ‘control.exe /name Microsoft.CredentialManager’ and hit Enter or click Ok to open up Credentials Manager.
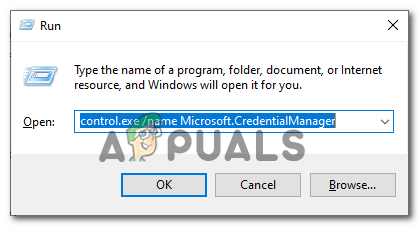
Opening Credential Manager via CMD - From the main Credential Manager window, click on Windows Credentials (under Manage your Credentials).
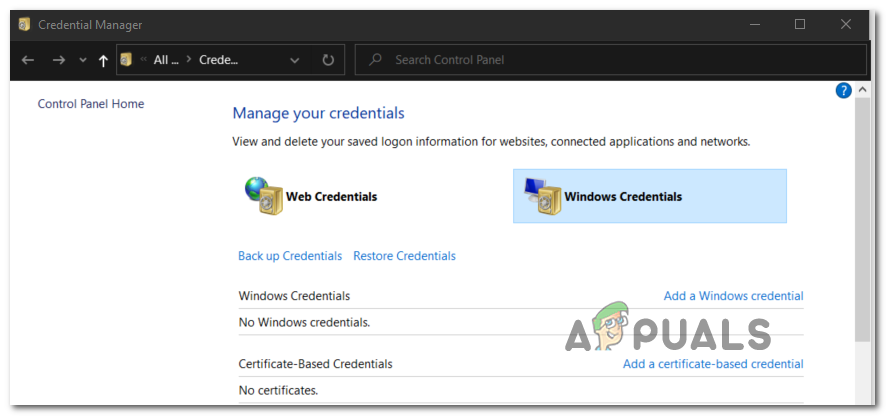
Accessing the Windows Credential Manager - Inside the Generic Credentials menu, go ahead and locate every entry corresponding to Office 15 or Office 16. As soon as you see them, click on them once to expand, then click on Remove from the context menu top to get rid of them.
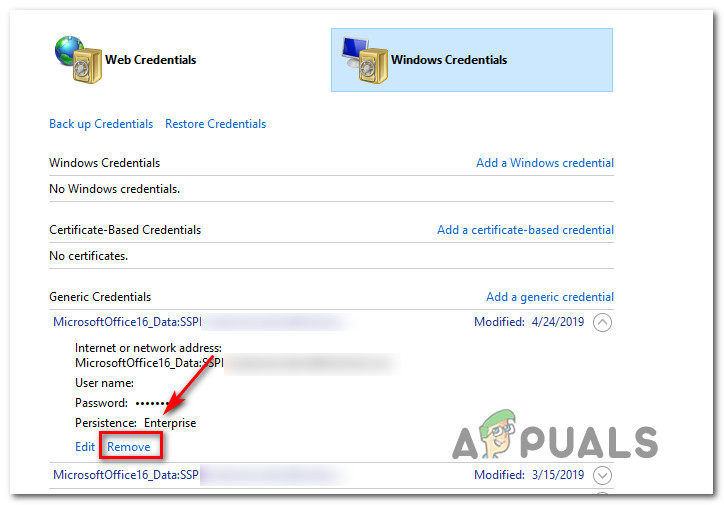
Removing all Office Credentials using Credential Manager - After you successfully manage to remove every Office-related entry from the vault, reboot your computer and wait for the next startup to complete.
- Once your computer boots back up, open an Office application and follow the on-screen instructions to re-activate the product.
In case the same problem is still occurring, move down to the next potential fix below.
Reinstall the Office Installation
If none of the potential fixes above have worked for you, it’s very likely that you’re actually dealing with a corrupted Office installation. Several affected users that were also encountering the 0X4004F00C error have managed to get the issue resolved by repairing the entire Office installation using the Online Repair method (not the Quick Repair option)
Attempt to do this too and restart your computer to see if the activation is successful after your Office installation has been repaired.
Here’s a quick guide that will show you how to initiate an Online Repair of your current Office installation.
Note: This is applicable to every Office version (including Office 365)
- Open up a Run dialog box by pressing Windows key + R. Next, type ‘appwiz.cpl’ and press Enter to open up the Programs and Features screen.
Type appwiz.cpl and Press Enter to Open Installed Programs List - Once you’re inside the Programs and Features screen, scroll down through the list of installed applications and locate your current Office installation.
- When you see it, right-click on it and choose Change from the newly appeared context menu.

Changing the Microsoft Office installation - After the initial scan is complete, choose Online Repair from the list of repair strategies available to you. Next, wait for the process to complete.
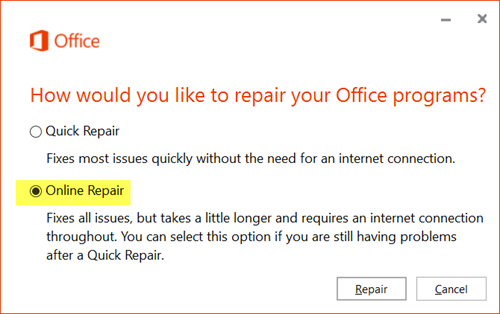
Performing on Online Repair - Follow the on-screen instructions to complete the repairing sequence, then restart your computer when you’re prompted to do so and see if the problem is fixed once the next startup is complete.


