Fix: VPN Error 619
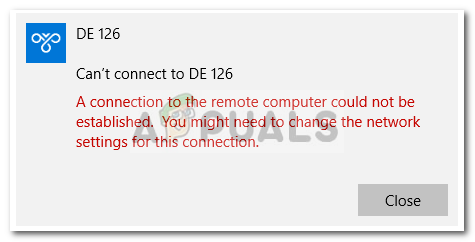
The ‘VPN Error 619’ occurs when you are trying to connect to a Virtual Private Network (VPN). This is caused when the Windows Firewall or the third-party antivirus application installed on your system is blocking the VPN connectivity. However, don’t worry as it is one of the most common type of errors which occurs on Windows while dealing with VPNs. In some cases, you might also get this message along with it ‘A connection with the remote computer could not be established’. This error can be really annoying because of its unpredictability and you are never going to know when it will pop up.
In this article, we are going to go through the possible causes of the said error message and later on explain what solutions can you apply to circumvent the issue. Hence, without any further delay, let us get into the various causes of the issue.
What causes the VPN Error 619?
As we have mentioned, the error can be caused by various reasons depending upon various scenarios. The error occurs when the VPN connection process is met with some blockades on its way. This is often found to be caused by the following main reasons:
- Windows Firewall or Third-party Antivirus: The first primary cause of the error has to be the Windows Firewall or your third-party antivirus, as mentioned prior. This happens when the connectivity is blocked by the Windows Firewall or when your third-party antivirus implements some restrictions.
- Third-Party VPN Application: If you have a third-party VPN application installed on your system while trying to connect to a VPN using the Windows default way, then that might cause the error sometimes. In such a scenario, you will have to uninstall the VPN application.
Now to fix your issue, you can try implementing the solutions provided down below in the same sequence.
Solution 1: Remove Other VPN software (if installed)
If there is more than one VPN software installed on your Windows, they can be interfering with the process which results in the said error message. Thus, it is always recommended to remove other VPN software and stick with only the one you primarily use.
Solution 2: Disable Antivirus / Firewall
The next step that might help in fixing this problem is disabling your computer’s firewall and antivirus. Many times, firewall blocks the incoming and outgoing connections because it sees it suspicious or you might have set the policy of firewall to such that it does not allow such connections. The thing you can do here is to disable your Windows firewall. Please refer to this link if you are not sure how to disable the Windows Firewall.
In addition, if you have any antivirus installed, make sure to disable it. Most modern antivirus software has functionalities of blocking incoming and outgoing connections of applications. Hence, this error might be the cause of your antivirus blocking the connection. It is recommended to disable it for the time being when you are using the VPN.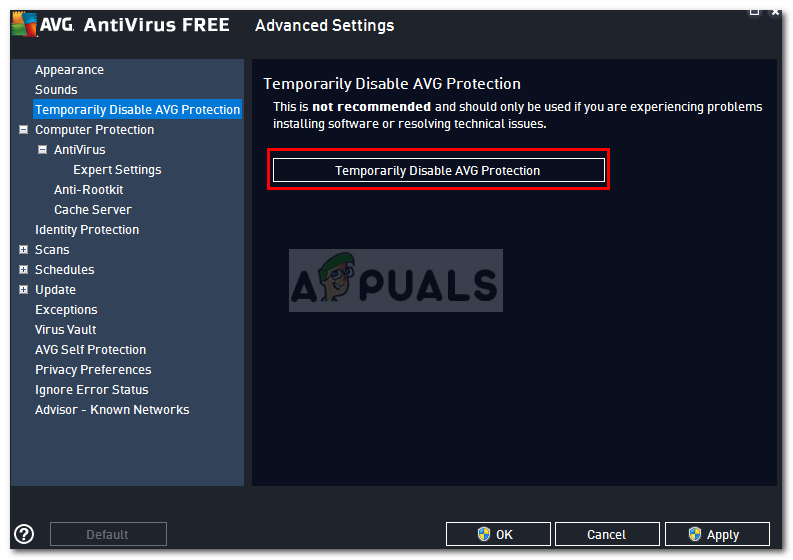
Solution 3: Disable Proxies
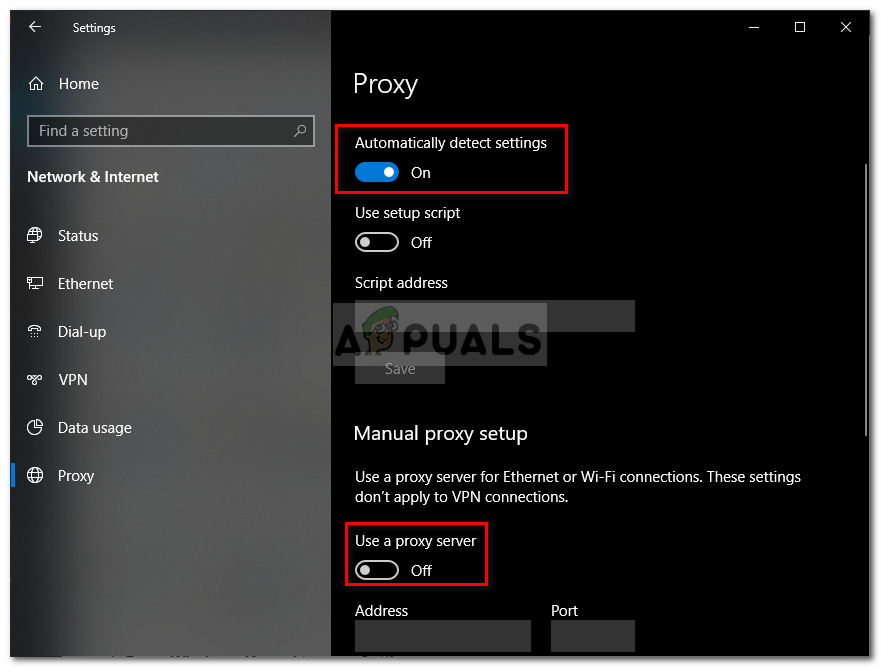
If you have any proxies set up on your computer, it is best to remove them or turn them off for the time when you are using the VPN. Proxies can sometimes interfere with the VPN connection process. Here’s how to disable proxies:
- Press Windows Key + I to open Settings.
- Navigate to the Network and Internet window.
- Switch to the Proxy section and make sure the ‘Automatically detect settings’ is set to ON.
- Afterward, scroll down and toggle the ‘Use a proxy server’ option OFF.
Solution 4: Change Connection Setting to PPTP
Another thing you can do and try is changing your connection setting to PPTP in Windows if you are using the Windows default way of connecting to a VPN and not a VPN application. In order to change your connection setting to PPTP and connect to a VPN in Windows 10, follow the steps given down below:
- Press Windows Key + I to go to Settings and then navigate to Network and Internet.
- Switch to the VPN section and there click on Add a VPN connection.

Adding VPN Connection - And after filling all the VPN credentials, set the type to PPTP from the drop-down menu.
- Done!
Hopefully, these solutions will have fixed your issue.


