Is your Mic Not Working in COD: Warzone 2? Try these Fixes
Since the release of Warzone 2.0, users have frequently encountered microphone issues. However, these are generally not backend issues, as they can typically be resolved through correct audio settings configuration. If your microphone isn’t working in Warzone 2.0, it’s likely due to misconfigured audio settings.
When it comes to microphone issues, whether related to games or Windows, first test the microphone to ensure there’s no hardware issue and that Windows can access it.
1. Test your Microphone device
Once you test the microphone, you’ll comprehend why it isn’t functioning in Warzone 2.0. Usually, misconfigured audio settings and insufficient permissions prevents the applications from accessing the input and output devices. Now, let’s proceed to test the microphone to determine if Windows can detect it. Follow these steps:
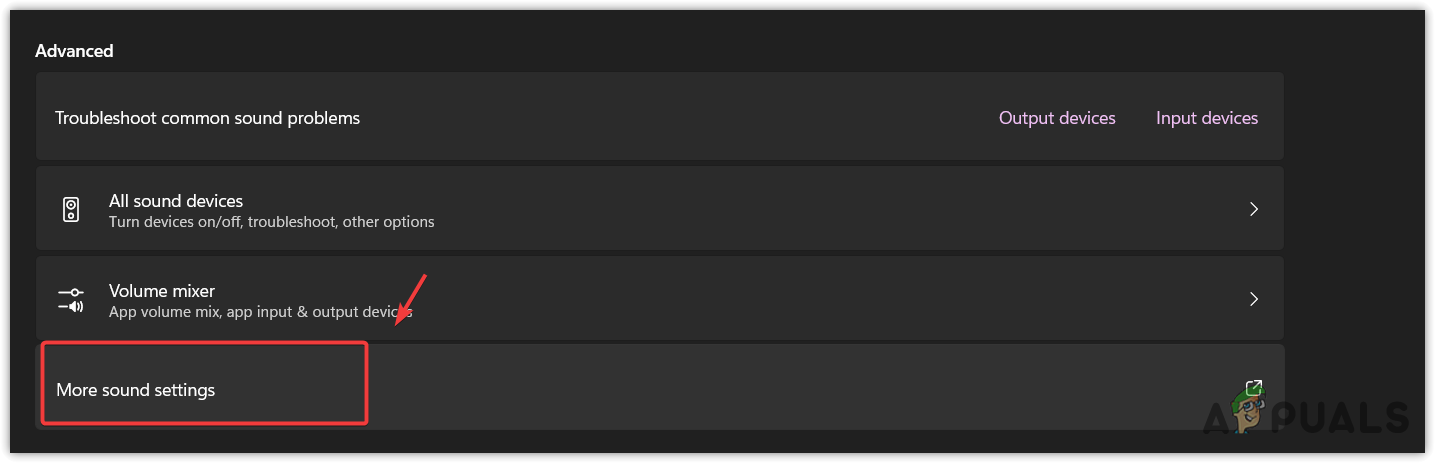
- Right-click the Speaker icon next to the system tray.
- Select Sound Settings to navigate.

- Scroll down to the bottom and click More Sound Settings.
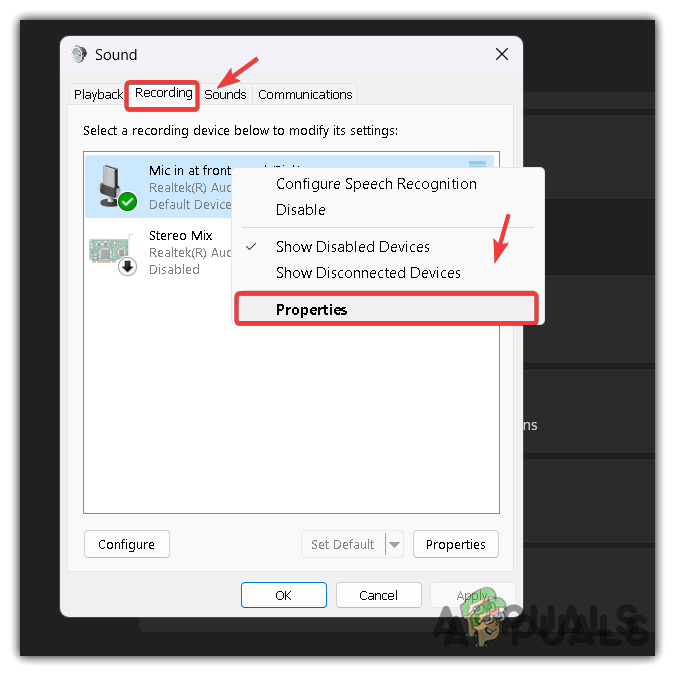
- Go to Recordings from the top.
- Here, right-click the microphone device and select Properties.
- Go to Listen and tick Listen to this device option.
- Click Apply and see if you can listen to yourself.
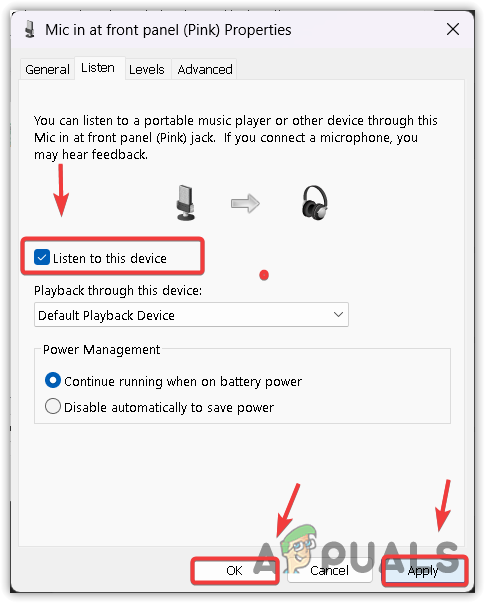
- If you can hear yourself, it means the problem is in the Warzone 2 audio settings.
2. Configure the Microphone as a default communication device
If you have multiple microphone devices, you need to set your primary microphone as the default communication device. Sometimes, applications may use the secondary microphone instead of the primary, causing communication issues. Thus, follow these steps to set your microphone as the default communication device:”.
- Right-click the Speaker icon from the bottom right and select Sound Settings to open it.
- Scroll down to the bottom and click More Sound Settings.
- Navigate to Recording from the top.
- Right-click on the primary microphone device that you want Warzone 2 to use.
- Then, click Set as Default Device.
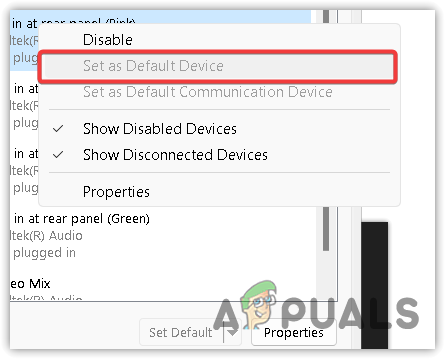
- Once done, click Apply and click OK to save the settings.
- Now, launch Warzone to check if the issue continues. If it does, return to the recording tab, right-click the primary microphone device, and select ‘Set as Default Communications Device’.
3. Allow Microphone access to Warzone 2
The game, Warzone 2, may not have access to your microphone, potentially preventing communication. Before adjusting in-game audio settings, it’s advised to check Warzone 2’s permission settings using these steps:
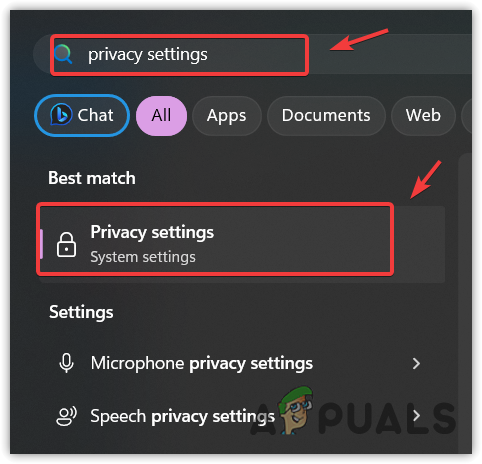
- Press the Win key and type Privacy Settings.
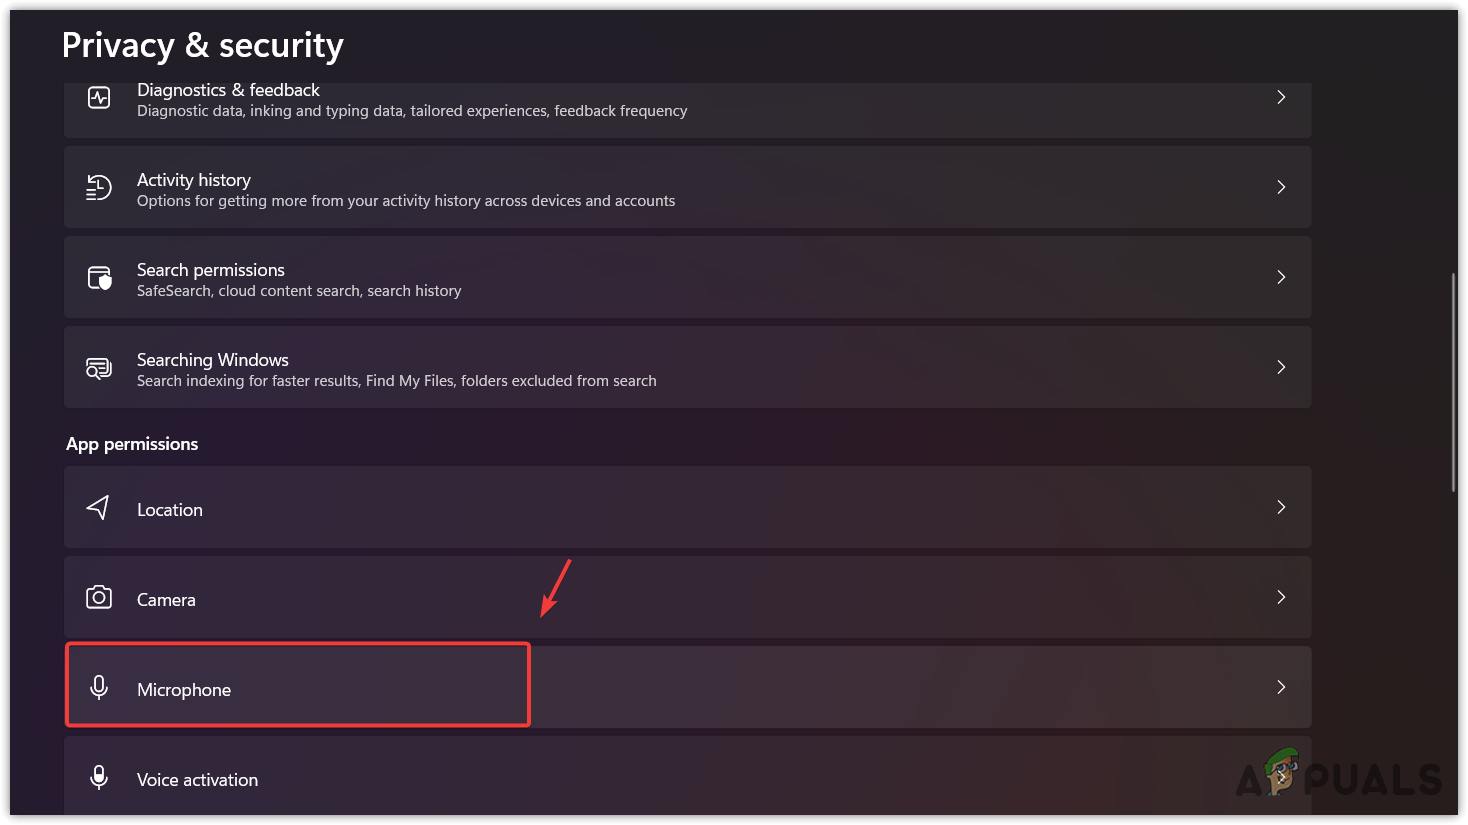
- Go back to Privacy & Security settings.
- Navigate to Microphone settings.
- Here, make sure that the Microphone Access is enabled.
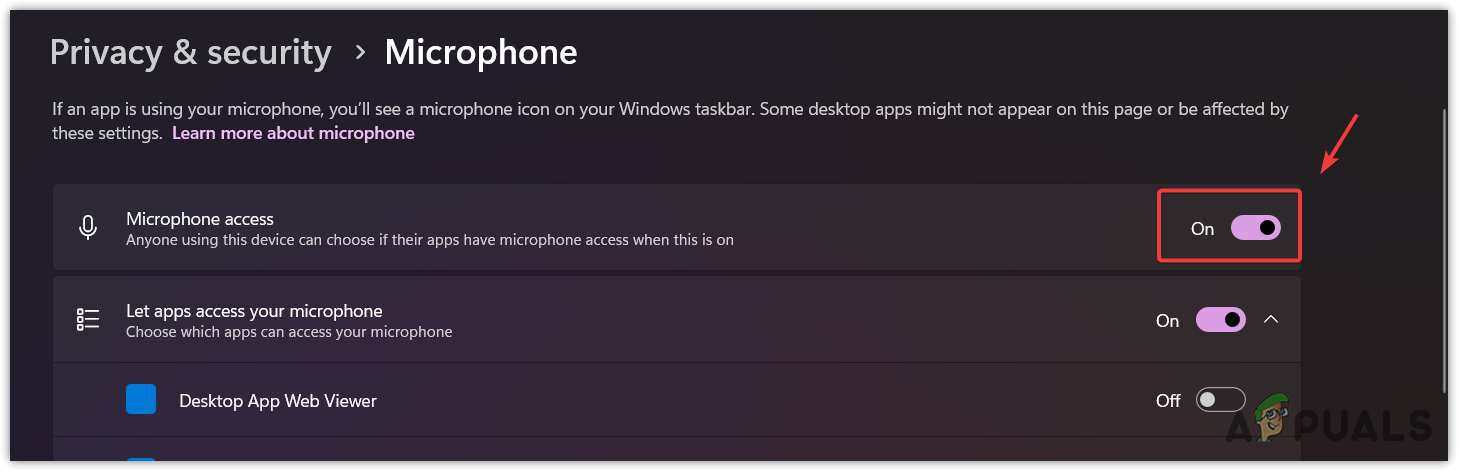
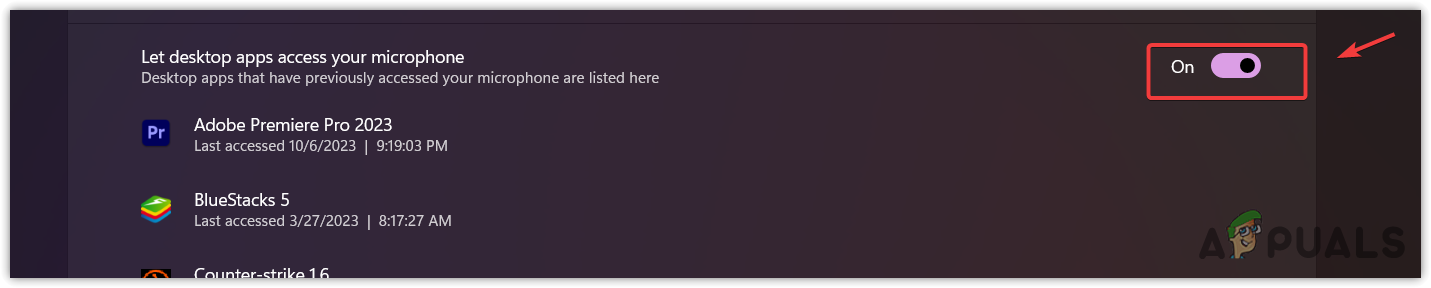
- Then, scroll down to the bottom, and here, make sure that Let desktop apps access your microphone is enabled.
- Once done, launch Warzone 2 and see whether the microphone is working or not.
4. Check In-Game audio settings
If the issue persists, misconfigured audio settings could be the cause. Let’s discuss which settings to configure properly to resolve this issue.
- Open the Settings and head across the audio settings.
- Scroll down to the Voice Chat settings. Here, you need to make sure the following settings are turned on and configured properly.
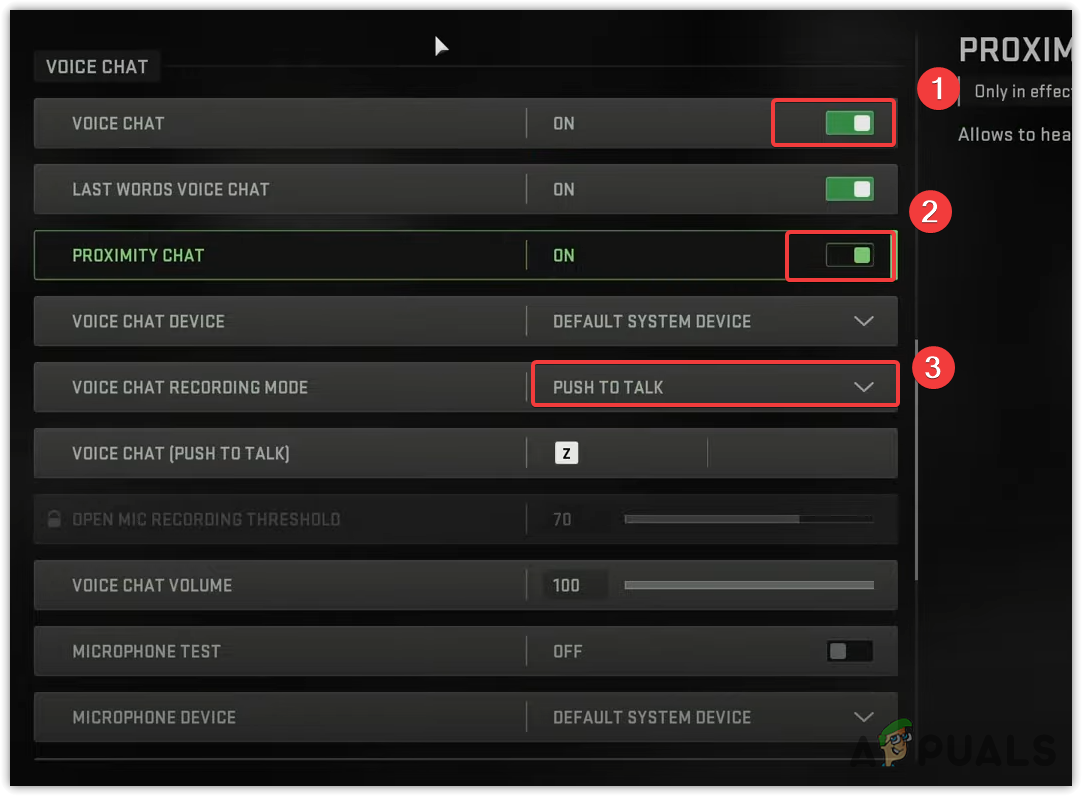
- Voice chat and proximity chat should be enabled. If they are set to enabled, disable them and re-enable them.
- Then, your Voice Chat Recording Mode should be Push to Talk. However, you can even try the Open Mic option if possible.
- Once done, change your voice chat device from the default system device to your microphone device.

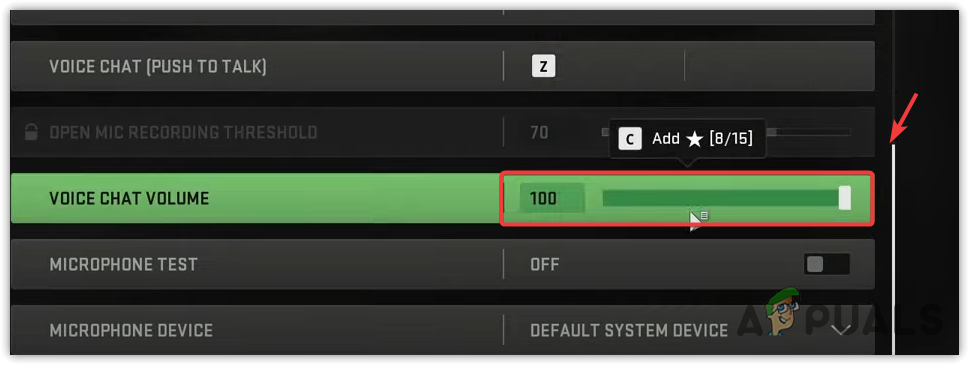
- Scroll down a little bit, make sure the voice chat volume is up, then select your Microphone device by clicking the dropdown menu of Microphone Device.
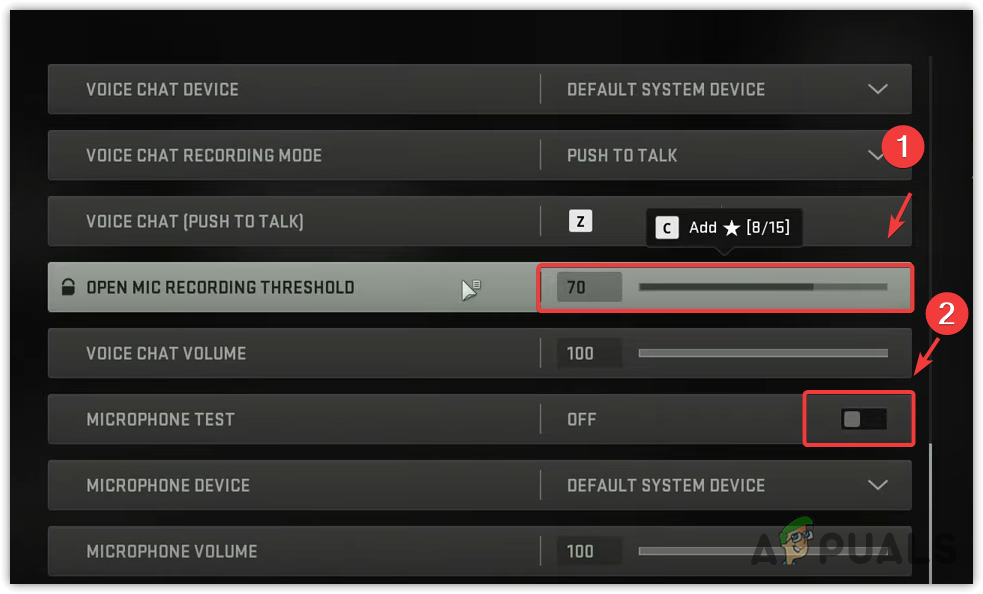
- Once done, test your microphone by enabling the Microphone test button.
5. Change Microphone sensitivity
Adjusting the microphone sensitivity often resolves microphone issues in Warzone 2. Lower sensitivity is beneficial when the sound is loud, and higher sensitivity aids when the sound is soft. Experimenting with both settings can help determine the optimal sensitivity for proper voice chat function. Follow these steps to do so:
- Go to Settings and navigate to Audio Settings.
- Scroll down until you find the Open Mic Recording Threshold.
- Here, if you speak loud, increase the sensitivity. But if you don’t speak loud, reduce the sensitivity.
- You can test your microphone after changing the sensitivity to see whether the microphone is working properly or not.
6. Reset In-Game Audio Settings
If the microphone is not working after adjusting the audio settings mentioned earlier, it is recommended to reset these settings to default. This can fix settings necessary for your microphone’s proper function in Warzone 2. To reset, follow the steps below:.
- To reset Warzone 2’s audio settings, delete its configuration files in the documents folder; these files contain all the game’s settings.
- After deleting these files, all the settings will automatically be reset to default. To do so, open File Explorer by pressing Win + E on the keyboard.
- Then, go to Documents > Call Of Duty > Players.
- Here, select all the files and delete them.
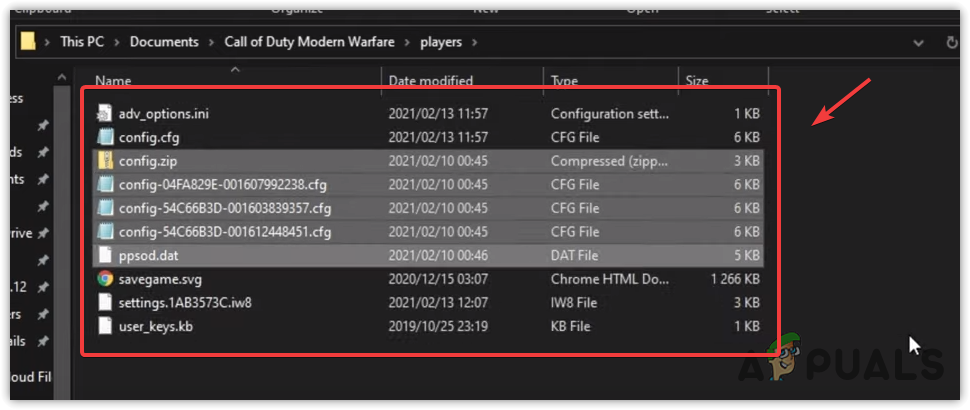
- Once done, the configuration files will automatically be created when you launch the game.
- Then, see if the microphone is working.
7. Reinstall the Warzone 2
If you don’t want to reinstall the game, you can verify the game files. However, it’s best to completely re-install the game.
The following steps might vary if you are using the battle.net launcher.
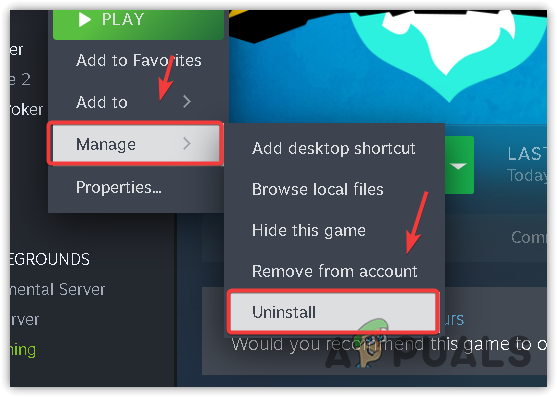
- Open Steam launcher and go to Library.
- Here, right-click the Warzone 2, hover Manage, and click Uninstall.
- Again, click Uninstall to remove the game.
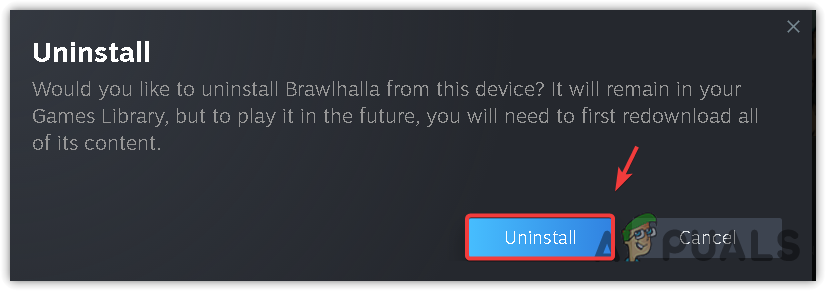
- Once done, again reinstall the game and see if the problem persists.
8. Reinstall or update the Audio Driver
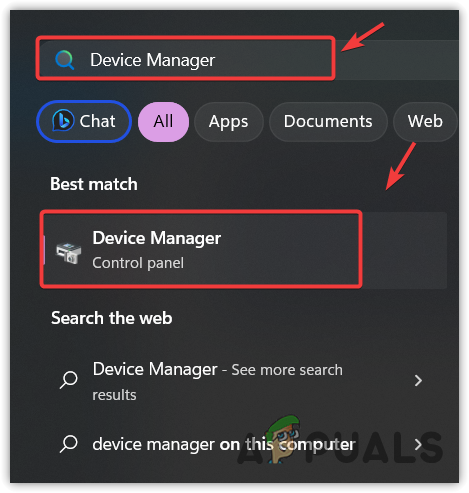
- Press the Win key and type Device Manager.
- Hit Enter to open the device manager.
- Expand the Audio inputs and outputs, right-click the Microphone device, and select Uninstall.
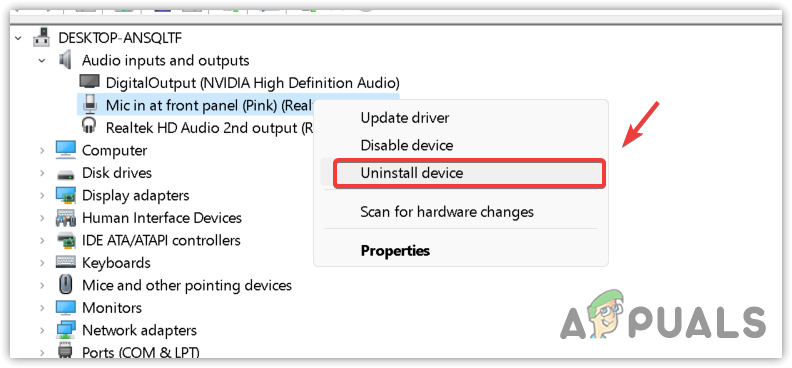
- Click Uninstall to confirm.

- Once the driver is removed, restart your computer to reinstall the driver. If you use any specific driver, such as Realtek driver, download it and install it.
- Once done, restart your computer.
- Then, test your microphone from the Windows settings as we did in the 1st method of this article.
- Then, launch the game to verify whether the problem is fixed or not.


