Fix: “Message not sent, tap to try again” Error on Android
 Reviewed by Muhammad Zubyan
The “Not sent, tap to try again” error can happen for several reasons, such as network connectivity issues, outdated app versions, or problems with the recipient’s phone number. However, this error can be fixed quite easily.

In this article, we will show you how to troubleshoot this error and send your messages without any issues. Whether you are using an iPhone or Android, our step-by-step guide will help you fix this error quickly and easily.
1. Reboot the phone
Rebooting your phone can help fix message-sending errors on your device. When you perform a reboot, you stop all running programs on your phone, allowing it to have a fresh restart. Doing this eliminates many software-related glitches that might prevent you from sending messages. Here is how you can perform a reboot:
- Press and hold the power button until power options show up on the screen.
- Select “Reboot/Restart” in the power options.
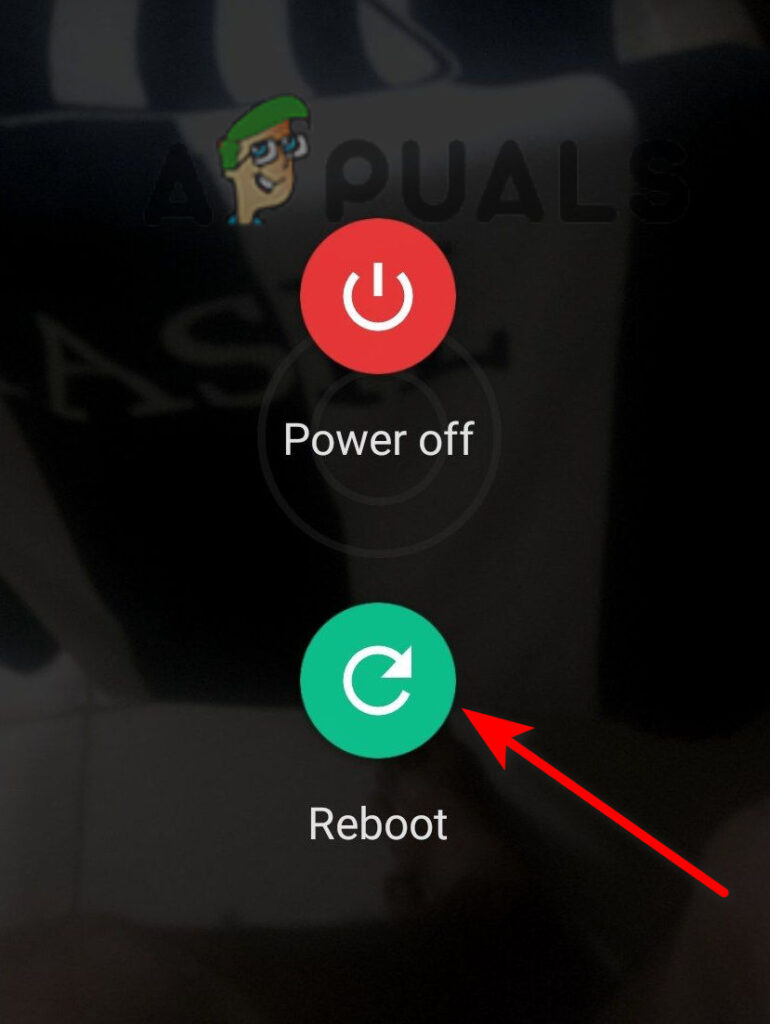
Tap on Reboot - Wait for a few moments until your phone restarts automatically.
Alternative method:
- Press and hold the power button along with the volume down button simultaneously.
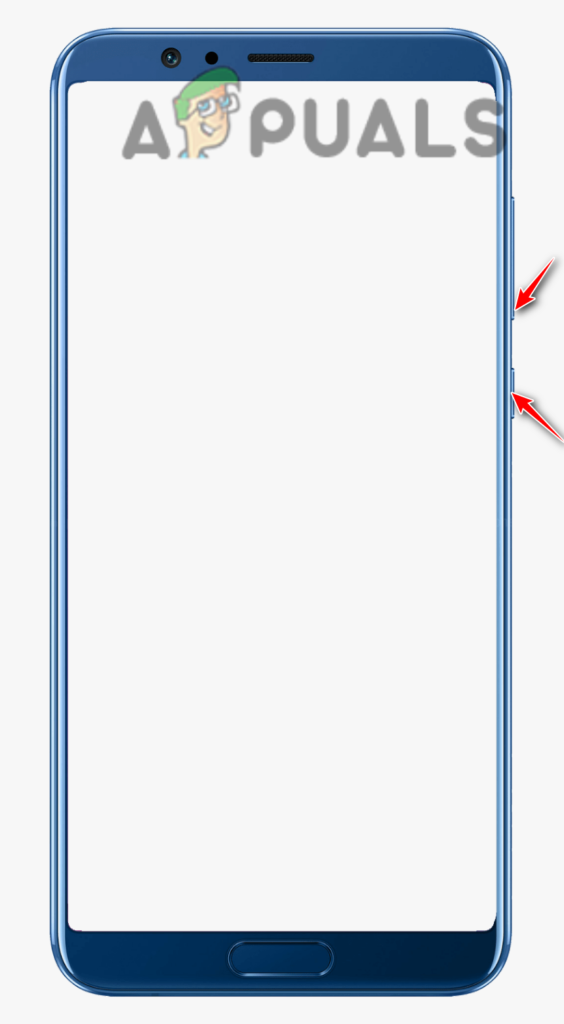
Press and hold the power button and volume down button simultaneously - Wait until the screen goes black, and then release the buttons.
- Now press and hold the power button to switch on your phone.
2. Clear the cache and storage for the Messages app
If you encounter the “Not sent, tap to try again” error, try clearing the cache and storage for the Messages app.
The cache files are temporary files that help improve the app’s performance and speed up operations. However, these cache files can sometimes become corrupted or outdated, leading to errors like the one mentioned. Clearing the cache removes these problematic files, allowing the app to start fresh and resolve any related issues.
Moreover, the storage includes various types of data, such as message history, media files, and app settings. Over time, this data can accumulate and become bloated, hindering the app’s functionality. Therefore, clearing the storage resets the messaging app to its default state, removing any unnecessary or conflicting data.
- Go to Settings and scroll down to open Apps & Notifications.
- Here search for the Messages app and open it.
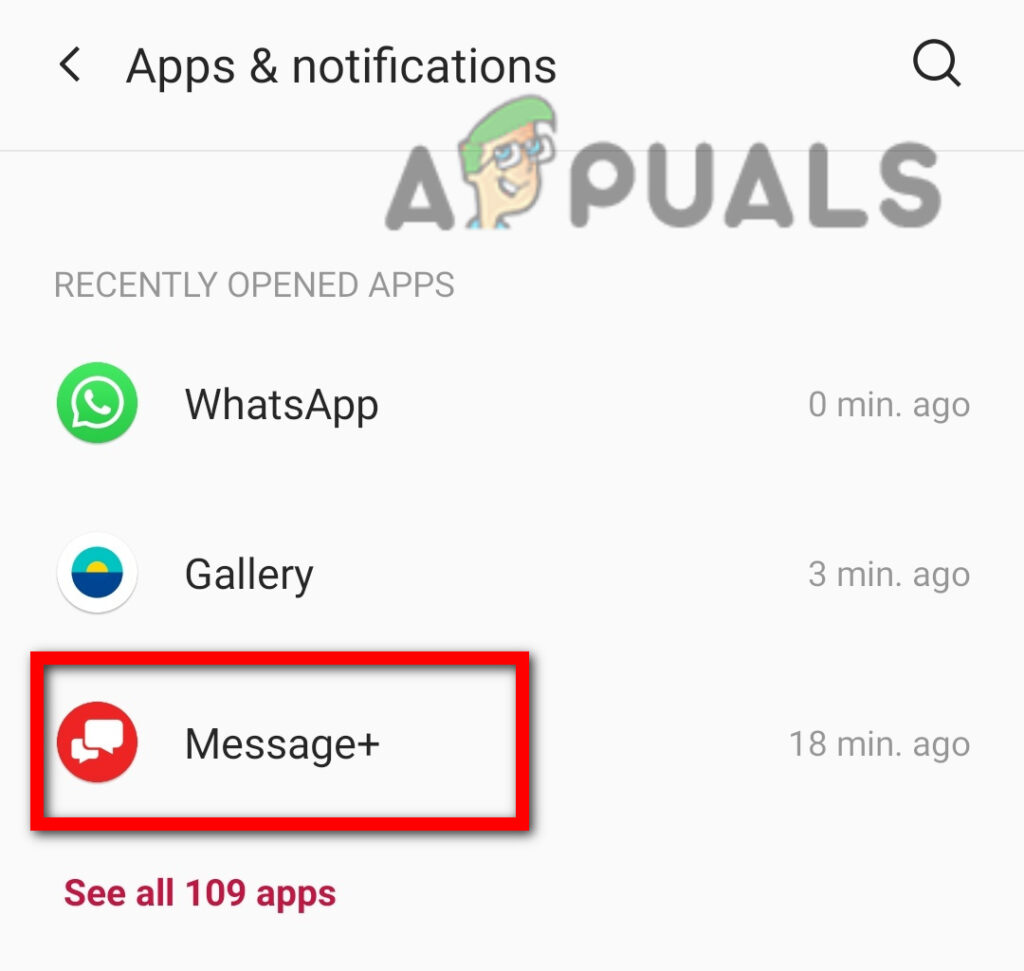
Select Message app - On the app info page, tap on ‘Clear Cache‘ and wait for the process to finish.
- Send a message to check for the error message. If it’s still there, go back and tap on Clear Storage.
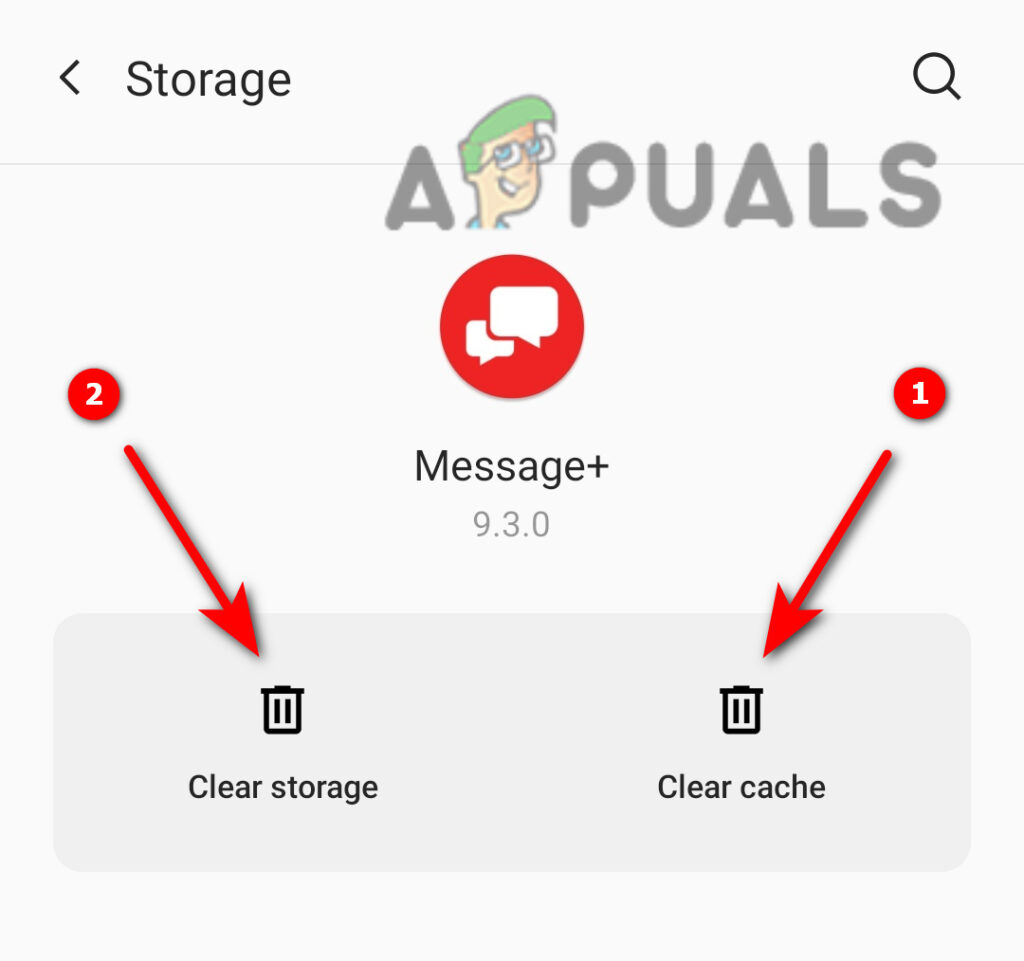
First, clear the cache and then clear the storage
3. Delete old messages
If you don’t want to clear app storage, which deleted all the conversations and stored settings, you can opt for only deleting old message threads. Too many old messages accumulated over time can cause glitches in the app. Therefore, try deleting some of the old messages to fix the “not sent, tap to try again” error.
- Open the Messages app and scroll down to select old threads.
- Tap and hold the conversation you want to delete until you see more options.
- In the options, select “Delete conversations” and tap “OK/Delete” to confirm.

Tap on “Delete conversation” and select “Confirm”
4. Install the Messages by Google or Textra SMS app
If other troubleshooting methods did not work, try installing the Google Messages app or Textra messaging app. These apps may have better compatibility with your device and network, addressing any compatibility issues that could be causing the error.
Moreover, these apps regularly release updates to address any bugs and glitches. As a result, you will be able to send and receive messages seamlessly, without any error messages. You can choose either of these two apps and install it from the Google Play Store.
- Go to the Play Store and search for Messages by Google in the search bar.
- Tap on Install and wait for the process to complete.
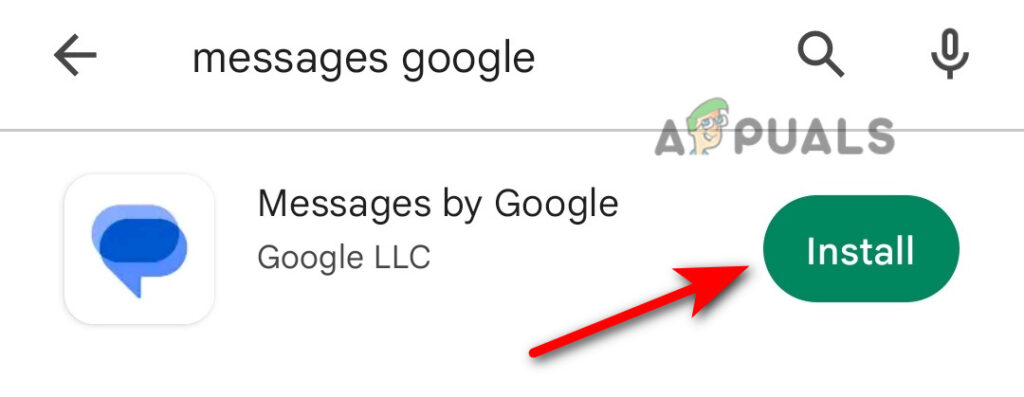
Tap on Install - Once it’s installed, open it and choose the Google account you want to associate with the app.
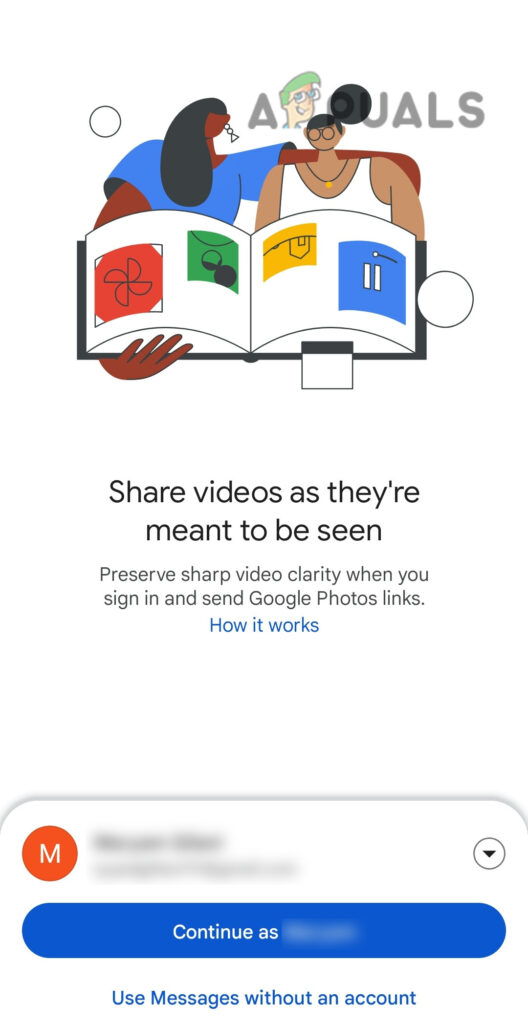
Select a Google account and tap Continue - Next, tap on Set as Default SMS app and now this Google app will be used instead of the default Messages app.
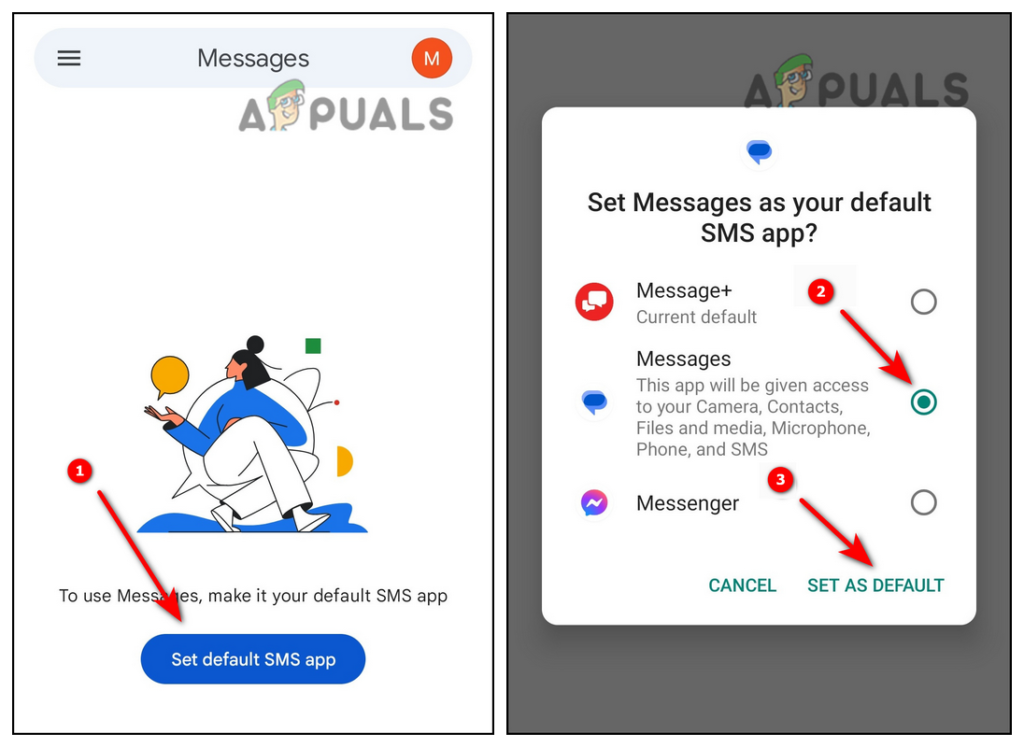
Set Messages by Google as your default messaging app - Now tap on the Start Chat icon at the bottom right corner and select the contact you want to send messages to.
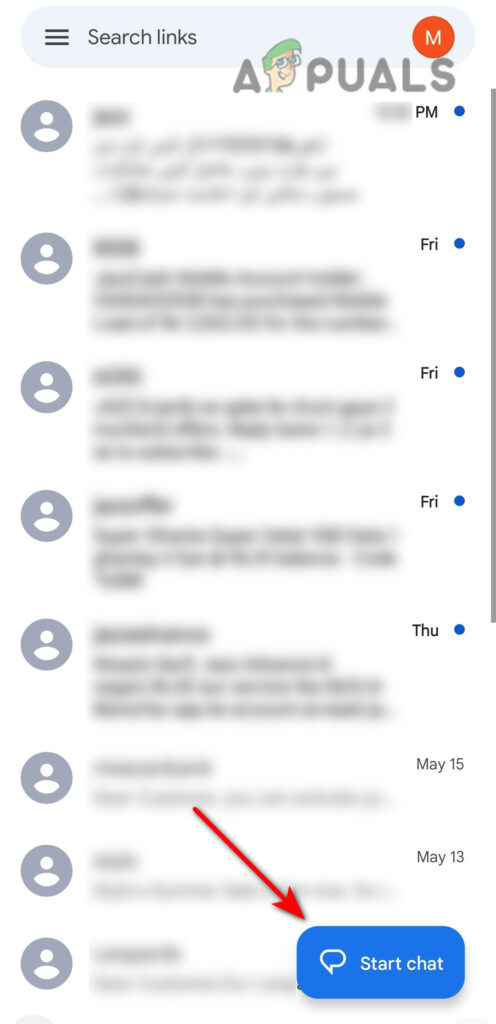
Tap on Start Chat and select the recipient - Compose the message and hit Send.
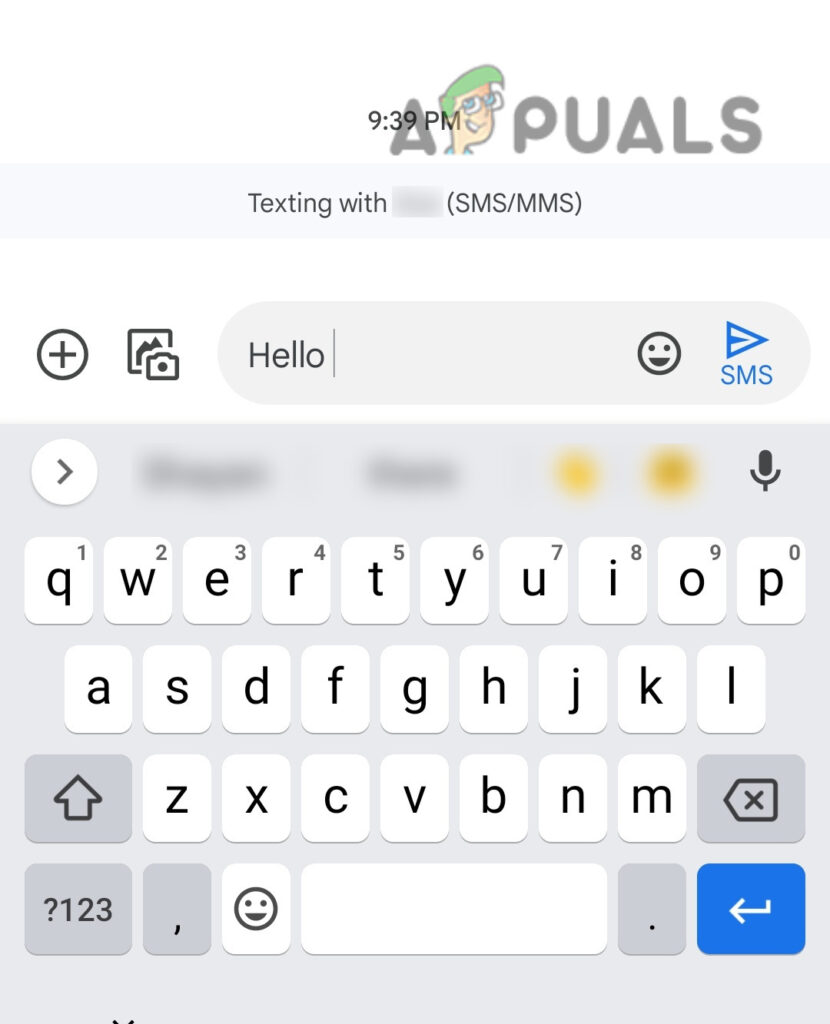
Write a message and hit the Send button
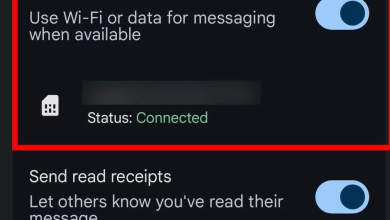
5. Contact your service provider
If the above solutions do not resolve the issue, seek assistance from your network service provider. They have the necessary tools and expertise to diagnose the problem and provide you with a resolution.
To reach your network service provider, you may call their customer support line, visit their website for live chat support, or drop by one of their physical locations. Remember to have your phone’s IMEI number and account information on hand when you contact them to ensure a faster resolution of the issue.
Reviewed by Muhammad Zubyan