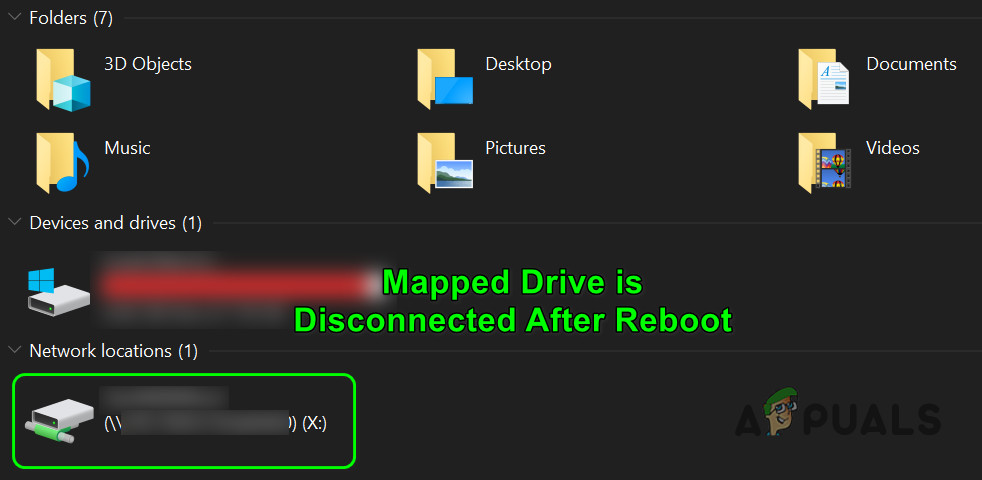
Fix: Mapped Drive is Disconnected After Reboot
Your mapped drive may disconnect after a system reboot if the Fast Startup of your system is enabled. Moreover, corrupt credentials in the Windows Credential Manager may also cause the error under discussion. The user encounters the issue (mainly after a Windows update) when he boots his system but his mapped network drives are disconnected and he has to go through the entire process of connecting them again.
Before moving on with the solutions to stop network drives from disconnecting, make sure you can access the network location & you are using the latest version of Windows. Moreover, check if disabling/enabling SMB solves the problem. Also, ensure that the time/time-zone on the problematic system and host are set properly. Additionally, check if you are using GPT (if using UEFI) to boot the system. Furthermore, check if changing your network credentials (try using the same credentials as you use to log in to the system) solves the problem. Last but not least, make sure no task in the Task Scheduler is causing the issue.
Solution 1: Disable Offline Files for Your System
Many users tend to keep offline copies of the network shares. But these files, due to a syncing glitch, may cause the error under discussion. In this scenario, disabling offline files for your system may solve the problem. But make sure that the password-protected sharing is disabled (it may turn on after a Windows update).
- Hit the Windows key and in the Windows Search, type Control Panel. Then select Control Panel.
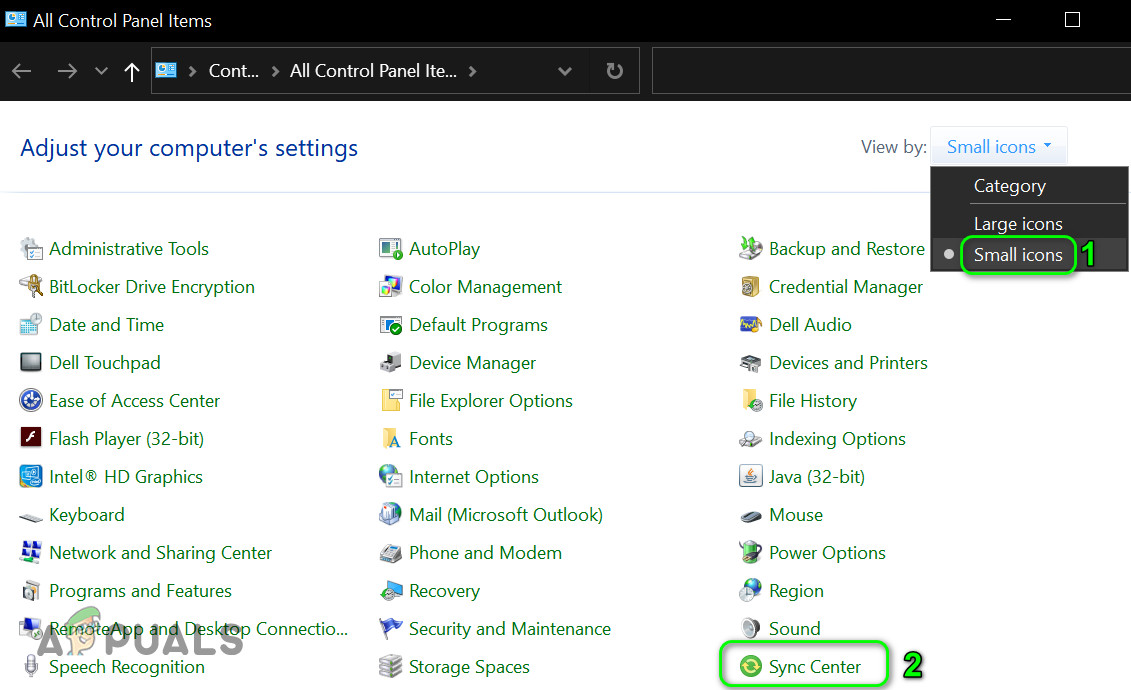
Open Control Panel - Now change the View by to Small Icons and select Sync Center.
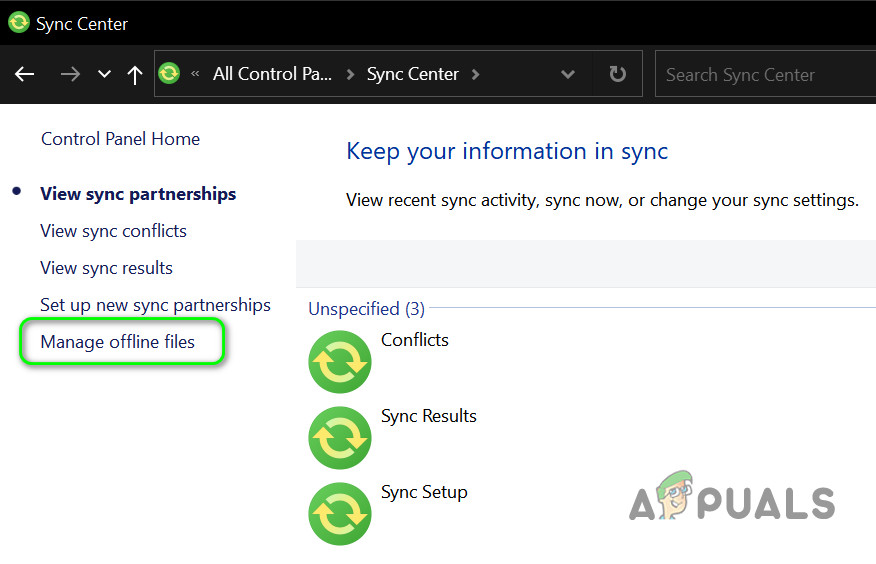
Open Sync Center in the Control Panel - Then click on Manage Offline Files and then Disable Offline Files.
Open Manager Offline Files - Now click on Apply/OK and reboot your PC.
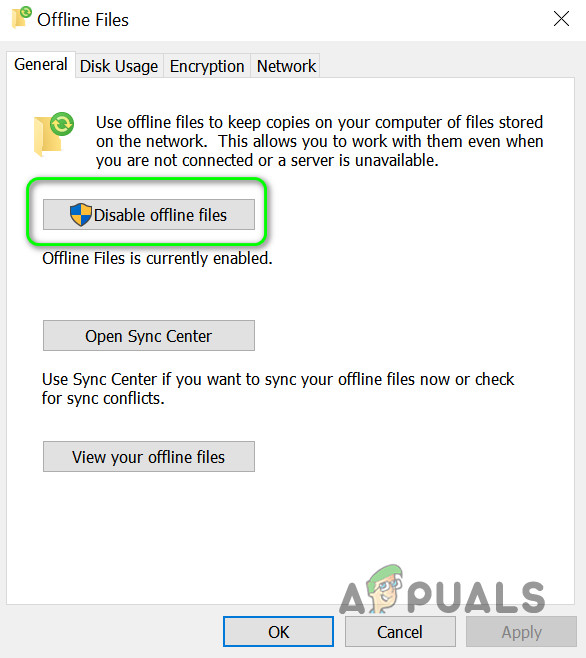
Disable Offline Files - Upon reboot, check if the mapped drives are working fine.
- If not, launch File Explorer and open a mapped drive.
- Once you have successfully opened the drive, then right-click on the mapped drive in the File Explorer and choose Always Available Offline.

Select Always Available Offline for the Network Drive - Wait for the process to complete & right-click on the network share.
- Now uncheck the Always Available Offline option & reboot your PC to check if the mapped drive issue is resolved.
Solution 2: Remove and Re-add the Network Credentials to Windows Credential Manager
You may encounter the error at hand if the credentials for the mapped drive in the Windows Credential Manager are corrupt (or stuck to the old credentials). In this case, removing and re-adding the credentials to the Windows Credentials Manager may solve the problem.
- Launch the File Explorer of your system and under This PC, right-click on the mapped drive.
- Now select Disconnect (or Delete) and hit the Windows key.
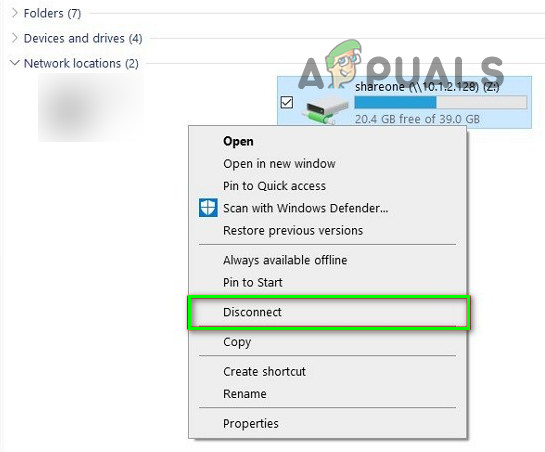
Disconnect the Mapped Drive - Then, in the Windows Search, type Credential Manager. Then select Credential Manager.
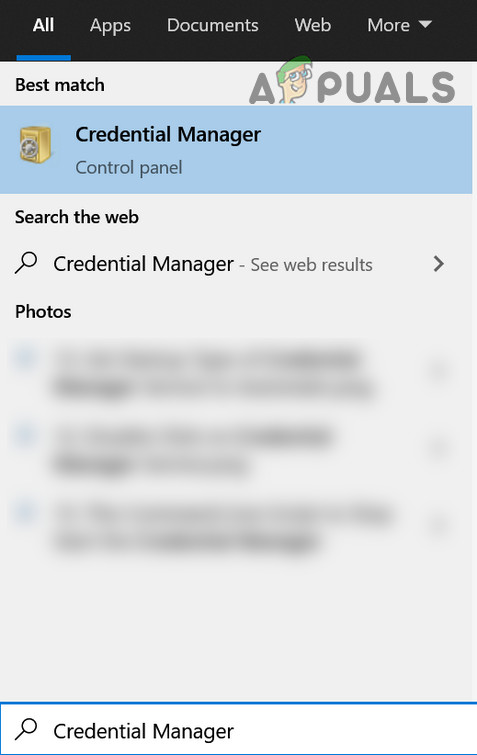
Open Credential Manager - Now click on Windows Credentials and then remove the credential linked to your mapped network drive.
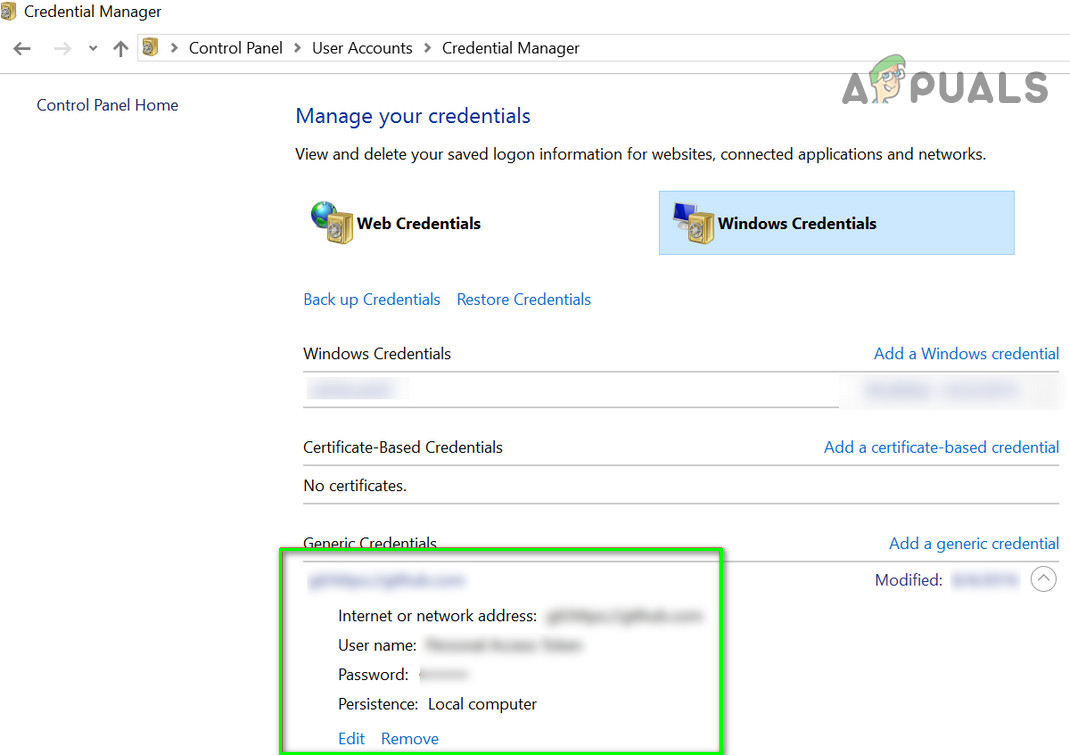
Remove the Network Credentials in the Credential Manager - Now reboot your PC and then navigate to the Windows Credentials tab of the Credential Manager (step 3 to 4).
- Then click on Add a Windows Credentials and enter your network credentials (it would be better to use the IP of the host and add that IP in the Hosts files of your PC).
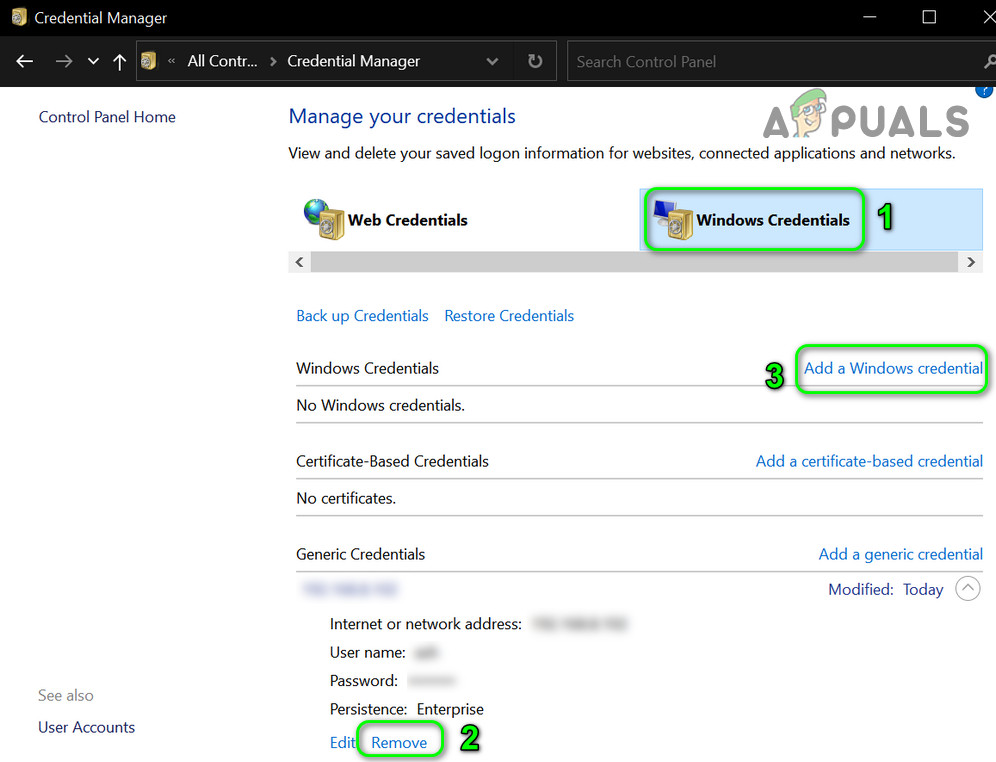
Remove and Re-Add the Network Credentials in Credential Manager - Now map the network share (do not forget to check-mark the option of Reconnect at Sign-in option and use a different drive letter than previous) and reboot your system to check if it is working fine.
Solution 3: Disable Fast Startup of Your System
Fast Startup is used to make the system’s boot process fast and when enabled, your system is put into a mix of a state of shutdown and hibernation while powering off which may break certain network-related operations and thus cause the error at hand. In this context, disabling the fast startup (if you have disabled it in the past, it may get enabled after a windows update) of your system may solve the problem.
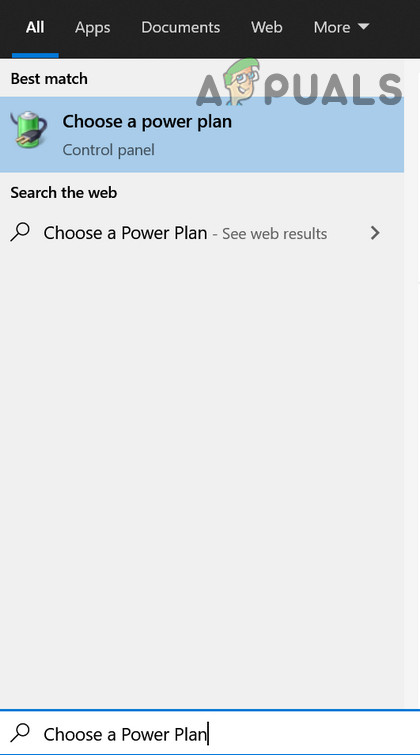
- Hit the Windows key and type Choose a Power Plan. Then select Choose a Power Plan.
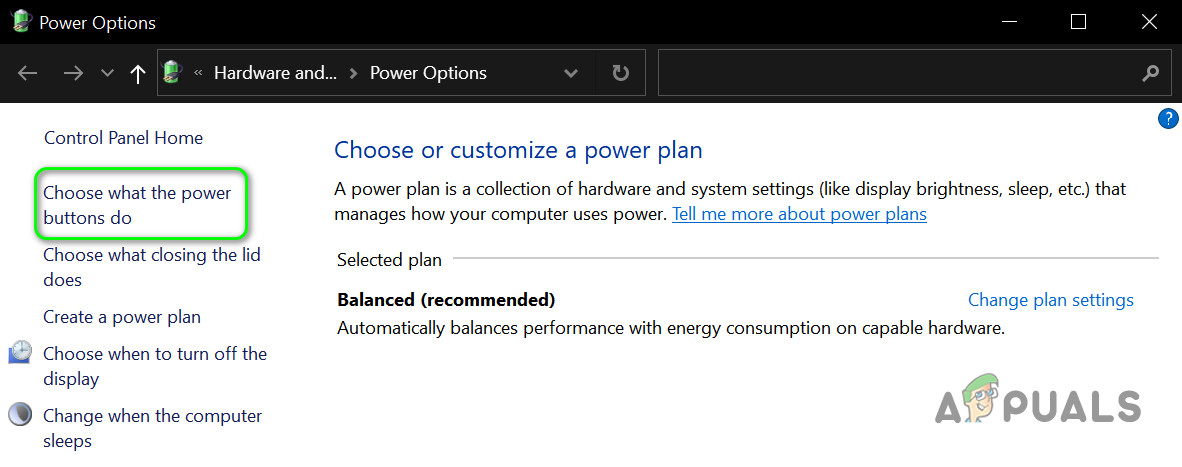
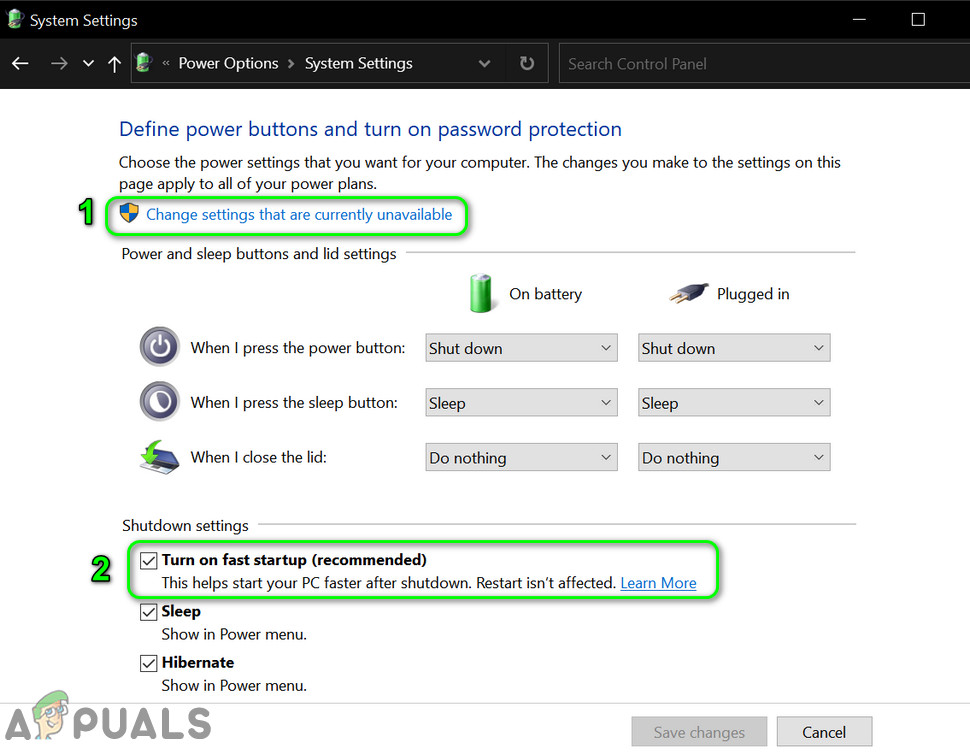
Open Choose a Power Plan - Now click on What the Power Buttons Do (in the left pane of the Control Panel window) and click on Change Settings That Are Currently Unavailable.
Open Choose What the Power Buttons Do - Then uncheck the option of Turn on Fast Startup and exit the Control Panel after saving your changes.
Disable Fast Startup - Now reboot your PC and check if the mapped drive issue is resolved.
Solution 4: Change the Network Card Options
Your mapped drive may disconnect after a reboot if your network card is not configured properly. In this context, changing the network card (link and power) options may solve the problem.
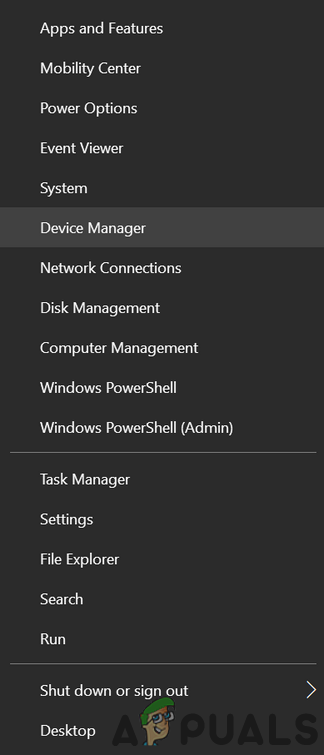
- Press the Windows + X keys simultaneously to open the Quick Access menu and choose Device Manager.
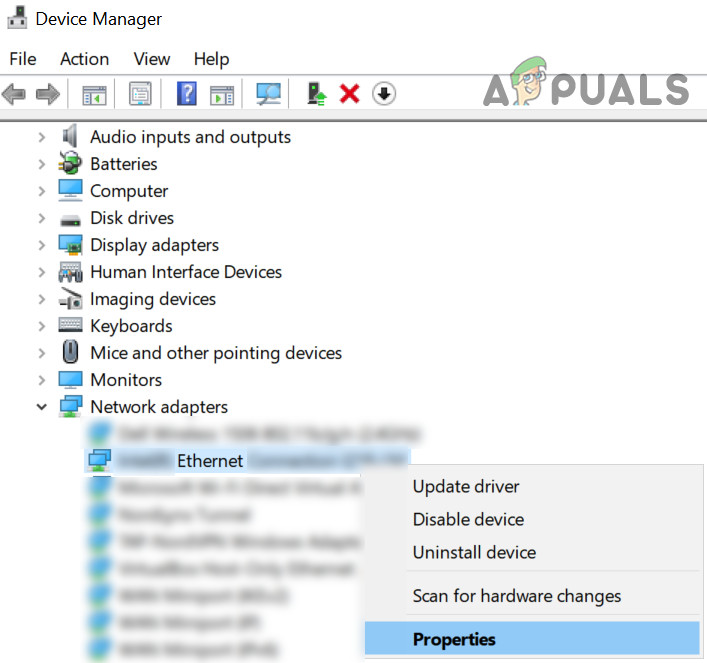
Open Device Manager - Now expand Network Adapters & right-click on your network card to choose Properties.
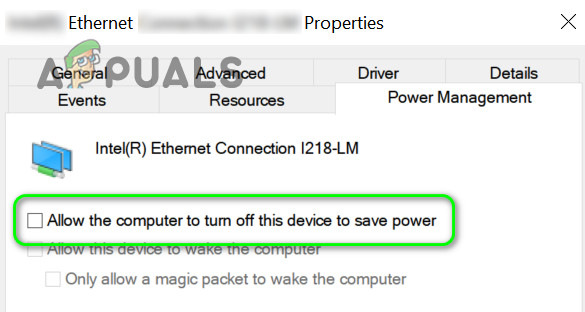
Open Properties of the Network Card - Then navigate to the Power Management tab and uncheck the option of Allow the Computer to Turn Off This Device to Save Power.
Disable Allow the Computer to Turn Off This Device to Save Power for the Network Card - Now click on Apply/OK & check if the mapped drive is working fine.
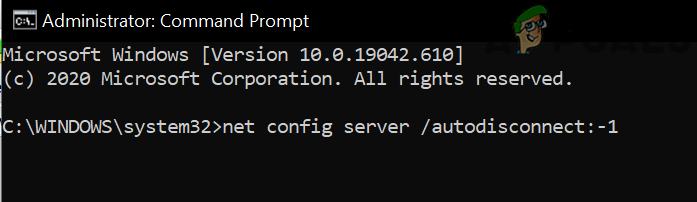
- If not, then launch an elevated Command Prompt and execute the following (you may have to repeat the same on the host as well):
net config server /autodisconnect:-1
Disable Autodisconnect of the Host System - Now reboot your PC & check if the mapped drive issue is resolved.
If the issue is still there, then the issue could initiate due to your network card attempts to renegotiate the network to a better speed which can be changed as under (but this setting may create unexpected behavior when using the network):
- Open the Properties of the network card in the Device Manager (steps 1 to 2) and navigate to the Advanced tab.
- Now select Wait for Link (in the left scrolling region) and change the Value dropdown (on the right) to On.
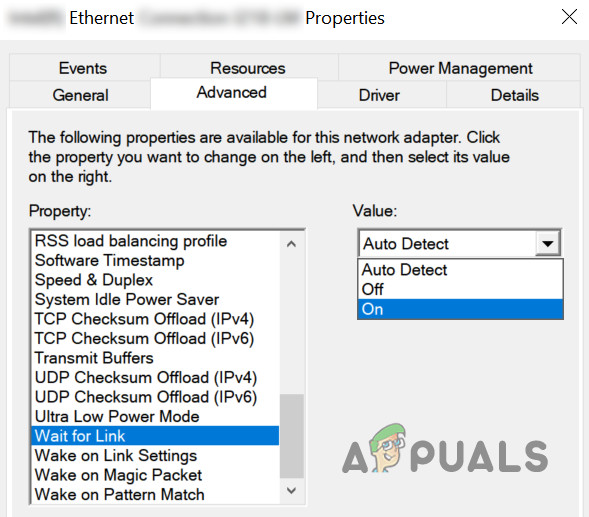
Change the Value of Wait for Link to On - Then reboot your machine & check if the mapping issue is resolved.
- If not, right-click on the network icon in the system’s tray and select Open Network & Internet Settings.
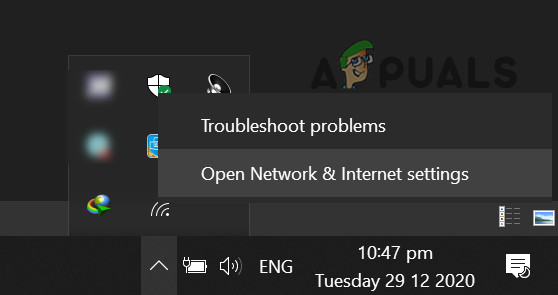
Open Network & Internet Settings - Then click on Network and Sharing Center & then click on your network connection.
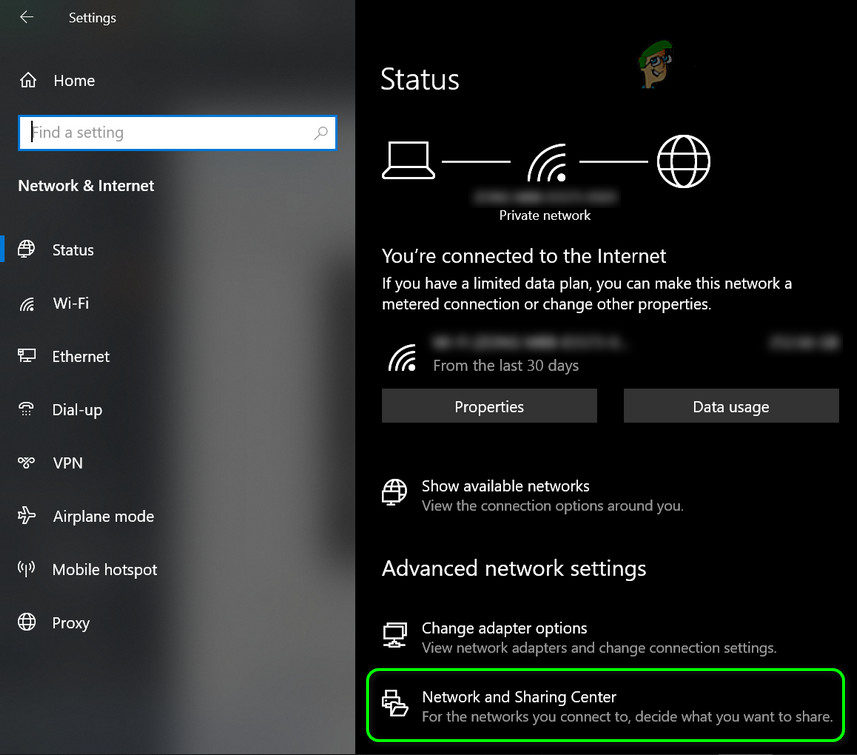
Open Network and Sharing Center - Now note down your network speed and then navigate to the Advanced tab of the Network Card Properties in the Device Manager (step 1).
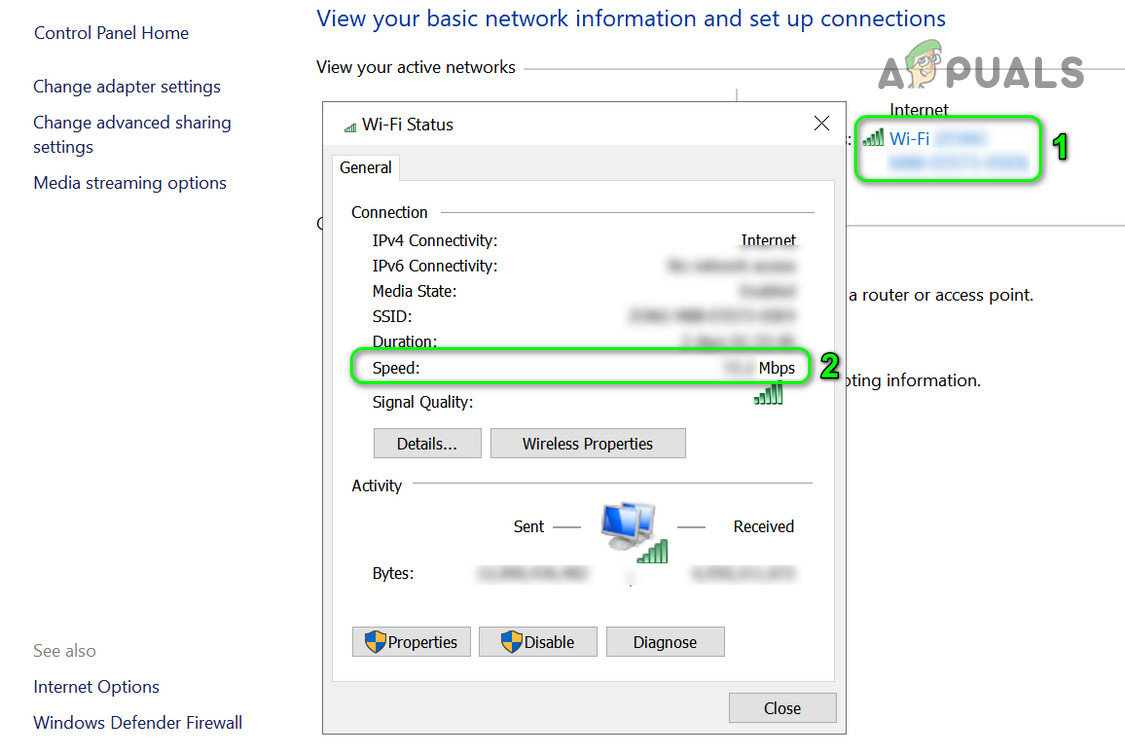
Check the Speed of Your Network - Now, in the left scrolling region, select Speed & Duplex & open the Value dropdown (on the right).
- Now select the speed that matches the speed of your network (Full Duplex values only). For example, if your network speed is 1.0 Gpbs, then select 1.0 Gpbs.
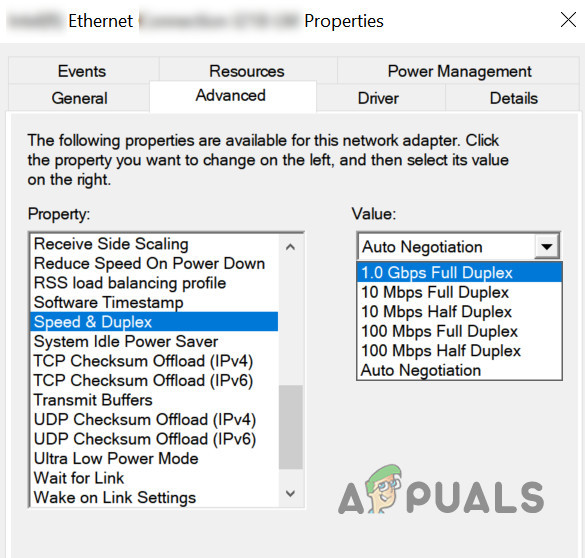
Set the Value of Speed & Duplex as per Your Network Card - Now click OK and reboot your PC to check if the mapped drive issue is resolved.
Solution 5: Use the Group Policy Editor
There can be different group policy settings that may trigger the issue at hand. For example, if your system has a fast SSD as a system drive, then your system can boot even before the network connection is established. In this scenario, editing the relevant group policy settings may solve the problem.
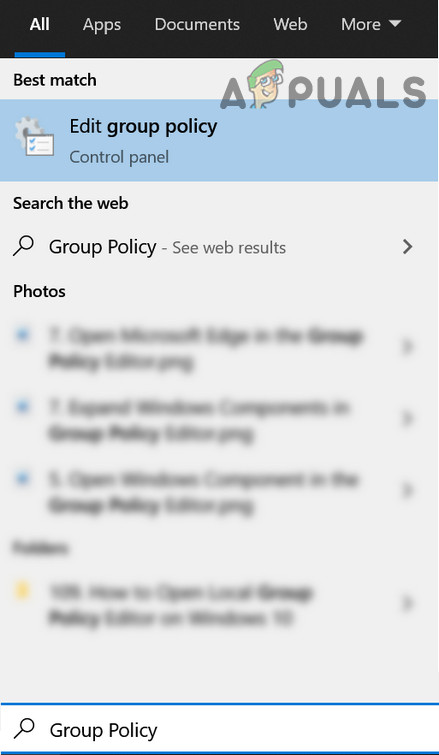
- Press the Windows key and in the Windows Search, type Group Policy. Then select Edit Group Policy.
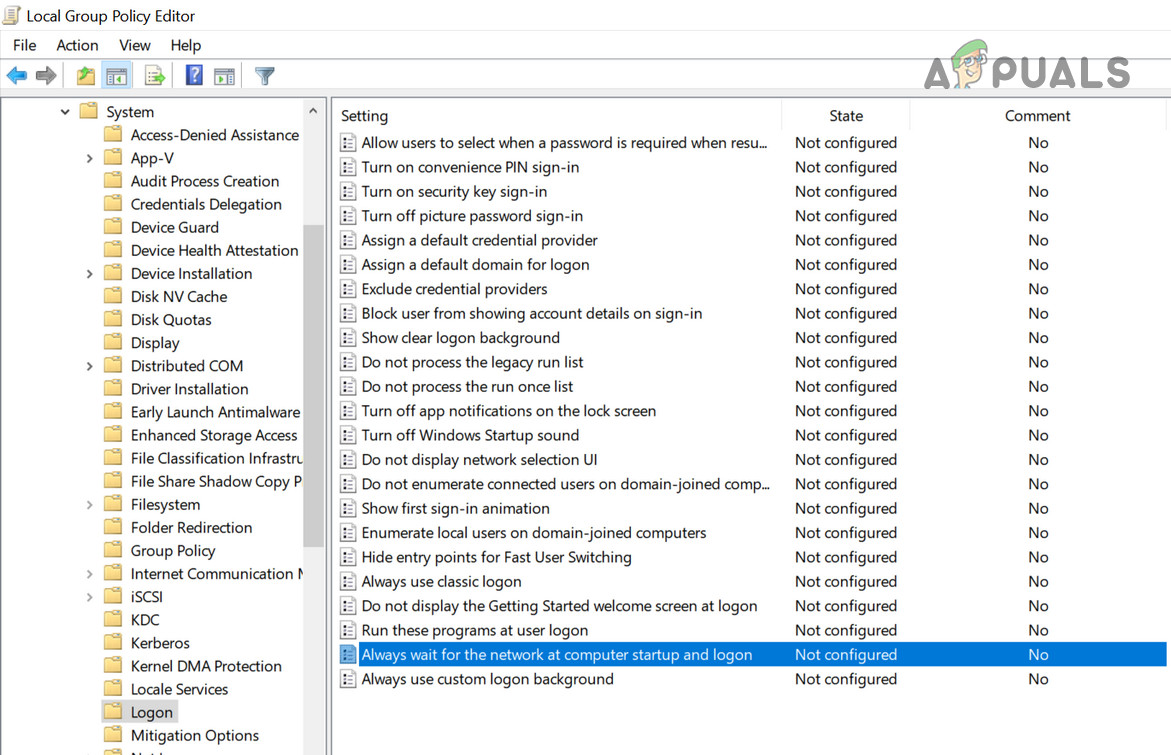
Open Group Policy Editor - Now navigate to the following path:
Computer Configuration -> Administrative Templates -> System -> Logon
- Now, in the right pane, double click on Always Wait for the Network at Computer Startup and Logon.
Open Always Wait for the Network at Computer Startup and Logon - Then change it to Enabled and click on Apply/OK.
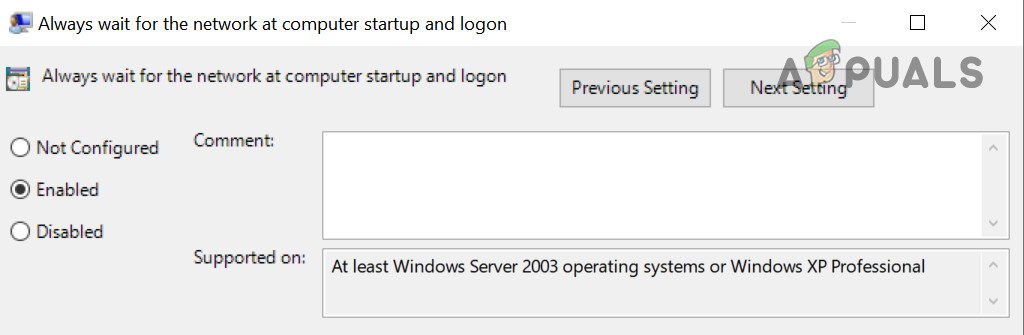
Enable Always Wait for the Network at Computer Startup and Logon
But keep in mind changing this setting may cause you quite lengthy login times. To avoid such behavior, follow the steps below:
- Launch the Registry Editor as Administrator and navigate to the following path:
Computer\HKEY_LOCAL_MACHINE\SOFTWARE\Microsoft\Windows NT\CurrentVersion\Winlogon
- Then, in the right pane, right-click and select a New>>DWORD (32-bit) value.
- Now name it GpNetworkStartTimeoutPolicyValue and double-click on it.
- Then change its value to 0x3C (60). Here 60 represents 60 seconds, if your network takes longer
than that, then change the value to that in seconds.
Create GpNetworkStartTimeoutPolicyValue Registry Key
On a Synology device, make sure to toggle on the “Enable Windows Network Discovery to Allow Access Via Web Browser” and “WS Discovery” (Control Panel >> File Services >> Advanced). Also, make sure Min SMB is SMB1 and Max is SMB 3.
If you are using a group policy (in a corporate network) to map drives, then check if the toggling between Replace, Recreate, or Update resolves the issue in the mapping drive group policy (make sure to check-mark Stop Processing Once Applied). Also, make sure no old hidden devices in the group policy are taking up the drive letters and thus causing the issue. You may want to make the following changes in a group policy of a domain network to resolve the issue.
- Navigate to the following path in GPO settings:
Computer Configuration/Administrative Templates/System/Group Policy/
- Then make sure policies are configured as under:
Configure Drive Maps preference extension policy processing: Enabled

Allow processing across a slow network connection: Enabled

Process even if the Group Policy objects have not changed: Disabled

Background priority: Idle
- Then check if the mapped drive issue is resolved.
Solution 6: Use the Registry Editor
Some registry settings may help a user to overcome the mapped drive issue.
Warning:
Be extremely careful and at your own risk, as a certain level of proficiency is required to edit the system’s registry and if not configured properly, you may create ever-lasting damage to your system and data.
Before moving on, delete/disconnect the problematic mapped drive (if possible, all). Make sure to create a backup of your system’s registry. Then launch the Registry Editor and check if making any one of the following registry edits resolves the problem.
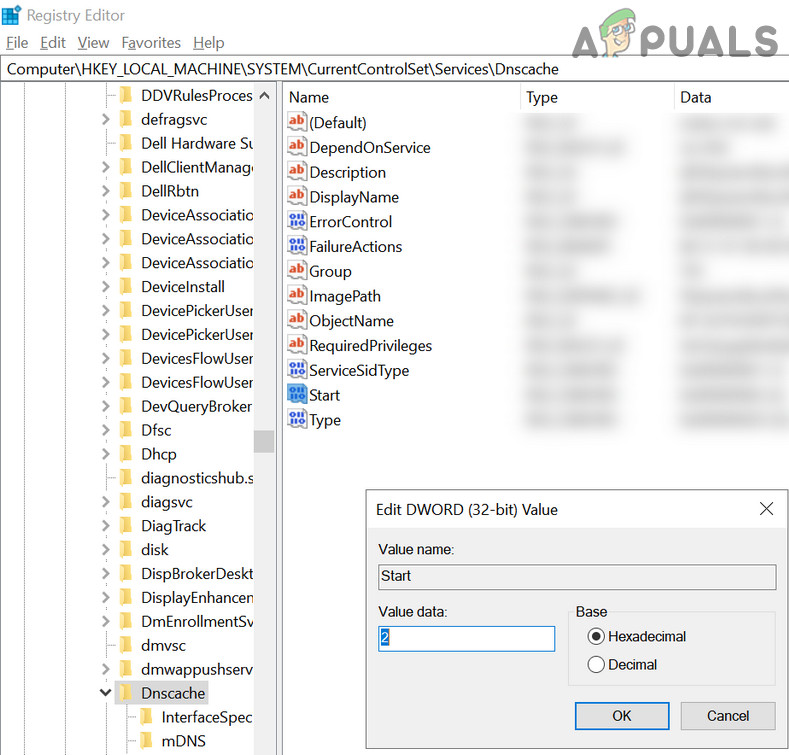
Step 1: Enable DNS Cache
Set the Value of Start to 2 at the following:
Computer\HKEY_LOCAL_MACHINE\SYSTEM\CurrentControlSet\Services\Dnscache
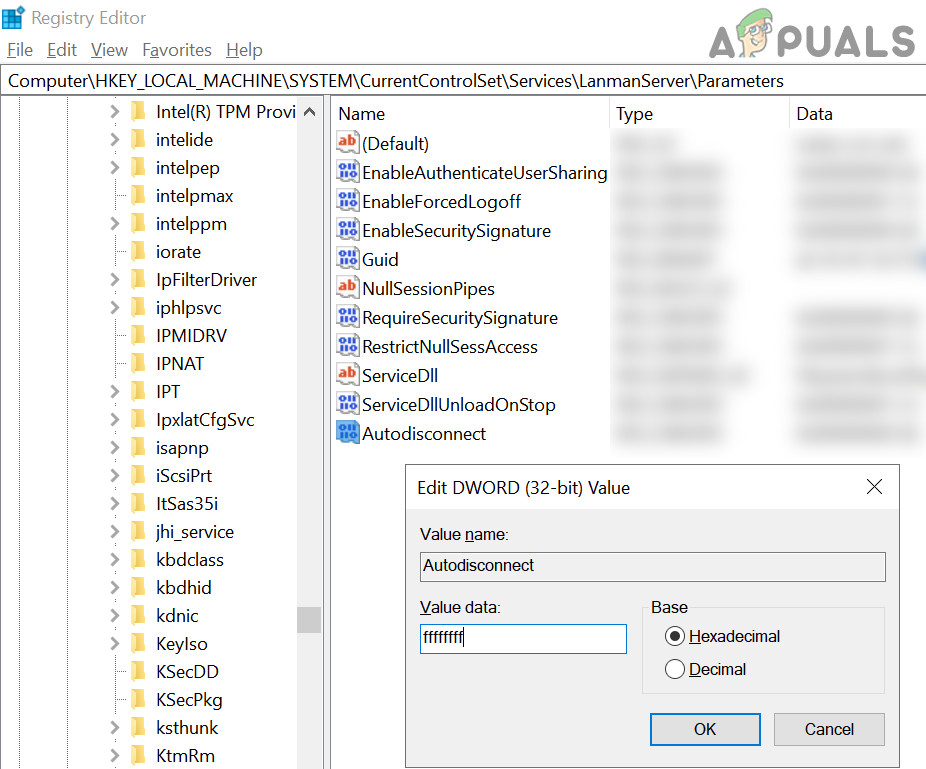
Step 2: Create Autodisconnect
Create a DWORD (32-bit) Value named Autodisconnect and set its Value to “ffffffff” at the following:
Computer\HKEY_LOCAL_MACHINE\SYSTEM\CurrentControlSet\Services\LanmanServer\Parameters
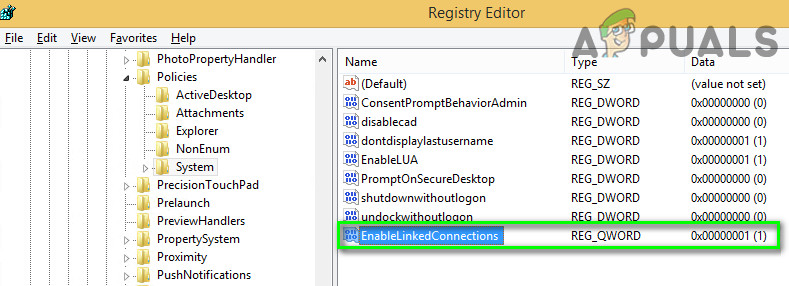
Step 3: Add the EnableLinked Connections
Create a DWORD (32-bit) Value named EnableLinkedConnctions and set its value to 1 at the following:
Computer\HKEY_LOCAL_MACHINE\SOFTWARE\Microsoft\Windows\CurrentVersion\Policies\System
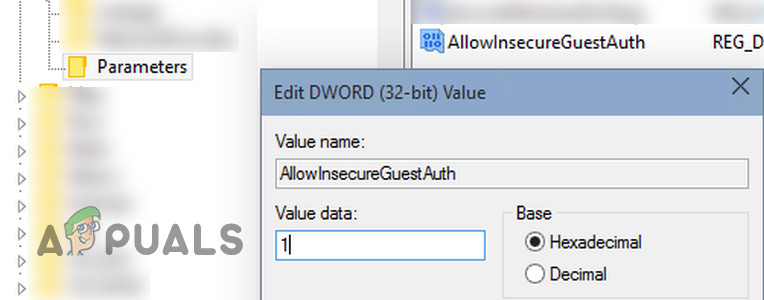
Step 4: Allow Insecure Login
Create a DWORD (32-bit) Value named AllowInsecureGuestAuth and set its value to 1 at the following:
Computer\HKEY_LOCAL_MACHINE\SYSTEM\CurrentControlSet\Services\LanmanServer\Parameters
Step 5: Delete and Recreate the Mapped Drive Entry
- Now, navigate to the following:
Computer\HKEY_CURRENT_USER\Network
- Then delete the folder with the name of your mapped drive (e.g., the drive letter X, Y, Z, etc.).
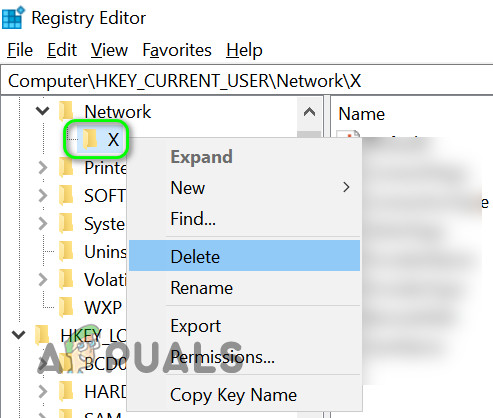
Delete the Folder with the Mapped Drive Letter - Now navigate to the following:
Computer\HKEY_CURRENT_USER\SOFTWARE\Microsoft\Windows\CurrentVersion\Explorer\Map Network Drive MRU
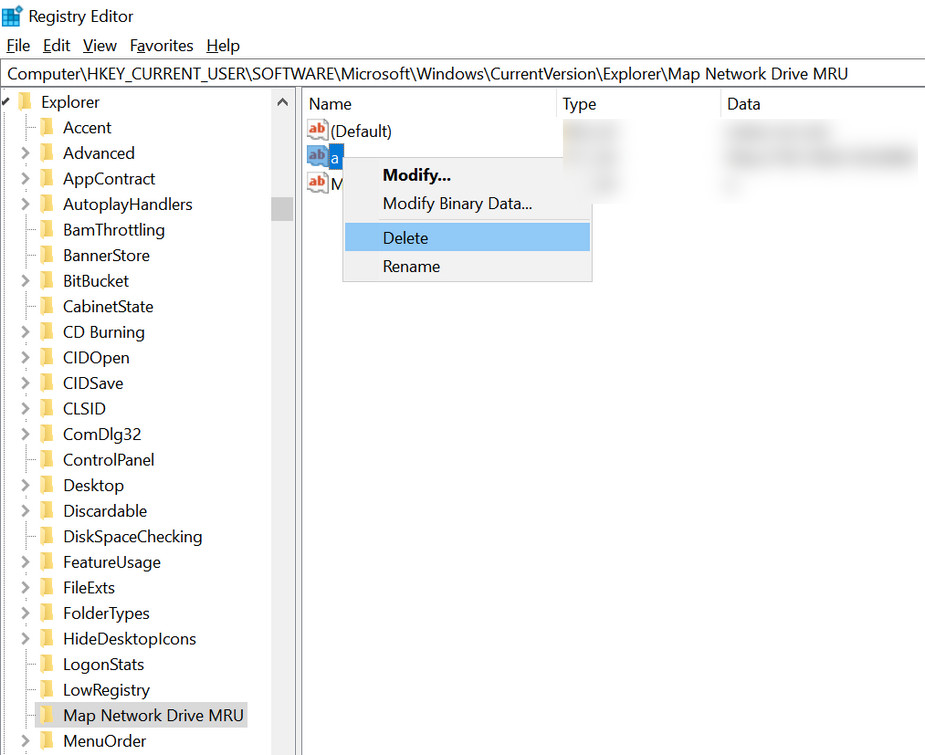
Delete the Key With the Alphabet - Then delete the entry of an alphabet (like a, b, etc.).
- Now reboot your PC and map the network drive.
- Then launch the Registry Editor and navigate to
Computer\HKEY_CURRENT_USER\Network
- Then open the folder with the mapped drive letter (as in step 2)
- Now create a DWORD (32-bit) value named as ProviderFlags and set its value to 1.
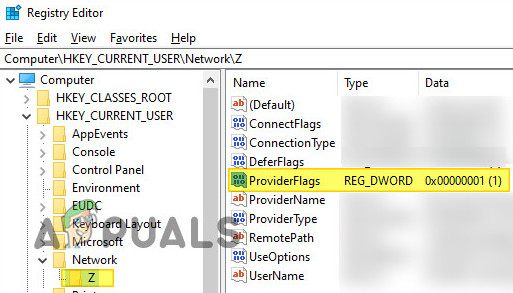
Add the ProvideFlags Key
If the issue is still there, then you may try the following in an elevated command prompt
net use Z /delete (where Z is your drive letter)

net use /p:yes

net use *: \\servernameorIP\sharename
You can also create a batch file by using the above script that can be used in the startup folder, Group policy, or in the Task Scheduler.
If the issue is still there, then you can try to remove the update which caused the issue. You can also check if using the DISM command resolves your issue. Furthermore, you can also try Autoruns to check if any of the startup items or applications (Malwarebytes is reported to cause the issue) is causing the issue.


