How to Map a Network Drive in Windows 11?
Sharing files and folders can be really important especially if you are on a network. In this modern era, we need to frequently access data and in some cases, the required data may not be present on our computer but rather on a different device on the network. Using a USB for such purposes is time-consuming because there is a more elegant and efficient solution available when you wish to share files and folders across the same network. This is where network discovery comes in which is a built-in feature in Windows that lets devices on the same network as you detect you. In this article, we will be showing you how to map a network drive in Windows 11.
As it turns out, mapping a network drive means that you are making it accessible to all the devices on the same network that have network discovery enabled. This can be really beneficial especially in a work environment where files and folders are shared with each other very often. Not only that, you can even set this up in your home if you have multiple Windows devices and wish to share data across them. With a mapped network drive, whatever files and folders are shared in the networked drive, they will be accessible to all of the devices. The mapped drive appears as a normal drive in the File Explorer window just like your local drives. With that said, let us get started and show you how to map a network drive.
Enable Network Discovery
Before we begin and map a network drive, we will first have to enable Network Discovery on the devices that wish to access the networked drive. Network Discovery is essentially a feature that allows your computer to be detected by other devices that are on the same network as you. Windows prompts you whether you wish to enable network discovery sometimes when you join a network but often it is missed and people like to turn it off for a good reason. If network discovery is turned off, the computers on your network won’t be able to detect you and thus not be able to access the mapped drive that we are going to create down below. Similarly, in order to be able to access a shared location on a network, you will need to turn on discovery. To enable network discovery, follow the instructions given down below:
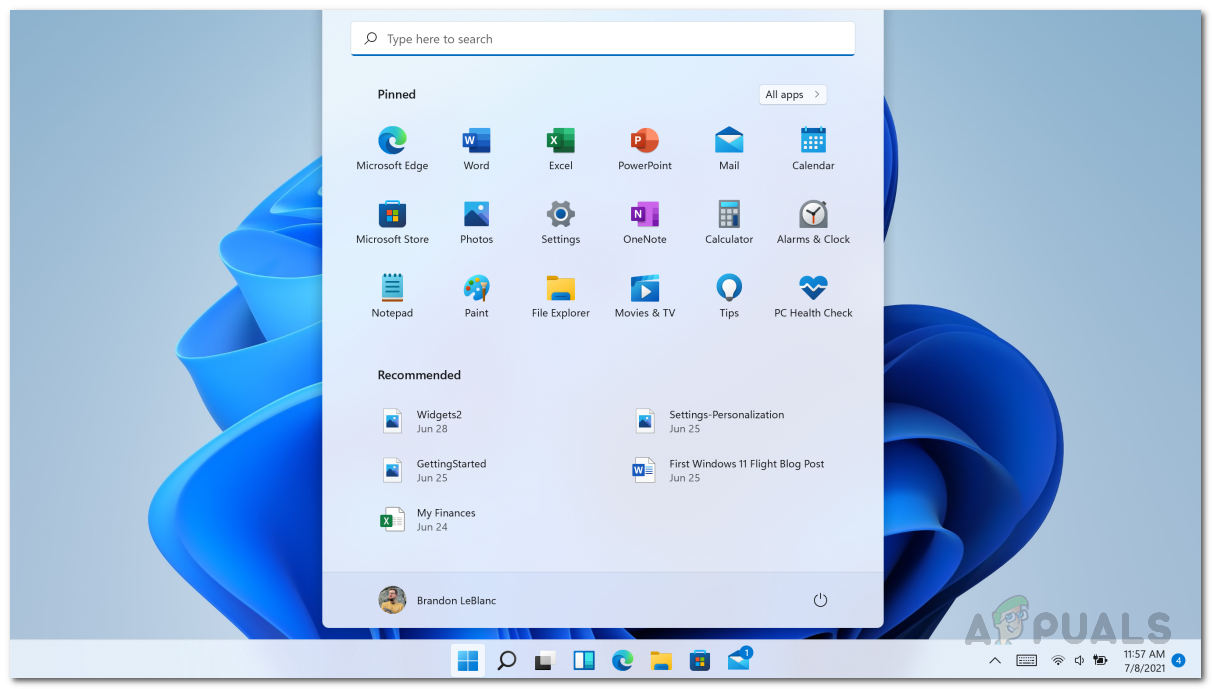
- First of all, go ahead and open up the Start Menu.
- Search for Control Panel and open it up.
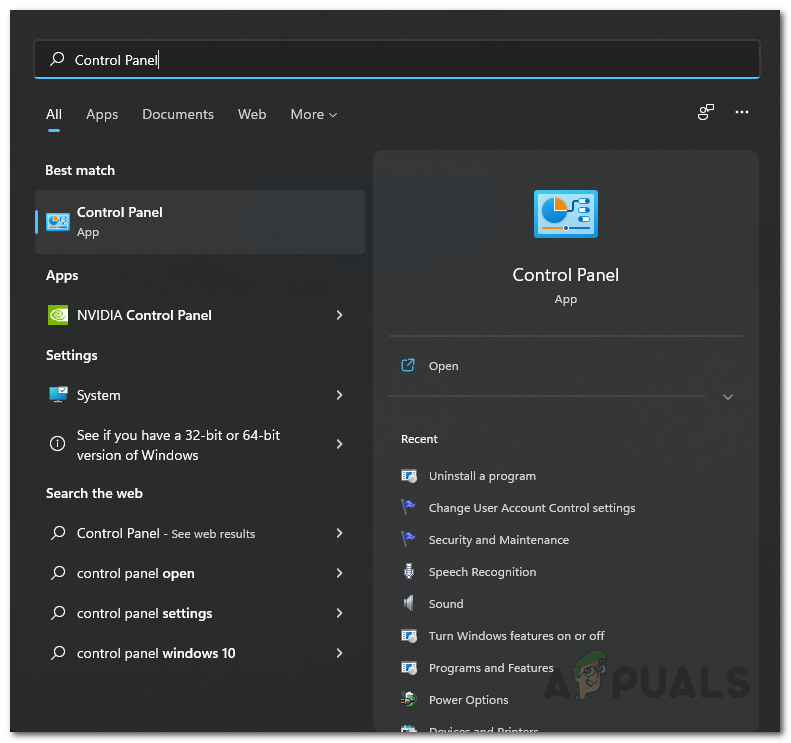
Opening up Control Panel - On the Control Panel window, click on the Network and Internet option.
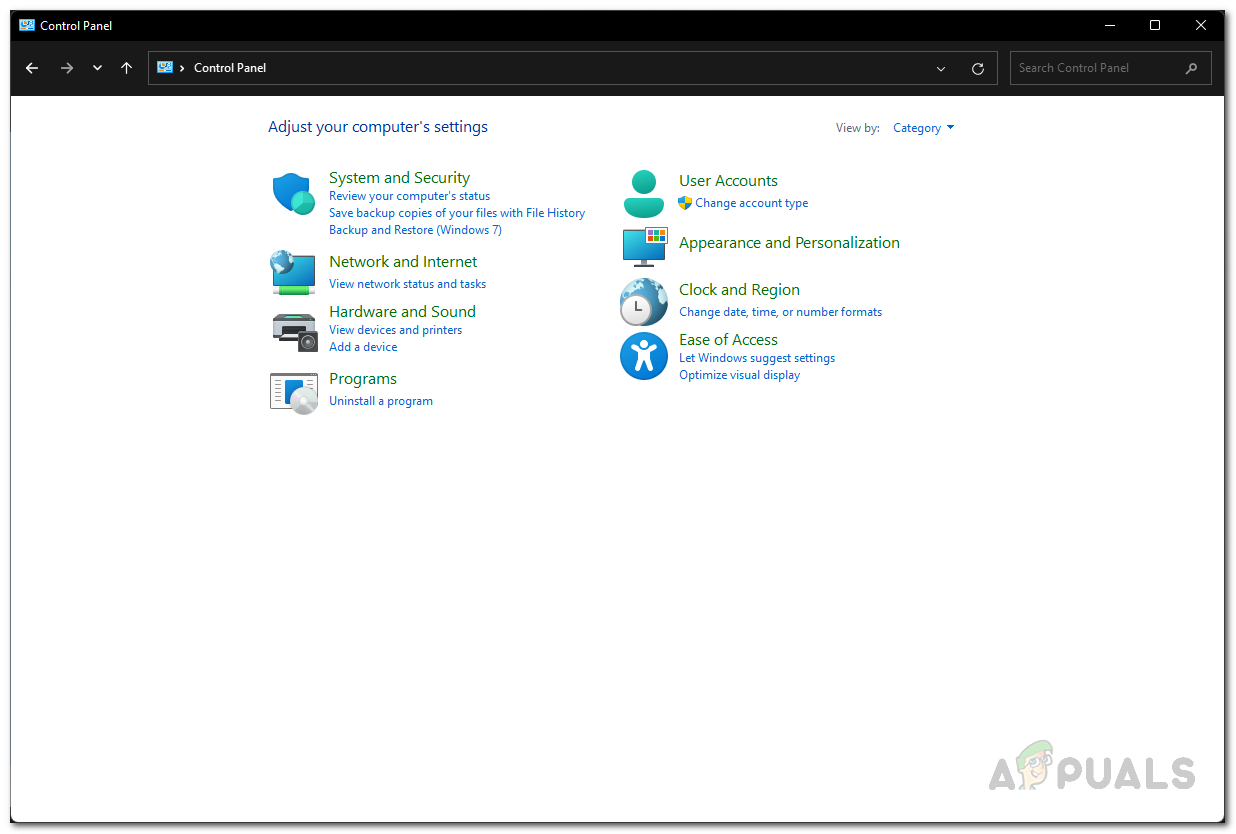
Control Panel - Then, on the Network and Internet screen, click on the Network and Sharing Center option.
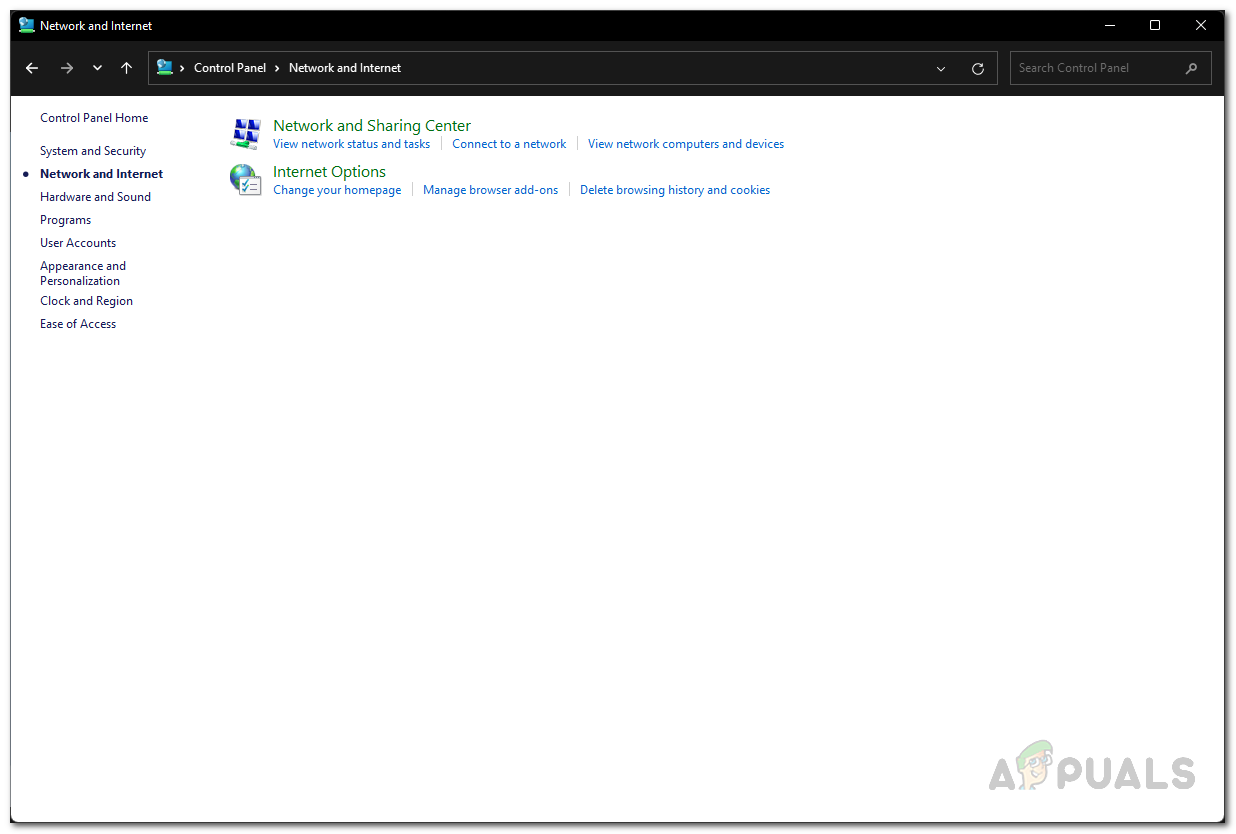
Navigating to Network Sharing Center - On the left hand side of the Network and Sharing Center, click on the Change advanced sharing settings option.
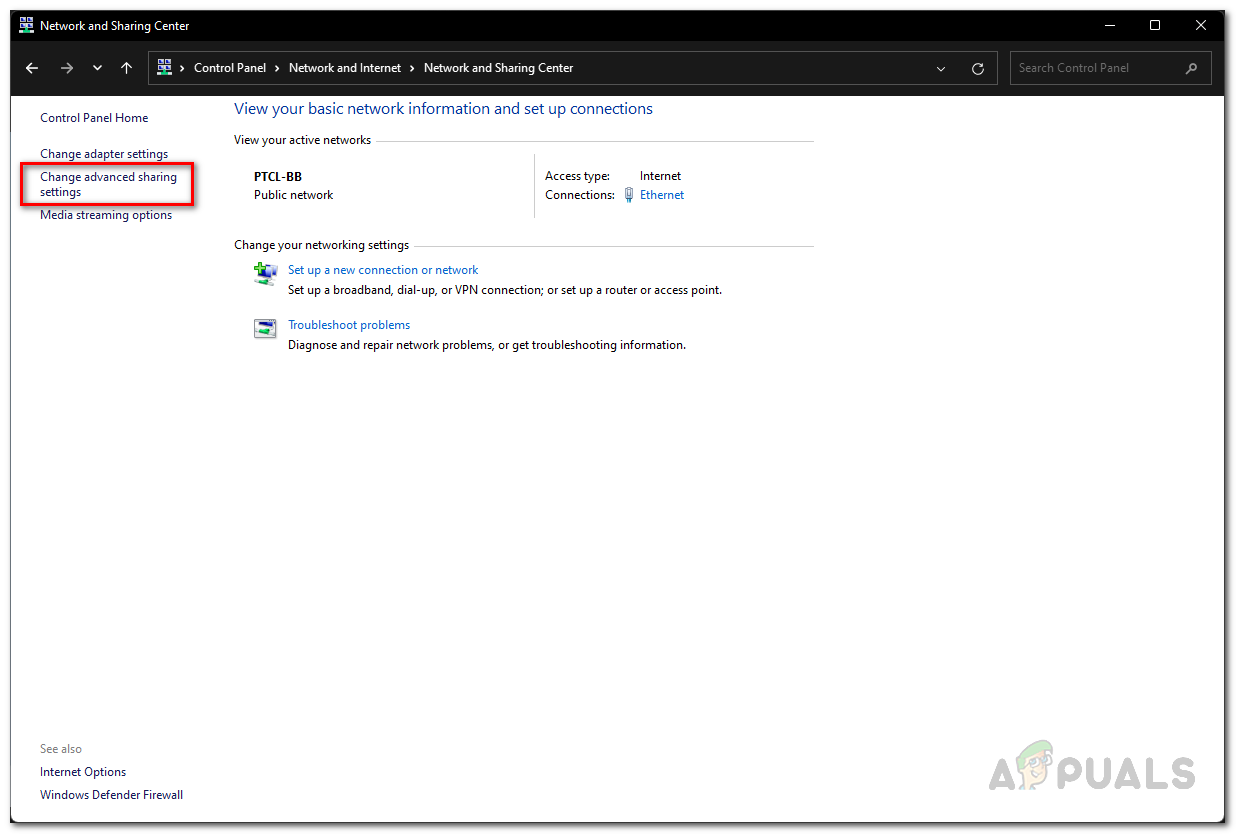
Opening Advanced Sharing Settings - There, expand your current profile by clicking the arrows provided next to the profile names.

Advanced Sharing Settings - From the list of options, click on the Turn on network discovery option.
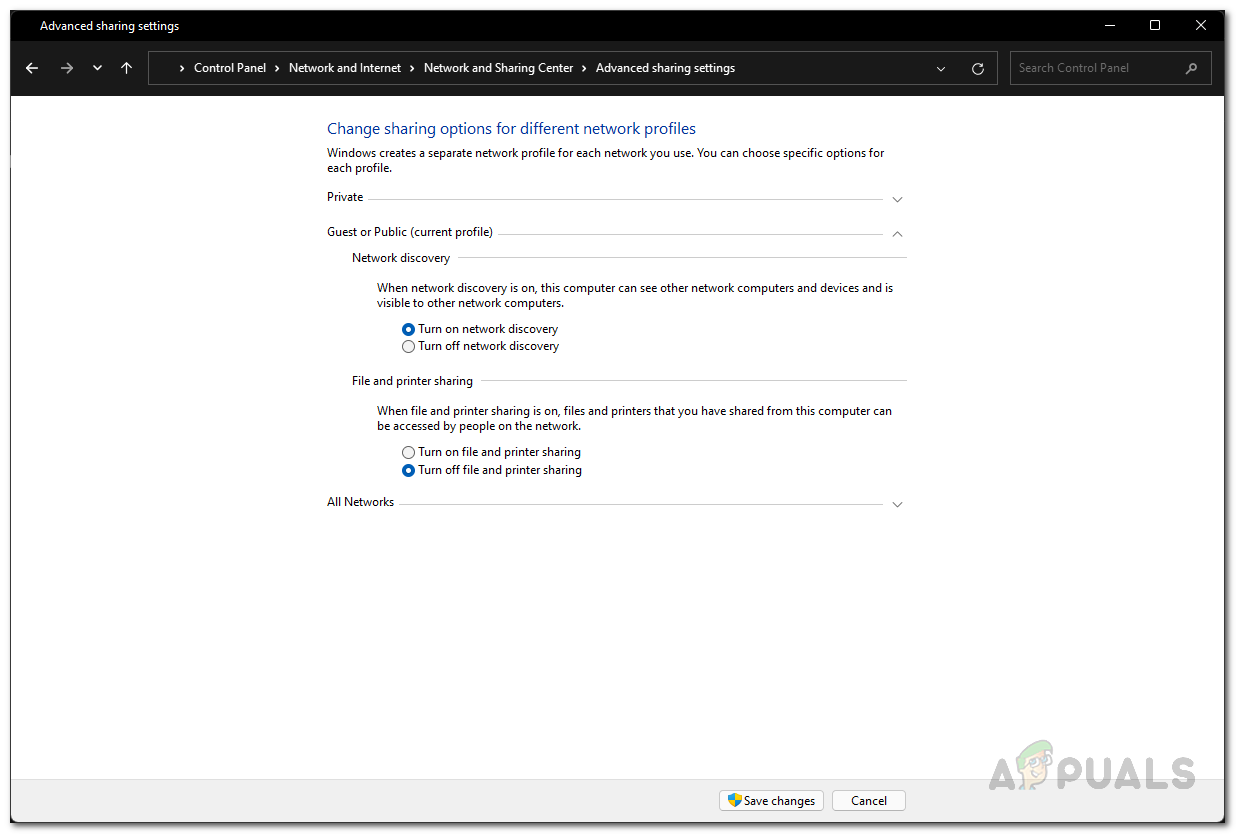
Enabling Network Discovery - After that, if you wish to share files from this machine to the network, click on the Turn on file and printer sharing option as well.

Enabling File Sharing Note: It is important to note that you need to turn on file sharing as well as network discovery on the computer that is supposed to host the networked drive.
- Once you have done that, click the Save changes button at the bottom.
Map a Network Drive
Now that we have successfully turned on network discovery, the computer should now be visible to other devices on the network. Because of this, the computers on the same network will be able to access the mapped network drive to copy any files and folders. However, before you are able to do that, we first have to map a network drive. When you map a network drive, the files and folder in that location will be available to all the computers on the network. If you do not wish to share it with everyone, you can enable password protected sharing from the Control Panel. To map a network drive, follow the instructions given down below:
- First of all, go ahead and open up the File Explorer.

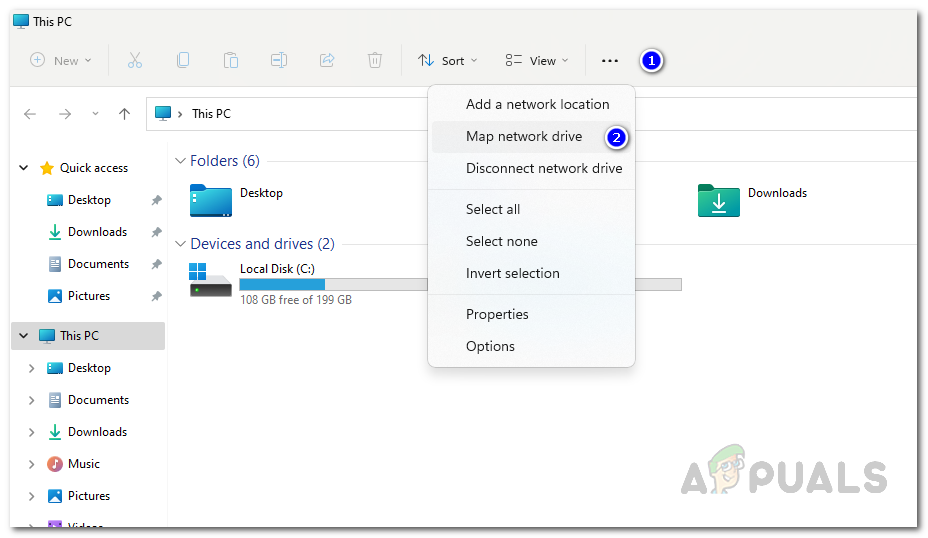
Opening up File Explorer - Then, on the File Explorer window, click on the three dots option given at the top.
- From the drop down that appears, choose the Map network drive option.
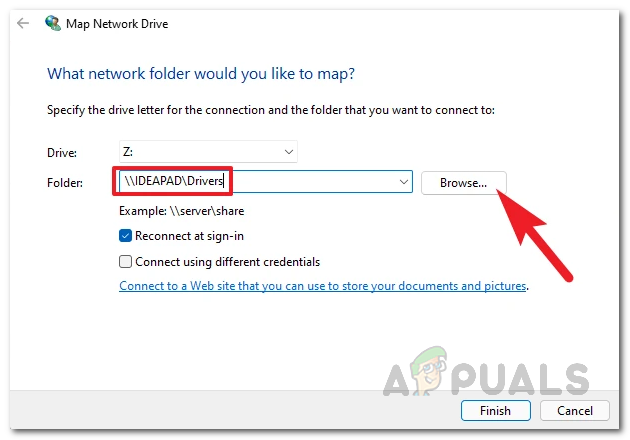
Opening Map Network Drive Window - On the Map Network Drive window that appears, first of all choose a drive letter for the mapped network drive.
- After that, click on the Browse button.
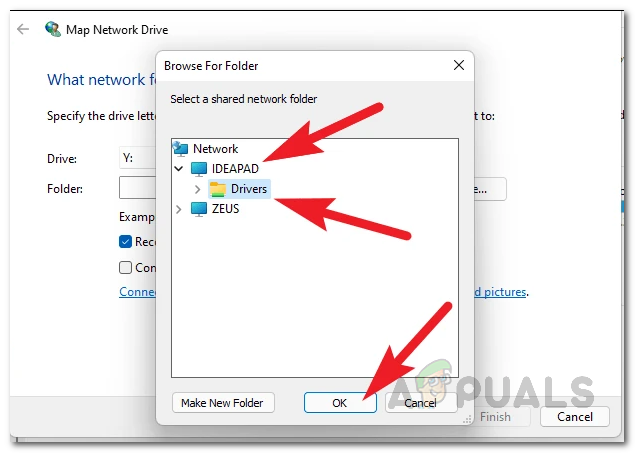
Choosing Shared Location - Here, click on the network name to show a list of devices that are present on the network.
- Navigate to the location that you wish to map and then click the OK button.
Choosing Network Shared Folder - If you want Windows to reconnect to the mapped network drive every time you sign into your account, make sure the Reconnect at sign-in checkbox is ticked.
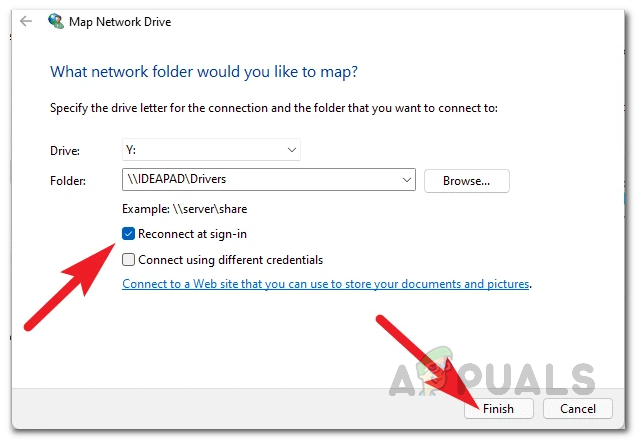
Finishing up Mapping Network Drive - Finally, click the Finish button to map the network drive.
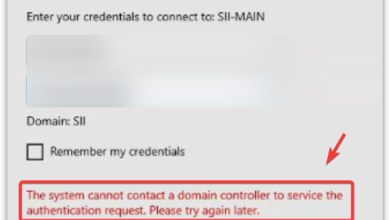
- If the default credentials fail while connecting to the network drive, a Windows Security dialog box will open up asking for the username and password. Provide the credentials of the computer that the mapped drive is on and then click the OK button.
- Once you have successfully done that, Windows will connect to the mapped drive and assign it the drive letter that you chose earlier.
- You will be able to see your network drive in the File Explorer under Network Locations.