How to Make Google Slides Vertical in 6 Easy Steps [2024]
 Reviewed by Huzaifa Haroon
- Vertical slides offer a unique visual perspective that stands out from traditional horizontal layouts, enhancing audience engagement and making presentations more memorable.
- Open Google Slides and navigate to "File" > "Page setup" to access custom dimensions.
- Regular practice, attention to detail, and a commitment to delivering confident presentations are essential for harnessing the full potential of vertical slides and becoming a skilled and effective presenter.
Presentations are more interesting when they look different. Making slides go up and down instead of side to side can make your ideas stand out. In this guide, we’ll show you how to make Google Slides vertical. Let’s get started!
Table of Contents
Why Even Make Vertical Slides?
Here’s how vertical slides can benefit you:
- Enhanced Visual Appeal: Vertical slides offer a refreshing change from the traditional horizontal layout, making your presentation stand out and capturing the audience’s attention.
- Optimized for Mobile Devices: They are easier to view on smartphones and tablets, catering to the increasing trend of mobile usage during presentations.

- Storytelling Advantage: The vertical orientation lends itself well to storytelling, allowing for a more natural progression and flow of information, especially for narratives with tall content elements.
- Infographic Showcase: Vertical slides are ideal for displaying tall infographics, graphs, and timelines without the need for excessive scrolling or resizing.
- Differentiation: Using vertical slides sets your presentation apart from the crowd, signaling to your audience that you’ve put thought into the design and layout of your content.
READ MORE: 3 Easy Ways to Convert a PDF to Google Slides [2024] ➜
How to Make Google Slides Vertical
Follow these steps to make Google slides vertical:
Step 1: Open Google Slides
Access Google Slides and open the presentation you want to edit or create a new one by clicking on “+.

Step 2: Navigate to File
Go to the Menu bar at the top of the screen and choose “File.”

Step 3: Select Page Setup
Choose “Page setup” from the list of options.

Step 4: Choose Custom Aspect Ratio
In the “Page setup” dialog box, locate the aspect ratio dropdown menu.

Step 5: Set Custom Dimensions
Now, select “Custom” from the dropdown menu.

Enter the desired dimensions for a vertical orientation. You can choose from common sizes such as:
- US Letter: 8.5 x 11 inches (similar to A4 size)
- US Legal: Around 8.5 x 14 inches.
- A4 (International Standard): Sized at 21 x 29.7 cm.
- A3: 29.7 x 42.0 cm.
- Mobile: 2532 x 1170 pixels, with a 9×19.5 aspect ratio
- Social Media: 1080 x 1920 pixels, with a 9:16 aspect ratio

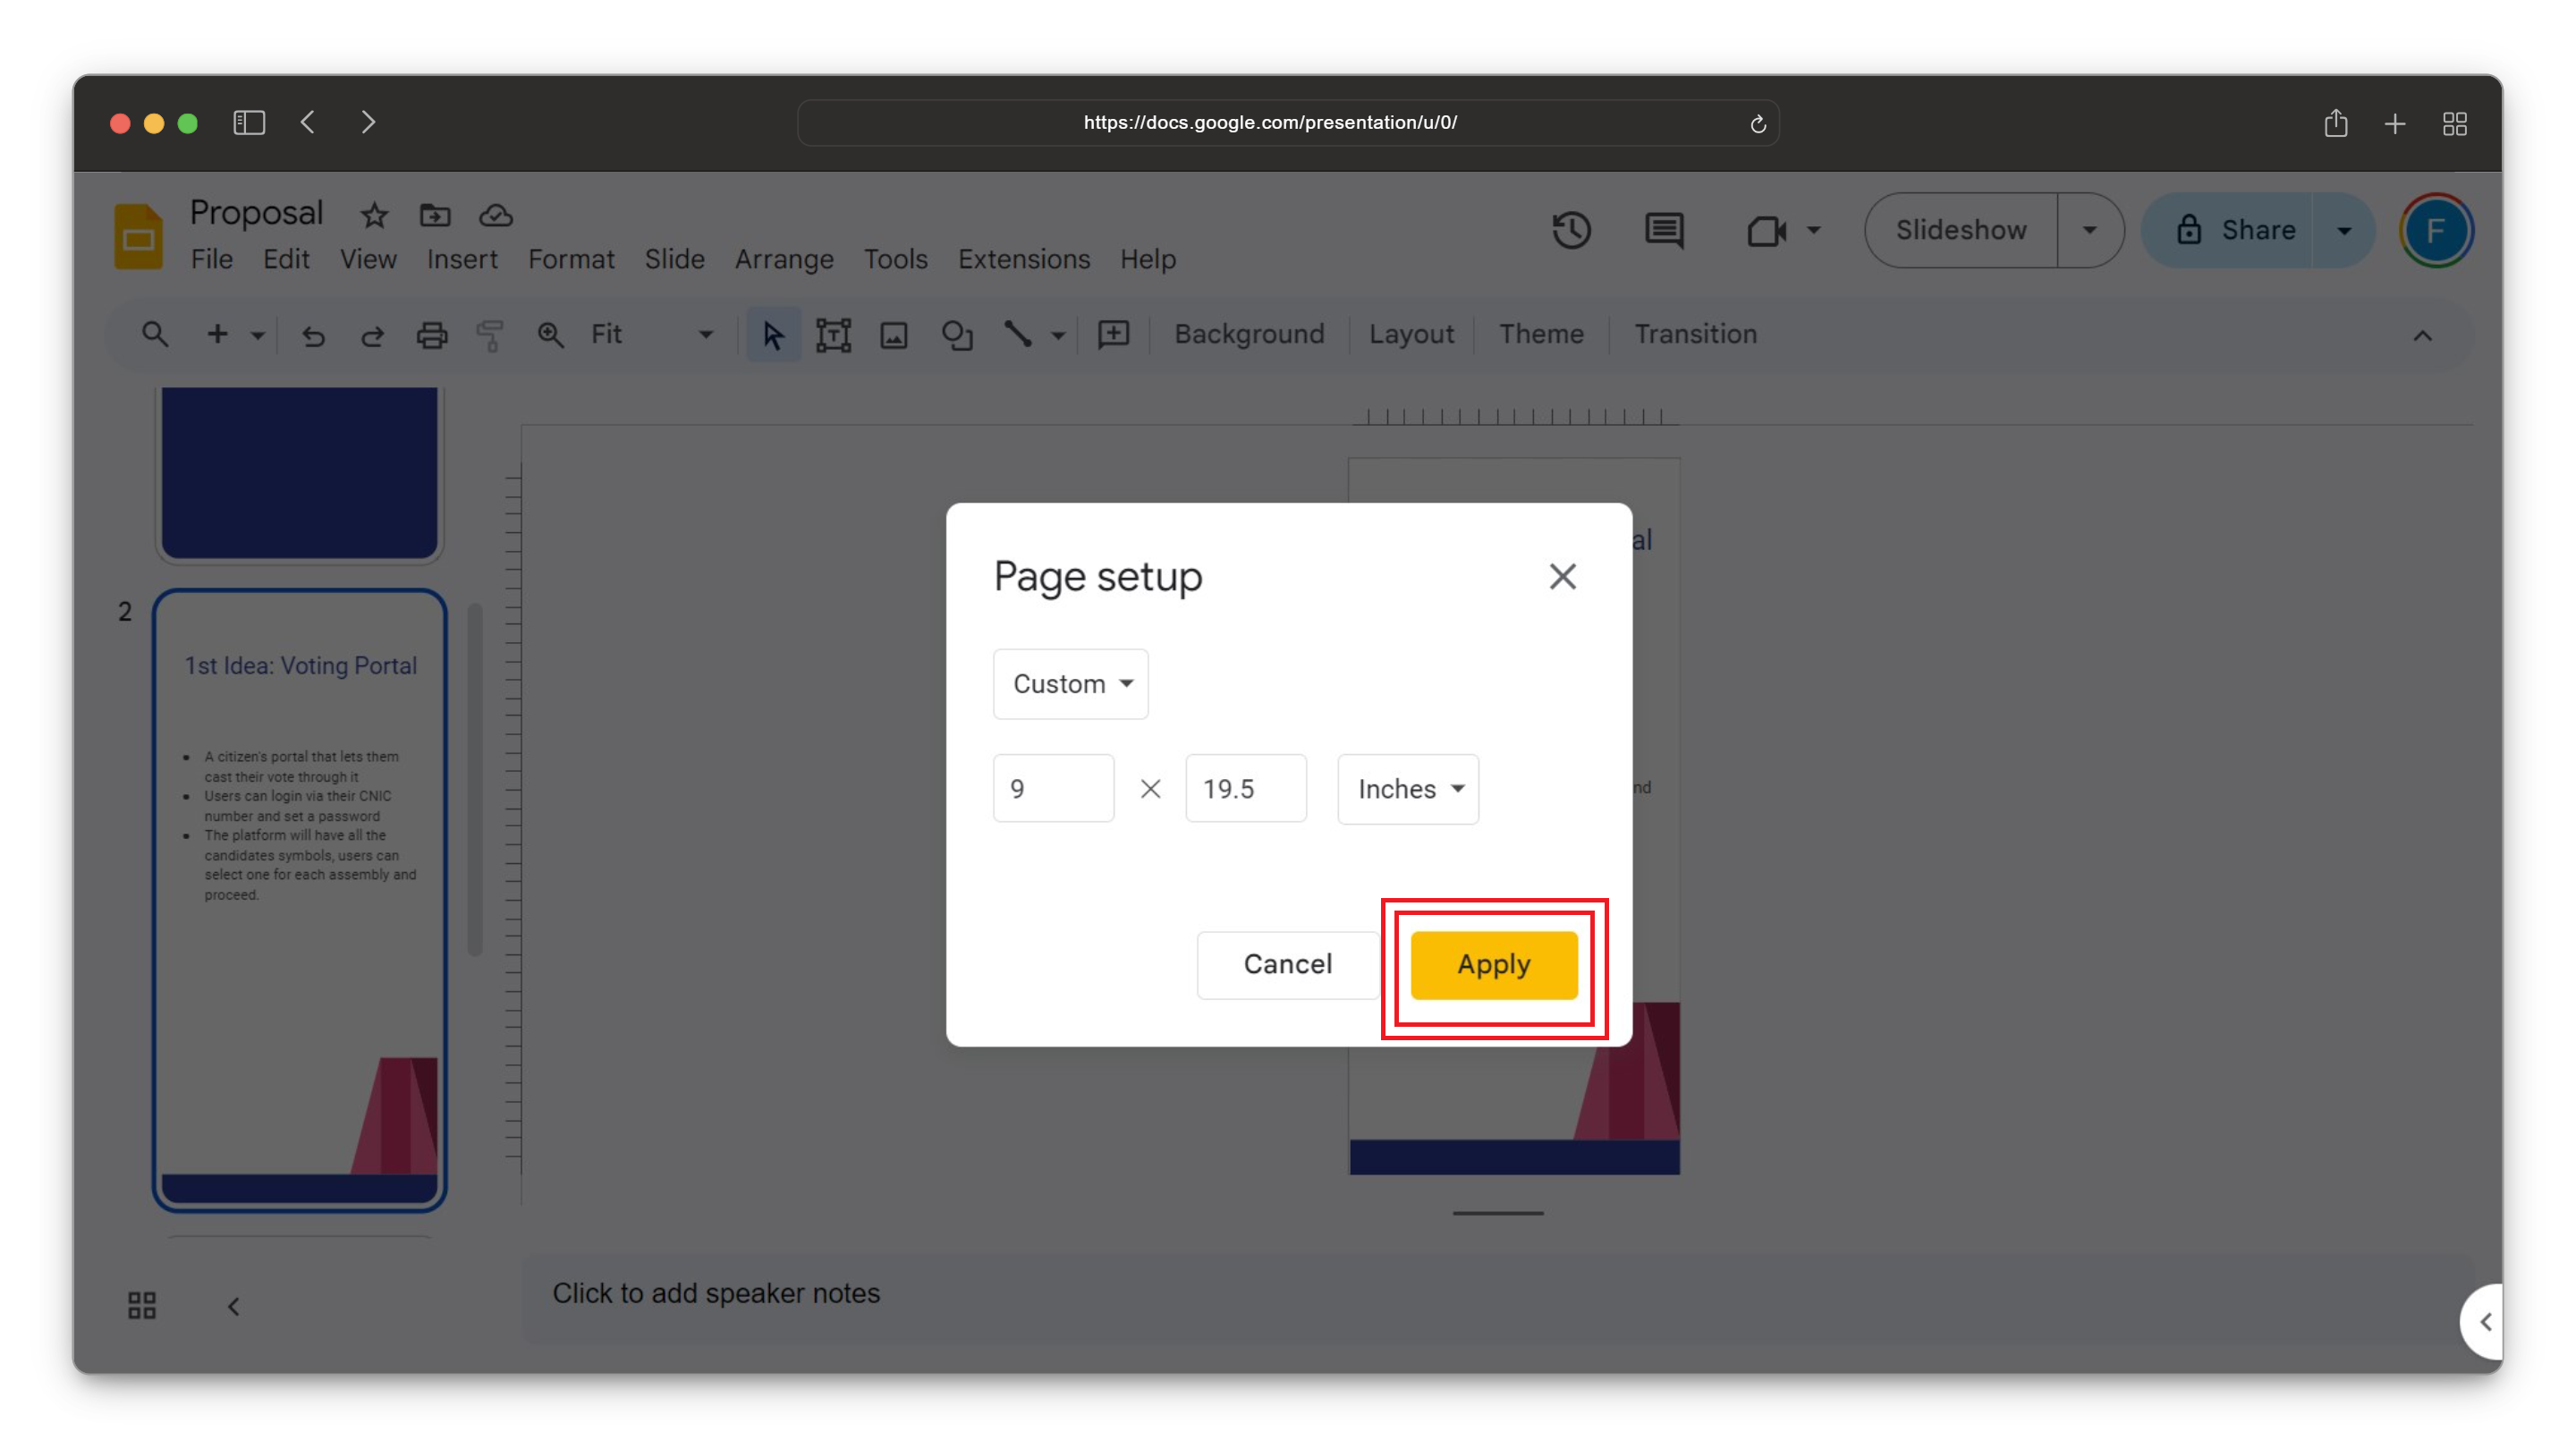
Step 6: Apply Changes
Once you’ve entered the dimensions, click on the “Apply” button to confirm the changes.
READ MORE: How to Add a GIF to Google Slide ➜
Tips & Tricks
Use the following tips to make the most of vertical Google Slides:
- Visual Appeal: Use captivating images and graphics to enhance engagement and convey your message effectively.
- Simplicity is Key: Keep slides uncluttered with concise text and minimal distractions to maintain audience focus.

- Consistent Design: Maintain a cohesive theme throughout your presentation with consistent fonts, colors, and layout styles.
- Engage with Animation: Incorporate subtle animations to add interest and guide the audience’s attention without overwhelming them.
- Practice and Prepare: Rehearse your presentation multiple times to ensure smooth delivery and confidence in your content, allowing you to connect with your audience effectively.
READ MORE: What is Slidesgo, and how to use it for better Google Slides ➜
Wrapping Up
Mastering the art of creating vertical Google Slides opens up a world of creative possibilities for your presentations. By following the steps outlined in this guide and implementing the best tips and tricks, you can transform your slides into captivating visual stories that leave a lasting impact on your audience.
With practice and dedication, you can become a skilled presenter capable of delivering dynamic and memorable presentations that resonate with your audience long after the slideshow ends. So go ahead, unleash your creativity, and make your mark with vertical Slides!
FAQs
It’s essential to preview your presentation on various devices to ensure optimal viewing experience.
Yes, you can adjust the slide size and layout settings to convert horizontal slides to vertical orientation in Google Slides.
Yes, you can collaborate with others in real-time on vertical presentations in Google Slides, allowing for seamless teamwork and editing.
Common mistakes include overcrowding slides with text or images, using too many animations, and neglecting consistency in design elements.
Reviewed by Huzaifa Haroon


