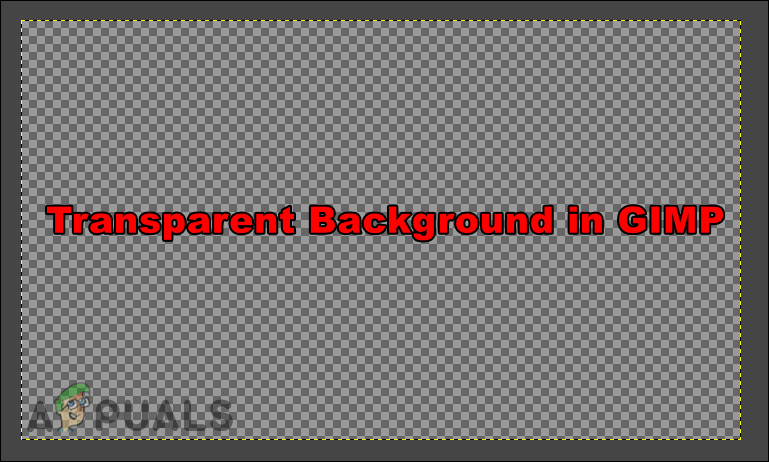
How to Make Background Transparent by Default for New Images in GIMP?
GIMP is an open-source raster graphics editor that is used for image retouching and image editing. It is available for both Unix and Windows platforms under GPLv3+ licenses. It is pretty much similar to Photoshop, but with fewer tools. The image background is an important thing when it comes to editing images. Most of the users would want to create new images with a transparent background so they can later add the preferred background. In this article, we will show you a method through which you can set the default background fill type to transparency for every new image in the GIMP.
New Image Background in GIMP
By default, all new images will be filled with the background color. It will fill the new images with any background color that you have chosen. This can cause issues and fill the image with the color that you may not want for your image. The background can be changed when creating a new image or after the image is created. However, it will be time-consuming and you will have to do it every single time.
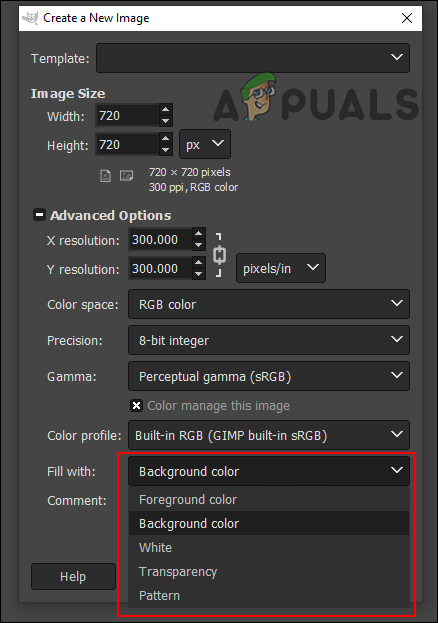
For new images, you can manually change them by clicking on the Advanced option when creating a new image. Then select the “Fill with” option and choose the desired option.
Setting Default Transparent Background for New Images
The GIMP will fill the background of every new image with the active background color in the tools. You can also choose the “fill with” option when creating a new image, but that will be time-consuming when you always want the option that differs from the default one. You can change that and always create new images with a transparent background by following the below steps:
- Open your GIMP application by double-clicking on the shortcut or searching it through the Windows search feature.
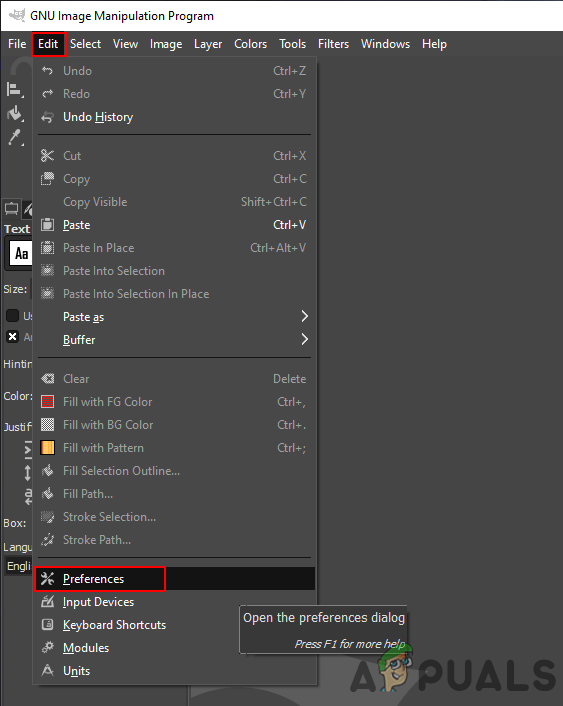
- Click on the Edit menu in the menu bar and choose the Preferences option.
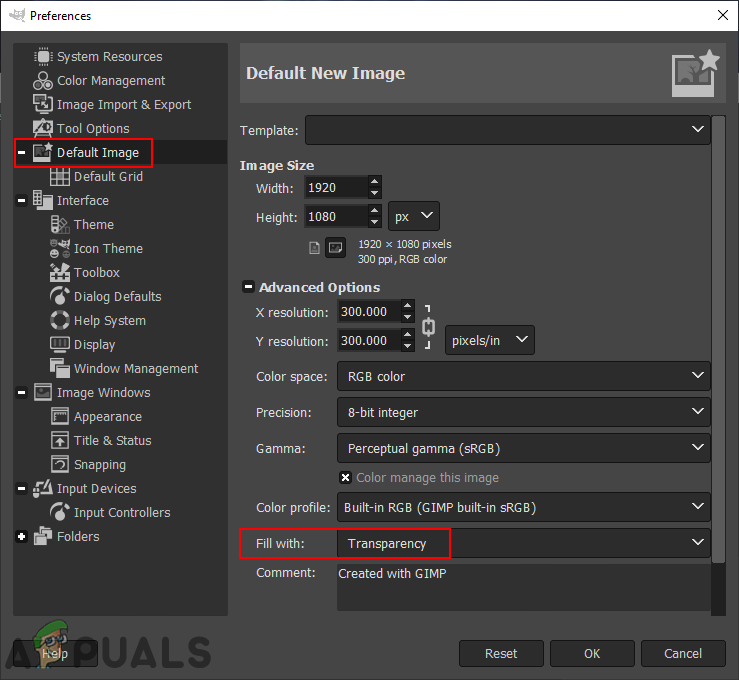
Opening preferences in GIMP - Choose the Default Image in the left pane and then change the “Fill with” option to Transparency.
Changing the default background option - Click on the Ok button to save the changes. Now every new image will be created with a transparent background.
Additional: Creating a New Layer for Background Color
Now that you have a transparent background always, sometimes you would want to add a background to the image. This can be done by creating a new layer and filling it with white or any other color that you want. Working with multiple layers is always the best method for editing images.
- In the GIMP, right-click on the layer panel and choose the New Layer option. You can also do this by clicking on the Layer menu in the menu bar and choosing the New Layer option.

Creating a new layer in GIMP - Name the layer as you want and choose the Layer Fill Type to white or any other color by selecting the Foreground color or Background color.
Note: You can always choose the desired Foreground color or Background color before using this step.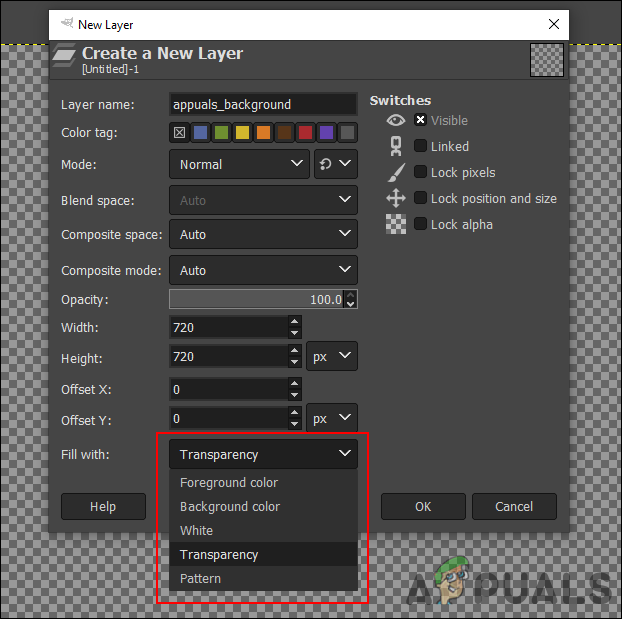
Changing the color of the layer to change the background - Once you have selected details, click on the Ok button to create a new layer. Now you can work with a selected background and later save the image with or without it.


