[FIX] Mac OneDrive AutoSave not Working
Having not to worry about the changes that you have made to a document or as you write a document along is a feature that’s crucial these days. Long gone are the days when you would have to manually save the edits that you have made to a document. However, there are users that have been facing an issue with the autosave feature that comes with the Microsoft Office products on their Mac machines. As it turns out, the autosave feature either is greyed out or is not functioning properly meaning the file isn’t being saved automatically.

The normal local files on your system are an exception to this case as the issue has been known to occur only when the file is synced to OneDrive. Basically, how the feature works is that when you save a file to your OneDrive account, it is automatically saved so the changes that you make are present on both the local version as well as the one stored on the cloud. Therefore, autosave is automatically enabled when you are working on a file that is saved to either your personal OneDrive, OneDrive for Business, or even Microsoft Sharepoint. There are a few reasons as to why autosave is not working in your case that we are going to list down below.
- Saving File Locally — One of the main reasons that the autosave feature might be turned off or greyed out is when you store the file locally instead of on the cloud. In such a case, the application keeps the autosave feature off and you will have to save the file properly to your cloud to get the feature back.
- Older File Formats — As it turns out, the feature may not be working because the file that you are working on is not supported. To be more precise, if you are working files that use the .doc, .xls, etc file format, the autosave feature will not work as it is not available for these file formats. In such a case, what you will have to do is change the format of your file and the feature should start working. Check the title bar to see the file format that you are working with.
Now that we are done with the possible causes of the issue, let us go through the potential fixes that you can implement to get the autosave feature back working. However, before we begin, make sure that you checked that the autosave option is checked from the options menu. It can be that the feature is just turned off from the settings which is why it isn’t working. Therefore, before you jump into the different methods provided down below, just double check your settings. To do this, simply go to File > Options and then switch to the Save tab on the pop-up window. It should be the first option under the Save tab.
With that said, without further ado, let us get started with the solutions.
Method 1: Open the File using the File Menu
As it turns out, one of the solutions that have been reported as working by various users is to open the file that you are working with using the File menu within MS Word, Excel, or anything of the sort. This is often helpful when your file is saved on an MS SharePoint site or on a local folder on your Mac. Nonetheless, opening the file via the File menu should do the trick for you.
Here’s how to do it:
- First of all, open up the application of the file type that you are working e.g. Word.
- Now, on the top right corner, click on the File option to go to the File menu.
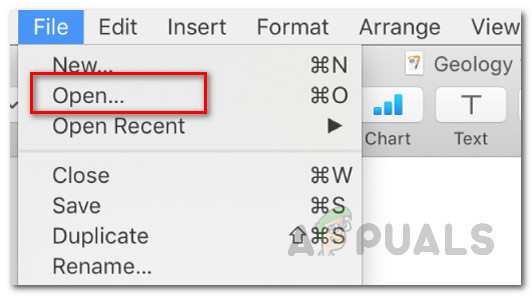
Opening a File - From there, click on the Open option to open up a new file. Alternatively, you can press the Ctrl + O keyboard shortcut to bring up the new window.
- Finally, go through the directories and locate your file. Open it up and see if the autosave is now working.
Method 2: Save the File to OneDrive
One of the most common reasons the issue pops up is when you are saving the file locally and not on your OneDrive account. The autosave enables the moment you start working with files that are saved to your OneDrive account, be it personal or business. Now, if the file is saved to any other location, then the autosave feature is disabled. This happens when you save the file to a local folder on your Mac machine.
A common mistake that everyone makes every now and then is that they try to save the file to OneDrive via the folders on their Mac system. This actually doesn’t save the file to your OneDrive account and thus the autosave feature doesn’t work. What you have to do is save the file the right way that we will be showing down below to get the feature to work. Follow the instructions down below to save the file the right way:
- First of all, open up the file and then go to the File menu.
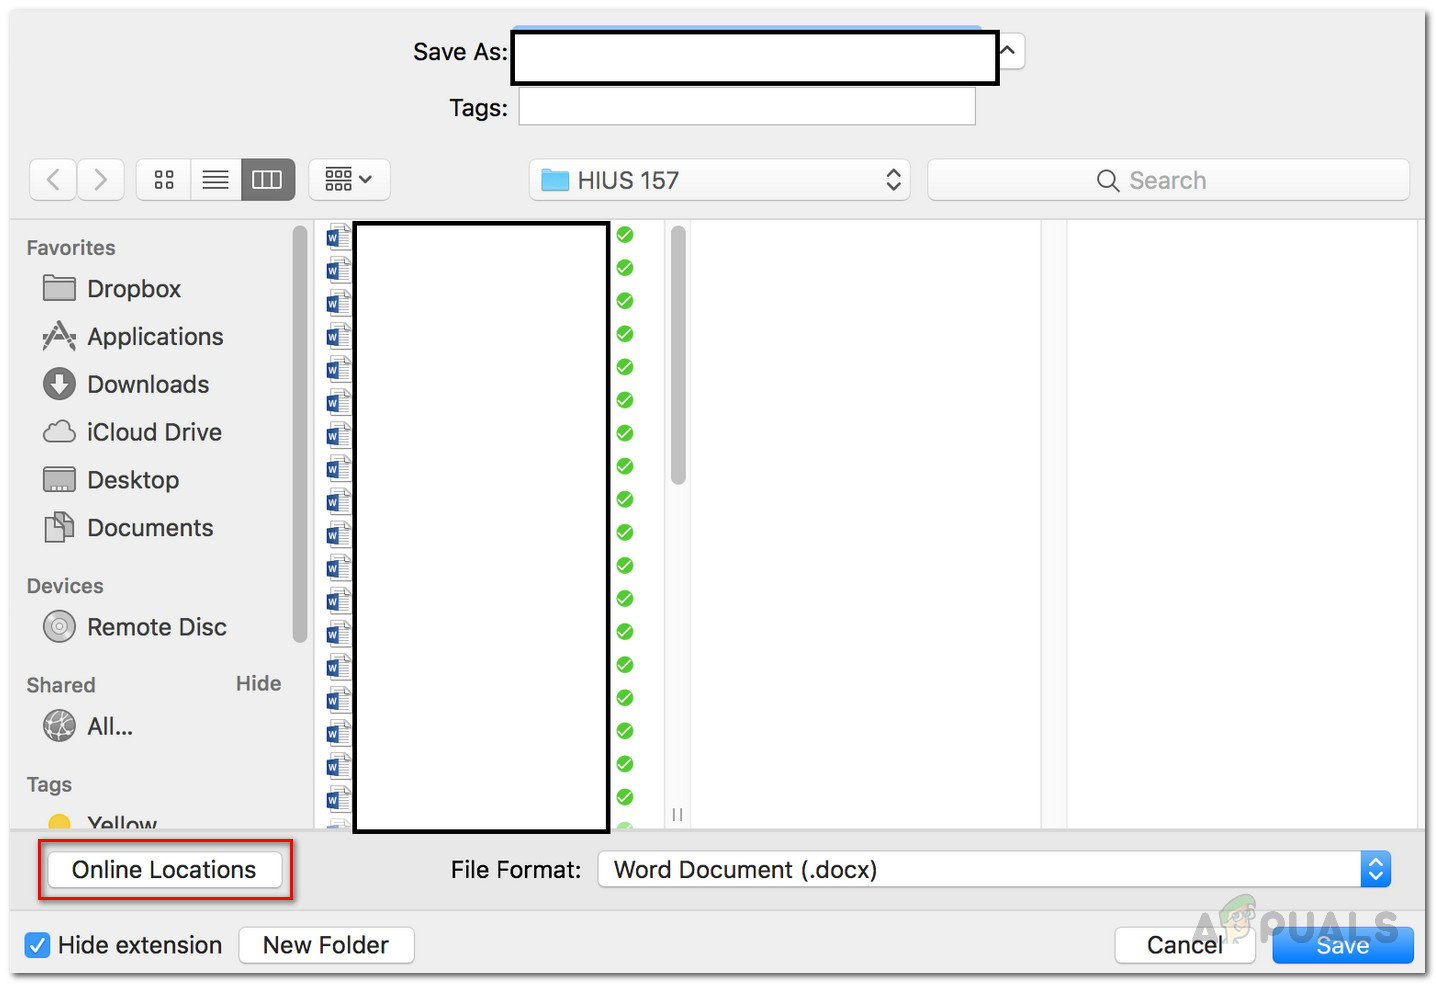
- From the drop-down menu, choose the Save as option or press the Command + Shift + S keyboard shortcut to bring up the save as window.
- Now, here click on the Online Locations option. This will take you to the menu from where you can save the file directly to OneDrive.
Saving a File - Finally, save the file with any name you like.
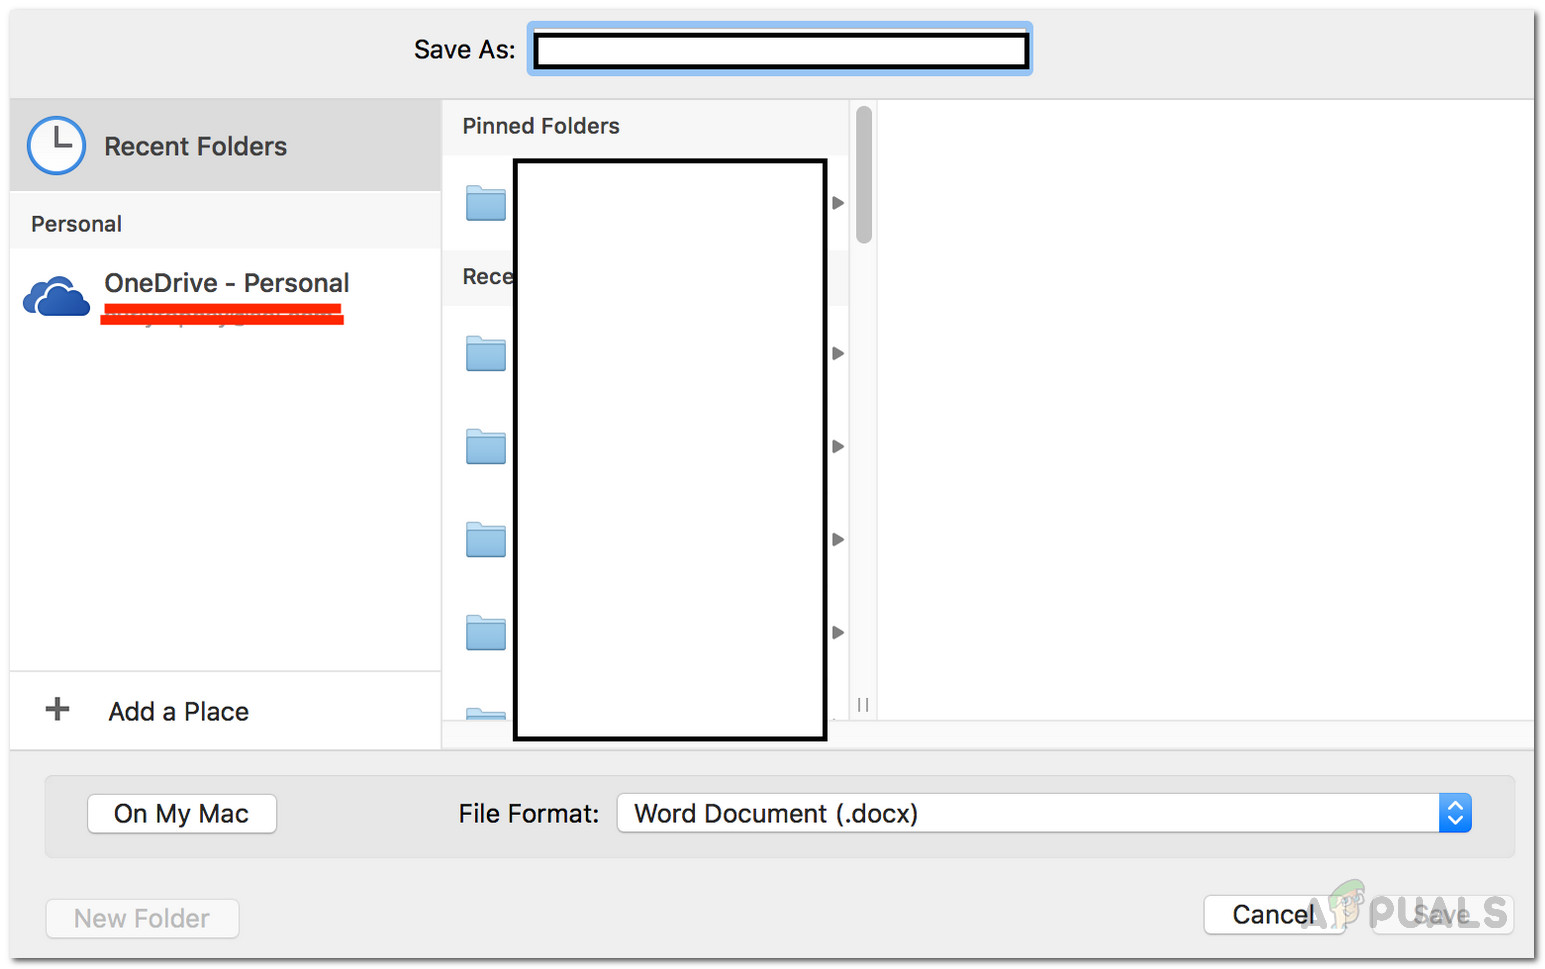
Saving File to OneDrive - Once you have saved the file this way, the autosave feature should turn on automatically.


