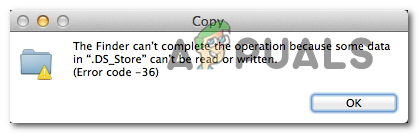
How to Fix Error Code -36 ‘.DS_Store can’t be read or written’
Some Mac users are encountering the Error Code 36 when they try to copy certain folders from or to an external drive. This is reported to happen with both microSD cards and external SSD and HDD. While some users are reporting that the issue only occurs with certain files, other users see this error every time they try to perform a copy-paste operation.
The error -36 is an I/O error indicating that either the SD/µ-SD card is failing/has failed, or there is an incompatibility with the SD/µ-SD reader. Or, in some cases, it can signal that the internal drive is beginning to fail. In this case, your first attempt at fixing the issue would be to run the Disk Utility to repair the drives or format it in case the issue persists.
In some cases, cached files can trigger this error due to the way the Finder’s archiving process (only on Snow Leopard or lower). To fix the issue in this case, simply run dot_clean from the terminal or delete the .DS_Store files automatically.
But there’s also a minor bug on Mac Mini servers that might cause this error. To fix it, you will need to ensure that the hotfix is installed by updating your machine firmware to the latest version.
However, the issue is also known to be caused by certain overprotective AV that has a tendency to interfere with file transfer operations (most commonly BitDefender). If this scenario is applicable, you need to uninstall the security suite in order to fix the issue.
Method 1: Update your machine to the latest version
As it turns out, this particular issue seems to be specific to a certain macOS version of a couple of other associated versions. Version 10.9.2 is frequently reported to trigger the Error Code 36 – on both end-user versions and on Mac Mini Servers.
Some affected users that have previously dealt with this issue have reported that they managed to get the problem fixed by updating their Mac machine to the latest version available.
This can be done easily from the System Preferences menu. If this scenario is applicable and you haven’t updated your macOS in a while, here’s a quick step by step guide that will help you update to the latest build available:
- Use the action bar at the bottom of the screen to click on the System Preferences icon from the action bar at the top.
Accessing the System Preferences menu on macOS - Once you’re inside the System Preferences screen, click on the Software Update icon from the list of available options.
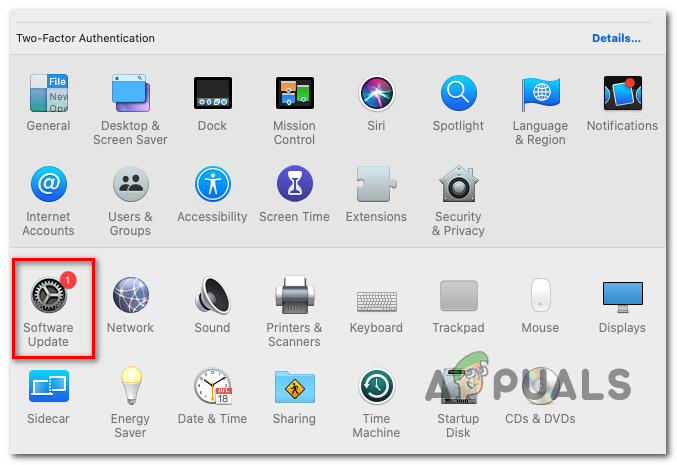
Accessing the Software Update menu - As soon as you’re inside the Software Update menu, the utility will start to scan for new available updates. Wait until the process is complete and don’t close the window until the analysis is finished.
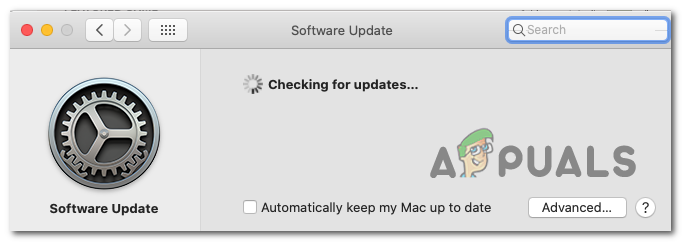
Checking for Updates - If a new version is found, click on the Update now button and follow the on-screen prompts to complete the installation of the new update.
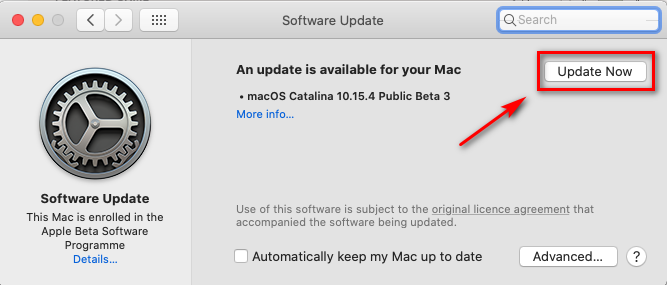
Updating the macOS version to the latest version - Once the update is successfully installed, restart your Mac manually if the reboot doesn’t happen automatically.
- After the next startup is complete, repeat the copying operation and see if the issue is now resolved.
In case you’re still encountering the Error Code 36 when you try to copy certain folders from or to an external drive, move down to the next potential fix below.
Method 2: Uninstall BitDefender (or other 3rd party AV)
Keep in mind that the possibility of facing a virus infection of MAC is very slim, and the latest macOS versions are fully equipped to deal with them natively (without the help of an external AV suite).
Even more, A/V products are known to interfere with the normal Mac operations and in this particular case, BitDefender is frequently signaled out by some affected users for causing the Error Code 36.
If this scenario is applicable and you’re using BitDefender (or another 3rd party AV), you should be able to resolve the issue by uninstalling the BitDefender app from your Mac.
Here’s a quick guide showing you the whole process of uninstalling a 3rd party AV on macOS:
- From the action bar on the bottom of the screen, click on the Finder App.

Opening the Finding App - Once you’re inside the Finder app, click on Go from the ribbon menu at the top, then click on Utilities.

Accessing the Utilities menu Note: Alternatively, you can press CMD + U to get there instantly.
- Inside the Utilities screen, look for the entry named BitdefenderUninstaller and double-click on it to start the uninstallation process.
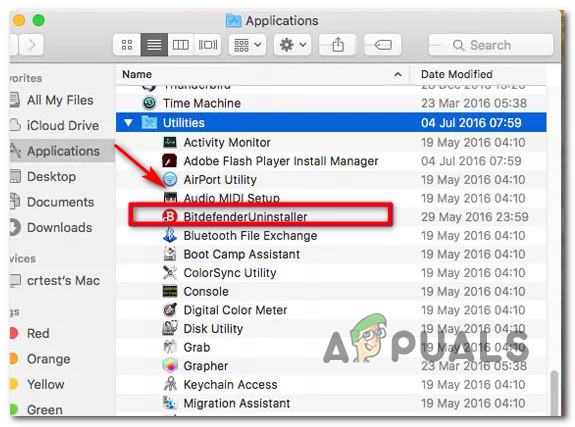
Uninstalling BitDefender from macOS Note: In case you’re trying to uninstall a different 3rd party AV, look for the associated uninstaller instead.
- When asked to confirm the uninstallation process, click on Uninstall and insert your administrator password in order to start the operation.
- Wait for the uninstall to complete, then restart your Mac to complete the process.
- At the next startup, repeat the action that was previously causing the Error Code 36 and see if the issue is now resolved.
In case the same problem is still occurring when you try to copy or move a file from or to your storage, move down to the next potential fix below.
Method 3: Running the Disk Utility on the affected drive
If you’re only encountering the issue when performing operations involving a certain internal drive or involving an SD / µ-SD card, you should always consider the possibility that the SD card is incompatible or that the internal drive is beginning to fail.
If this scenario is applicable, you should be able to fix the issue by running the Run Disk Utility First Aid on the drive / SD card that is involved in the operation. It’s also recommended that you run the same type of scan on your boot drive – just to make sure that everything is in working order.
Here’s a quick guide that will help you run the Disk Utility on your macOS installation:
- Click on the Finder App located on the Action bar at the top of the screen.
Opening the Finding App - Once you’re inside the Finder app, click on the Go button (from the ribbon bar at the top) and click on Utilities from the newly appeared context menu.
Accessing the Utilities menu - Inside the Utilities section, double-click on the Disk Utility from the list of available utilities.
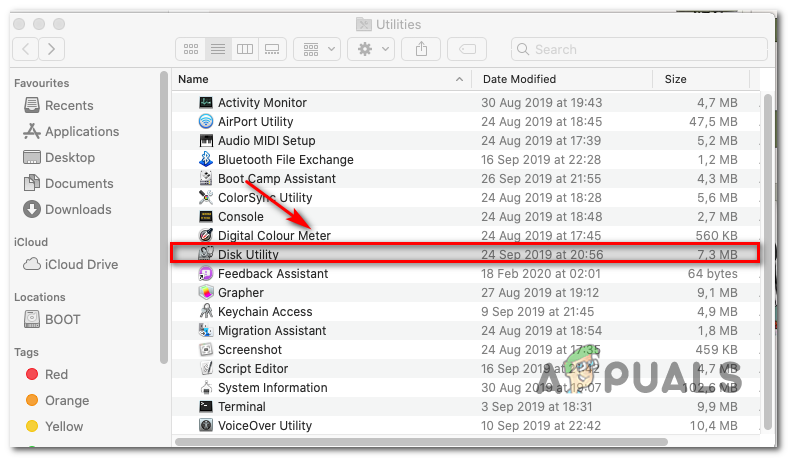
Opening the Disk Utility on Mac - Once you’re inside the Disk Utility, start by selecting your Boot drive (from the left-hand section), then click on the First Aid Icon (at the top of the screen).
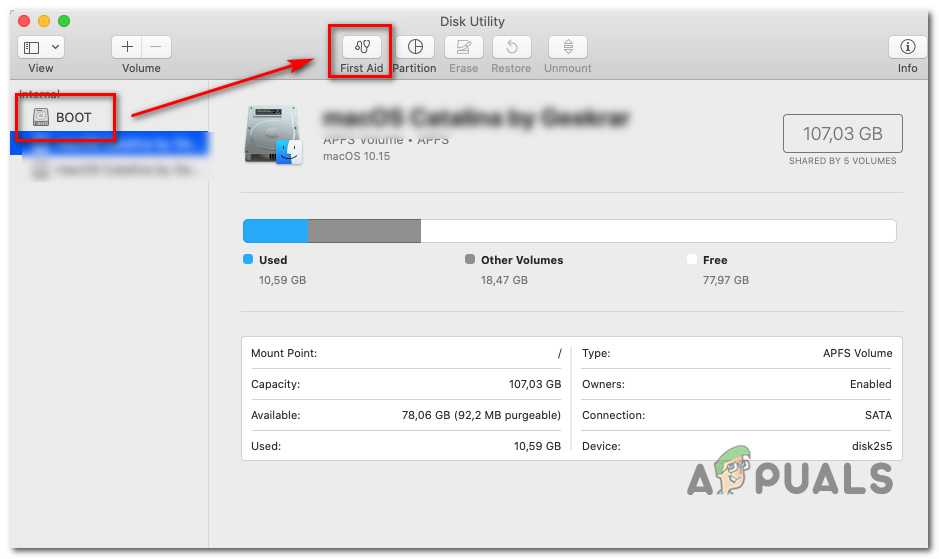
Running the First Aid utility on Boot drive - When you get to the confirmation prompt, click on Run to start the process. The utility will start by checking the entire volume for errors, then it will repair the volume if necessary.
- In case no errors are identified, you will get a success message (green tick), telling you that no issues where found.
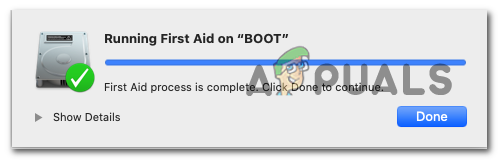
Running First Aid on Boot - Once the operation is complete, repeat steps 4 to 6 with the remaining drives (including any SD cards that you have issues with) until every drive is analyzed.
- After every storage space is analyzed, restart your Mac and see if the issue is resolved at the next system startup.
In case you’re still encountering the same Error Code 36 problem, move down to the next potential fix below.
Method 4: Deleting the .DS_Store files
Some users have managed to fix this particular issue by running a terminal script that ends up deleting the .DS_Store files.
The .DS_Store (Desktop Services Store) is a series of hidden cache files created by Mac OS. If they don’t exist by default, your macOS will create using the Finder app in your computer directories. They mostly contain information about your system configuration and settings.
Keep in mind that it’s not recommended to delete the .DS_Store files if you don’t have a valid reason for doing it. However, the Error Code 36 is often linked with corrupted .DS_Store files that end up interfering with file transfer operations.
If you are prepared to go with this fix, here is a quick guide that will allow you to remove all DS_Store files manually via the Terminal:
- From the action bar at the bottom of the screen, click on the Finder app.
Opening the Finding App - Once you’re inside the Finder app, use the ribbon bar at the top of the screen to click on Go > Utilities from the context menu.
Accessing the Utilities menu - Inside the Utilities screen, double-click on the Terminal utility and insert your admin password if you’re prompted to do this.
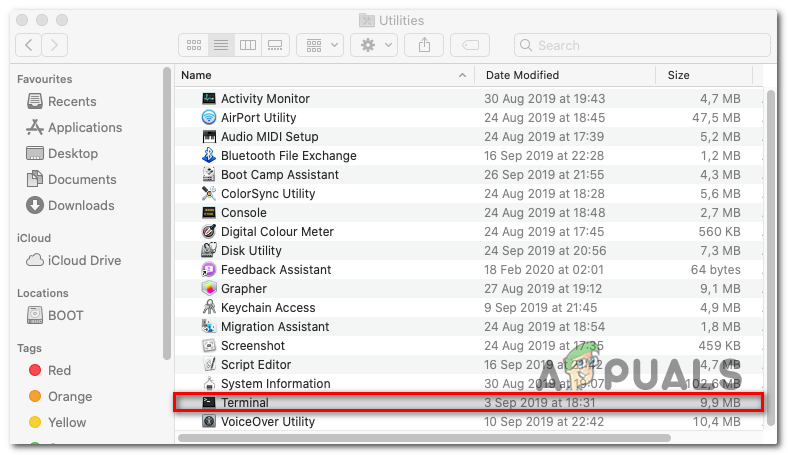
Accessing the Terminal utility - Inside the Terminal, type the following command and press Return to initiate the removal of every DS_Store file:
sudo find / -name “.DS_Store” -depth -exec rm {} \; - When prompted, enter your administrator password and press Ok to initiate this process.
- Once the operation is complete, reboot your machine and see if the issue is fixed at the next system startup.
In case you are still encountering the Error Code 36 issue when performing certain file transfer operations, move down to the next potential fix below.
Method 5: Running ‘dot_clean’ from Terminal
As some affected users have reported, this particular problem can occur due to the Finder’s archive process. Under certain circumstances, it might end up affecting the compression and file transfer operations.
The official explanation coming from Apple engineers is that the issue occurs when there’s some mismanagement regarding the dot-underscore files. However, it’s said that the problem should no longer occur if you have an OS version newer than Snow Leopard (If you’re seeing the error on a newer method, this method should no be applicable).
Some users that encountered the Error Code 36 issue due to this circumstance have reported that they managed to fix the issue by deleting the redundant data using the ‘dot_clean‘ command.
Here’s a quick guide on how you can run the ‘dot_clean’ command from the Terminal app:
- Use the search box in the top-right corner to search for Terminal and access the Top Hit result to open up the terminal app.
Launching Terminal – macOS - Inside the Terminal app, type the following command and press Return to perform a dot_clean command:
dot_clean
- Now, simply drag the folder that you are unsuccessfully trying to copy or move into the Terminal window. Once it’s successfully loaded in your terminal, press Return to perform the ‘dot_clean’ command on it.
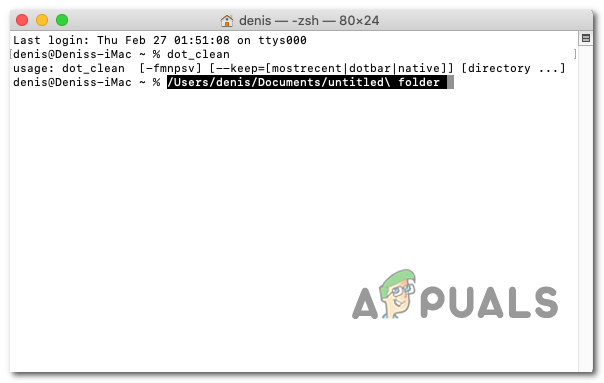
Running the dot_clean command on the problematic folder - After the operation is complete, repeat the action that was previously causing the Error Code 36 and see if the problem is now resolved.
In case the issue is still not resolved, move down to the final fix below.
Method 6: Formating the SD drive (if applicable)
If you’re only encountering the Error Code 36 when performing operations involving a certain SD card, it’s very likely that you’re dealing with a dodgy SD card – Most likely, it’s either corrupted or is not using a formatted that’s compatible with your macOS version.
If this scenario is applicable, you should be able to resolve the issue by using the Disk Utility to delete the contents of the SD card and format it to MS-DOS (FAT) if the card is 32 GB or smaller. If you are using a 64 GB+ card, you need to format it to ExFAT.
IMPORTANT: This operation will remove any data you currently store on your SD card. Back it up before going with this procedure.
Here’s a quick guide on formating your SD drive using the Disk Utility:
- Open your Finder app via the action bar at the bottom.
Opening the Finding App - With the Finder app opened, click on Go > Utilities (from the ribbon bar at the top).
Accessing the Utilities menu - Inside the Utilities folder, double-click on the Disk Utility icon.
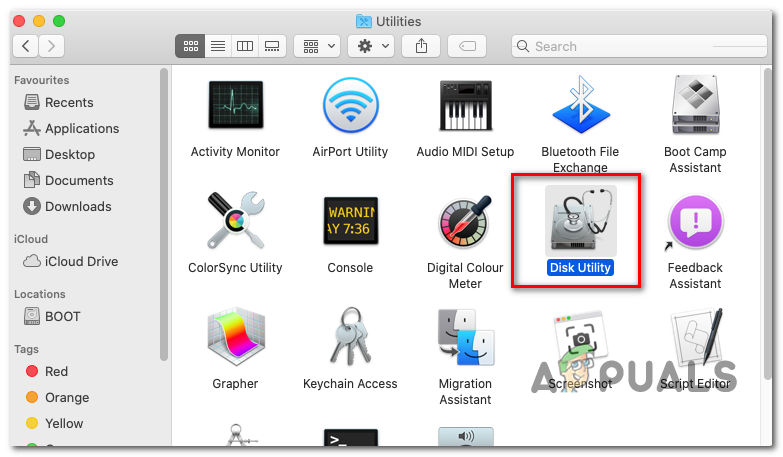
Opening the Disk Utility - Once you’re inside the Disk Utility application, select the SD card from the left-hand side menu, then click on the Erase button at the top of the screen.
Note: In most cases, the SD card will be named ‘NO NAME’. - Next, set the format to MS-DOS (FAT) if you’re using a 32 GB SD card (or less) or to Ex-FAT if you’re using a SD card larger than 64 GB.
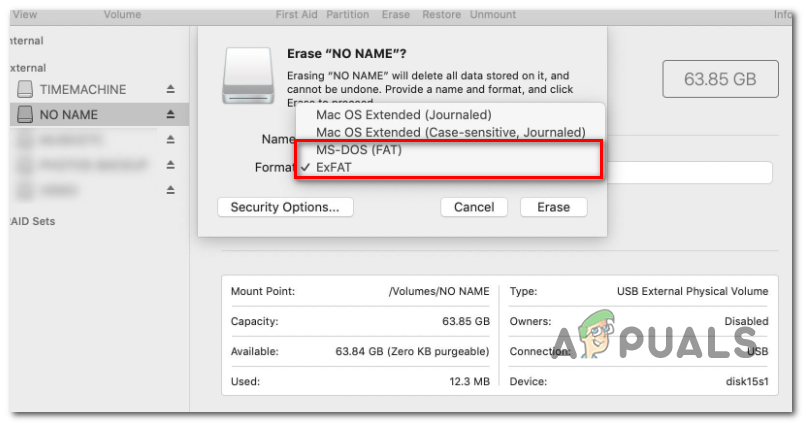
Formatting the SD card according to the correct format - Once the utility is configured and ready to go, click on Erase and wait for the process to complete.
- After the process is complete, repeat the action that was previously causing Error Code 36 and see if the problem has been resolved.


