How to Limit CPU Usage of a Program in Windows?
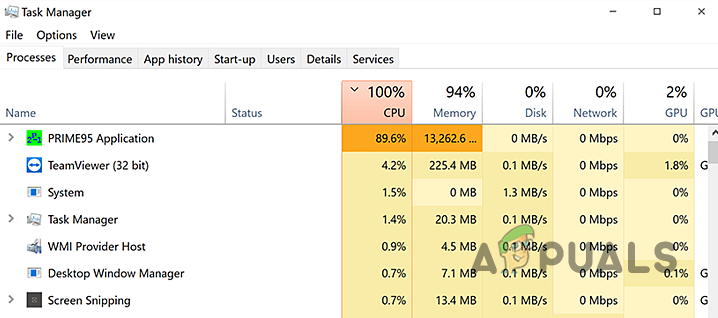
Keeping an eye on the usage of your CPU is pretty useful. This is because if your CPU is being overloaded, it can end up throttling which can lead to bad performance of your PC overall. As it turns out, this can significantly affect the day to day tasks that you perform on your computer. As such, you have to make sure that no program, which isn’t really important or running in the background, is taking away most of your CPU resource. In this article, we are going to show you different methods using which you can counter programs that might be using more CPU than they should.
As it turns out, your CPU is one of the most important components on your computer. There are several programs out there that can be really resource-hungry and try to take over whatever is available to them. This, as we have mentioned, can have negative impacts on the performance of your computer. No matter what you are doing, be it gaming or simply web browsing, if the task that you are doing does not have sufficient resources available, it won’t be able to run smoothly. As such, optimizing your PC for better performance is always crucial.
Now, there is no direct way in Windows that lets you control the CPU usage for different programs using a percentage or something similar. Rather, what we do have is general options that can be accessed using the Task Manager to decide how much CPU is available for a certain process. In addition to that, you can also use a third-party utility to control the CPU usage of a process or program. With that said, without further ado, let us get started and show you how to limit the CPU usage of a program.
Change Process Priority
As it turns out, the first option available to you is to change the priority of the program that is using more resources than it should. Now, changing the priority of a process is not a direct approach to limiting its CPU usage, however, what it does is it lowers the priority of the process and thus it is allowed less CPU time by the CPU Scheduler.
Whenever a program is to be executed, it is allocated a certain amount of CPU time before it is put in the waiting state again by the scheduler so that other processes can use your CPU. The priority of a process is an important factor when deciding the CPU time. As such, changing the priority of a process can change how much time it is allowed on the processor. To change the priority of a program, follow the instructions down below:
- First of all, open up the Task Manager. You can do this by searching for Task Manager in the Start Menu.

Opening up Task Manager - Once the Task Manager window is open, switch to the Details tab.
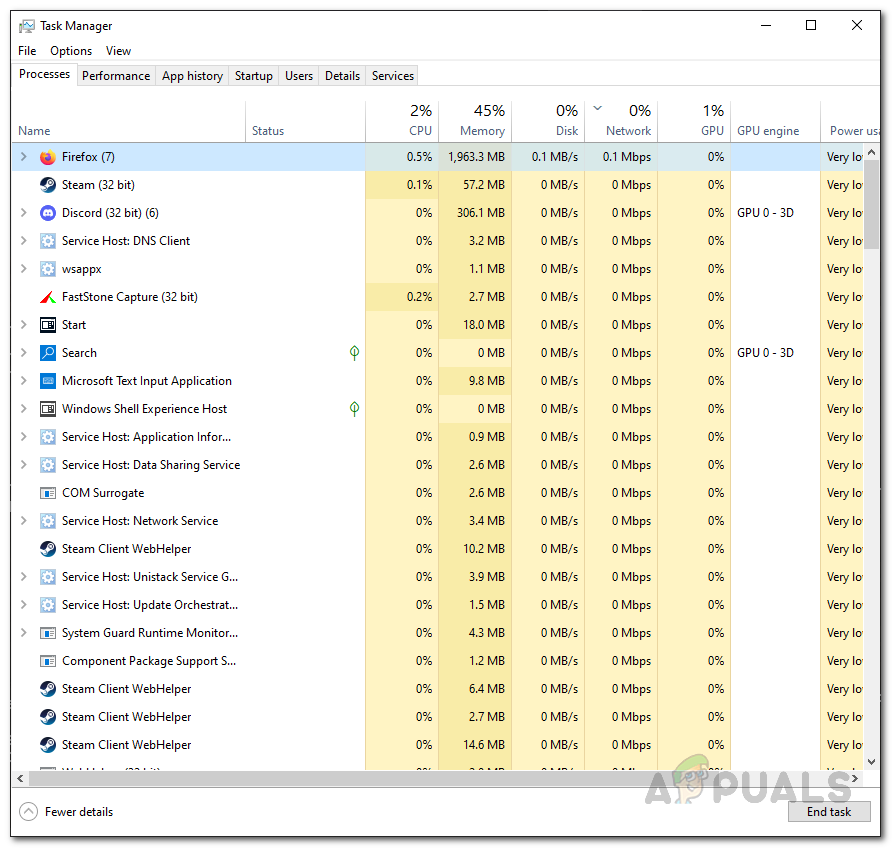
Task Manager - On the Details tab, look for the process of the program for which you wish to change the priority.
- Right-click on the target process and from the drop down menu, choose Set Priority.
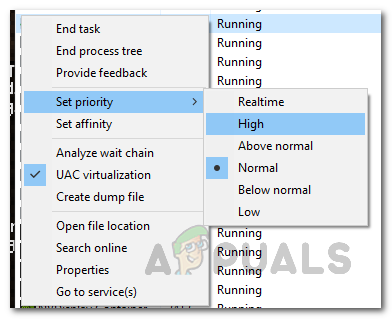
Changing Process Priority - On the follow up menu, lower the priority from what’s already selected. A black dot is shown before the selected option.
- Once you have done that, the priority of the program should be changed.
Change CPU Affinity
Another thing that you can do within the Task Manager is changing the affinity of a process. When you do this, the process is restricted to using only selected cores and thus it is not able to utilize all of the cores of your processor. This can lead to the freed up cores used by other processes or tasks and as such, the CPU usage of the program should decrease.
With that said, it is important to note that this may not be effective against single-threaded applications. This is because single-threaded apps use only one core in the first place so limiting the number of cores available to the process does not bear any fruit. Follow the instructions down below to change the affinity of a process:
- To start off, open up the Task Manager window again on your computer by searching for it in the Start Menu.
Opening up Task Manager - On the Task Manager window, switch to the Details tab.
Task Manager - There, look for the process of the program and then right-click on it.
- From the drop down menu, choose the Set affinity option provided.
- On the follow up dialog box, change the number of cores the process has access to by unticking the checkboxes.
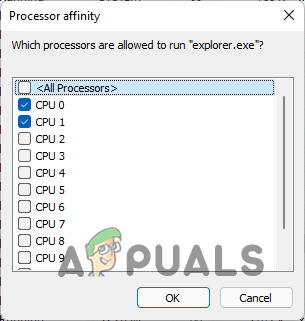
Changing Process Affinity - With that done, click the OK button.
- You have successfully changed the affinity of the process. Remember that this is reset every time the app is restarted so you will have to do it again once the process starts over.
Use Third Party Utility
Finally, another way using which you can limit the CPU usage of a program is by using a third-party utility that is designed for handling the processes on your computer. Here, we will be using the Process Lasso app which is free but you can also opt to go for the premium version. However, for the mentioned purpose, the free version should do the job just fine.
As it turns out, using Process Lasso, you can perform the above methods as well while also choosing to save the settings for the future. As such, when the app restarts, the same settings will be applied again and so you won’t have to open up Task Manager every time. In addition to that, Process Lasso comes with a CPU Limiter using which you can limit the CPU cores a process has access to after it reaches a certain threshold. Let us have a look at this in further detail down below:
- First of all, go ahead and download Process Lasso from the official website by clicking here.
- Once you have installed Process Lasso, open it up.
- With Process Lasso opened up, you will be able to see a list of all the running processes. Right click on a process and you will be able to change the priority, affinity and much more. To change the mentioned options permanently, use the Always option provided in the menu.
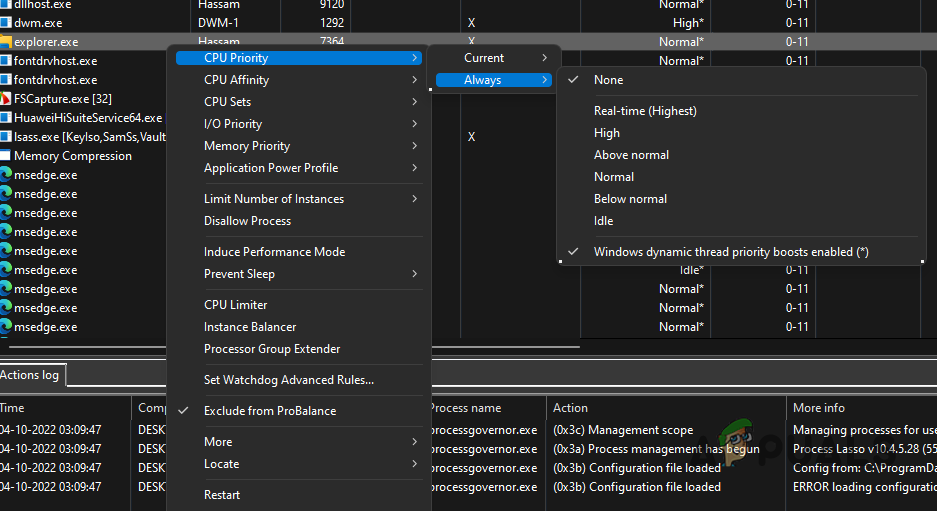
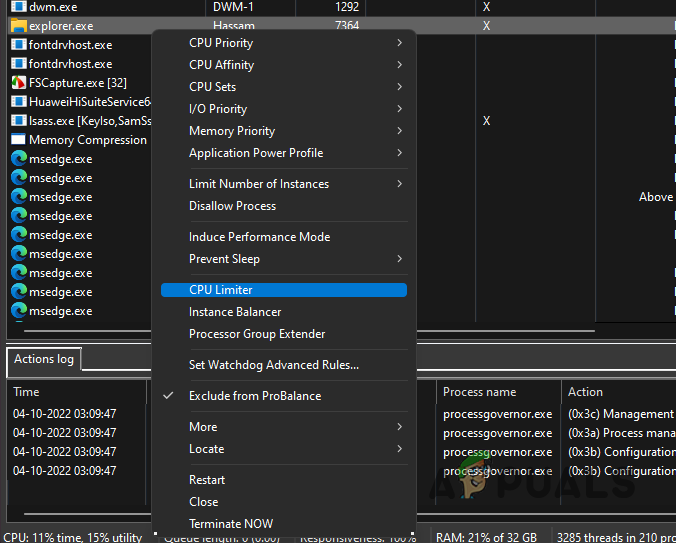
Changing Priority of Process using Process Lasso - To use the CPU Limiter, right click on a process and choose the CPU Limiter option.
Opening up CPU Limiter - On the follow up window, you will be able to add a rule for when the CPU Limiter comes into action.
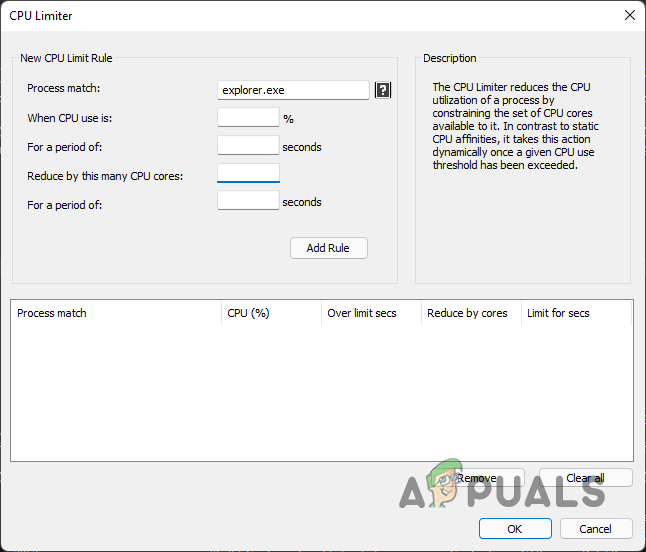
CPU Limiter - Here, decide on a certain percentage after a period of seconds which activates the functionality of the CPU Limiter feature.
- Follow this up by providing how many CPU cores the process is reduced to and for how long.
- With that done, click the Add Rule button. Finally, click OK and you should be good to go.


