Joy-Con Won’t Connect to Switch? Here’s How to Fix It
Joy-Cons won’t connect to Nintendo Switch for a variety of reasons. Fortunately, most of the confirmed causes are software or firmware related and you can fix them yourself without the need to send your console in for repairs.
There are a lot of reasons why your Nintendo Switch controller might be preventing you from playing your favorite titles.
Aside from the obvious hardware issues, you might experience this problem because the controller is not correctly paired with your console, due to a missing update, a loose pin, or even the device being in Airplane mode.
Below you’ll find a list of troubleshooting steps that you should follow to fix the Joy-Con connection to your Switch before sending it for repair or replacing it.
1. Restart your Switch
If you get this issue while attaching your controller to the Nintendo Switch console, try restarting your console to clear any temporary data that might inhibit the connection with the joycon. This procedure will fix the vast majority of issues caused by an accumulated cache.
This fix is also effective in scenarios where the controller isn’t registered, due to the Joy-con being attached while the console is in hibernation
Here’s a quick guide on initiating a simple console restart:
- Hold down the power button (top of the console) for 3 seconds or more.
- From the Power menu that just appeared, select Power Options.
- Select Restart and wait for the Nintendo Switch console to boot back up.
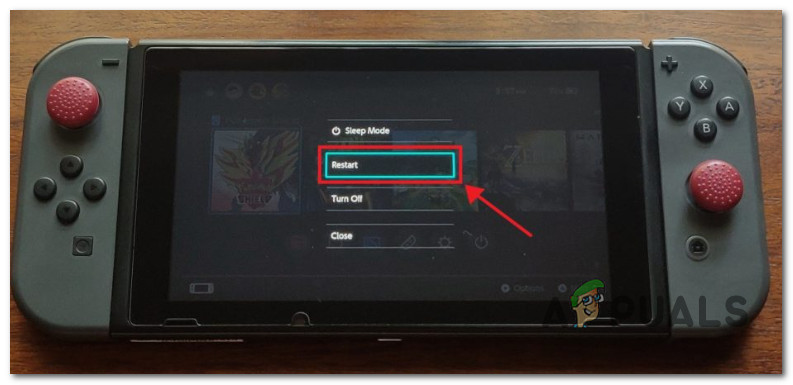
Restart the Nintendo Switch console - Once your console boots back up, attempt to connect your Joy-con again and see if the problem is fixed.
2. Install pending system updates
A missing system update can also be responsible for this behavior. (especially if you just brought a new Joy-con that has newer firmware than your console.
If you are on the HOME menu or in the Controllers screen and the controller is not displaying as attached to the console even though it clearly is, ensure that you have the latest system update.
Note: Unless you’re dealing with special circumstances, your console should automatically download the most recent system update and prompt you to install it. The prompt to update will appear after every console restart.
If there is a pending system update, complete the steps below to install it:
- From the Home screen of your Nintendo Switch, select System Settings.
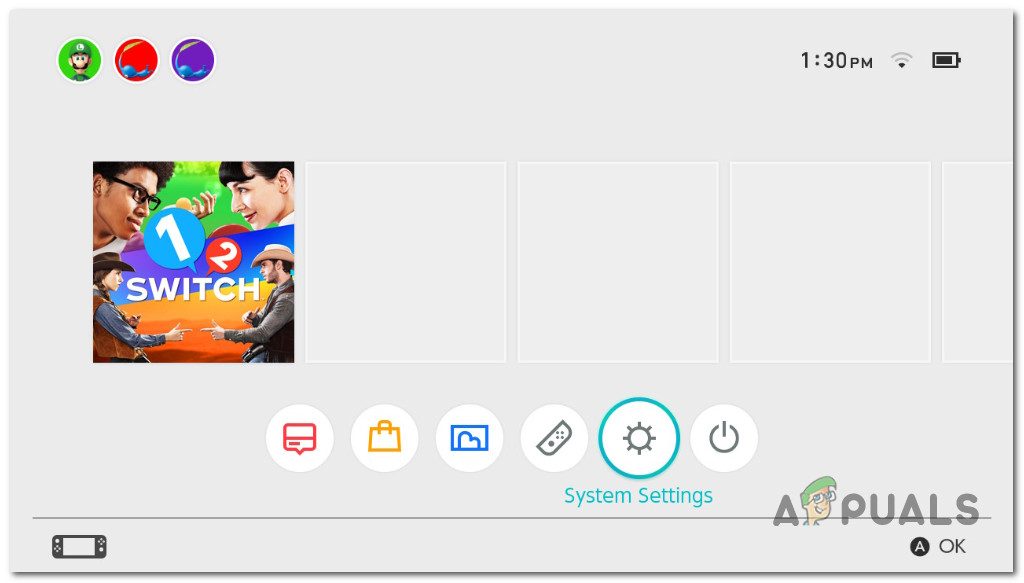
Access the System Settings menu - Inside the Settings menu, scroll all the way down to System using the menu on the left.
- Move over to the right-hand side menu and select System Update.
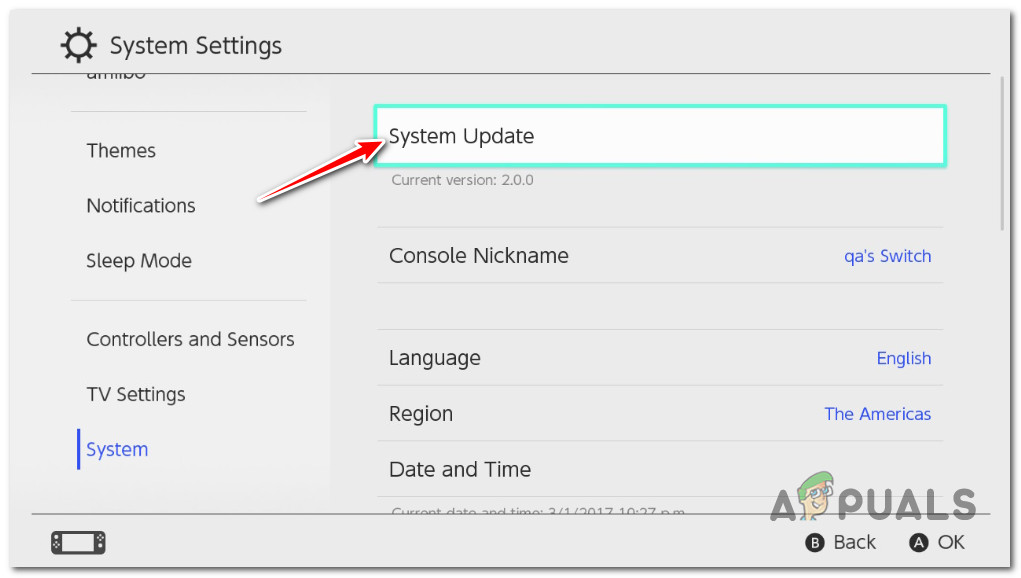
Update the Nintendo Switch System - At this point, the system will check to see if a new update is available.
Note: If a new update is available, the installation will start automatically. - After the installation is complete, your console will prompt you to restart. Do so, then see if you can connect your Joy-Con.
3. Disable Airplane Mode
If your Nintendo Switch is in Airplane Mode, certain functionality will be disabled. On top of not having access to the internet, your console will also be unable to connect to the controller even if it’s physically attached to it.
If you have a second Joy-Con that’s currently connected, use it to disable Airplane Mode:
- From the home menu of your Nintendo switch, access the System Settings.
Access the System Settings menu - Use the side menu on the left to select Airplane Mode.
- Select Airplane Mode and make sure the option is set to Off.
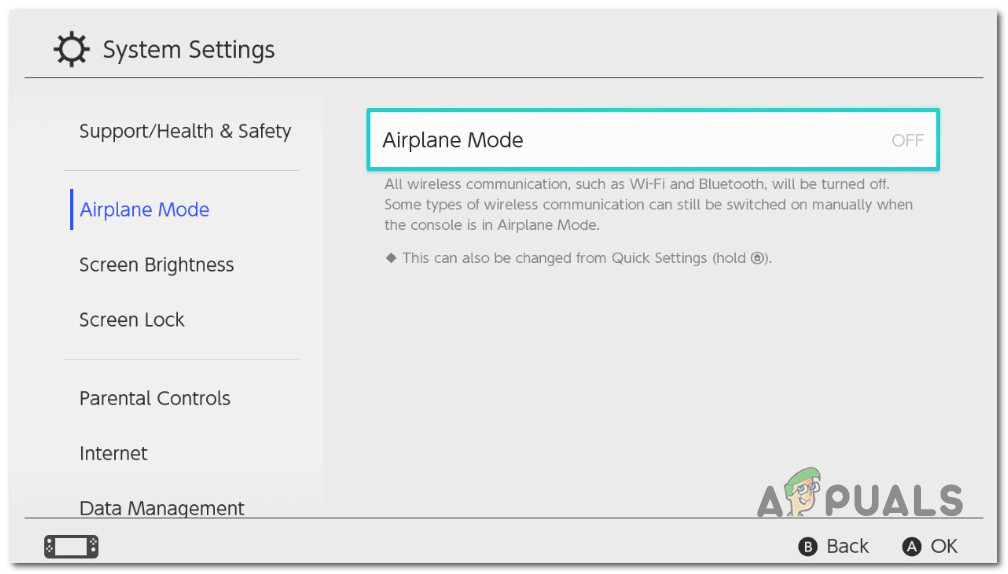
Disable Airplane mode - Attempt to connect your Joy-Con once again and see if the problem is now fixed.
If you don’t have access to a second Joy-Con, try the following procedure to disable Airplane Mode without a controller:
- Tap the home button on the touchscreen three consecutive times until you get to the Home screen.
- From the next screen, tap the gear icon to access the System Settings.
Access the System Settings menu - Tap Airplane Mode from the side menu, then toggle it off from the left section.
- Restart your console and see if the controller connects without issues.
4. Check your controller batteries
For your controllers to connect to your Switch, they need to be charged and paired.
You can charge the controllers by connecting them to the console when the console is hooked to an AC adaptor or resting in the dock.
Ensure that both controllers are properly attached by sliding them down the console’s side rails until they click into place on either side of the screen.
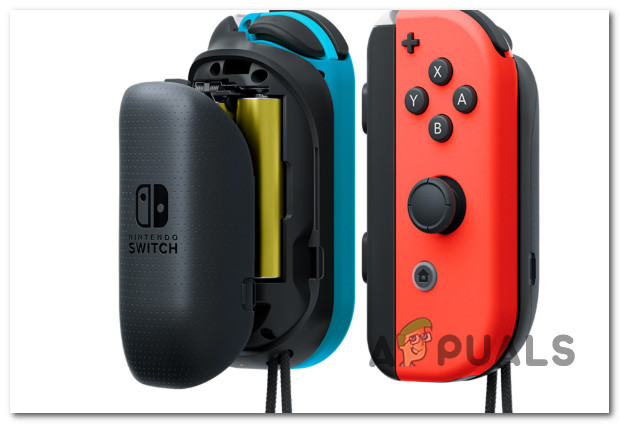
Make sure you’ve given your controllers time to charge (wait 6 hours or until the orange light at the top of the controller goes off). If they’re still not connected, you may need to change the battery in your console or controller.
Once you have given the controller enough time to charge, see if you can reconnect it to your Switch.
5. Check the number of connected controllers
With most Nintendo Switch models, up to eight wireless controllers may be connected to a Nintendo Switch.
But bear in mind that this number might vary based on the type of controller, its features, and the software being used. Check the user manual of your model to ensure you have not linked an excessive number of controllers.
Typically if you have more than 7 controllers currently connected to your Nintendo Switch, you should look to disconnect one controller and see if the Joy-Con can now be paired with the console.
Note: This is typically an issue if you live in an environment where there are multiple Switch consoles and the Joy-Con controllers are being shared.
Here’s a quick guide on removing all the unnecessary controllers:
- Make sure you are on the home screen of the Nintendo Switch console.
- From the horizontal menu bar, select System Settings.
Access the System Settings menu - Next, use the side menu on the left to select Controllers & Sensors.
- Move over to the right-hand side menu and scroll all the way down to Disconnect Controllers.
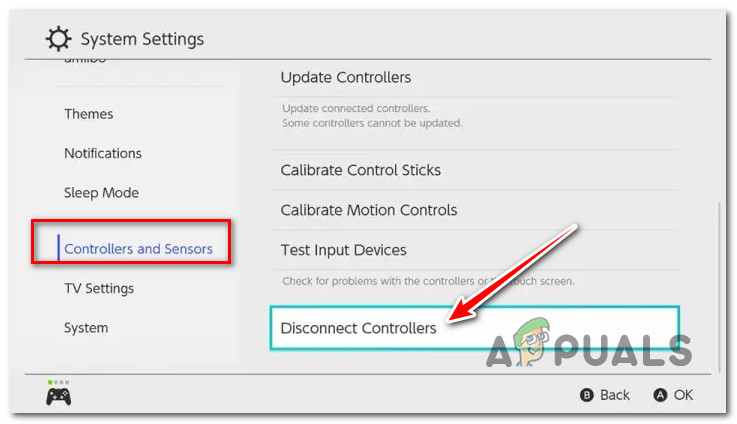
Disconnect Controllers on Nintendo Switch - At the next screen, press and hold the A button on your controller.
Note: This procedure will remove any controller that is currently paired with the switch. - Reboot your console and see if the Joy-con can now be connected with no issues.
6. Reset your controller
If your Joy-Con controllers have no problems working wirelessly in TV mode or tabletop mode but are not getting recognized while attached to the console, resetting your Joy-Con will most likely fix the issue.
Note: This procedure will also be effective in scenarios where the Joy-Con sometime connects to the console but creates a weird tilt or shake and you are unable to calibrate the motion controls.
- Remove the Joy-Con controllers from the device’s side.
- Press the pin-sized Sync button on the top or side of one of the controllers, then press any other button on the controller to restart it.
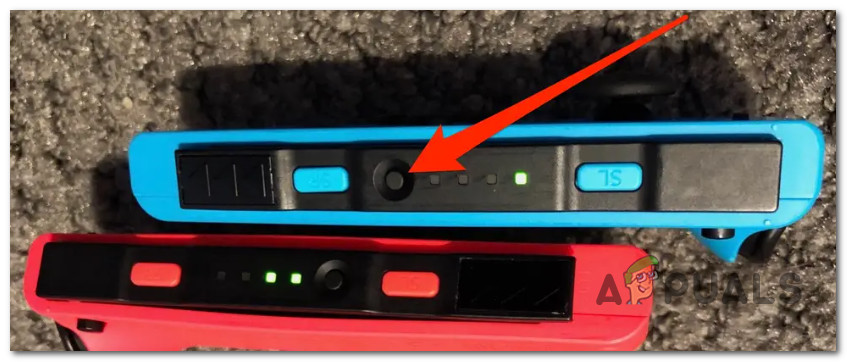
Press the Sync button on Joy-con - Repeat the same with the second controller if necessary.
- Reconnect both controllers to the console by securely snapping them into place.
- If this does not work, disconnect and reconnect the controllers after restarting the console.
Note: If feasible, try connecting a new controller to see whether the one/s you’re using is defective.
7. Enable Pro Controller Wired Communication
Ensure that Pro Controller Wired Communication is enabled in Settings > Controllers and Sensors if your Switch controller won’t connect to your console. If it is chosen, deselect the checkbox and select it again to see if this resolves the issue.
We recommend keeping this option enabled even if you don’t have a PRO controller connected.
Note: If you enable this option, your console will always use wired communications protocol when the Joy-con is physically attached to the console. However, one consequence of going this route is that the NFC touchpoint on the Pro Controller will be disabled using wired communications.
Here’s a quick guide on how to set up a wired connection so that you can use your controller when playing TV mode:
- First, make sure that the AC adapter is connected to the Nintendo Switch dock.
- Next, make sure that you are on the home screen and access the System Settings.
Access the System Settings menu - From the Settings screen, select Controllers and Sensors.
- On the next menu, select Pro Controller Wired Communication and make sure the feature is enabled.
- Reboot your console before checking if the controller has now connected successfully.
8. Unpair & Re-Pair your controller
Keep in mind that the 12.00 software update meant that a lot of paired controllers need to be repaired. If you were using an older Joy-con model, you might need to detach it and press the sync button to facilitate paring mode again before you can use it.
Note: If you have multiple Joy-con controllers that are no longer corrected to your Switch, follow the instructions below to unpair them before pairing again:
- Make sure you are on the home screen before accessing the System Settings menu.
Access the System Settings menu - Next, use the side menu on the left to select Controllers & Sensors.
- Move over to the right-hand side and choose Disconnect Controllers.
Disconnect Controllers on Nintendo Switch - Press and hold the X button to unpair all the currently connected controllers.
- Once every controller has been unpaired, simply re-attach them one by one to facilitate the syncing process again.
Note: If this doesn’t work, select Change Grip/Order, then press the Sync button to pair them again.