How to Fix an iPhone Stuck on a White Screen?
An iPhone stuck on a solid white screen can still ring and receive notifications, yet show none of the controls you need to use it. The screen is lit, but the lock screen, apps and even the Apple logo are missing.
A frozen iPhone can recover after a restart. A faulty display can stay white while the rest of the phone keeps working. The white screen alone cannot tell you which has happened, and erasing the phone will not repair damaged hardware.
Before You Try Recovery
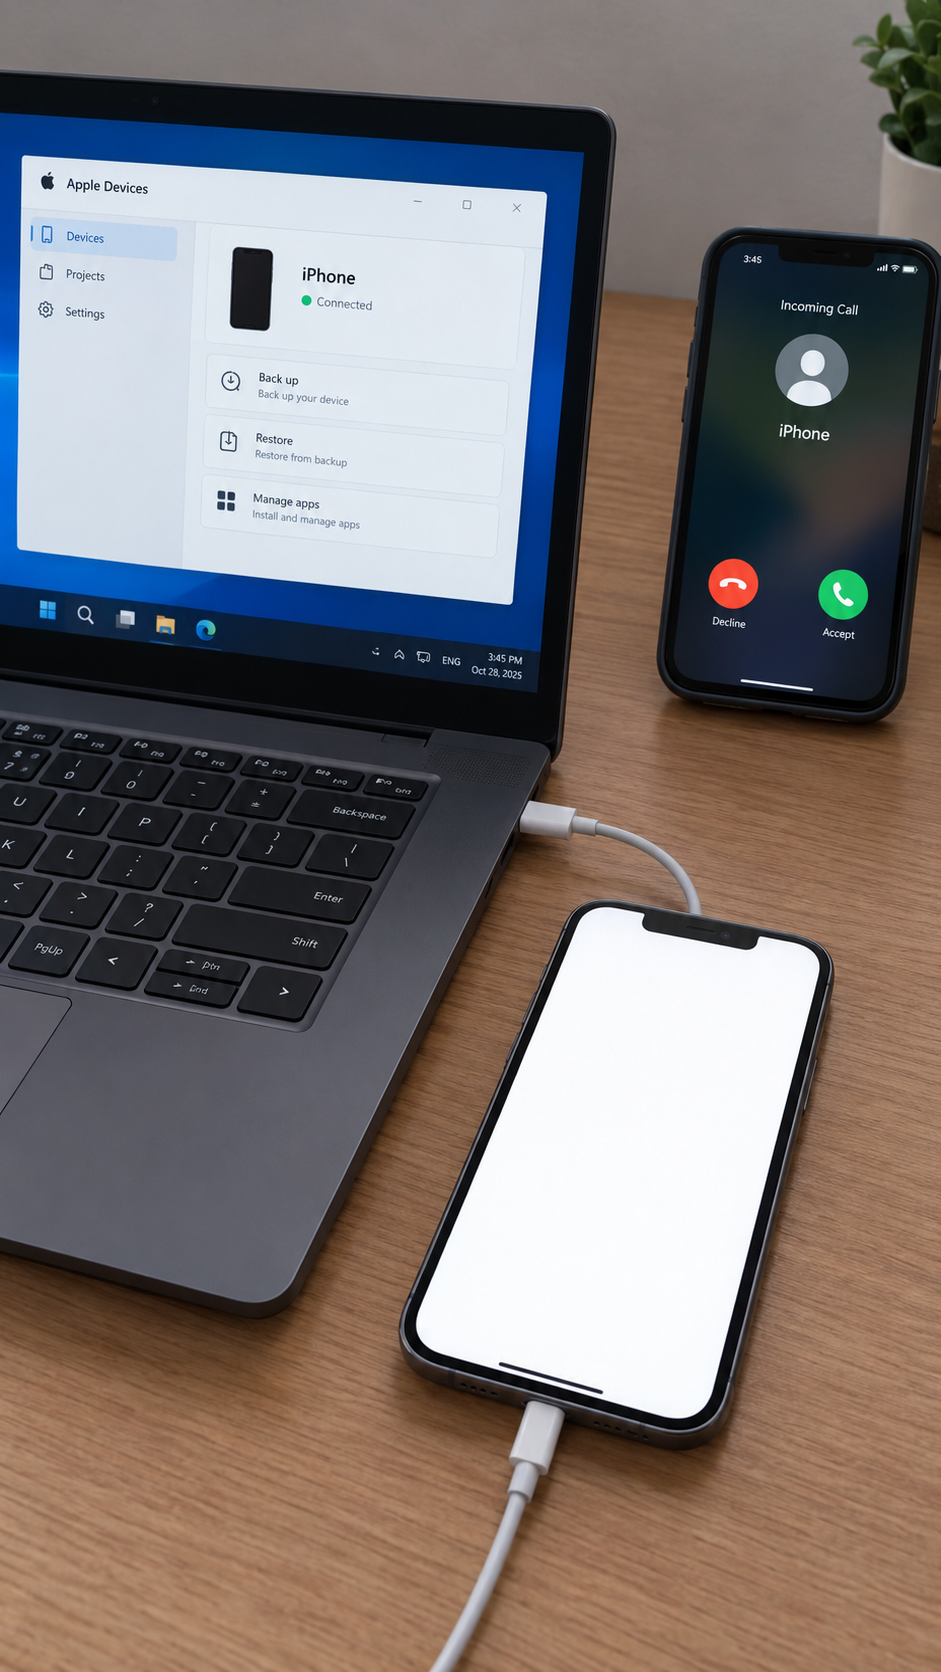
Call the iPhone and listen for ringing or vibration. You can also check whether a previously trusted computer detects it. Do not tap an unseen passcode or Trust prompt. A computer connection does not guarantee backup access; the phone may still require unlocking.
If the computer already offers Back Up Now without needing interaction on the phone, make a backup before restarting it.
| What you see | What matters |
|---|---|
| Only one app is white; Home still opens | This is an app problem, not a completely blank display. |
| An Apple logo and moving progress bar | Allow the update or transfer to finish; this is not a solid white panel. |
| White display, lines or flickering after damage | Arrange inspection rather than trying an erase. |
1. Force Restart the iPhone
When the touchscreen is unusable, the physical buttons can restart the iPhone without erasing it. This can clear a freeze, but cannot repair a damaged screen.
Disconnect USB-C or Lightning accessories. Remove a case or removable protector only if it obstructs the buttons or presses the screen.
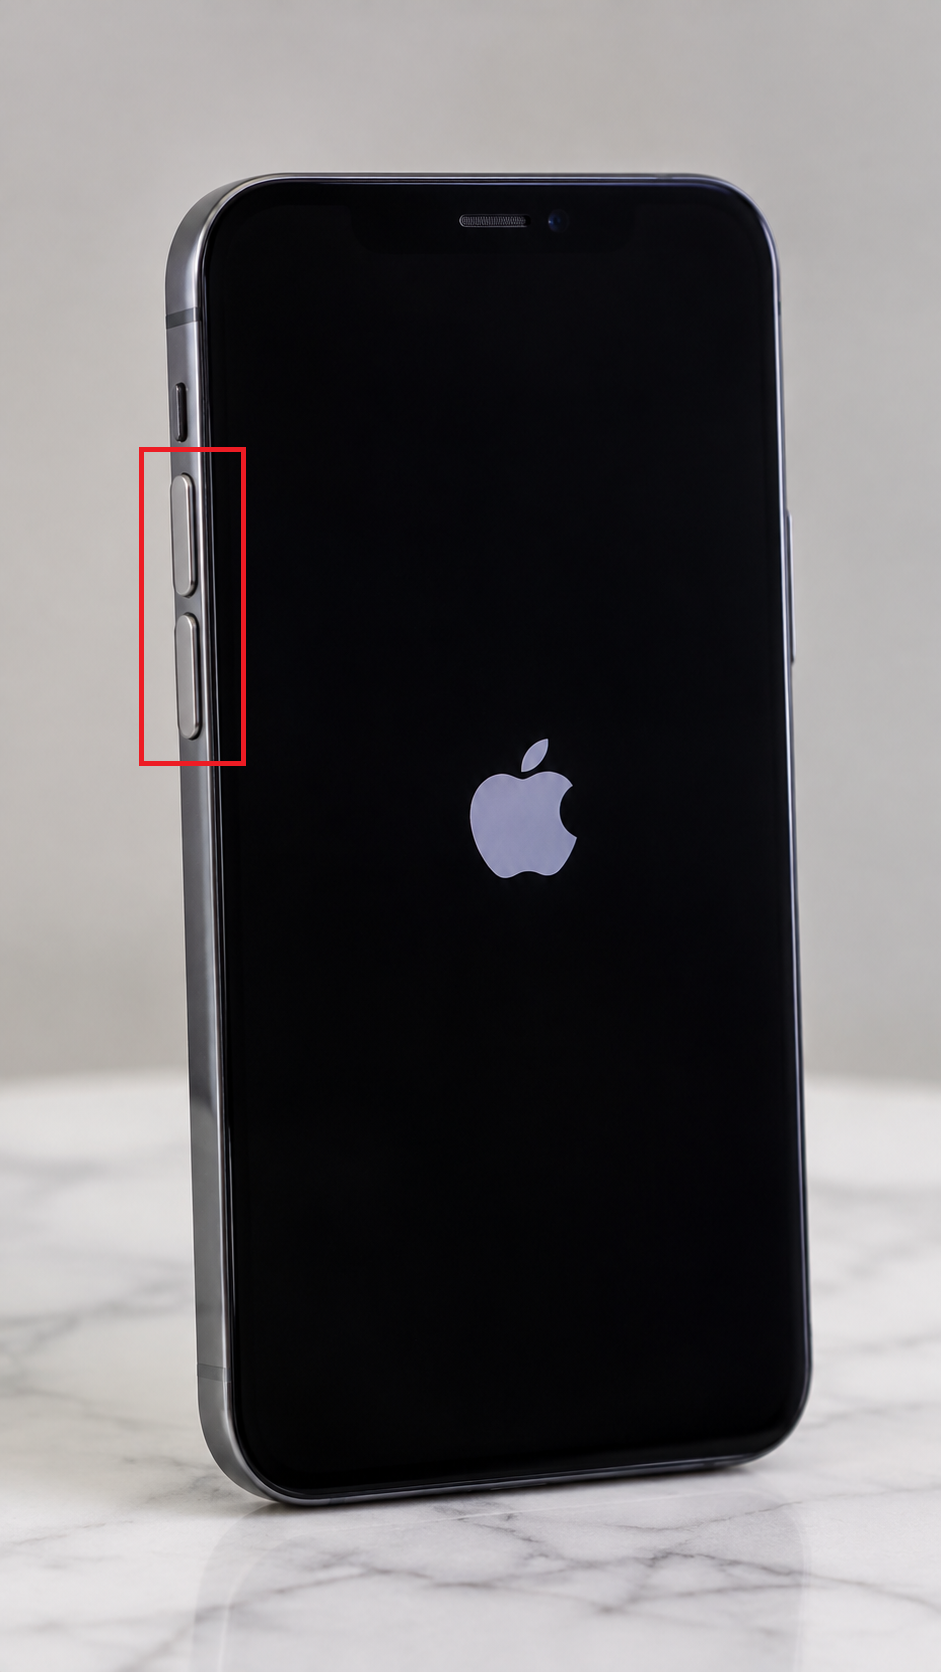
iPhone 8 and Later, Including iPhone SE (2nd and 3rd Generation)
- Quickly press and release Volume Up.
- Quickly press and release Volume Down.
- Hold the Side button until the Apple logo appears, then release. This can take longer than ten seconds; do not hold all three buttons together.
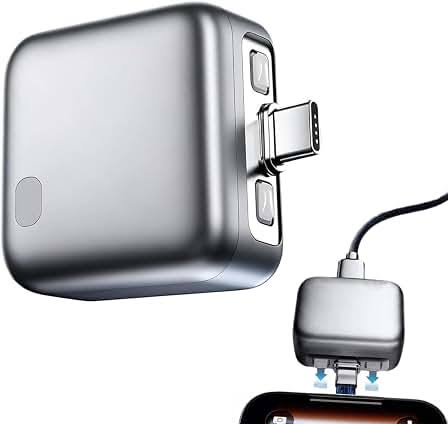
On iPhone Duo, use the volume button nearest the Side button first, then the other volume button, as shown in Apple’s restart instructions.
iPhone 7, iPhone 6s and Older Models
- iPhone 7 / 7 Plus: hold Side and Volume Down together until the Apple logo appears.
- iPhone 6s and earlier, including SE (1st generation): hold Home and Side or Top together until the logo appears.
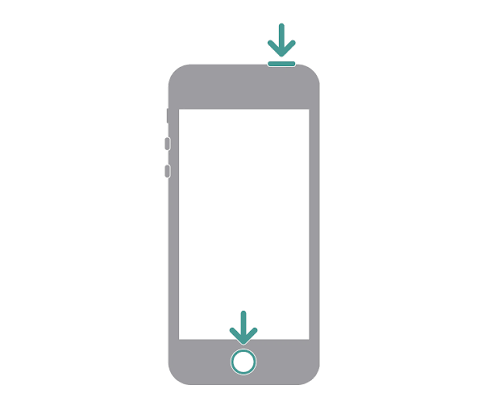
The illustration above shows Home plus Top for older models, not the iPhone 7 combination.
If the display returns, back up the iPhone promptly, even if it seems normal. If it still rings but stays white, seek a display inspection. A screen that never shows a logo is not a reason to keep holding buttons indefinitely.
2. Try a Recovery-Mode Update for a Startup Failure
If the white screen appeared during an update and restarting does not restore normal startup, a computer may be able to reinstall iOS. Update attempts to keep your data; Restore erases it. Data preservation is not guaranteed.
For a work or school iPhone, involve the administrator before recovery. If unbacked data is irreplaceable, discuss preservation with a service provider first.
Without a computer, ask Apple or an authorized provider for recovery assistance.
- Open Finder on macOS Catalina or later, or Apple Devices on Windows. Update the computer and Apple software first. Use iTunes on older Macs or Windows PCs without Apple Devices.
- Connect the iPhone directly with a data-capable USB cable, rather than through a hub.
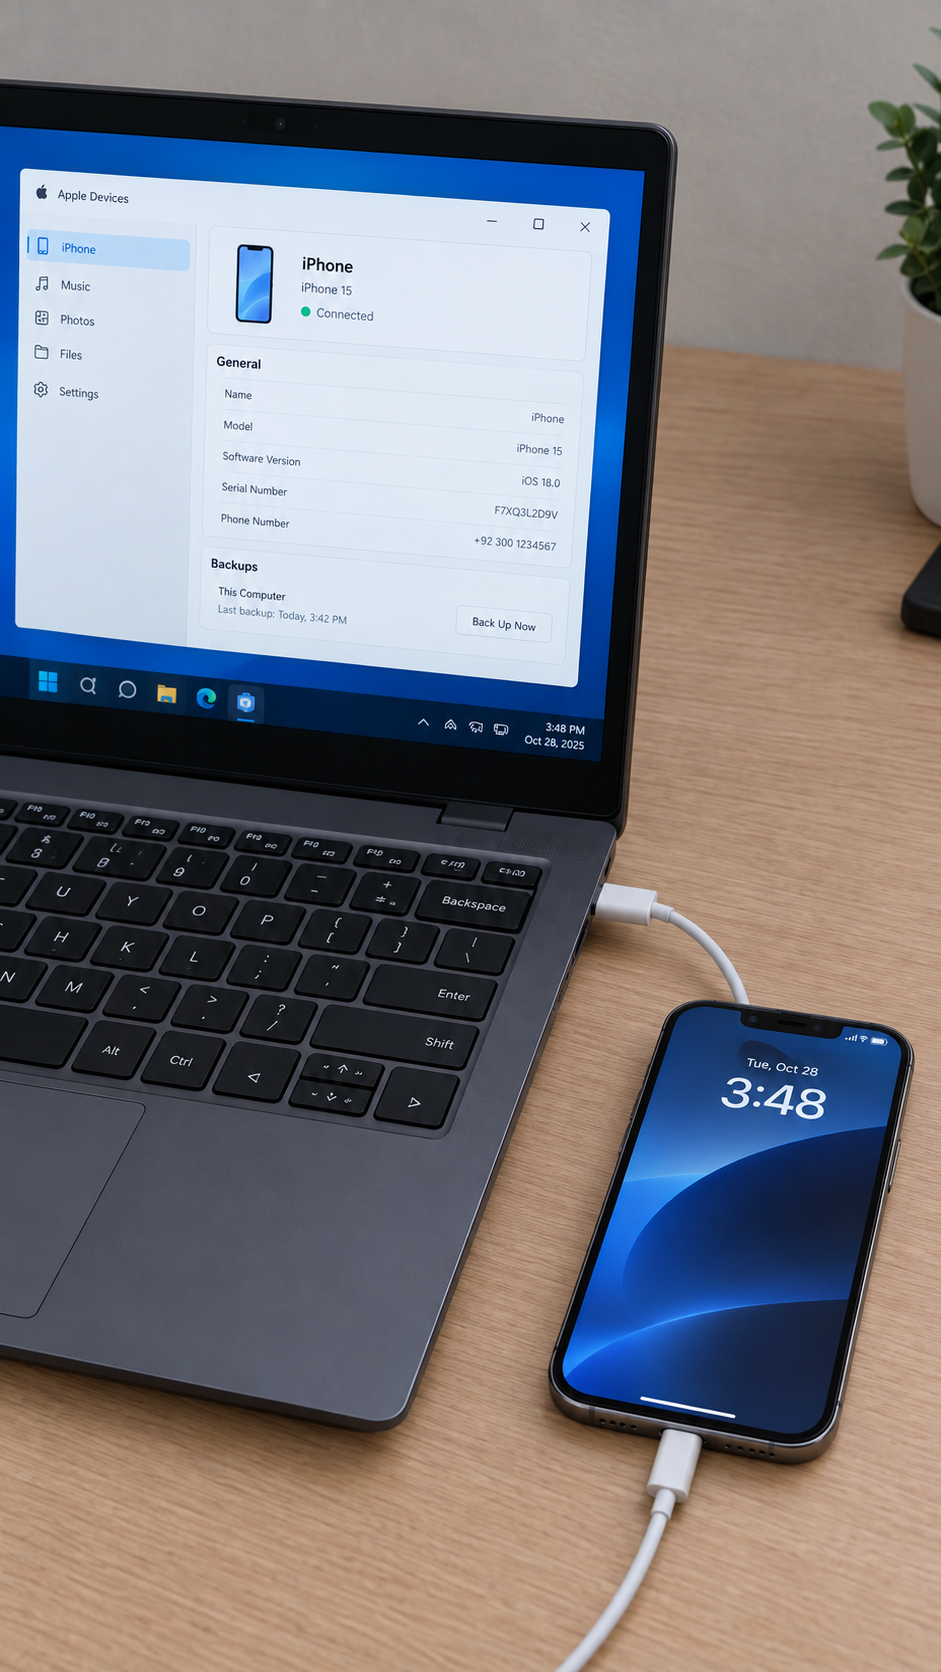
Show an updated Mac Finder or Windows Apple Devices window and a direct data-capable cable. Hide the device name, serial number, Apple Account, computer username, and backup details. - For the three button combinations above, repeat the restart sequence while connected, but keep holding the final button or buttons past the Apple logo until recovery mode appears.
- If white hides the recovery screen, watch for the computer to report an iPhone in recovery mode. Follow Apple’s model-specific recovery instructions for other layouts, including iPhone Duo.
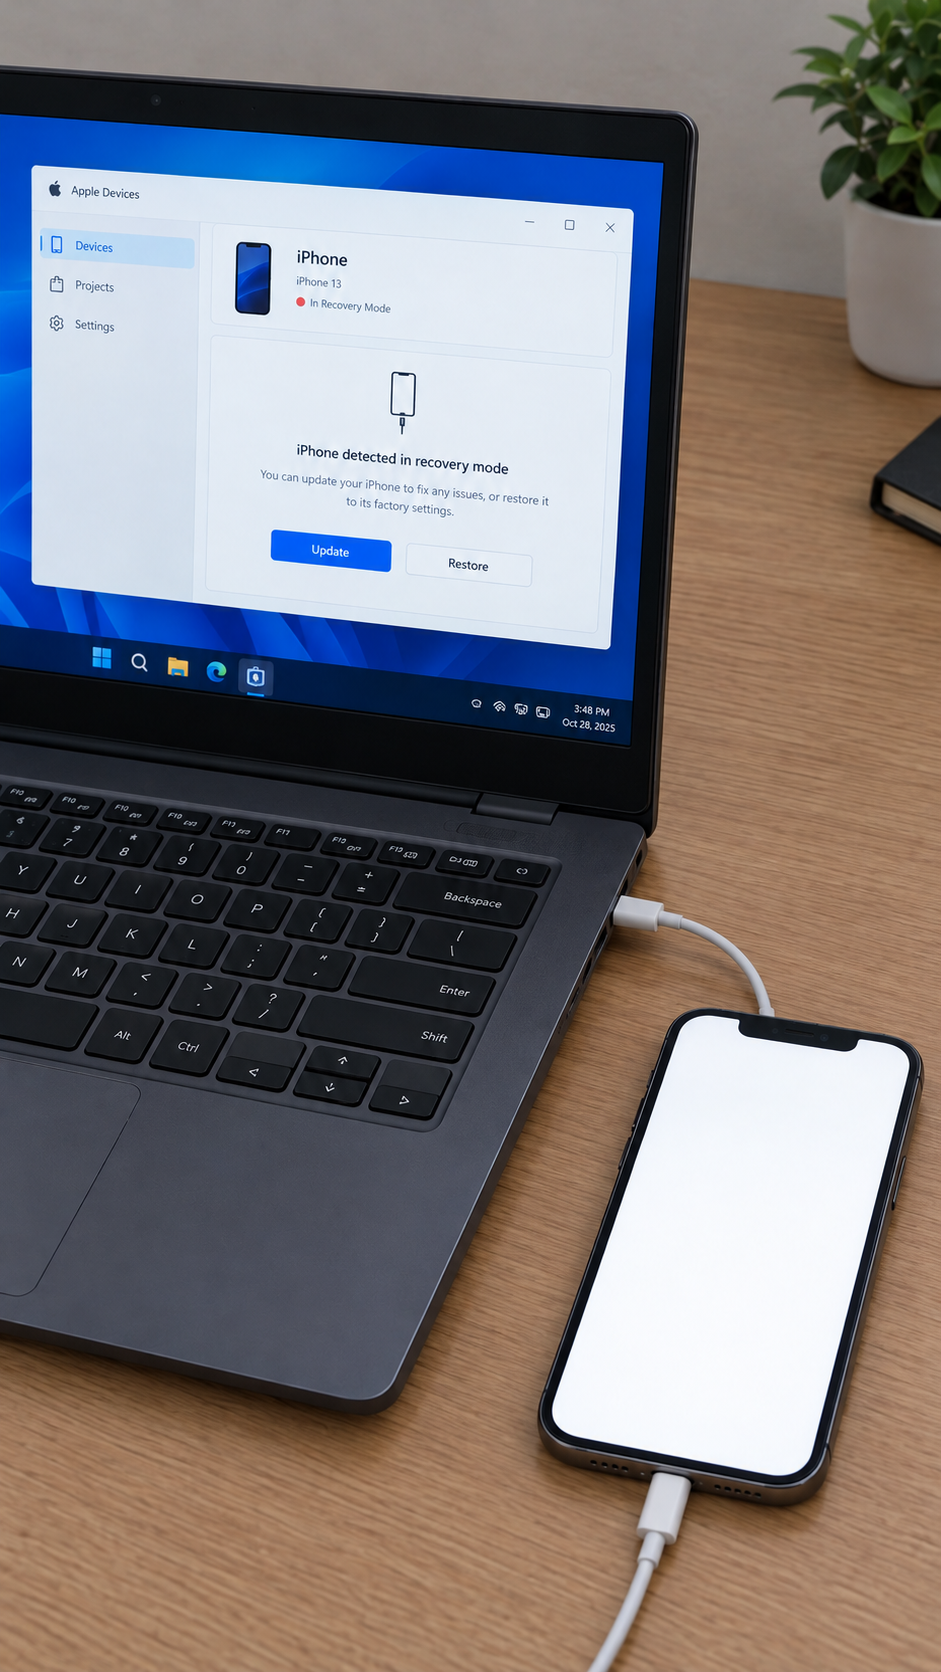
Show the correct sequence and keep the phone connected. If the white panel hides the recovery image, use Finder or Apple Devices detection instead of tapping unseen controls. - At the computer’s Update or Restore prompt, choose Update. Leave the phone connected until installation finishes.
Apple’s reinstall-without-erasing instructions explain the Update choice. Our recovery-mode walkthrough has additional illustrations; retain the Update-first distinction here.
If downloading takes over 15 minutes and the phone leaves recovery mode, let the download finish, then re-enter recovery mode. If it starts normally instead, back it up.
No recovery detection? Try another data cable, USB port or computer. A broken required button needs service.
If Update restores a usable screen, back up the phone. If it completes but white remains, arrange inspection rather than automatically choosing Restore.
Record any computer error before retrying. For 4013, the restore-error connection checks cover cables and computer software. Do not open the phone or repeat erasure to diagnose a component.
3. Consider Restore Only After Checking Your Backup
Restore is a last software attempt when Update cannot resolve a startup problem. It is optional, not a required test before screen repair.
- Check existing backup dates. Apple’s instructions cover saved computer backups and viewing iCloud backups from another device. Do not delete backups.
- Confirm access to the linked Apple Account and the password for any encrypted computer backup. Restore does not bypass Activation Lock.
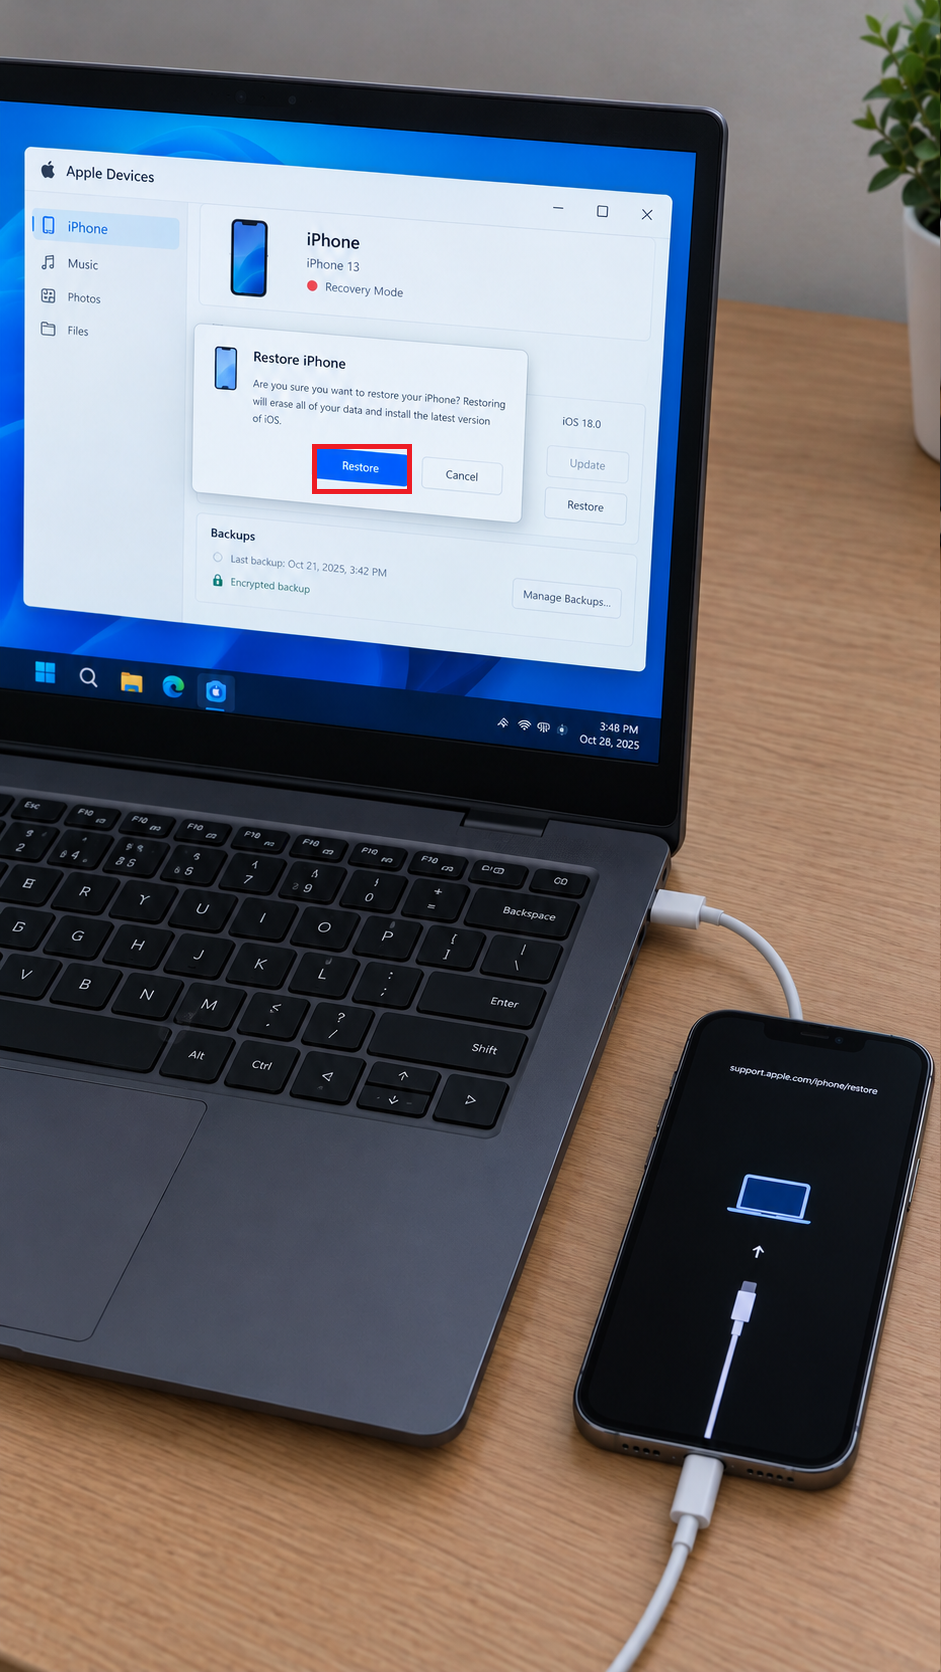
- With the phone in recovery mode, select Restore on the computer. Read the erasure warning before confirming.
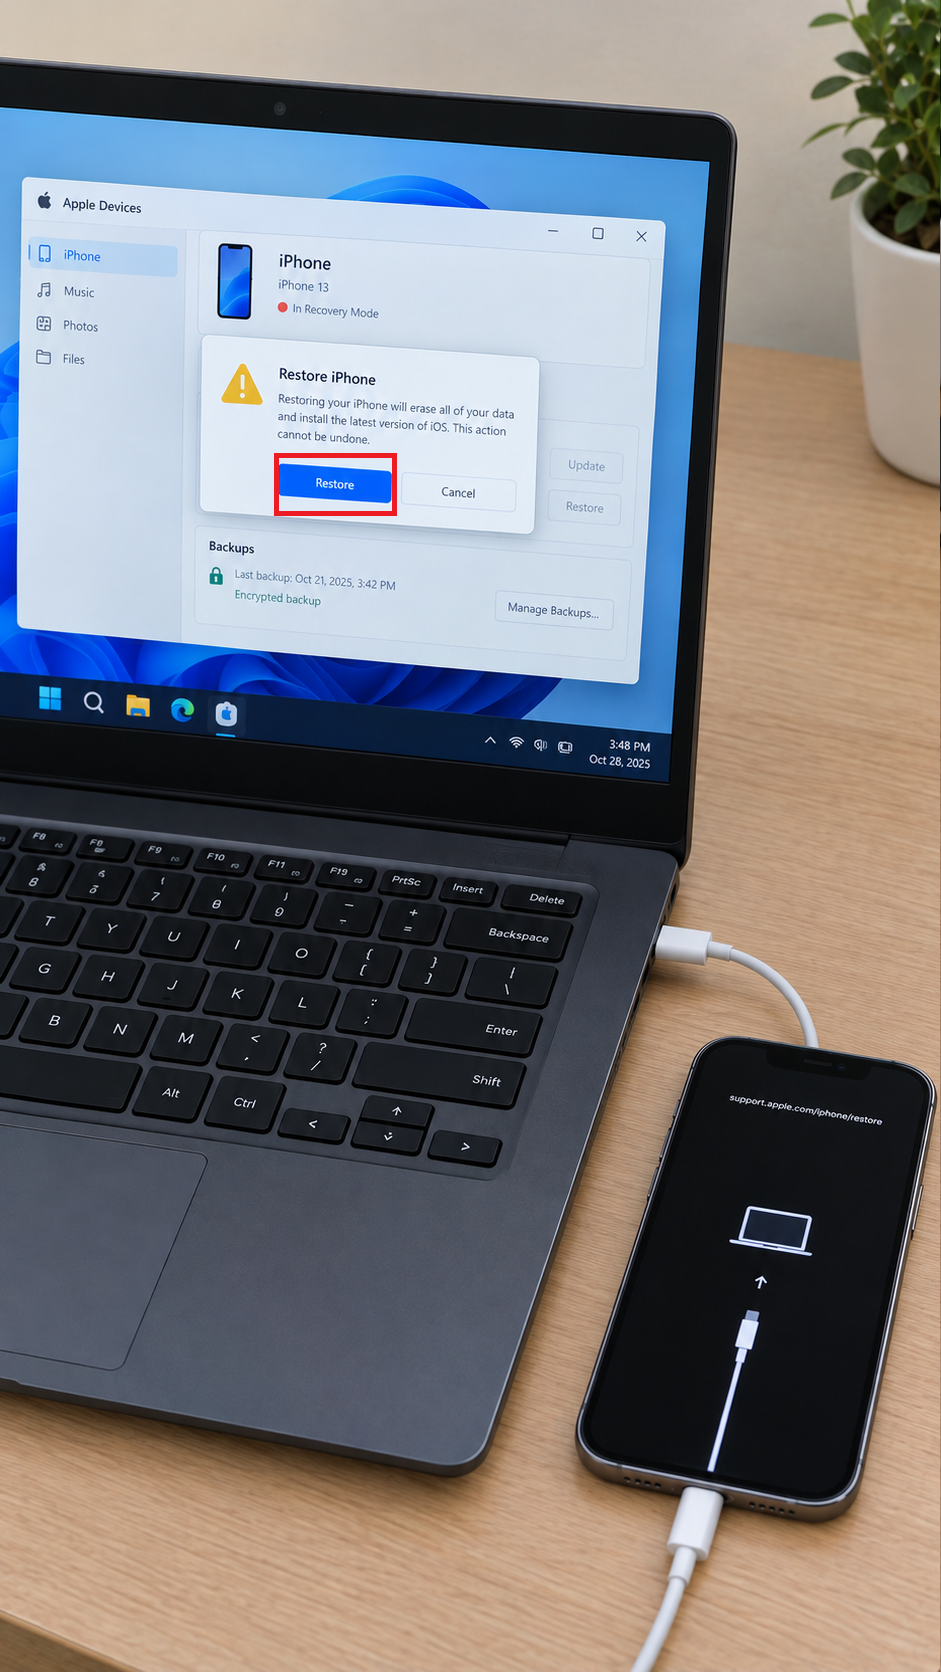
Show the backup date and Restore warning with private fields hidden. Do not demonstrate Restore on an unbacked-up phone or expose an Apple Account or encrypted-backup password. - Keep it connected until installation finishes. At the Hello screen, complete setup and recover your available backup or synced data.
A visible Hello screen confirms the display is working at that moment, not what originally failed. If Restore completes but white remains, another erase is unlikely to help.
4. Arrange a Display Inspection
Ringing or vibration behind a white screen makes a display fault a concern, especially after flickering, a drop, liquid exposure or a previous repair. It does not identify a particular cable or component.
If the screen becomes usable, back up first. Optionally, open Settings > General > About > Parts and Service History if present, and note any Display message.
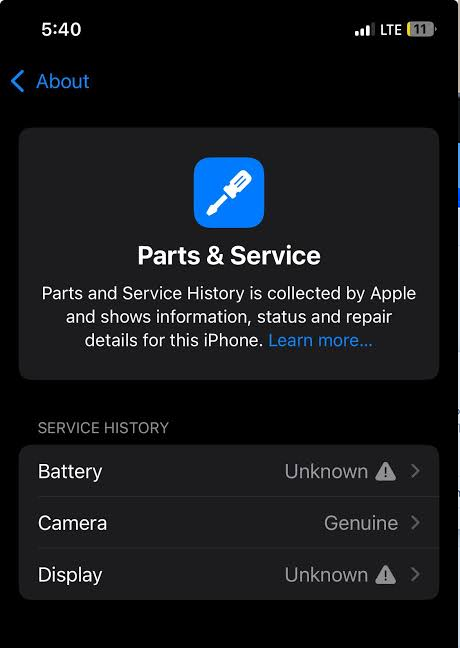
Apple’s parts-history guide lists supported models; older iPhones and SE models may not show display history. Unknown is not proof of a counterfeit screen, and Finish Repair means calibration is incomplete, not a confirmed white-screen diagnosis.
Arrange service with Apple or an authorized provider. Explain when white first appeared, whether calls still arrive, any damage or repairs, and what Update or Restore did. Service may involve erasure or replacement, so discuss unbacked data before approving work.
A missing backup or unreadable screen should not prevent an inspection. Avoid heat, freezing, squeezing or internal jumper repairs as home remedies.