How to Install Chrome OS Flex in Laptop or PC?
Has your PC or laptop started running slow? If yes, installing Chrome OS Flex on a Windows laptop can breathe new life into your old device. Chrome OS Flex is a lightweight, versatile operating system developed by Google, known for transforming old hardware into a Chromebook-like device.
It is a Linux-based operating system and uses the web browser as its main user interface. Chrome OS Flex uses the same technology as Chrome OS.
The great thing about Chrome OS Flex is that you can test it out without installing it as an operating system.
If you encounter any issues, you can simply revert to your old operating system.
However, if you like it, you can install it as your main operating system.
Minimum System Requirements
Before we jump to the step-by-step process, you should have a quick look at the minimum system requirements:
- Intel or AMD x86-64-bit CPU
- 4 GB RAM
- 16 GB Storage Space
- Access to BIOS
You will also need a USB flash drive to Install ChromeOS Flex.
Why Install Chrome OS Flex?
Chrome OS Flex provides speed and efficiency, making it an excellent choice for users with old hardware struggling with the latest operating systems, such as Windows 11. This operating system can be very helpful if you rely heavily on browser-based applications.
By installing Chrome OS Flex, you get Google’s strong security features, including multi-layered security measures and regular updates.
Now that we understand the benefits of installing Chrome OS Flex and why it can be an excellent choice for users who want to transform their old hardware, let’s dive into the steps to install Chrome OS Flex on your Windows laptop or PC.
How to Install Chrome OS Flex
To install Chrome OS Flex, you need to create a USB installer. Insert the USB drive into your PC and follow the steps carefully to install Chrome OS Flex.
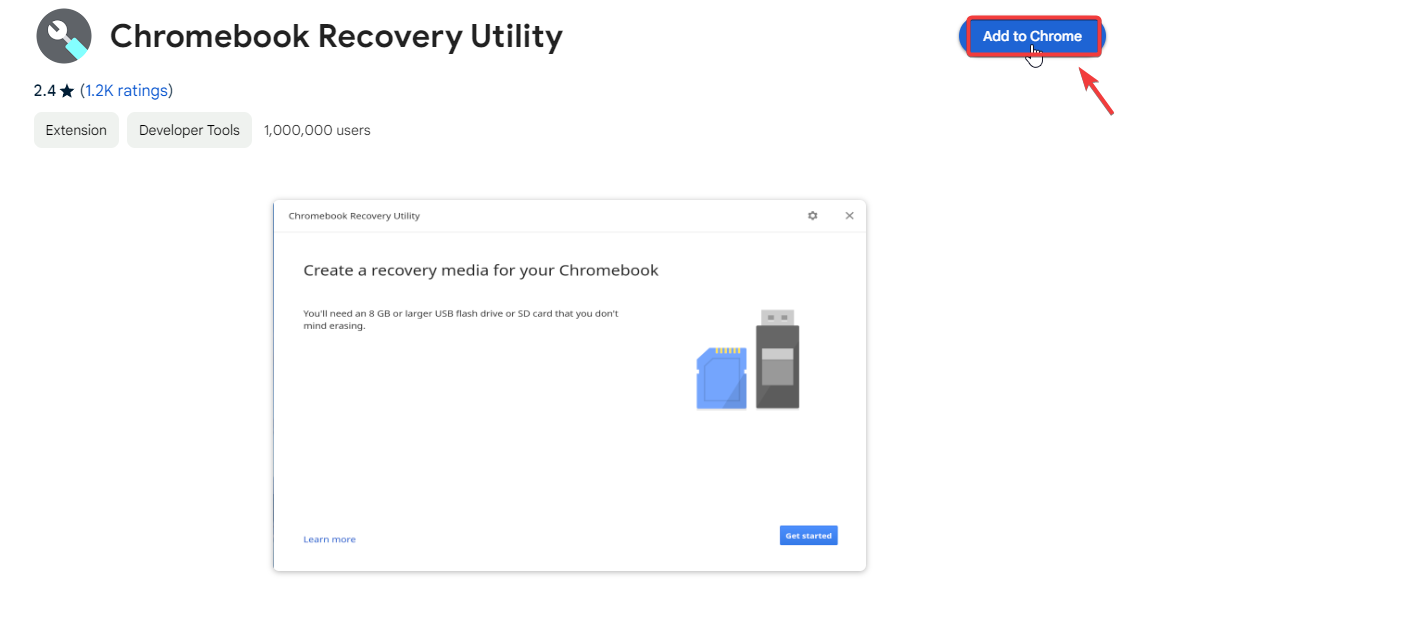
- Download the Chromebook Recovery Utility using the link.
- Click Add to Chrome. Once the extension is installed, click the Extensions button at the top and select Chromebook Recovery Utility.
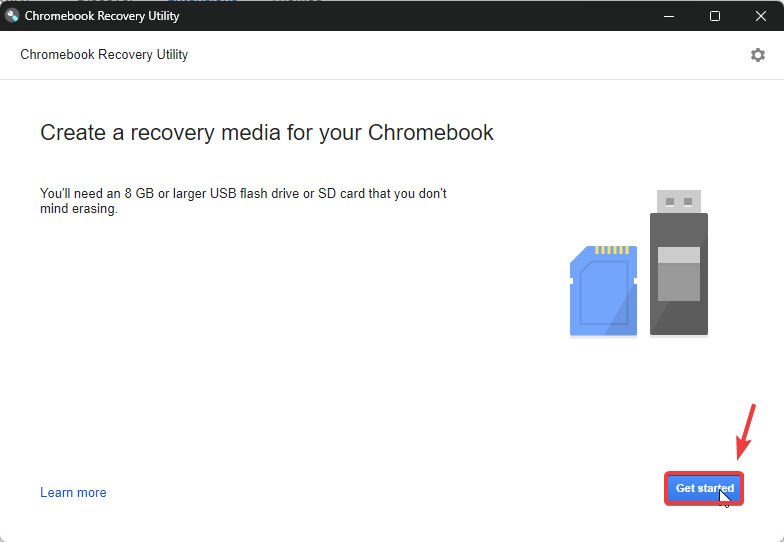
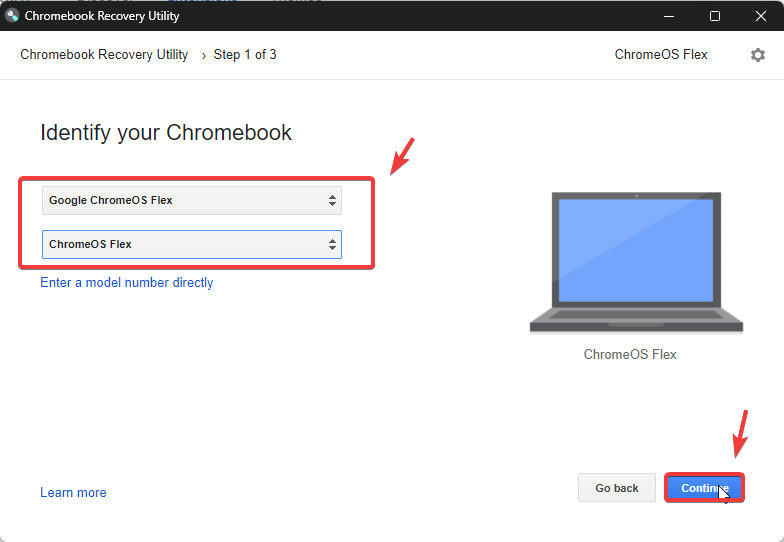
- Click Get Started and then click on Select a Model from a List.
- Under Manufacturer, select the option that says Google Chrome OS Flex.
- Under Product, select Chrome OS Flex.
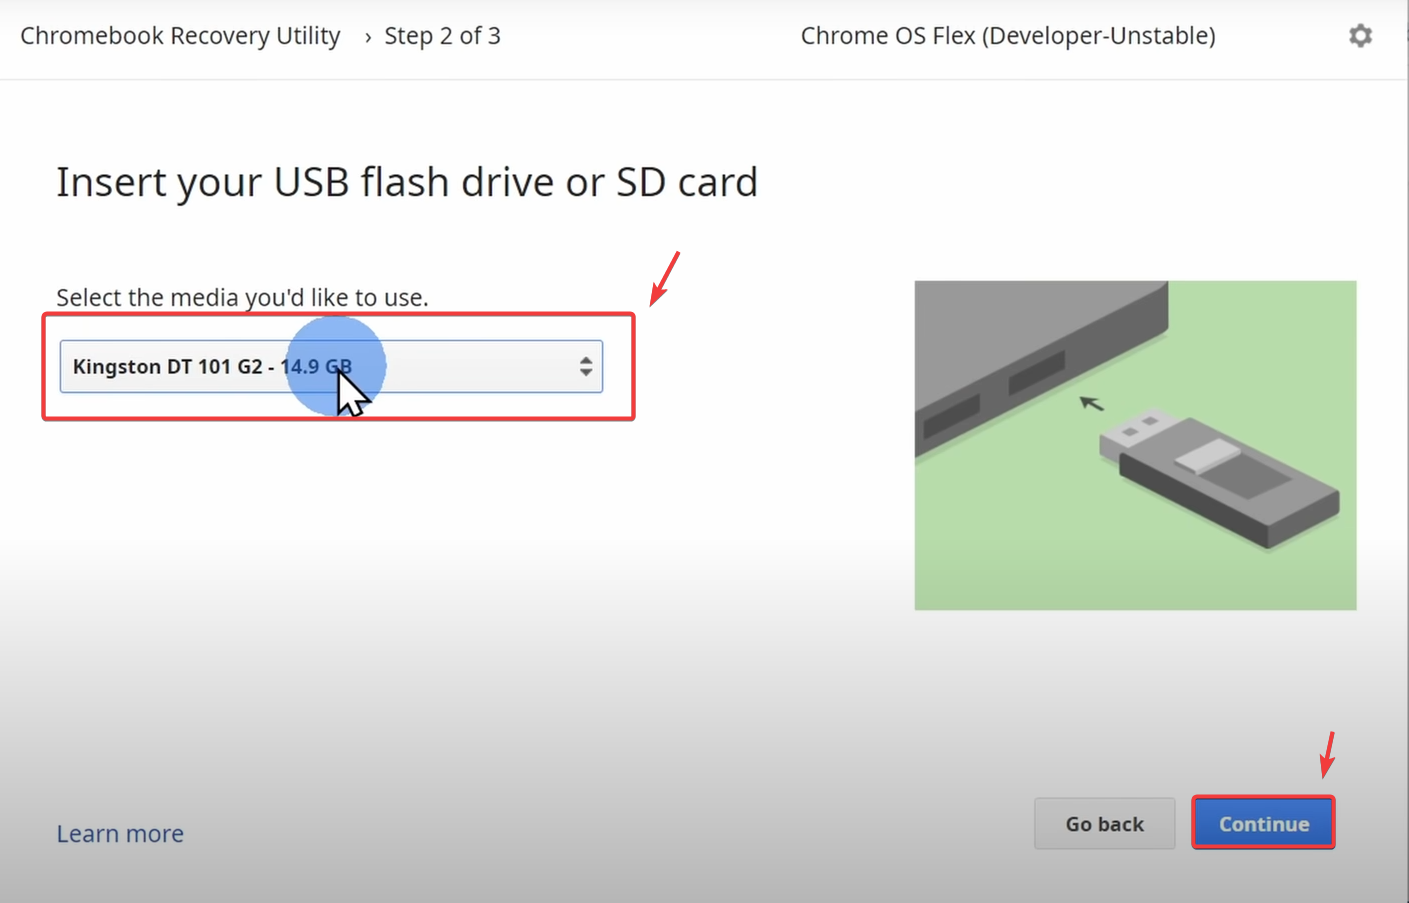
- In the next window, select the USB drive to install the operating system.
- Once done, click Continue to download and install Chrome OS Flex.
- Once the media is ready to use, click Done.
- Now, you need to boot from the USB drive to test or install Chrome OS Flex. To do that, completely shut down your computer.
- Press the boot menu key. Common keys are F2, Delete, ESC, or F12, which will take you to the boot menu.
- From the boot menu, select the USB drive to boot from it.
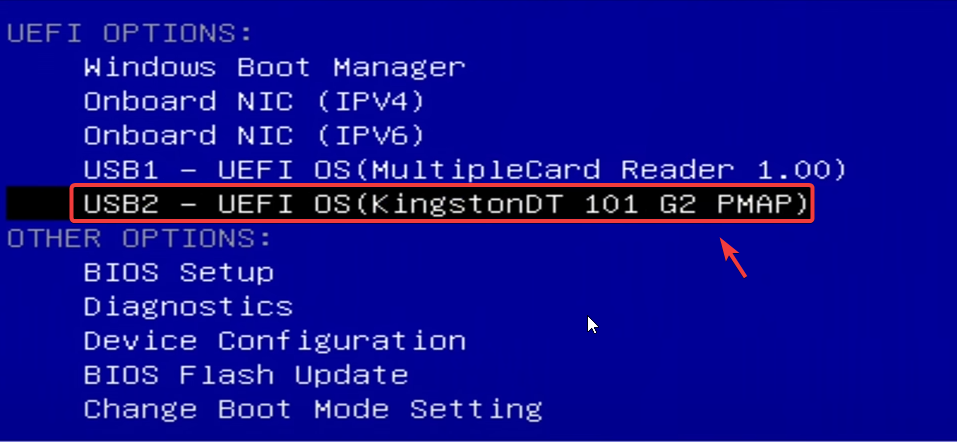
- Once the USB drive is booted, you will see two options on your screen. You can test Chrome OS Flex from the USB or install it as your main operating system.
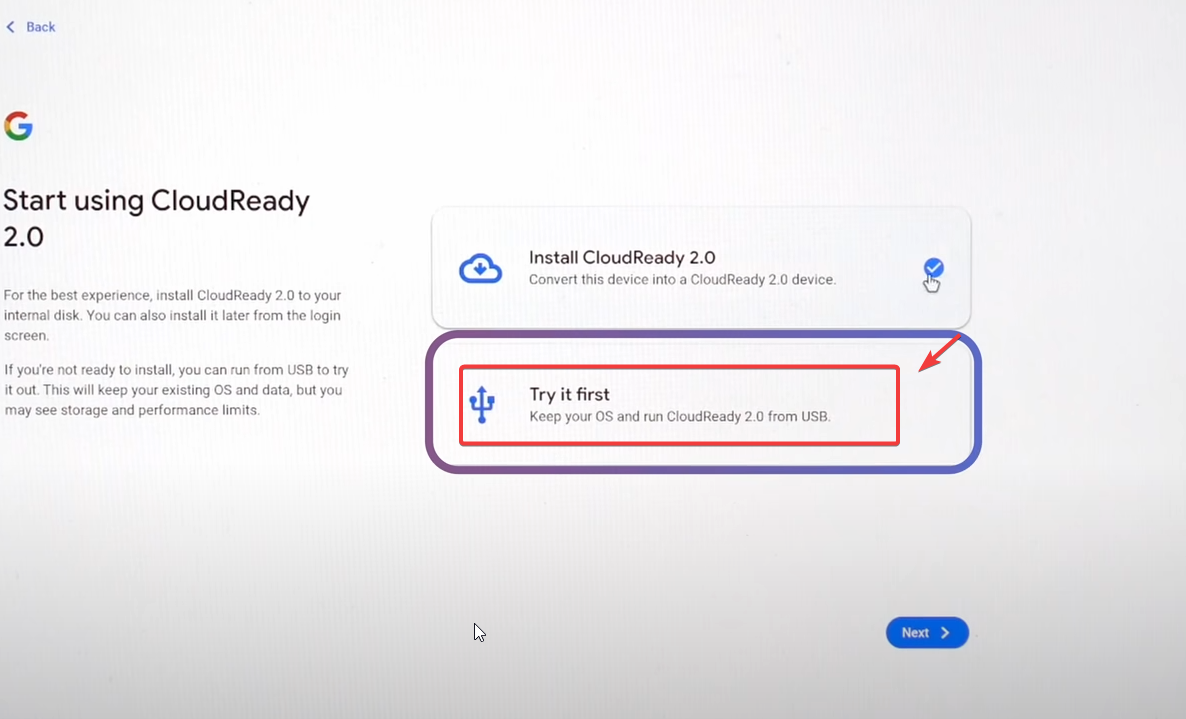 Note: Although testing Chrome OS Flex via a USB drive will not affect your internal storage, installing it as your main operating system will overwrite your current operating system and erase all data stored on your hard drive or SSD. It’s also important to clarify that while testing from a USB drive, the performance may not be as fast as when it’s installed on the device’s internal storage.
 - If you choose to test the operating system, you can sign out once the testing is completed, and then install Chrome OS Flex as your main operating system. If you don’t like it, you can simply restart your computer, which will boot the previous operating system.
NEXT READ: How to Run Windows Programs in ChromeOS?