How to use ActiveX Filtering in Internet Explorer
ActiveX filtering is a feature introduced in Internet Explorer 9. This feature is also available in all the versions of Internet Explorer that came after the 9th version. Websites that you visit are prevented from installing new ActiveX controls and running the existing ActiveX controls. ActiveX controls are browser plugins that add many rich features to the website. Many of ActiveX controls are written by third party and their safety and quality cannot be guaranteed by the Microsoft. That’s why Microsoft allows you to make use of the ActiveX Filtering and to block ActiveX controls for all the sites on your browser. You can turn the ActiveX controls for the sites you can trust.
To enable the ActiveX filtering you need to follow few simple steps mentioned below.
Method 1: Turn on ActiveX Using Menu Bar
- Open the Microsoft Internet Explorer on your PC.
- There is a menu bar just below the address bar, if you are not seeing this menu bar then press Alt key
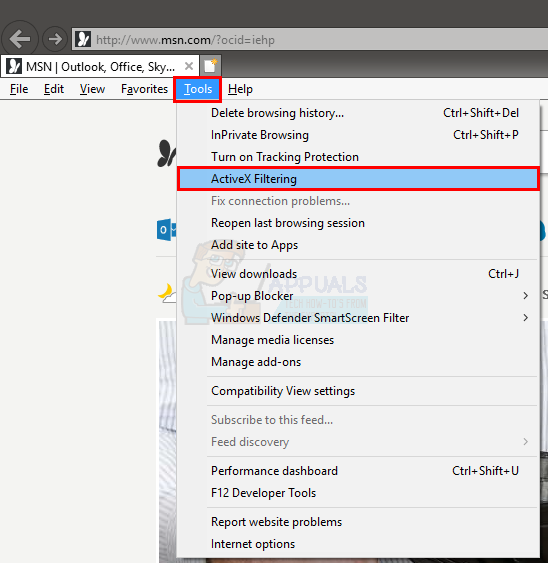
- Now click on the Tools menu, you can also press ALT+T to open the Tools menu bar.
- From the opened menu, select ActiveX Filtering.
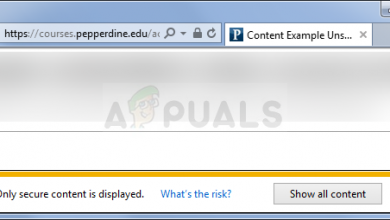
ActiveX Filtering is now enabled on your browser and ActiveX controls are blocked. You can see a filter icon in the address bar denoted by a blue circle with a diagonal line.
Note: You can disable ActiveX Filtering for all the website by simply following the steps given above. In step 4, ActiveX Filtering will be unchecked and, therefore, disabled for all websites.
To remove filtering on Particular Site:
You can also remove the ActiveX filtering for any particular site you trust. For this you just need to follow 2 simple steps.
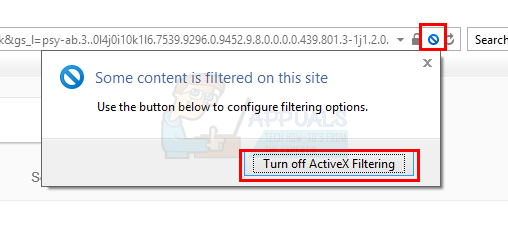
- Click on the filter icon in the address bar denoted by a blue circle with a diagonal line.
- A pop-up will appear on the screen, confirming you to turn off the ActiveX filtering. Click on the “Turn off ActiveX Filtering” button.
That’s all, this disables the ActiveX filtering for the particular site.
Resetting ActiveX Filtering Exception Sites:
If you have removed the ActiveX filtering from several sites and now want to again turn on the ActiveX filtering, then you don’t need to worry because it can be easily done. Follow these steps below:
- Open the Microsoft Internet Explorer on your PC.
- There is a menu bar just below the address bar, if you are not seeing this menu bar then press Alt key
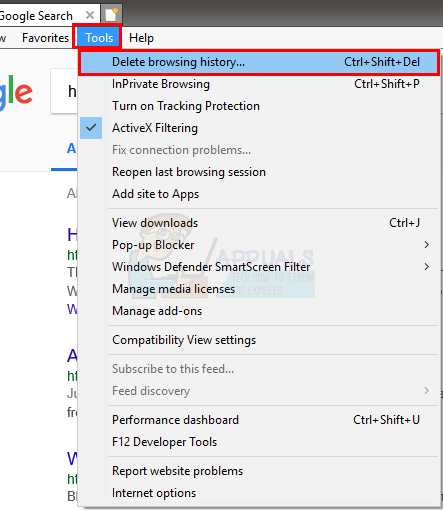
- Now click on the Tools menu, you can also press ALT+T to open the Tools menu bar
- Select Delete Browsing History option or you can alternatively use keyboard shortcut key CTRL + SHIFT + DEL.
- A dialogue box will open, check the last option which is Tracking Protection, ActiveX Filtering and Do Not Track. You can uncheck all the other options if you want
- Click Delete
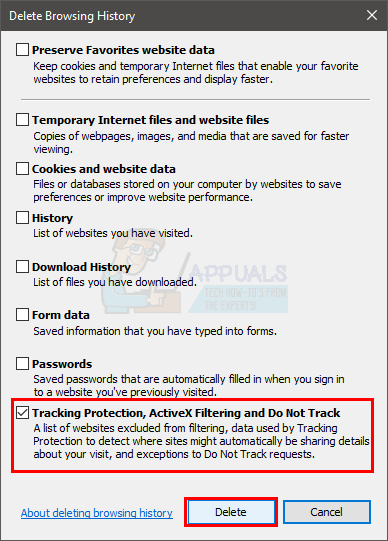
Note: Doing this will also delete the Personalized Tracking Protection List, this is the list which is automatically generated by Internet Explorer.
Method 2: Turn on ActiveX Filtering via Settings
You can turn on ActiveX Filtering via settings as well. Follow the steps given below
- Open Internet Explorer
- Click the gear icon on the top right corner
- Select Safety
- Click ActiveX Filtering
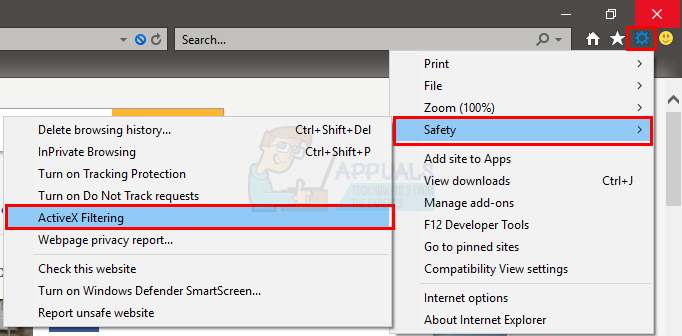
That’s it. This should put a check mark in front of ActiveX Filtering option. You can see the check mark by repeating the steps given above.