Fix: Only Secure Content is Displayed
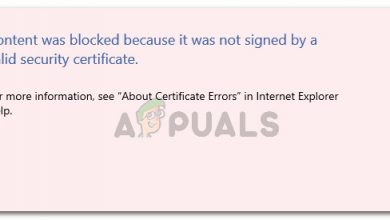
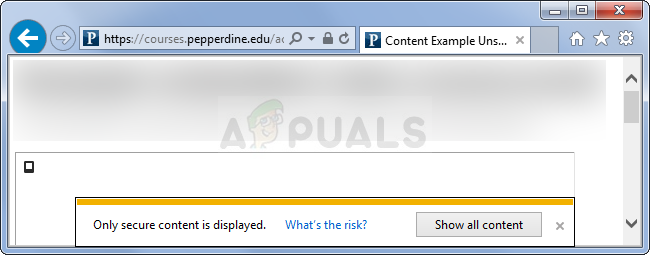
This error almost exclusively appears on computers running Windows 10 and it appears on its browser called Internet Explorer. Furthermore, the error was also appearing in rare occasions on Internet Explorer on older versions of Windows. This error appears in the form of a notification displayed at the bottom of the site you are visiting and it only appears on certain websites.
First of all, you should make sure that the website you are visiting is not malicious or the notification and the message which appear are justified to say the least. If the website’s reputation is good, then you should follow the solutions presented in this article. Good luck!
Solution 1: Change Security Settings in Internet Options
If you change certain settings in Internet Options from Internet Explorer, you might be able to view the hidden content but you will also decrease your security status while browsing. However, since you are usually protected from other sides while browsing, this protection implemented by Windows wasn’t strong from the beginning and you won’t lose much by disabling this.
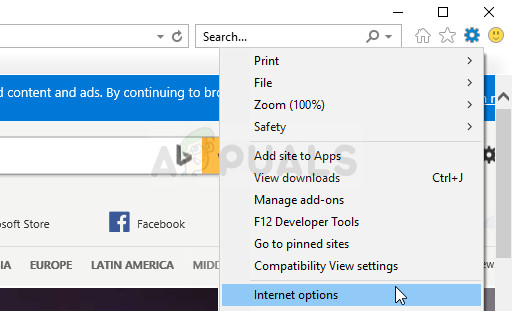
- Open Internet Explorer by searching for it in the Start menu or by locating it on your PC and click on the Gear icon located in the top right corner in order to access the drop-down menu.
- From the menu which opens, click on Internet options and for the Settings window to open.
- Navigate to the Security tab and click on Custom level. Locate the Display mixed content option under the Miscellaneous section and make sure its radio button is set to Enable. Apply the changes in all windows you opened. Check to see if the problem still appears.
Solution 2: Add the Problematic Sites to Trusted Sites
Sometimes this problem occurs when you are browsing a respectable site but Internet Explorer signals that other websites which may be linked on the current one are not recognized as trusted. If these websites are respectable as well, you can add them to the Trusted Sites list as well as the site you are trying to browse. This is a better solution if you are seeing this problem on one or two sites as you won’t need to lower your security settings.
- Open the sites where you have experienced the error and wait for the “Only secure content is displayed” message to appear at the bottom of the page. After it does, click the F12 key on your keyboard and navigate to Console in the small window which should open at the bottom of the page.
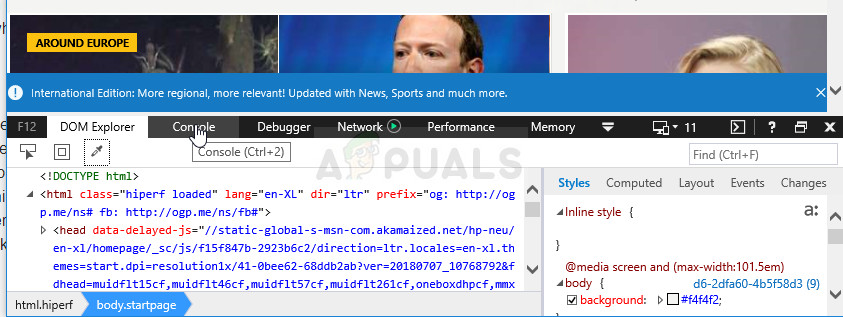
- Here you should be able to see certain sites and a message noting that they somewhat violate the SSL connection. Take note of these websites by copying their addresses to a Notepad file.
- Now you will need to repeat this process for all of such sites including the site you are currently browsing.
- Open Internet Explorer by searching for it in the Start menu or by locating it on your PC and click on the Gear icon located in the top right corner in order to access the drop-down menu.
- From the menu which opens, click on Internet options and for the Settings window to open.
- Navigate to the Security tab and click on Trusted sites. Paste the addresses of the websites you copied to a Notepad file one by one and click the Add option. Make sure you include only the main domain in the form of http://www.something.com.
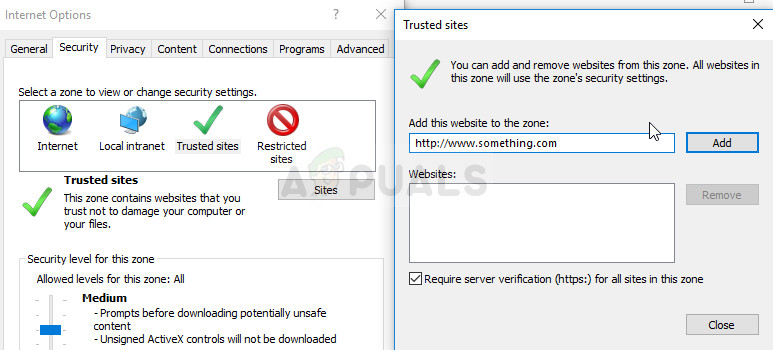
- After you add all sites, make sure you disable the Require server verification option (https) for all sites in this zone checkmark under the Websites list. Check to see if the problem still appears.
Solution 3: Another Tweak in Internet Options
This tweak is usually aimed at people who want to be warned about everything they are doing on their computer. These notifications don’t appear randomly even though they are sometimes caused by false positives. That is why this solution is aimed to reduce the number of false alarms which means that you will only receive this warning if you are really browsing an unsecure website.
- Open Internet Explorer by searching for it in the Start menu or by locating it on your PC and click on the Gear icon located in the top right corner in order to access the drop-down menu.
- From the menu which opens, click on Internet options and for the Settings window to open.
- Navigate to the Advanced tab and scroll down until you locate the Security section. You should try to locate the Warn about certificate address mismatch option and make sure the check box next to it remains unticked.
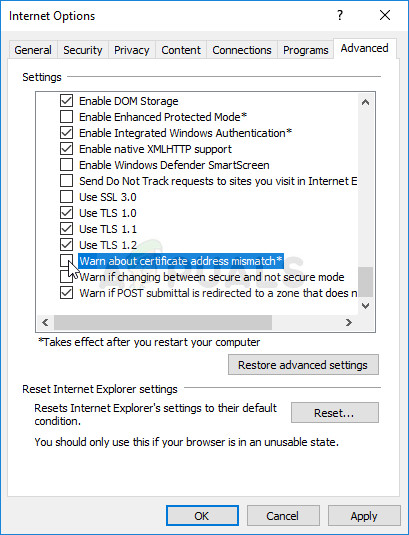
- You will also need to restart your computer in order to check if the changes have made a difference and if the error message still appears.
Solution 4: Update Windows to the Latest Version
We have saved this method for the end because the methods above have shown may more success with less work to do. Windows 10 should usually perform automatic updates both when you want it to or no. However, if you have somehow turned this option off on Windows 10 or if you are using an older version where automatic updates have been turned off, you can follow the instructions accordingly.
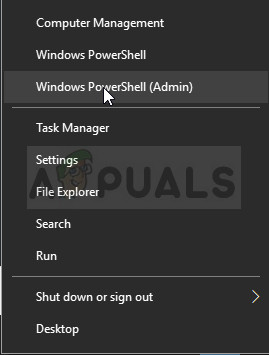
- Open the PowerShell tool by right-clicking the Start menu button and clicking on the Windows PowerShell (Admin) entry. If you see Command Prompt instead of PowerShell at the same spot, you can also search for it in the Start menu or the search bar next to it.
- In the Powershell console, type in “cmd” and wait for Powershell to switch to the cmd-like window which might appear more natural to Command Prompt users.
- In the “cmd”-like console, type in the command shown below and make sure you click Enter afterwards:
wuauclt.exe /updatenow
- Let this command do its business for at least an hour and check back to see if any updates were found and/or installed without issues. This method can be applied to all Windows operating systems.
Alternative:
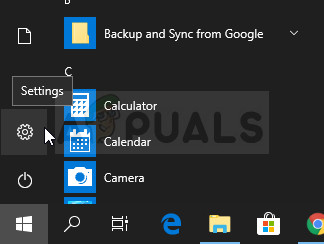
- Search for Settings in the Start menu and click on the first result which pops up. You can also click on the gear-like button at the lower left part of the Start menu.
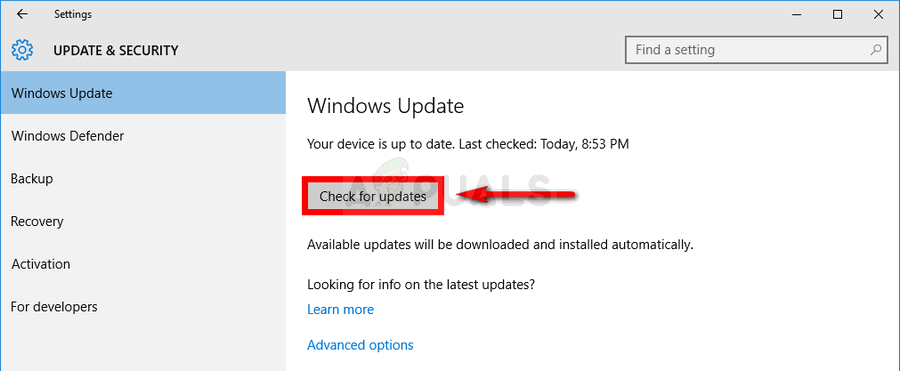
- Locate the Update & security section at the bottom part of the Settings window and click on it in order to open Windows Update options, among others.
- Stay in the Windows Update tab and click on the Check for updates button under the Update status title in order to check if there is a new build of Windows available to download.
- If there is one, Windows should initiate the download process automatically. Make sure you remain patient and you restart your computer when prompted. Check to see if the problem with Office is solved after the latest updates are installed.