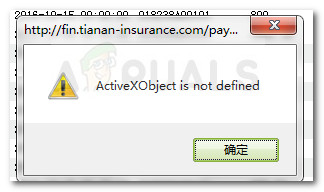
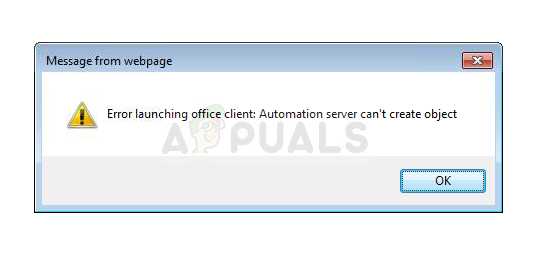
[2 Verified Solutions] ‘Automation server can’t create object’
This problem often appears on Internet Explorer when users try running various scripts on websites or when using ActiveX commands. Some users have also reported that they started to notice the error after installing various add-ons and extensions in Internet Explorer which also fail to run.
The problem isn’t well documented by Microsoft but plenty of other users reported seeing the problem and they were able to resolve it manually. They have shared their methods and we decided to gather them in this article. Make sure you follow the instructions carefully in order to resolve the problem!
What Causes the “Automation Server Can’t Create Object” Error on Windows?
The list of possible causes actually consists of a single main cause which gave headaches to people around the world.
- Security settings – It’s related to a security option inside Internet Options which doesn’t allow the browser to run scripts unless they have been marked safe by the browser. This is especially problematic for user-made ActiveX controls and the option needs to be changed to get rid of the error.
- Other Internet options – If there are other misconfigured settings inside Internet Explorer, resetting them completely should resolve the problem.
Solution 1: Change Security Settings and Clear Browsing Data
If the problem appears when trying to run ActiveX controls or after installing an Internet Explorer add-on/extension, the cause is probably the fact that your browser’s Internet security settings are too strict for the command to run. You can fix the problem by lowering the security settings.
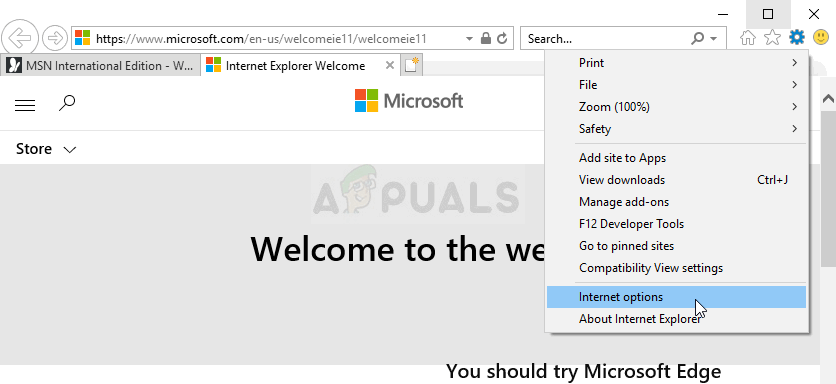
- Open Internet Explorer by searching for it in the Start menu or by locating it on your PC and click the cog icon located in the top right corner in order to access the drop-down menu.
- From the menu which opens, click on Internet options and wait for the window to open.
- Navigate to the Security tab and click on Trusted sites. In the Security level for this zone section, click the Custom level… Scroll until you reach the ActiveX controls and plug-ins.
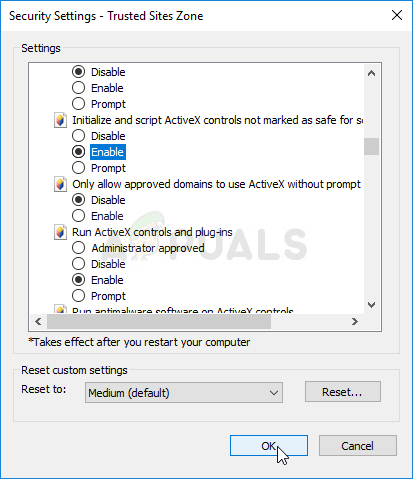
- Make sure the checkbox next to the Initialize and script ActiveX controls not marked as safe for scripting is set to Enable. Click the OK button at the bottom of both windows.
- Head back to the Internet Options screen but this time, navigate to the General tab. Under the Browsing history section, click the Delete… button.
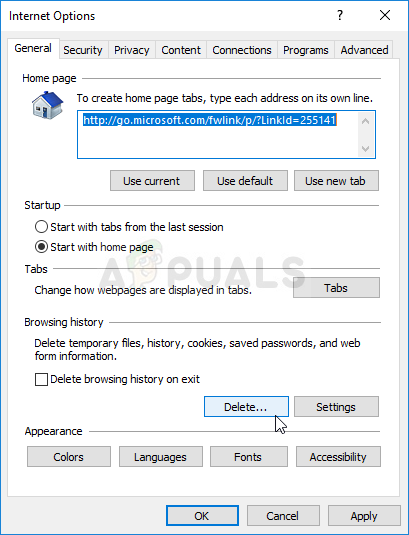
- Make sure you check the box next to Temporary Internet files and website files, Cookies and website data, and Tracking Protection, ActiveX Filtering and Do Not Track. Other entries are optional. Click the Delete button and restart your computer to see if the problem still appears on your computer.
Note: Some users have reported that, for some reason, the Initialize and script ActiveX controls not marked as safe for scripting option is grayed out for them. Circumventing this problem is easy and it involves editing the registry.
- Since you are going to edit a registry key, we recommend you check out this article we have published for you to safely backup your registry to prevent other problems. Still, nothing wrong will occur if you follow the steps carefully and correctly.
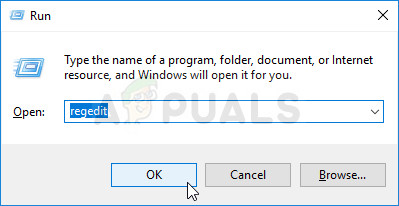
- Open the Registry Editor window by typing “regedit” in the search bar, the Start menu, or the Run dialog box which can be accessed with the Windows Key + R key combination. Navigate to the following key in your registry by navigating at the left pane:
HKEY_LOCAL_MACHINE\Software\Policies\Microsoft\Windows\CurrentVersion\Internet Settings\Zones\3
- Click on this key and try to locate an entry named 1201. If it’s not there, create a new DWORD Value entry called 1201 by right-clicking at the right side of the window and choosing New >> DWORD (32-bit) Value. Right-click on it, and choose the Modify option from the context menu.
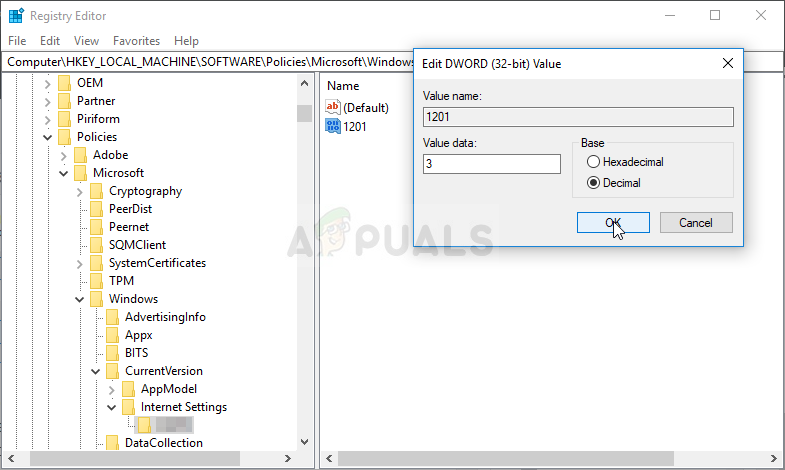
- In the Edit window, under the Value data section change the value to 3 and apply the changes you have made. Make sure the Base is set to Decimal. Confirm any security dialogs which may appear during this process.
- You can now manually restart your computer by clicking Start menu >> Power button >> Restart and check to see if the problem is gone. This will probably resolve the problem immediately.
If you want to avoid using the registry, you can also do the same inside the Local Group Policy Editor. Note that this set of steps is recommended only for users who have Windows Enterprise or Pro versions as the Group Policy Editor is not available on Windows Home.
- Use the Windows Key + R key combination (tap the keys simultaneously) to open the Run dialog box. Enter “gpedit.msc” in the Run dialog box, and press the OK button in order to open the Local Group Policy Editor tool. On Windows 10, you can try simply type Group Policy Editor in the Start menu and click the top result.

- On the left navigation pane of Local Group Policy Editor, under Computer Configuration, double click on Administrative Templates, and navigate to the Windows Components> Internet Explorer > Internet Control Panel > Security Page > Internet Zone.
- Select the Internet Zone folder by left-clicking on it and check out its right side section.
- Double click on the “Initialize and script ActiveX controls not marked as safe for scripting” policy and check the radio button next to the “Enabled” option.
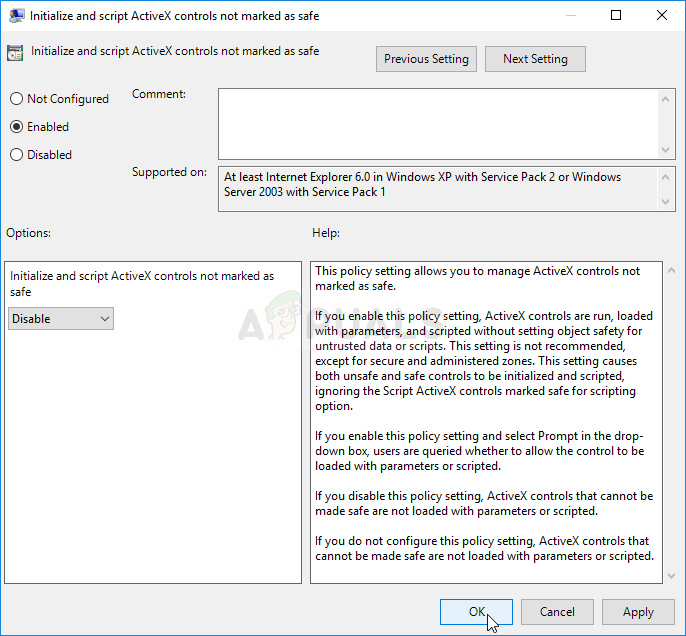
- Apply the changes you have made before exiting. The changes won’t be applied until you restart.
- Finally, reboot the computer to save the changes and check to see if you are still being targeted with the error.
Solution 2: Reset Internet Explorer Settings
This is a basic solution which can help you get to the solution most quickly. This method has indeed helped users, especially the ones who wanted to experiment with their Internet Explorer installation a lot. Make sure you try this out!
- Open Internet Explorer by searching for it or by double-clicking its shortcut on the Desktop, select the Tools button at the top right part of the page, and then select Internet options.
- You can also open Control Panel by searching for it, change the View by option to Category and click on Network and Internet. Click on the Internet Options button which should be the second entry in the new window and proceed with the solution.
- Navigate to the Advanced tab, and then click on the Reset Select the Delete personal settings check box if you would like to remove browsing history, search providers, Accelerators, home pages, and InPrivate Filtering data. This is recommended if you really want to reset your browser but selecting this is optional if you have followed all steps from Solution 1.
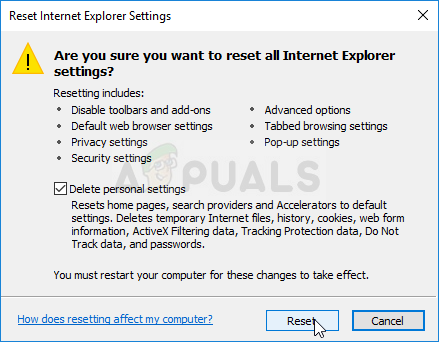
- In the Reset Internet Explorer Settings dialog box, click Reset and wait for Internet Explorer to finish applying default settings. Click on Close >> OK.
- When Internet Explorer finishes applying default settings, click Close, and then click OK. Check to see if you are able to use it without problems.