How to Unlock and Root the Honor 8x
The Honor 8x is a mid-range ‘budget’ phone touted as having flagship specs. With a 6.5” screen at 1080×2340 resolution, a 20mp camera, 6GB of RAM, and the Kirin 710 SoC, it’s hard to deny the Honor 8x isn’t a gorgeous device.
Unfortunately, Honor is part of the Huawei brand, and Huawei stopped their official bootloader unlocking program. Thus, owners of new Huawei and Honor devices are left without a way to officially unlock their bootloader, which means root cannot be achieved. However, there are alternative methods to get your Honor 8x bootloader unlocked.
In this Appuals guide, we are going to show you the options you have for obtaining an unlock code for your Honor 8x, and how to root it using TWRP and Magisk systemless root.
Please note this may not work for the Honor 8x Max, which uses a Qualcomm chipset instead of the Kirin 710.
Requirements
- ADB & Fastboot (See Appual’s guide How to Install ADB on Windows)
- TWRP for Kirin devices
- Magisk Manager APK
- Magisk
- OTG Cable + USB mouse
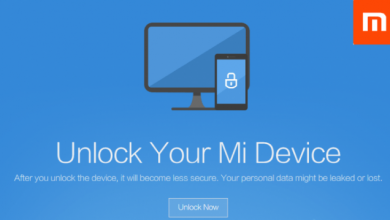
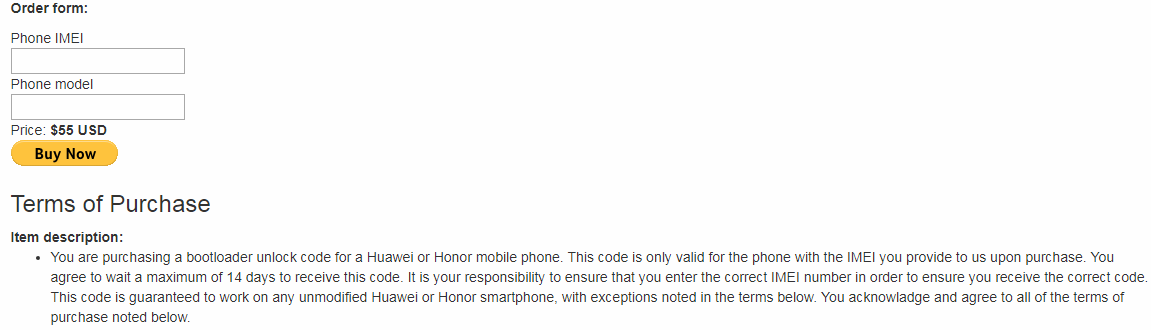
Because you cannot obtain an official bootloader unlock code directly from Huawei anymore, you will need to go through a third-party, which costs money. Yes, it is a sad state of affairs. However, the services we are linking to have been verified as working by numerous XDA forum users.
- FunkyHuawei: $55 USD
- Ministry of Solutions: $35 USD
- Global Unlocking Solutions: $22
FunkyHuawei is the priciest of these services, but they are the most reputable, with mostly positive feedback from XDA users.
Please note that Appuals is not affiliated with these services in any way, we are linking to them for the sole purpose of this instructional guide (and of course, we would only link to services with a good reputation).
Whichever service you choose, you need to provide them with your Honor 8x’s IMEI (Settings > System > About Phone).
- After you receive an unlock code, you need to enable Developer Mode. Go into Settings > System > About Phone, then tap on Build Number 7 times, which will activate Developer Mode.
- Now go into Settings > Developer Options, and enable both OEM Unlock and USB Debugging.
- Next you need to install the Manager Manager app on your phone, using the APK link provided in our Requirements section. Only install Magisk Manager APK at this point, but also download the Magisk .zip onto your computer.
- Now connect your Honor 8x to your PC via USB, and choose “Transfer Files” mode on your phone’s screen. You will also see a warning asking if you want to trust this computer for debug mode, choose Yes.
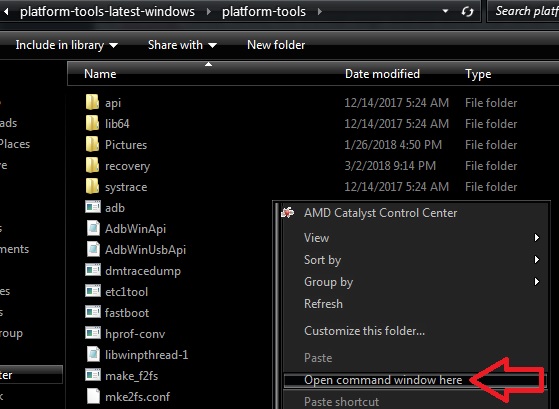
- Now launch an ADB terminal (hold Shift + Right click inside your main ADB folder and choose ‘Open a Command Window Here’).
- In the ADB terminal, type: adb devices
- This should display the serial number of your Honor 8x – if no device is listed, you need to troubleshoot either your USB drivers, or your USB connection.
- If your device is successfully recognized in ADB, go ahead and type: adb reboot bootloader
- This will reboot your Honor 8x into Bootloader Mode. Once its there, type into ADB: fastboot oem unlock xxx
- You need to replace the xxx with the bootloader unlock code you received from one of the services we linked to. Please be warned this is going to format your Honor 8x and reset it to factory settings.
- Once your bootloader has been unlocked and the factory reset is complete, your Honor 8x will boot into Android system, and you can proceed through the Android set-up wizard.
- Now you need to download the TWRP img file and place it in your main ADB folder.
- Also download the Magisk .zip and transfer it to your Honor 8x’s SD card storage.
- Open a new ADB terminal, and type: adb reboot bootloader
- Once your Honor 8x is in Bootloader Mode again, you can now type into adb: fastboot flash recovery_ramdisk twrp-kirin.img
- This is going to flash TWRP onto your device and overwrite the stock recovery. Once the flash is successful, you can turn off your Honor 8x with the power button.
- Now disconnect your Honor 8x from your PC (this is important!).
- Hold Volume Up and Power buttons together until the blue Honor logo is displayed on your screen, then release both buttons. You should then see the TWRP logo and you will be taken to TWRP recovery menu.
- Please note this version of TWRP does not support screen touch, hence why OTG cable and USB mouse are requirements of this guide. So go ahead and connect your OTG cable and USB mouse, then “swipe” to allow modifications.
- In the TWRP main menu, choose Install, then choose the Magisk .zip you transferred to your SD card earlier.
- Swipe again to flash the Magisk .zip. When it is finished, you may reboot to system.
Once you are back in the Android system, you can launch the Magisk Manager app to check if your device has been successfully rooted.