How to Unlock and Root Sony Xperia XA2
The Sony Xperia XA2 was launched earlier in 2018 with a Snapdragon 630 SoC, 3GB of RAM, and 32GB of internal storage. Cameras are Sony phones best feature typically, and so this phone sports a 23MP rear camera. Its not a difficult device at all to root, but you must go through Sony’s bootloader unlock process.
Follow our simple guide to get the Sony Xperia XA2 bootloader unlocked, and rooted with a combination of TWRP and Magisk. Leave a comment if you experience any issues during the steps! Note: Unlocking your bootloader triggers a factory reset on your device, make sure to backup all important personal data before proceeding!
Unlocking the Xperia XA2 Bootloader
- Go to Settings > About > tap Build Number 7 times to enable Developer Options.
- Go to Settings > Developer Options > enable OEM Unlocking and USB Debugging.
- Launch your phone dialer and enter *#*#7378423#*#*. This will open a service menu.
- Tap Service Info > Configuration > Rooting Status. If it says “Bootloader Unlock Allowed: Yes”, you can proceed. If no, your particular device version cannot be unlocked.
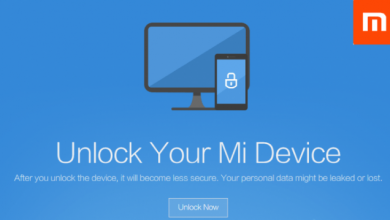
- If your bootloader is allowed to be unlocked, navigate to the Sony Bootloader Unlock website. Choose your model from the dropdown menu, and enter the IMEI of your device. If you have a dual-sim model, enter IMEI 1. Once successfully confirmed, you will receive an unlock code.
- Turn off your Xperia XA2, launch an ADB terminal on your PC, and connect your XA2 to your PC via USB while holding the Volume Up button.
- Your Xperia XA2 will launch into Fastboot Mode. In the ADB terminal on your PC, type: fastboot -i 0x0fce oem unlock 0x<insert your unlock code>
Rooting with TWRP and Magisk
- Download the official TWRP.img, TWRP.zip, Magisk. Extract TWRP.img to your ADB folder (next to ADB.exe), but transfer the TWRP.zip and the Magisk .zip to your SD card.
- Re-enable Developer Options, and enable USB Debugging.
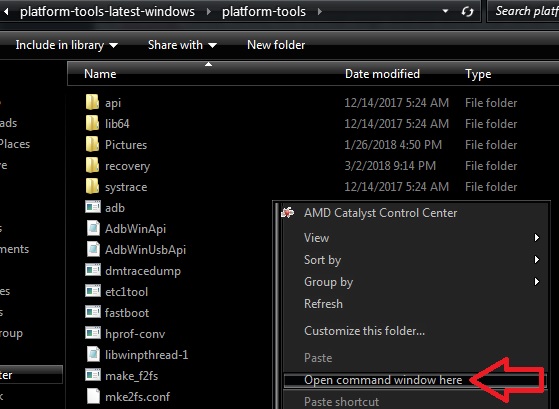
- Connect your Xperia XA2 to your PC via USB, and launch a new ADB terminal (hold shift + right click in your main ADB folder and choose ‘Open a Command Window Here’).
- Type ‘adb devices’ and accept the pairing dialogue on your phone’s screen.
- Next type in ADB terminal: adb reboot bootloader
- Your Xperia XA2 will reboot to Fastboot Mode. Type in the ADB terminal: fastboot boot twrp-3.2.1-0-pioneer.img
- When your Xperia XA2 reboots to TWRP, swipe to allow flashes.
- In the TWRP main menu, go to Install > External SD > choose TWRP.zip. Swipe to flash it, and TWRP will be installed on both recovery slots.
- In TWRP choose Reboot > Recovery.
- When it reboots into TWRP, go to Install > External SD > Magisk .zip, and swipe to flash.
- After Magisk has been flashed, you can choose Reboot > System, and enjoy your rooted status. Launch the Magisk Manager app to confirm!


Is this also for the Xperia XA2 Ultra? I’m sick of being barred from moving my apps to the SD card with such little storage in the device. Mostly wanted it for a good camera without paying out my nostrils but the small storage space is disappointing at times since I use it for so much.