How to Run A Computer Performance (Benchmark) Test on Windows
Benchmarking gives you a well-defined overview of the internals on your PC. It’s quite important to know everything about your PC: hard drive performance, RAM size, processor speed, GPU performance, etc. Whether you’re overclocking your computer or comparing it to another computer, benchmarking can help you translate your computer’s performance into numbers.
There is a wide array of benchmarking applications for the Windows ecosystem, most of which are free. Before using any of the benchmarking software listed in this article, ensure that nothing else is running on your computer. User applications and processes that are running can slow down the benchmark and alter the results. In this article, we’ll explore a few benchmarking software applications that you can use to test the performance of your Windows PC.
Option 1: Using Performance Monitor
Every Windows distribution has this handy built-in diagnostics tool. You can use Performance Monitor to view performance either in real-time or from a log file. You can also configure how the results are output so you can analyze the results.
- Press the Windows Key + R on your keyboard and type “perfmon /report”.
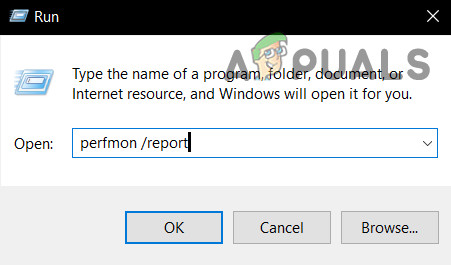
Run Perfmon - A window will open with the message ‘collecting data‘ for the next 60 seconds.
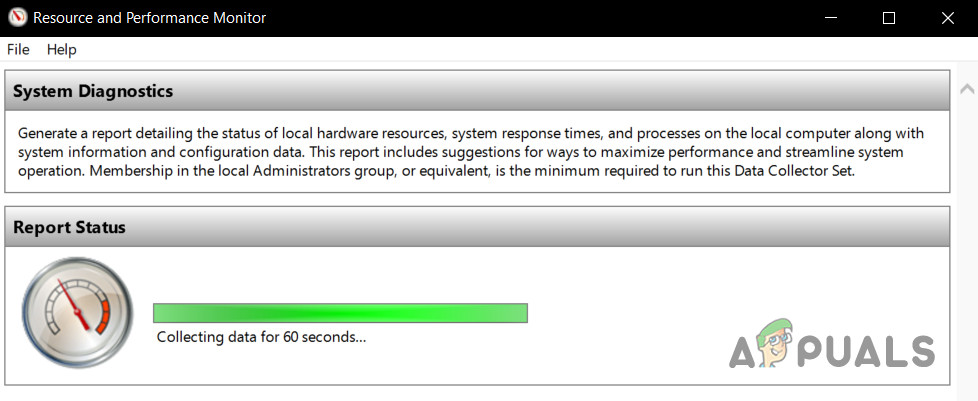
Report Status of Resource and Performance Monitor
Under the Diagnostic Results tab, you’ll find the following subsections:
Warning: This section comes up if there are any warnings of issues the computer is facing. It provides related links to more information about the situation and how to solve it.
Informational: It provides further information about the processor, network cards, etc.
Basic System Checks: This provides you with information related to the OS, Disks, Security Center, System Services, Hardware, and Drivers.
Resource Overview: This section will give you an overview of the major parts of your system including the CPU, Disk, Memory, and Network. It uses red, amber or green lights to indicate the severity of the issues and provides details on the current status of the system.
Several other reports are available from the Performance Monitor, providing advanced information. You can take the time to read them; however, if you can’t, the results of the diagnostics will provide you with the essential information you need.
Option 2: Using Prime95
Prime95 is a popular tool among overclockers for CPU stress testing and benchmarking. It features torture test and benchmark modules.
- Download Prime95, decompress the zip file and then launch Prime95.exe.
- Click on the “Just Stress Testing” button to skip creating an account.
- On the next screen, click on “Cancel” to leave the Torture Test Mode.
- Go to the “Options” menu and click “Benchmark” to perform a benchmark.
To interpret the benchmark results, note that the lower values are faster, and therefore better. You can also compare your benchmark results with other computers on the Prime95 website.
Option 3: Using SiSoftware Sandra
SiSoftware Sandra is a common system profiling tool that includes benchmarking utilities. Though it is a paid software, the free version contains benchmarks you’ll need. You’ll find individual tests from parameters such as memory to an overall benchmark score.
- Download and run a copy of the software from here.
- Click on the Overall Score, which benchmarks your CPU, GPU, memory bandwidth, and file system performance. To begin benchmarking, click OK at the bottom of the windows.
- After the benchmark is completed, you’ll see detailed graphs that compare the results with reference computers.
Option 4: Using NovaBench
NovaBench is one of the most popular and efficient benchmarking suites for Windows with provision for CPU, GPU, RAM, and disk speed. NovaBench is completely free – no trial or paid version with additional features.
- Get a copy of NovaBench from here and open it.
- Click on “Start Benchmark Tests”. It usually takes less than a minute to complete a benchmark using NovaBench.
NovaBench will display an overall score and then show the results of each benchmark – higher is better. You can also view and compare bench results from other computers on the NovaBench website.
Option 5: Userbenchmark
UserBenchmark is a freeware benchmarking tool that tests your hardware components and lets you compare them with other users online. It’s a really cool program. However, this program isn’t as aggressive as others, so these results should be taken with a grain of salt, and you should not dwell on them too much. Also, keep in mind that, if you plan to test your GPU’s overclock using MSI Afterburner, that’s not an option here because the GPU benchmarks don’t load if you are running MSI Afterburner or RTTS.
You Might be Interested In: 7 Best Motherboards For i9 9900k
- You can simply download their Benchmarking tool (here).
- Once it’s downloaded you can simply run it and you can select the components you want it to benchmark.
- Now once the benchmarks are completed it should open a webpage on your Default Browser.
- You can share your results and compare them with other users online.
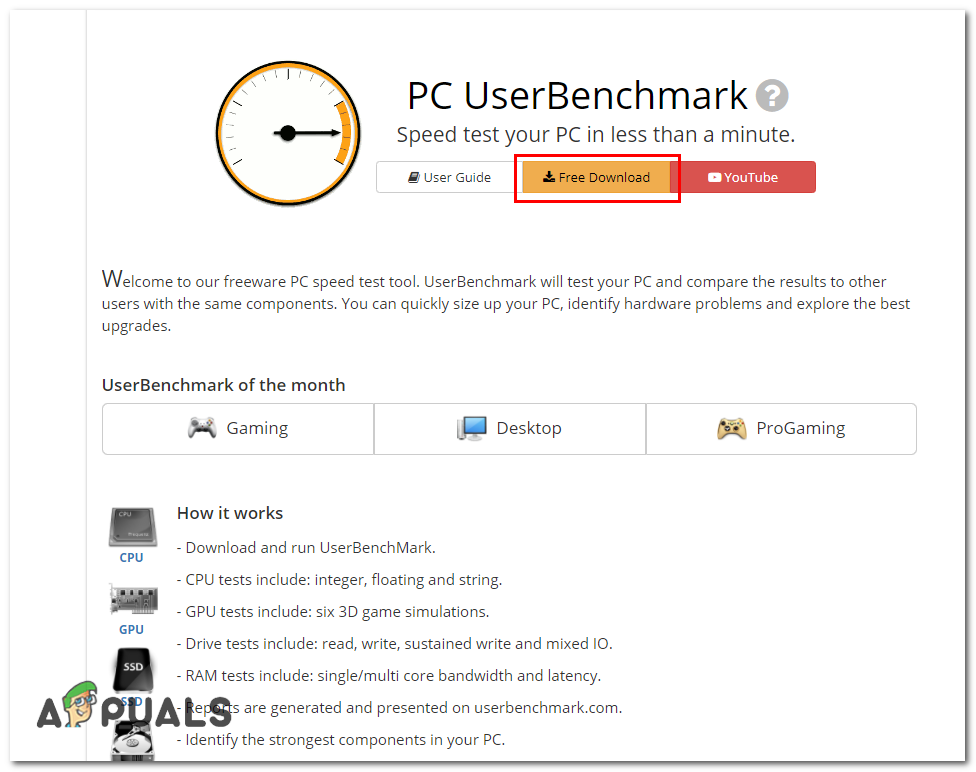
Userbenchmark Website
What if it never gets behind “collecting data for 60 seconds…” ???