How to root the Samsung Galaxy Note 10+ Exynos
The Samsung Galaxy Note 10+ was released only this past August of 2019, but a certified root method has already been released. It uses TWRP, and we’ll be flashing Magisk. Be aware that rooting your device will void your warranty, and we’ll be performing a full data reset, so create backups of all your important data before proceeding with this guide.
Requirements
Stock firmware for Samsung Galaxy Note 10+
- SM-N975F: Download Here
- SM-N975U: Download Here
- SM-N975F: Download Here
- SM-N975F: Download Here
Unlocking the bootloader
Unlocking your bootloader will perform a factory reset on your Galaxy Note 10+, so backup all your important data before proceeding.
- Go to Settings > About Phone > Software Information > tap on ‘Build Number’ 7 times. This will unlock Developer Options.
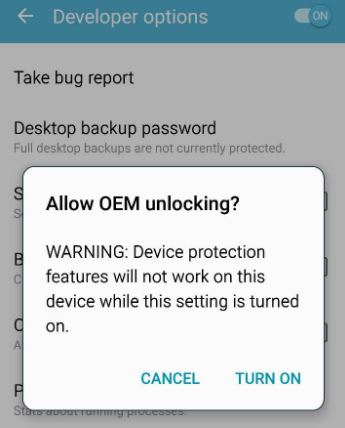
- Go into Developer Options and enable “OEM Unlocking”.
- Switch off your Galaxy Note 10+, and hold Volume Up + Volume Down while connecting your phone to PC with a USB cable.
- Your phone will reboot into Download Mode. Hold Volume Up to unlock the bootloader, and it will go through the factory restart process. When it’s done, it will automatically reboot.
Go through the initial Android setup process, and then re-enable the Developer Mode to confirm that “OEM Unlocking” is now grayed out. If it does not appear grayed out, your operator may have completely disabled bootloader unlocking, in which case you will not be able to root your Samsung Galaxy Note 10+ with this guide.
Preparing the root process
- Download the stock firmware for your Galaxy Note 10+ model from our above links. You can dial *#1234# to bring up a menu that shows details of your current firmware.
- Once you’ve downloaded the stock firmware, extract all the files to a folder on your PC. You should find a file named AP_[device_model_sw_ver].tar.md5, copy this file to the internal storage of your phone.
- Download the latest Magisk Manager app and install it on your device. You may need to enable third-party applications.
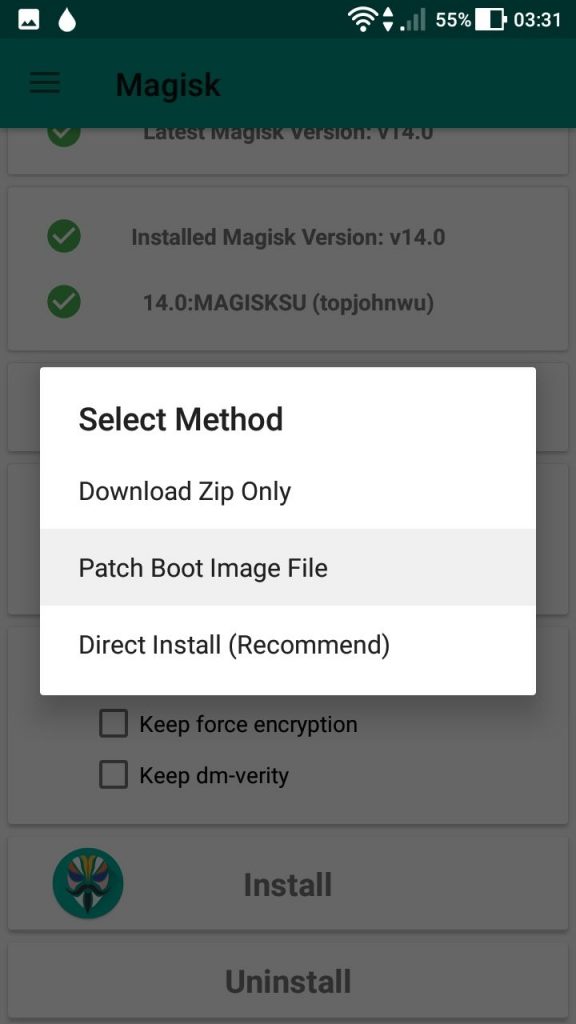
- Once Magisk Manager is installed, launch it. Select Install > Select and Patch File > choose the tar.md5 file you copied to your internal storage.
- Magisk Manager will now patch the entire firmware file, and store the output to Internal Storage/Download/magisk_patched.tar
- Copy the magisk_patched.tar file to your PC.
- Download and extract the Odin tool on your PC, and launch it.
- Turn off your Galaxy Note 10+ and reboot to Download Mode again, tapping Volume Up to continue.
- Launch Odin with administrator privileges.
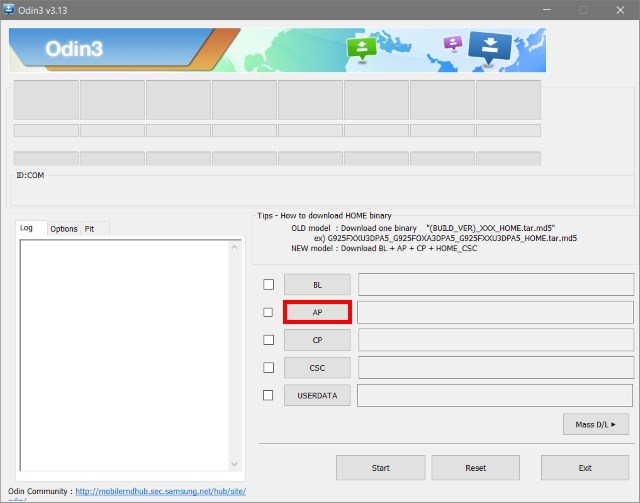
- In the AP tab, choose the magisk_patched.tar file you copied to your PC from your device.
- In the tabs for BL, CP, and CSC, choose those files accordingly from the stock firmware folder you extracted earlier.
- Uncheck the “Auto Reboot” option, and click the Start button. Wait for it to finish, you will see a green PASS! In Odin. You can now disconnect your Samsung Galaxy Note 10+.
- Hold the Volume Down + Side key to exit Download Mode. When the device reboots, as soon as the screen turns off, you must immediately press Volume Up + Side key to boot to the recovery partition. Press the Volume Up button until you see the stock recovery screen.
- In the stock recovery menu, navigate to Wipe Data /Factory Reset, and choose to wipe data.
- Now select ‘Reboot System’, and immediately press Volume Up + Side key. You’ll see a bootloader warning screen, so release the buttons to allow the boot process to continue.
- Your device may take awhile to completely boot for the first time after being rebooted, just leave it alone and don’t touch anything. When it finishes, go through the Android setup again.
- You should find Magisk Manager in your app drawer. Go ahead and launch it, and allow it to go through a few extra steps automatically. It will reboot your device once more when it’s finished.
Installing TWRP
Download the TWRP from our above link, and the Note10_multidisabler_V*.zip from the same link. Copy this .zip file to your external storage, not the internal storage. Once we flash TWRP, the internal storage will become unreadable.
- Reboot into Download Mode once more (press Vol Up + Vol Down while connecting to PC over USB).
- Launch Odin on your PC.
- In the AP tab, select the Magisk patched TWRP .tar file. Allow it to flash.
- Now immediately reboot to recovery, and flash the Note10_multidisabler_V*.zip you copied to your external storage.
- Choose to reboot to recovery, and select Wipe > Format Data. Manually type “YES”. This is going to erase all data (again, yeah) from your device.
- Reboot your device to the Android system, and you now have TWRP and root on your Samsung Galaxy Note 10+.


is ther anything for note 10 (SM-N970U)?