How to: Install Remix OS On PC
Remix OS is a new Android for PC experience, it is also customized to make your PC experience very easy and productive, it makes use of android’s 1.6 million applications and runs amazingly fast on PCs. It includes Multiple Window Applications for multi-tasking, re-sizable windows and maximizes/minimize features. A start menu borrowed from Windows and a notification tray borrowed from Android. It also includes Window’s right-click function, shortcuts, and taskbar and is compatible with Microsoft’s office applications! It was just released for the public and you can download it and try it free of charge!
This guide is going to cover two methods of installing Remix OS on your PC. The first method is going to show you how to install it on an external USB drive and the second way is going to show you how to install it on your PC and dual boot it with your windows (This means that during start-up you are going to choose whether you want to access Windows or Remix OS).
USB method
For this method to work you are going to use an external USB. This should be a USB 3.0 with at least 8 GB free.
- First, download the Remix OS Data from here or navigate to their official website.
- Plugin the USB to your laptop, make sure you take a backup of whatever is in it because we are going to format it, right-click on the USB and choose format.
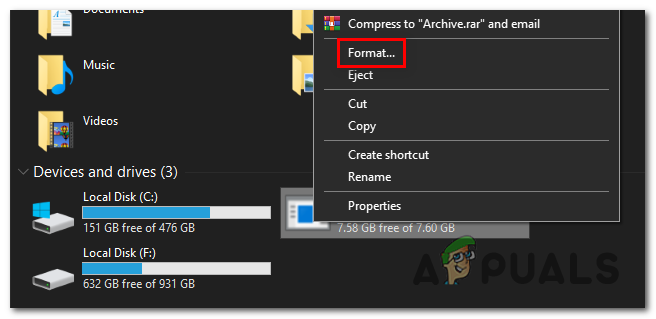
Formatting the USB drive - And set the File System type to FAT32. Then, look for the boot menu key by going to google and searching for “<Your laptop name> here boot menu key”.
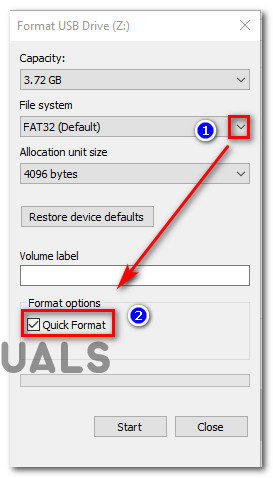
Formatting a drive to FAT32 - Go back to the folder where you downloaded the system image and the USB installer, extract the OS zip file using WinRAR or any other program, once extracted you will see an ISO file, open the USB installer and press on browse, select the ISO file and the USB you just formatted and click on OK
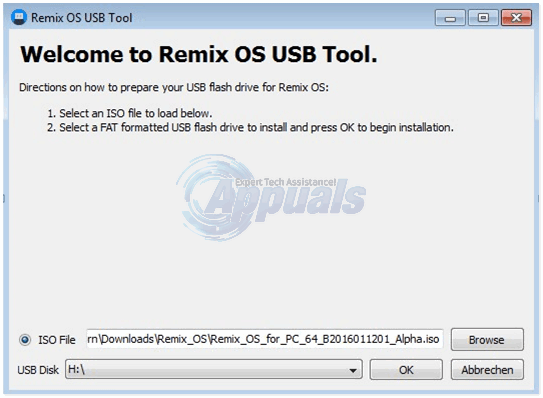
- leave the process to be finished for a few minutes and then press on Reboot Now.
- During the booting click on the key combination of the boot menu, the one you searched Google for earlier, and after you access the boot menu, use your keyboard to select the USB as the proper Boot device, you just flashed the system too, you will see a blue screen with two choices Guest Mode and Resident Mode. In short, Resident mode is going to save all the data you download using Remix OS, all the applications you install and what else. Guest mode will delete all user data when the session is done.
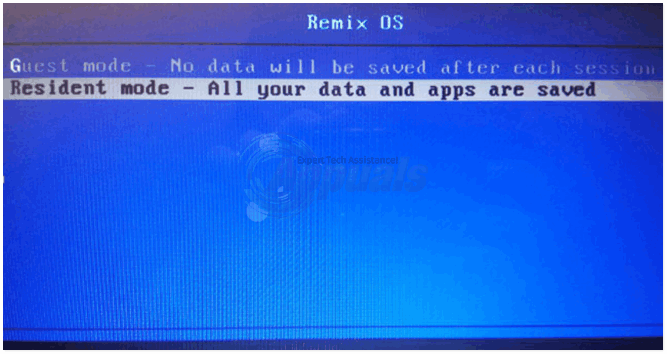
- Note: IF the bios did not start then you are going to need to change your BIOS boot mode, Search “change BIOS Boot mode to legacy” on google and follow the instructions.
- Select whatever suits you and press on it, the first boot can take a while but once you are done you will see the Remix OS logo and you will do the initialization process.
Dualboot method
We are going to need to make a small partition to install the Remix OS on, I am going to use an application called mini tool Partition Wizard, you can download it here, once downloaded install the application and access it, click on any partition that has some free storage (16GB or more), next in the menu on your left-hand side click on Split Partition and use the slider to set the new partition to 16GB, click OK then on the top left corner click on Apply and reboot if needed. When you reboot you are going to see a new partition that we are going to use in My Computer.
Next, you are going to need to determine whether your BIOS mode is Legacy or UEFI, go to your start menu and search for “run”, type in msinfo32 and then click on System Summary then search for the option BIOS Mode. You will find it to be either UEFI or Legacy, take note of which it is because we will need it later.
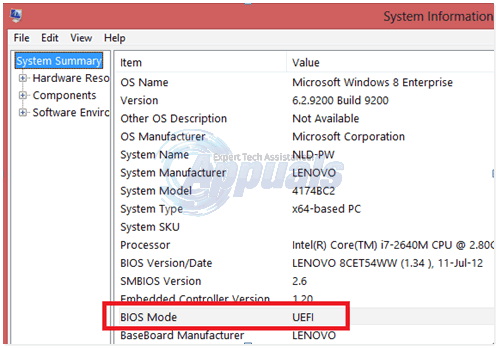
Note: if your mode is UEFI then you might need to disable the Secure Boot, follow the official guide from Microsoft here
Now download the Remix OS from here (based on your BIOS type), the Android installer from here for Legacy mode and here for UEFI mode, the Android ISO from here and the 7zip software from here.
Install the 7zip program and use it to extract the ISO file of the Remix OS, run the android installer .exe file and it will ask you to choose Android Image, Target Drive and Data Size. Choose the Android ISO as Image (not the Remix OS) and the new partition as the Target drive and 8GB as the Data Size then click Install. Wait for it to install in a couple of minutes then click OK and open the partition.
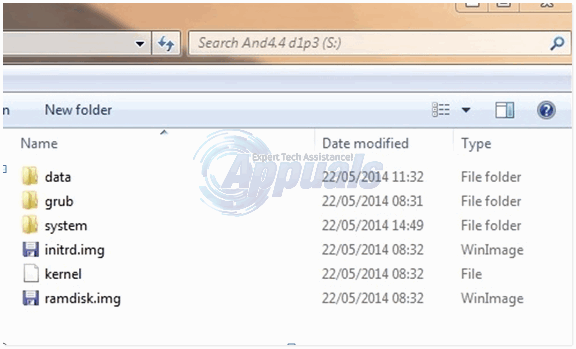
On the partition Access system then delete the system.sfs file and go back to the folder where you extracted the Remix OS ISO file, copy kernel, system.img, initrd.img and ramdisk.img and paste them into the Android OS folder (on the partition), while pasting it will ask you to Replace or Skip, choose to Replace.
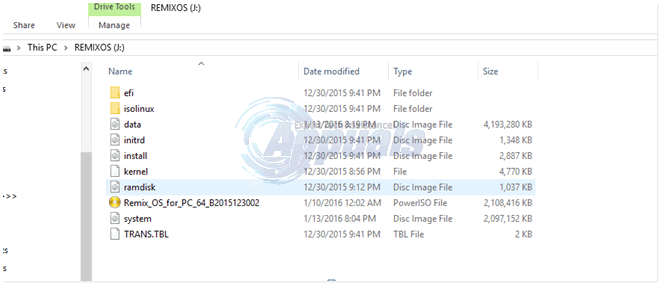
Now download this file and place it on your Desktop, right-click on it and press properties and follow these instructions carefully.
In the search, menu type in cmd and run it as administrator. You will see a command port where you will need to type these in order.
Mountvol B: /s
Press Enter Then
B:
Press Enter Then
Cd efi\Android
Press Enter Then
Copy “Location of grub.cfg” grub.cfg
The location should be
C:\Users\YOUR USERNAME\Desktop
And press Enter. It will ask you yes, no or cancel type in YES and press enter, when done restart your computer.
When rebooting the computer will show you a menu on what operating system you would like to choose.
Choose Change Defaults or Choose Other Options.
Then Choose Other Options
Then Click Use a Device
And Lastly choose Android OS from the Options. It should boot straight into Remix OS.