How to: Mount an ISO File
An ISO file, identified by the .iso extension, is a disc image or a consolidated, non-executable replica of a CD or DVD. To access the data within, you need to ‘mount’ it, essentially making your computer perceive it as a real CD or DVD. Once read, you can access the information stored within it.
Mounting an ISO file can be complex, particularly on older Windows versions, and confusing for novice users unfamiliar with ISO files. Nonetheless, you can enable your computer to perceive a virtual file as a physical CD or DVD, complete with its binary data.
For Windows 7 and Vista:
Unlike their successors, Windows 7 and Vista do not have a built-in feature for mounting ISO files. Users must utilize a third-party program like Virtual CloneDrive, which creates virtual CD/DVD drives on your computer, supporting not only ISO files but also CCD, DVD, IMG, UDF, and BIN files. Here are the steps to mount an ISO file using Virtual CloneDrive:
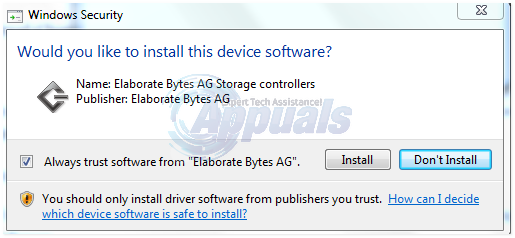
Download Virtual CloneDrive, then open the setup file. Choose ‘Full install‘, click ‘Next‘, and follow the on-screen instructions. If a hardware/security prompt appears, select ‘OK‘.
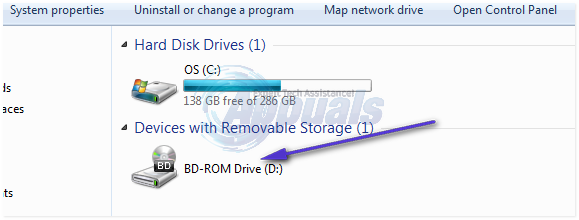
Restart your computer if prompted. After installing Virtual CloneDrive, you can view the virtual CD/DVD drives alongside your actual one in Windows Explorer.
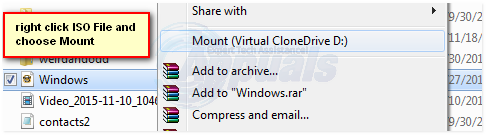
To mount an ISO file using Virtual CloneDrive, double-click the ISO file or right-click on one of the virtual CD/DVD drives created by the utility. Then, hover over ‘Virtual CloneDrive‘, click ‘Mount…‘, navigate to and select the ISO file in its directory, and mount it. To unmount the ISO file, right-click on the virtual CD/DVD drive it’s mounted on, hover over ‘Virtual CloneDrive‘, and click ‘Unmount‘.
Windows 7 and Vista users can use Virtual CD-ROM Control Panel, a freeware distributed by Microsoft, to mount ISO files. However, this Microsoft utility is quite outdated; hence experienced Windows 7 and Vista users usually prefer Virtual CloneDrive.
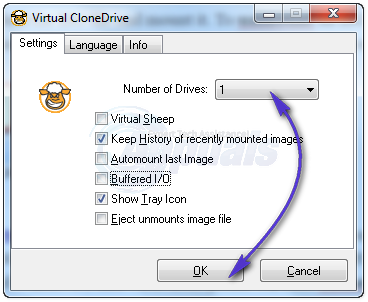
To mount additional ISOs, open the Virtual CloneDrive pane and adjust the number of drives.
Mount ISO on Windows 8 and 10:
Fortunately for Windows 8 and 10 users – the latest in the Windows Operating System series, Microsoft has added built-in ISO mounting capabilities to these recent iterations of their popular Operating System.
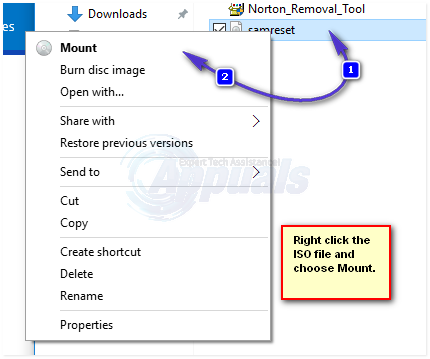
Windows 8 and 10 can mount ISO files by default without third-party programs. To mount an ISO file, simply double-click on it or right-click and select Mount. The file will appear as a CD/DVD in Windows Explorer. To unmount, right-click on the file in Windows Explorer and select Eject, just like you would with a physical CD/DVD.
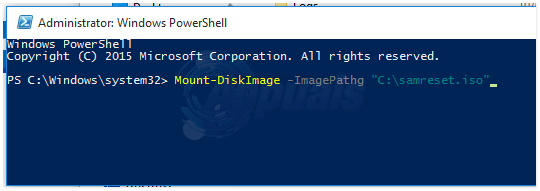
You can also mount an ISO file in Windows 8 and Windows 10. Open a Windows PowerShell window, type the following command, and press Enter.
Mount-DiskImage -ImagePath “Full path of ISO file”
Ensure you replace ‘Full path of ISO file‘ with the actual ISO file path you wish to mount. Remember, quotation marks are integral to the command and should not be removed.
You can unmount an ISO file in Windows 8 and Windows 10. Right-click the Start Menu button to open the WinX Menu, then click Command Prompt (Admin) for an elevated Command Prompt. Finally, input the following command and press Enter:
mountvol DriveLetter: /d
Replace ‘DriveLetter‘ with the letter assigned to the mounted ISO file on the CD/DVD drive (e.g., F:). The finalized command will resemble:
mountvol F: /d