How to Install Kodi on Apple TV
Kodi is a great media player streamer you can use on Apple TV. That means you will be able to run any platform, operating system, and any file format. Basically, Kodi allows you to view all the pictures and videos from your phone on your TV screen. It is very important that you get Kodi VPN (Virtual Private Network) installed.
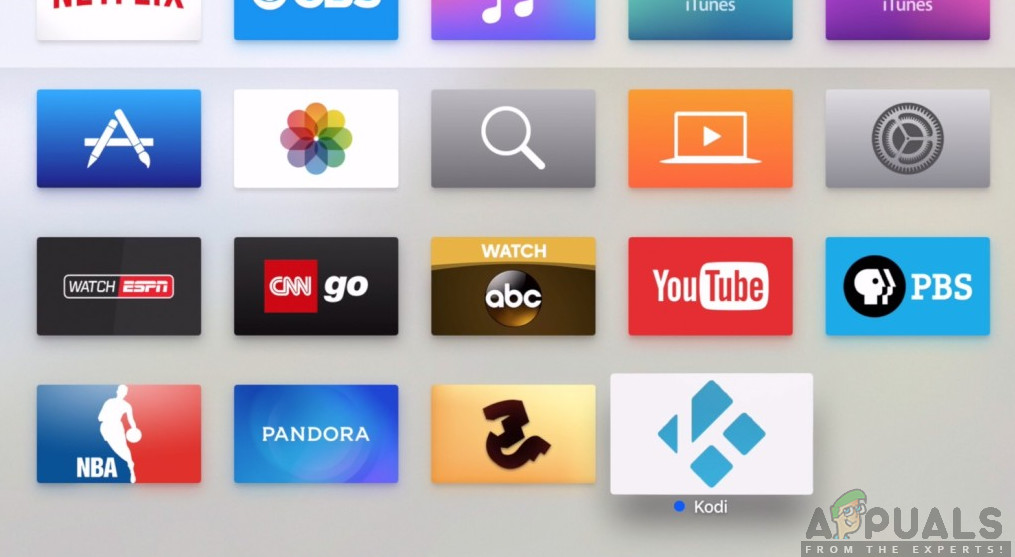
Recently, users have been reaching us about how to install Kodi on an Apple TV. Apple TV is in direct competition with Android Smart TVs and is leading the forefront in excellent UI and UX. In this article, we will go through on how to install Kodi on your Apple TV step by step.
Kodi is not Approved in Apple TVs
As we know, Kodi is not approved on Apple apps (you will not see it in the App store) and it is not easy to get the job done but nonetheless, it is possible. There are four generations of the Apple TV and the process is different on each one. In this article, we will go through the steps on how to install Kodi in all generations of Apple TV.
Installing Kodi on Apple TV 1
This generation of Apple TV is not available in shops since 2010 (it is discontinued(. Kodi is great to use on Apple TV 1 because this generation has high storage capacity between 40 GB and 160 GB depending on the model. Follow the following steps to install Kodi on Apple TV 1:
- Update your Apple TV to 3.0.2 version.
- Go to Settings, then Change Audio and Video Settings to Dolby 5.1 and 16 bit and change HDMI to RGB High.
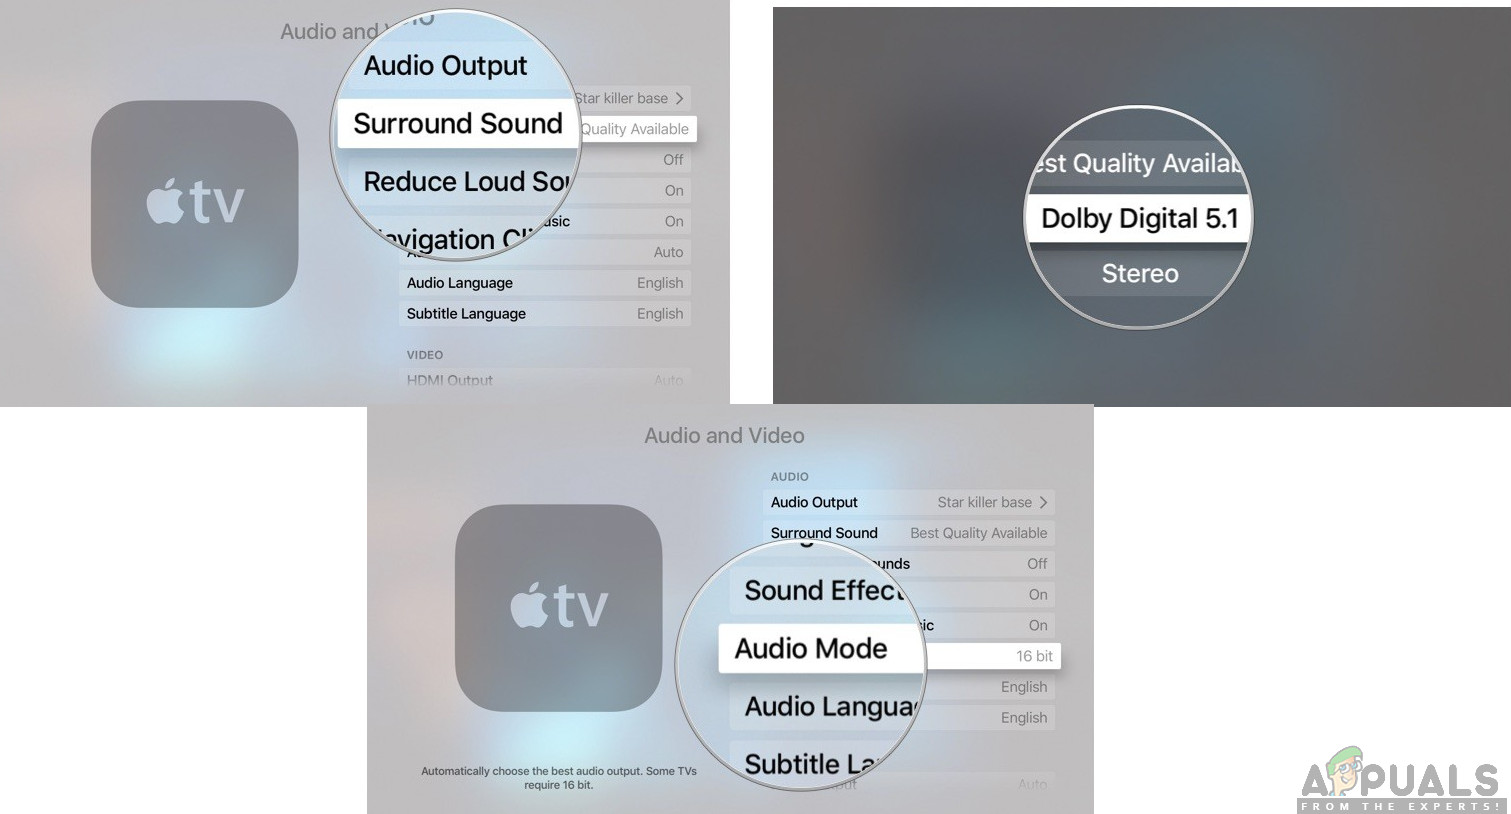
Changing Audio and Video Setting - Connect your Apple TV to a wireless internet connection.
- Next, use your Mac and create OpenELEC Flash Drive. Just connect your USB to your Mac and rename it to the required name.
- Open the Terminal app and use this command:
curl -O http://chewitt.openelec.tv/usb/install-hdd.img.gz
- Your USB will now appear. Execute the following command next:
diskutil list | grep -v disk0 | tail +2
- Use the following command next:
diskutil unmountDisk /dev/disk1
- The final command which you will execute will be:
gunzip -c install-hdd.img.gz | sudo dd of=/dev/rdisk1 bs=1m
- After a few minutes, an error will pop up with a message saying that disk is unreadable and here is where you will need to remove your USB and turn off your Apple TV.
- Next, you attach your USB to your Apple TV and turn it on (we are assuming the TV is connected to the internet).
- Simply, select OpenELEC logo and the app will start installing.
Installing Kodi on Apple TV 2
Installing Kodi in Apple TV 2 might seem a little hard but we will guide you through the process. Since the new version of Kodi is not available on Apple TV 2, we will install the older version which will work just fine. Just the follow these steps below:
- Open the Terminal on your Mac which is connected to your Apple TV 2 and execute the following command:
ssh root@192.168.0.1
This will replace the IP address with your own Apple TVs IP.
- Type in your password on Mac and select Enter.
- Now, you will need to type in the following commands one after one:
apt-get install wget ;

wget -0- http://apt.awkwardtv.org/awkwardtv.pub | apt-key add – ;

echo ?deb http://apt.awkwardtv.org/ stable main? > /etc/apt/sources.list.d/awkwardtv.list ;

echo ?eb http://mirrors.kodi.tv/apt/atv2 ./? > /etc/apt/sources.list.d/xbmc.list ;

apt-get update ;

apt-get install org.xbmc.kodi-atv2 ;

reboot
- After finishing this, your Apple TV will restart and after that, you will be able to use Kodi. Since it is an older version, it may have a few bugs but it will work just fine.
Installing Kodi on Apple TV 3
If you use Apple TV 3, then you already know that there is no possible way you can download and install Kodi. However, if you use Mac, you can download it there and then mirror your screen and it will work fine.
Installing Kodi on Apple TV 4
To install Kodi on Apple TV 4, you will need a few programs you need to download on your Mac before we start:
The latest Kodi .deb file
Xcode 7.2

Apple Developer account

USB C to USB A cable

iOS app signer utility
It will be a lot easier and quicker if you use all of the above. Follow the next steps:
- Connect Apple TV to Mac using C to USB A cable.
- On your Mac, launch Xcode and create a new project. Next, choose the Single View Application and click Next.
- Xcode will notify an error code. Just click on Fix Issue and it will resolve it.
- When you are ready, sign into your Apple Developer acc and go to Add Option.
- Choose Apple TV 4 from the menu.
- Use iOS App Singer and select Signing Certificate. Do the same with Provisioning Profile and choose your Xcode project.
- Go to Input File and put the .deb file you downloaded.
- Once you are done click Start and go to Xcode to select Apple TV 4 from the Windows menu.
- To finish the installation, you need to locate the IPA file who was created by the iOS Singing app.
- After you are done, Kodi will work just fine. Enjoy.

