How to Fix Windows 10 Update Error 0xc1900200?
The 0xc1900200 error code appears when the user tries to upgrade from an older Windows version to Windows 10 using the Windows Update Assistant utility. This can occur when trying to upgrade from Windows 7 or Windows 8.1 to Windows 10. In all cases, the installer indicates that every requirement is met but for some reason, the upgrading process ultimately fails with this error code.
What’s causing the Windows Update 0xc1900200 error?
Here’s a shortlist with things that might ultimately cause the error:
- Minimum specifications are not met – Windows 10 cannot be installed on every configuration. If you have a low-spec computer, it’s possible that this is the reason why the installation ultimately fails with this error code.
- Glitched WU component – As it turns out, one of the most common causes that will trigger this particular error code is an inconsistency with one or more Windows Update components. If this scenario is applicable, you should be able to fix the problem by resetting the Windows Update cache (either manually or by using the automated agent).
- Insufficient Reserved Partition space – Another common culprit that will lead to the apparition of this issue is insufficient space in the Reserved Partition. The upgrading agent will rely heavily on this partition and will fail unless it has enough space to swap data freely. In this case, you can fix the problem by enlarging the System Reserved partition using a 3rd party utility.
- System File Corruption – In rare circumstances, this problem can also occur due to some type of corrupted data that is essential to your OS. If this scenario is applicable, you can resolve the issue by refreshing every OS component with a repair install (in-place repair) procedure.
Method 1: Verifying the Minimum Requirement
As it turns out, this error code often appears if Windows 10 is incompatible with the specifications of your system.
Click here to visit the official Microsoft website. Click the “Get the Anniversary Update now” button and a file will start downloading.
Once it finishes, run it and the Update Assistant will start. A window will open with an “Update now” button. Click it and you’ll soon get a compatibility report.
If there is an issue, you’ll be told which part of your machine isn’t compatible with Windows 10. Otherwise, if everything has green checkmarks, the problem might be caused by a Windows Update component issues.
In this case, move down to the next method below.
Method 2: Resetting Windows Update cache
As it’s been reported by a lot of affected users, the number one cause that will end up triggering the 0xc1900200 error is one or more Windows Update component that’s stuck in a limbo state and is unable to handle the upgrading process.
If this scenario is applicable, resetting all relevant Windows Update components should help you resolve the issue swiftly. Dozens of affected users have confirmed that the Windows upgrade completed successfully after they followed one of the two procedures explained above.
When it comes to resetting all relevant WU components, there are two different guides that you can follow – You can either go for the manual route and rely on an elevated CMD prompt or you can use the automated WU agent if you want to fast-forward the whole operation.
Follow whichever guide you feel more comfortable with:
Resetting the WU component via the automated agent
- Visit the Microsoft Technet page (here) from your default browser and download the Reset Windows Update Agent script.
Download Windows Update Reset Agent - Wait patiently until the initial download is complete, then extract the zip archive with a utility like WinRar, WinZip or 7zip.
- Once the contents of the archive are extracted, double-click on ResetWUENG.exe, then follow the on-screen instructions to run the script on your computer.
Note: Keep in mind that during this procedure, all Windows Update components will be reset automatically, so make sure you have no running operations that might be affected. - After the operation is complete, restart your computer and wait for the next startup to complete. Then, retry the updating procedure once again and see if the issue is resolved.
If you’re still encountering the same 0xc1900200 error during the upgrading procedure, move down to the next method below.
Resetting all WU components via an elevated CMD window
- Press Windows key + R to open up a Run dialog box. Next, type ‘cmd’ inside the newly opened Run box, then type ‘cmd’ inside the text box and press Ctrl + Shift + Enter to open up an elevated Command Prompt. Once you see the UAC (User Account Control) prompt, click Yes to grant administrative privileges.
Running Command Prompt - Once you’re inside the elevated CMD prompt, type the following commands in order and press Enter after each one to stop all essential WU processes from running:
net stop wuauserv
net stop crypt
Svcnet stop bits
net stop msiserver
Note: Just so you know what changes you’re making, these commands will effectively stop the Windows Update service, the MSI Installer, the Cryptographic service, and the BITS service.
- Once every relevant component has been stopped, run the following commands in order and press Enter after each one to rename the SoftwareDistribution and Catroot2 folders in order to eliminate the possibility of a corrupted OS component involved in this operation:
ren C:\Windows\SoftwareDistribution SoftwareDistribution.old
ren C:\Windows\System32\catroot2 Catroot2.old
Note: These two folders are responsible for holding temporary update files that are being used by the Windows update component.
- Once you manage to refresh the Catroot2 and the SoftwareDistribution folders, run the following commands in order and press Enter after each command to re-enable the services that you previously disabled:
net start wuauserv
net start cryptSvc
net start bits
net start msiserver
- Restart your computer and wait for the next startup sequence to complete. Once the next booting procedure is complete, attempt to initiate the upgrading procedure once again and see if the setup manages to complete without the apparition of the 0xc1900200 error.
If the same problem is still happening, move down to the next method below.
Method 3: Expanding the reserved partition
As it turns out, this particular issue can also occur due to the fact that there isn’t enough space on the system reserved partition to complete the operation. If this scenario is applicable, the operation will fail with the 0xc1900200 error due to space-related issues.
Several Windows users that also struggled with this problem have reported that they finally managed to get to the bottom of this issue by using a 3rd party tool that’s capable of expanding the system reserved partition to 350 MB. Most affected users have confirmed that the issue stopped occurring after they completed this operation.
There are two different situations that will allow you to do this.
Using Device Manager
- Hold the Windows Key and Press R. Then, type diskmgmt.msc and click OK to open up Device Manager.

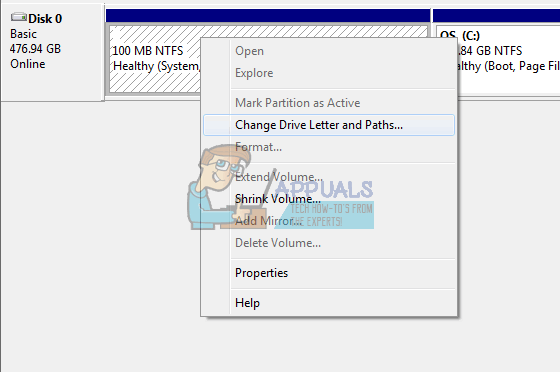
Running Device Manager - Click on the C:\ Drive and look under for the Partition Map. The first partition will be a 100MB Partition (System, Active, Primary Partition) Right-Click on it and choose to Change the Drive Letters and Paths (Click Add and choose Y:)
Changing 3rd party drivers - Once done, Click Start -> Type cmd right-click cmd and choose Run as Administrator. Once in the command prompt, type the following:
takeown /f . /r /d y

icacls . /grant administrators:F /t <see note below>

attrib -h -s -r bootmgr
Note: For the icacls command, use your username which you can find out by typing whoami in the command-prompt window. Once this is done, Hold the Windows key and Press and open the Y: Drive, make sure hidden files and folders are set to Show. Go to the Boot folder, and delete all languages other than en-US by using SHIFT + DELETE and then emptying the recycle bin.
- Now in the same Command Prompt window, type:
on Windows 8 and above: chkdsk Y: /F /X /sdcleanup /L:5000
on Windows 7: chkdsk Y: /F /X /L:5000
This will truncate the NTFS log to 5MB and will leave plenty of space for the install to process. You can then proceed with the installation after the installation has finished, you can go back to diskmgmt.msc and remove the drive letter for the boot partition.
Using a 3rd party tool
Here’s a quick guide on using the free version of Partition wizard to extend the system reserved partition:
- Visit this link (here) and click on Download Freeware to initiate the download of the free version of Partition Wizard.

Downloading the free version of Partition Wizard - Wait until the download is complete, then double-click on the Partition Wizard executable and follow the on-screen prompts to complete the installation of the 3rd party software.
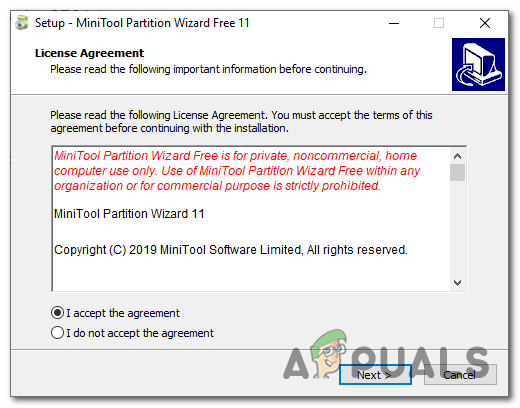
Installing the Partition Wizard executable - Go through the installation screens and restart your computer once the installation is complete. You can avoid installing any unnecessary PuPs by preventing the installation of additional software products.
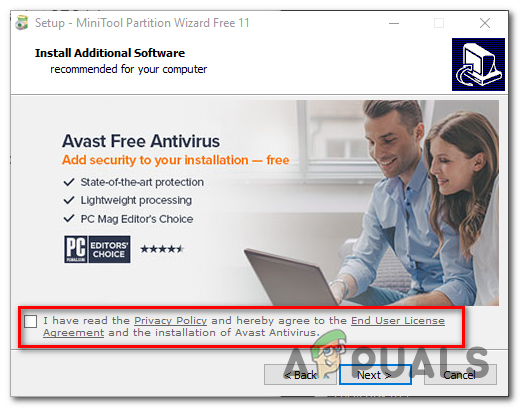
Preventing the installation of PUPs - Once the installation is complete, restart your computer and open Partition Wizard once the next startup sequence is complete.
- When you get to the initial Partition Wizard screen, click on Disk & Partition Management from the list of available options.

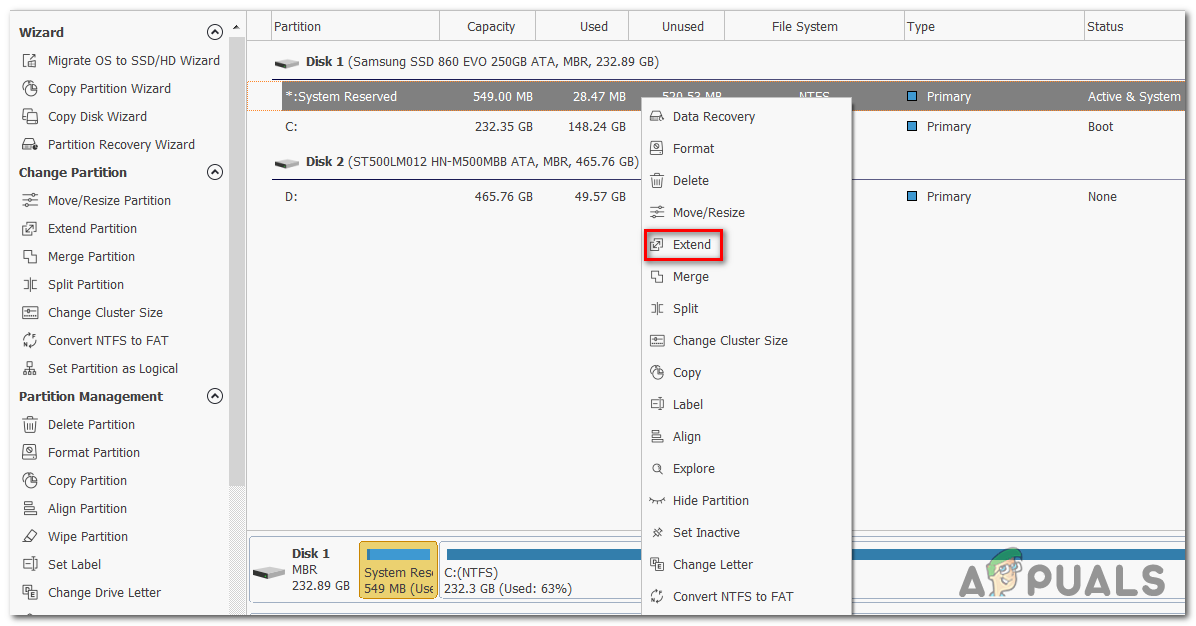
Accessing the Disk & Partition Management section - Once you’re inside the correct section, move over to the right-hand section and right-click on the System Reserved partition. From the newly appeared context menu, choose Extend from the list of available options.
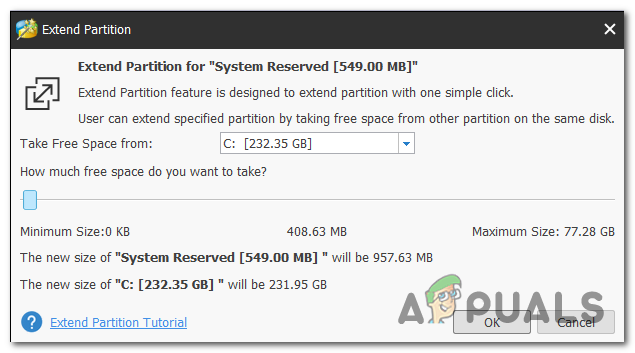
Extending the system reserved partition - In the Extend partition screen, start by selecting the drive that you want to take space from by selecting the appropriate drive from the drop-down menu associated with Take Free Space from. Once the correct drive is selected, use the slider below to enlarge the System Reserved partition to at least 1 GB, then click Ok to save the changes and start the operation.
Enlarging the system reserved partition - Wait for the operation to complete, then restart your computer and see if the issue is resolved at the next system startup.
- Once the next startup sequence is complete, repeat the upgrade operation and see if the procedure is completed successfully.
If you’re still encountering the same 0xc1900200 error code, move down to the final method below.
Method 3: Perform a repair install
If the first two methods didn’t allow you to resolve the 0xc1900200 error code during the upgrading attempt with Windows Upgrade assistant, chances are you’re dealing with some kind of system corruption issue that cannot be resolved conventionally.
In case this scenario is applicable, you should be able to fix the problem by resetting every Windows component that might be triggering this error message. When it comes to doing this, the most efficient approach is to perform a repair install (in-place upgrade).
A repair install will allow you to repair most instances of system file corruption by replacing every Windows component including booting-related processes. The major advantage is that it will do this without affecting your personal files. So you’ll be able to complete the operation while keeping your applications, games, personal media and even some user preferences.
For step by step instructions on performing a repair install, follow the step-by-step instructions included with this article (HERE). After the operation is complete, retry the upgrading procedure and see if the operation completes without the 0xc1900200 error code.
Hi Kevin, thanks for this article – I’m having this problem. I can’t follow your instructions as my Windows 10 will not allow me to create the Y: drive. When I right click and then try to add a new drive i get the screen below which only has one option available. putting Y: in there doesn’t work either. Hope you can help – I’m stuck on a really old version of W10 because I can’t upgrade!
https://uploads.disquscdn.com/images/1cd9d6c524abfd084f66028a5f4ff2dd0c16c257c1d946709c0569a2381312e9.jpg