How to Fix Unistack Service Group (unistacksvcgroup) High CPU or Memory Usage
There is a tool named Task Manager that comes pre-installed in all versions of Windows. You can think of Task Manager as a tool that can help you manage the tasks running in the background of your system. As soon as you’ll open the Task Manager, you’ll notice a list of services and processes. You’ll notice a section named Background Processes. This section will contain services and processes from Windows and third party applications. You will also see detailed information of the processes and applications as well. The information that you will be able to see will include the CPU and RAM utilization, Network usage, Disk usage (read/write), and a lot more. Task Manager can also be used to stop (force stop) or start services and/or processes. The ability to stop services comes in very handy in situations where a service or application stops responding.
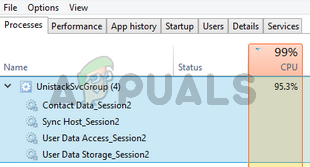
There are a lot of services that run in the background on your PC. Some of these services are third party services whereas others are Windows own services. One of these services is UnistackSvcGroup (it isn’t actually a service itself but there are a couple of services that come under this group). You might notice this service running in the task manager and eating up a lot of resources. That’s what most of the users are complaining about. It will stay there and you won’t find this service available in the Windows services list. So, you won’t be able to disable it. Also, it might be suspicious for a lot of users since it utilizes a lot of system resources.
What is UnistackSvcGroup?
The UnistackSvcGroup contains a service named UniStore service and it belongs to the Windows Store. The reason why you see this service running and using your resources might have to do something with the Store updating your applications. So if you are seeing this service in the task manager’s services list, then don’t worry. UniStore is a legitimate service. Another service that can be the culprit behind this issue is Userdatasvc service. This service is also a part of the UnistackSvcGroup. Now there are some possibilities of a bug and a lot of users did update us about their system’s getting better after a Windows Update. So, if you are seeing some abnormal usage then it might be a Windows own bug. But, there are a couple of things that you can do to stop this service from running especially if it is using a lot of your resources.
Method 1: Use Registry Editor
You can change the values of some of the registry keys to disable UnistackSvc service. Even though it does solve the problem for plenty of people, we wouldn’t recommend it especially if you aren’t a technical person. Making registry changes should be done very carefully and it can destroy your system if you make a mistake. So, we will suggest that you follow the steps given in other methods and follow the instructions in this step only if none of the other methods worked for you.
Follow the steps given below to locate and change the registry values
- Hold Windows key and press R
- Type regedit and press Enter
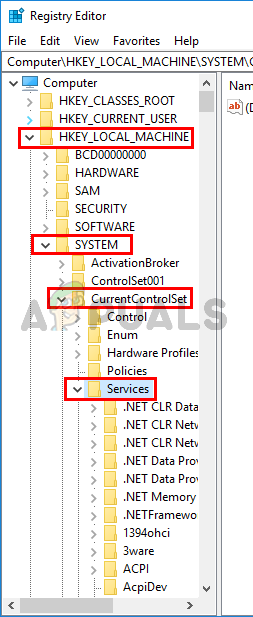
- Now, navigate to this location HKEY_LOCAL_MACHINE\SYSTEM\CurrentControlSet\Services\UnistoreSvc. If you aren’t sure how to navigate to this location then follow the steps given below.
- Locate and double click HKEY_LOCAL_MACHINE from the left pane
- Locate and double click SYSTEM from the left pane
- Locate and double click CurrentControlSet from the left pane
- Locate and double click Services from the left pane
- Locate and click UnistoreSvc from the left pane
- Locate and double click Start entry from the right pane
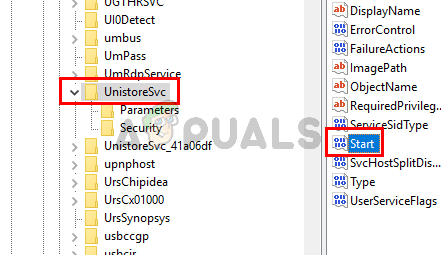
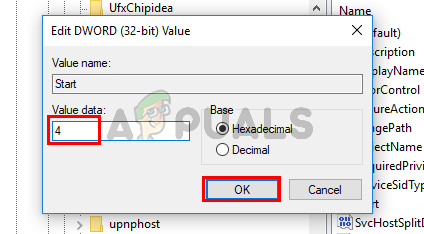
- You should be able to see a new window and it should have 3 in its value data section. 3 means that this service is manual. Changing this value to 4 will solve the issue because 4 means this service is disabled. Enter 4 in the value data section and click Ok
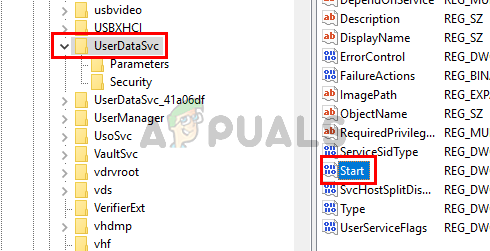
- Now, locate the folder named UserDataSvc from the left pane and select it
- Locate and double click Start entry from the right pane
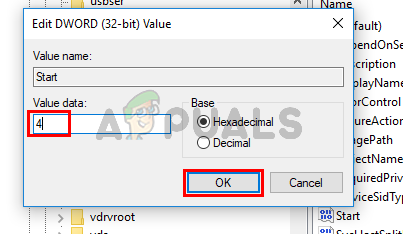
- You should be able to see a new window and it should have 3 in its value data section. We have to disable this service as well. So, type 4 in the value data section and click Ok
Close the registry editor and this should resolve your issue
Method 2: Turn off Automatic Updates for Apps
Since this service is used by the Microsoft Store for app-updating purposes, simply disabling the option of Auto-update apps from the Microsoft Store will resolve the issue for you. Follow the steps given below to disable this option
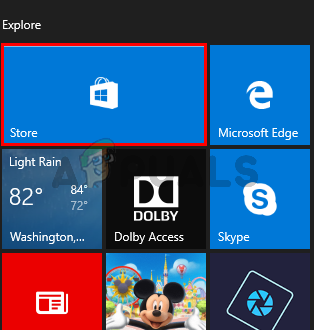
- Press Windows key once
- Select the Windows Store to open it
- Click on the 3 dots on the top right corner. This will open the windows Store Settings screen. Note: If you don’t see 3 dots then click on your profile picture icon from the top and select Settings

- Toggle off the option Update apps automatically
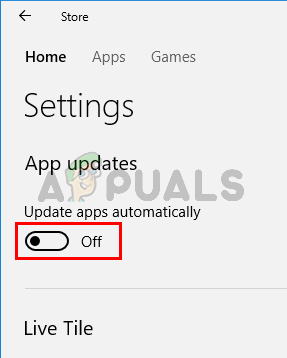
That’s it. You can close the Windows Store.
Method 3: Update Windows
This is most likely a bug in the Windows. A lot of users solved the problem by simply updating their systems. So, if you haven’t already, update your Windows. And if your system is already up-to-date then wait for the next Windows Update.
Method 4: Delete Contents of UnistoreDB Folder
This service uses some files from the UnistoreDB Folder, but we aren’t sure which one(s) exactly. So, deleting the contents of the whole folder after ending the running service will resolve the issue for you.
Note: Deleting the contents of UnistoreDB Folder will break your People and Mail apps. So, proceed only if you are ok with working without these apps.
- Open the Task Manager by pressing CTRL, SHIFT, and ESC keys (CTRL + SHIFT + ESC)
- Locate the service, right click and select End Task
- Repeat the previous step for all the Unistore related services you might find
- Close the Task Manager
- Hold Windows Key and press E
- Type C:\Users\profile_name\AppData\Local\Comms\UnistoreDB in the address bar of your file explorer and press Enter. Replace profile_name with your actual profile/PC name. Note: If you can’t get to this folder then make sure you have Show hidden folders option checked.
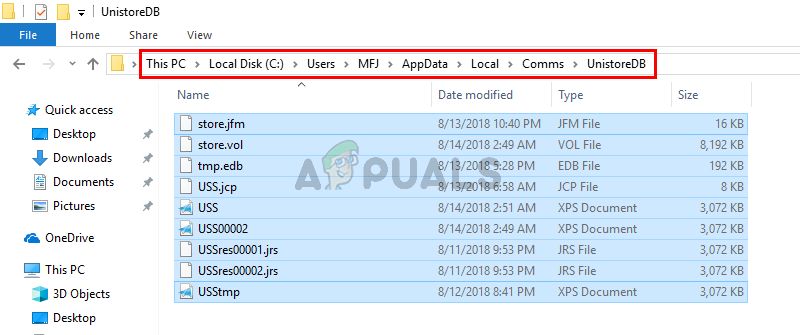
- Once you are in the UnistoreDB folder, Hold CTRL key and press A to select all files. Press Delete key and confirm any additional prompts. This will delete the contents of this folder.
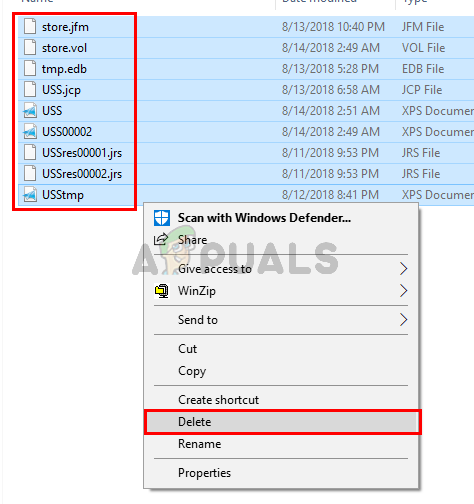
Once done, reboot and you should see Unistack Service Group (unistacksvcgroup) drop to normal levels.


Thanks Kevin. Nice Article.