How to Fix ‘The Local Device Name is Already in Use’ Error on Windows?
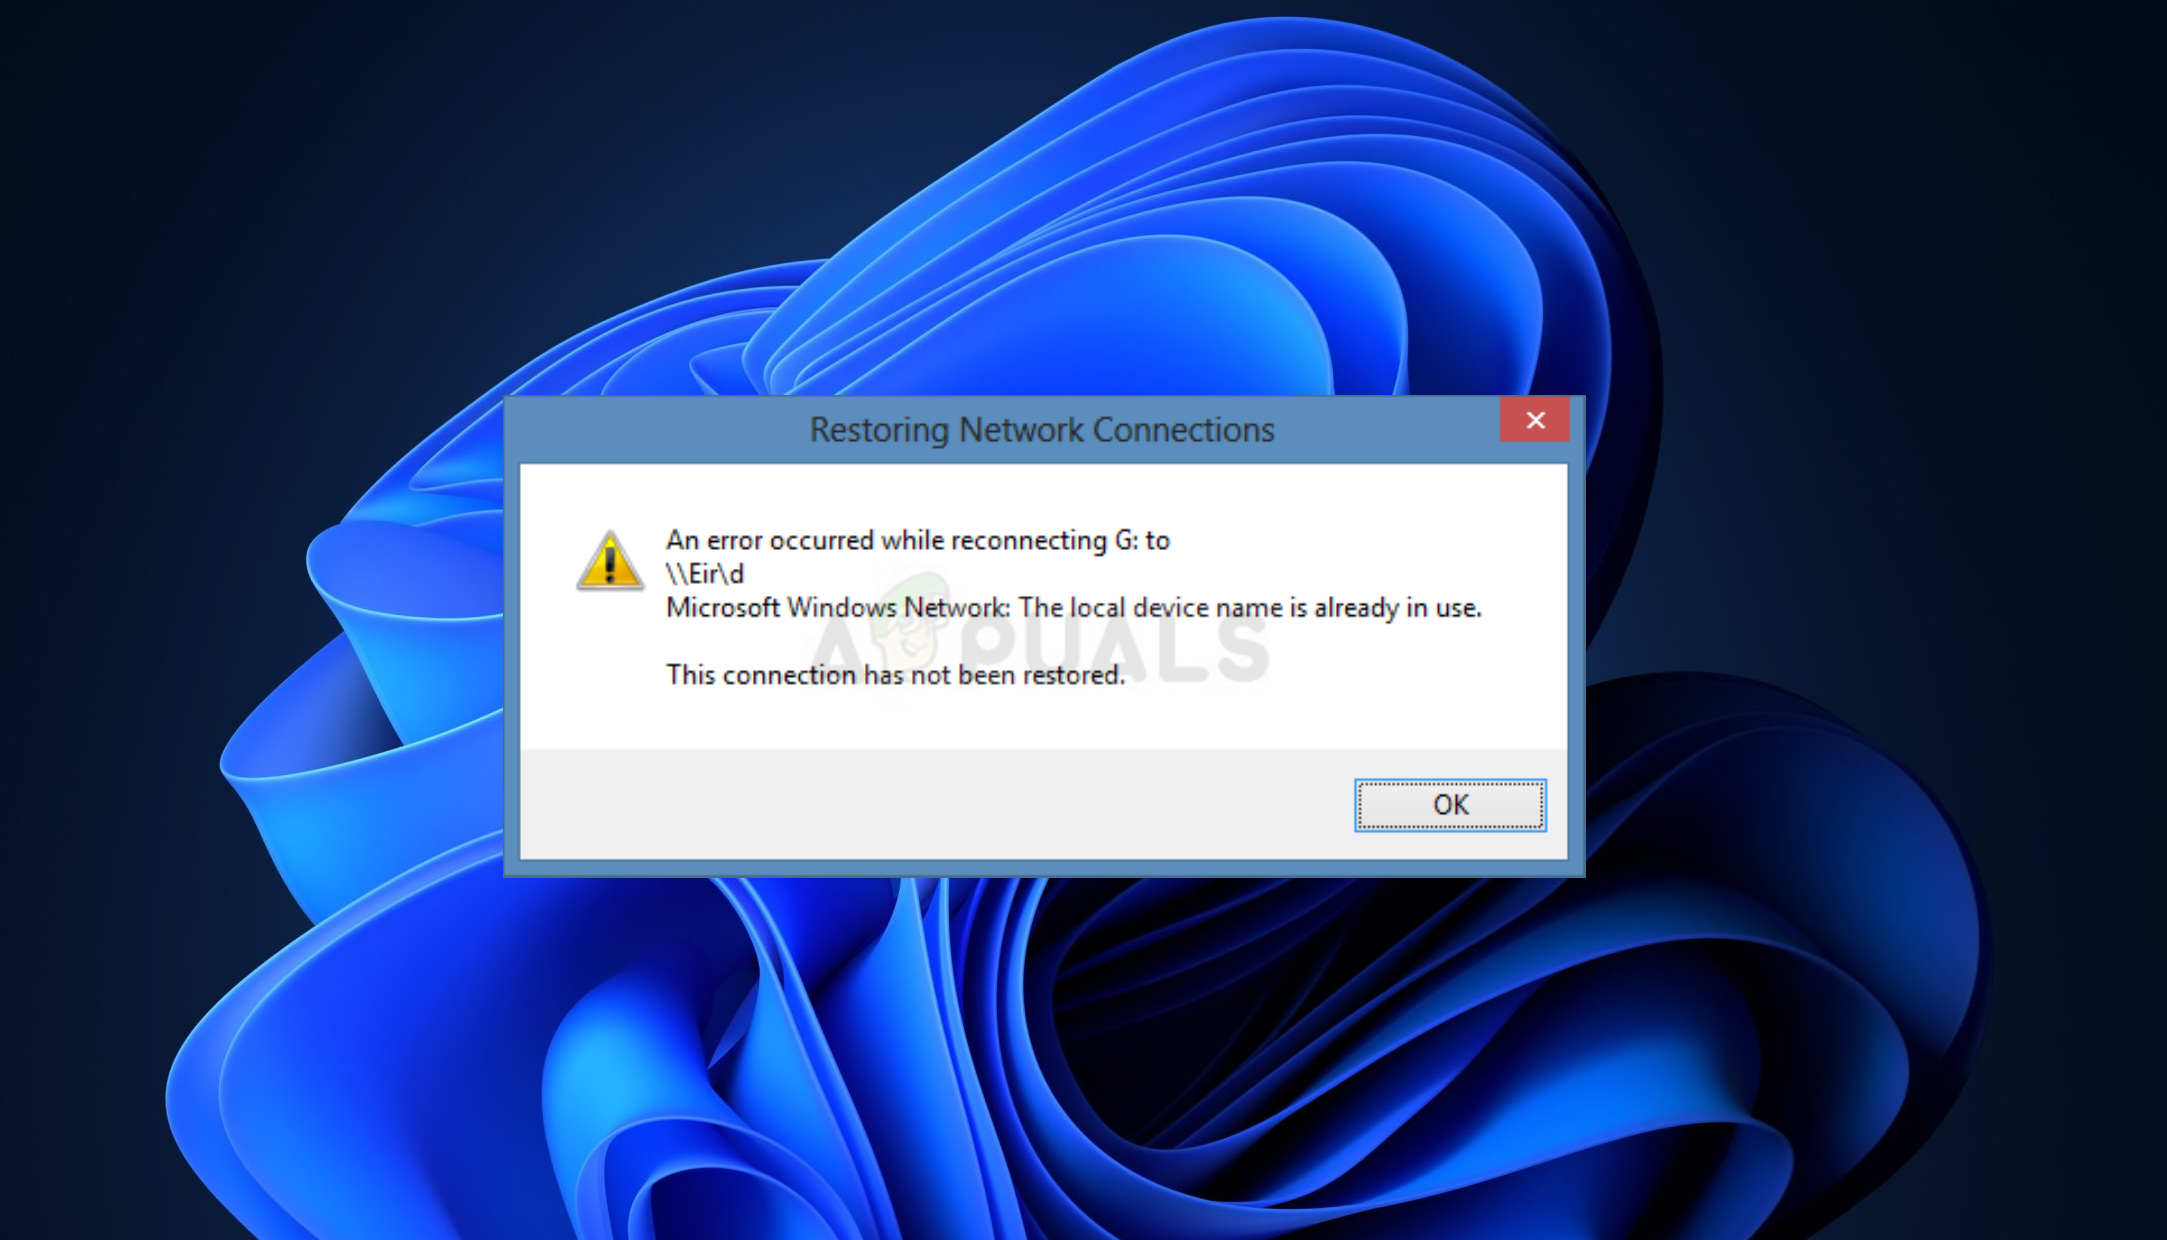
The error The Local Device Name is Already in Use is commonly encountered by those who frequently interact with networked systems and occurs during the network drive mapping process. The issue occurs when users attempt to access a network drive and are confronted with the following message:
An error occurred while reconnecting <drive letter> to <file path> Microsoft Windows Network: The local device name is already in use. This connection has not been restored.
Usually, this problem surfaces when users try to access files in a shared folder or map network drives within a domain. To resolve this error effectively, consider the following methods.
Pinpointing the exact cause can accelerate the troubleshooting process and help you find the most appropriate resolution. Possible reasons include:
- Drive mapping errors: Sometimes, glitches in network drive mapping result in issues such as duplicate drive letters.
- Unassigned drive letters: Errors may occur when drive letters are not correctly designated or are missing.
- Disabled File and Printer Sharing: When File and Printer Sharing is deactivated in your firewall settings, network-related errors, including this one, can occur.
- Insufficient server space: Increasing the space on the network server’s root drive is known to resolve this error.
1. Delete a Registry Key
Over time, the registry can accumulate entries that are no longer in use or that conflict with current settings. Deleting the specific registry key associated with drive mounting effectively cleans out these digital cobwebs, allowing your system to refresh its network drive connections without stumbling over past configurations that are now outdated or problematic.
Before proceeding, it’s important to back up your registry. Refer to our guide on how to back up the registry for careful instructions.
- Open the Registry Editor by typing regedit into the search bar.

Accessing the Registry Editor - Navigate to the following path using the Registry Editor’s left pane:
HKEY_CURRENT_USER\Software\Microsoft\Windows\CurrentVersion\Explorer
- Right-click the MountPoints2 key within the Explorer key, select Delete from the context menu, and confirm any following prompts.
- Restart your computer and check if the error message still appears.
2. Remap the Drive Using Command Prompt
This process involves using much-recognized commands to first sever any existing ties to network drives and then establish a new, fresh connection. It’s similar to rebooting a problematic device; through remapping, the network paths are reset, potentially clearing the error and allowing for smooth access to the designated network resources.
This process renews the connection to the network resource, allowing the system to establish a new mapping without the conflict associated with duplicate drive names or outdated connections.
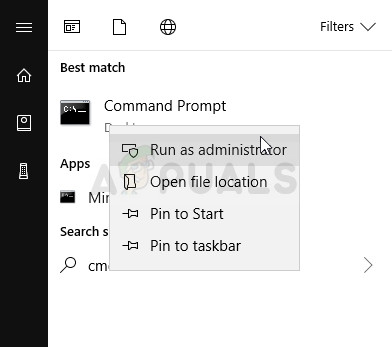
- Search for Command Prompt, right-click the top result, and select Run as administrator.
- Type the following command in the Command Prompt window and press Enter:
net use * /delete
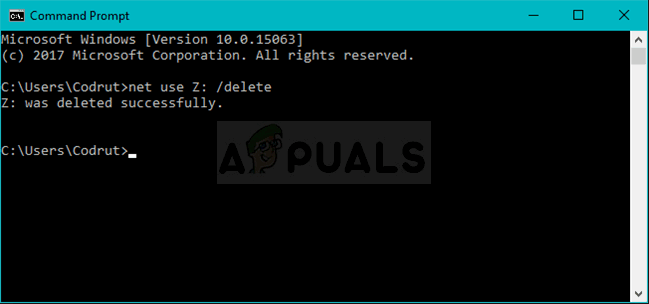
- After successfully executing the command, run the next command:
net use Z: \\server\share /user:username password
Make sure to replace username and password with your actual network credentials, and then check if the issue persists.
3. Correctly Assign Drive Letters
When a network drive is mapped, it uses a specific letter as an identifier. If this letter isn’t available or is accidentally assigned to another device, it leads to a conflict, prompting the error. By accessing Disk Management and assigning a unique, unused drive letter to the network drive, you effectively eliminate any overlap or confusion, thereby resolving the issue and restoring access to the networked resource.
- Make sure no files on the storage devices you plan to modify are in use. Avoid copying or transferring files to or from the disk before making changes.
- Press Windows Key + X and select Disk Management from the menu.
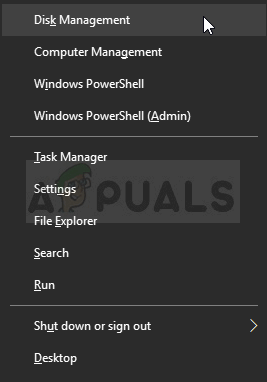
Opening Disk Management - In Disk Management, right-click the volume that requires a new drive letter and choose Change Drive Letter and Paths. Then, select a new letter from the list.
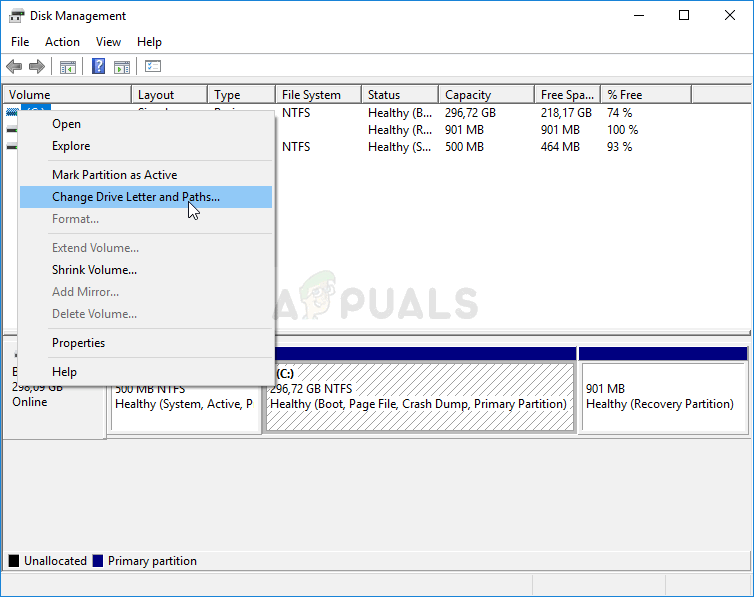
Modifying Drive Letter and Paths - Avoid selecting the letters A or B, as they were traditionally reserved for floppy drives and could lead to issues with older software. Click Apply to confirm, accept any prompts, and then close the utility. Check if the error has been resolved.
4. Enable File and Printer Sharing in Your Firewall
When File and Printer Sharing is disabled, your computer’s firewall may block network discovery and file sharing services, which are essential for accessing drives on a network. By enabling this feature, you allow your system to communicate with other devices on the network, facilitating the successful mapping of network drives and, in turn, potentially resolving the error.
- Open the Control Panel using the Windows search functionality.
- Change the Control Panel view to Large or Small icons and locate Windows Defender Firewall.
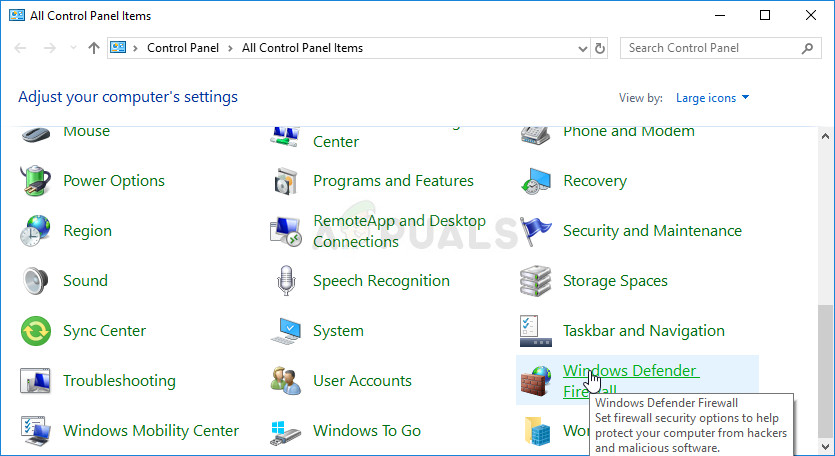
Accessing Windows Defender Firewall - Select it and click on the Allow an app or feature through Windows Firewall link in the sidebar. Click the Change settings button, providing admin permissions if prompted.
- Find and tick the box for File and Printer Sharing, press OK to save changes, and reboot your device.
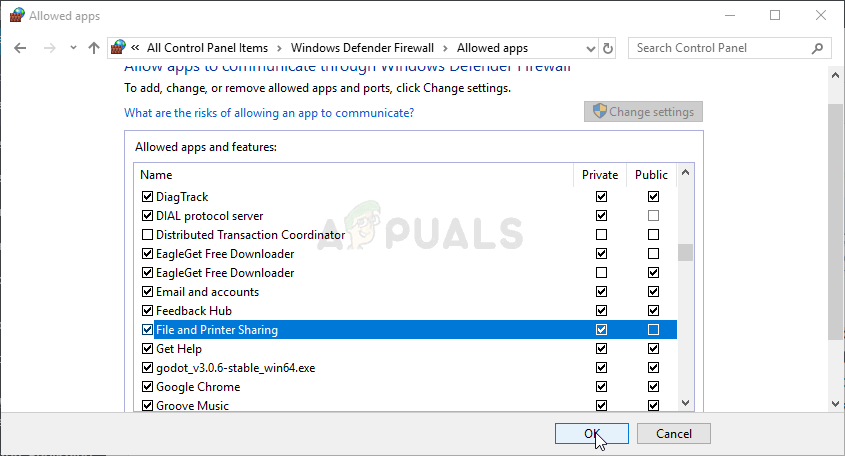
Enabling File and Printer Sharing - After restarting, try accessing the network again to see if the error has been corrected.
5. Change the ProtectionMode Value in the Registry
This particular setting influences how the operating system manages permissions and access to network drives. When changed, it adjusts the way network resources are allocated, potentially resolving conflicts that might cause the error, especially when users without administrator privileges are engaging with network drives.
This minor yet powerful adjustment basically instructs your system to relax certain security parameters, thereby facilitating smoother network connections and drive mappings.
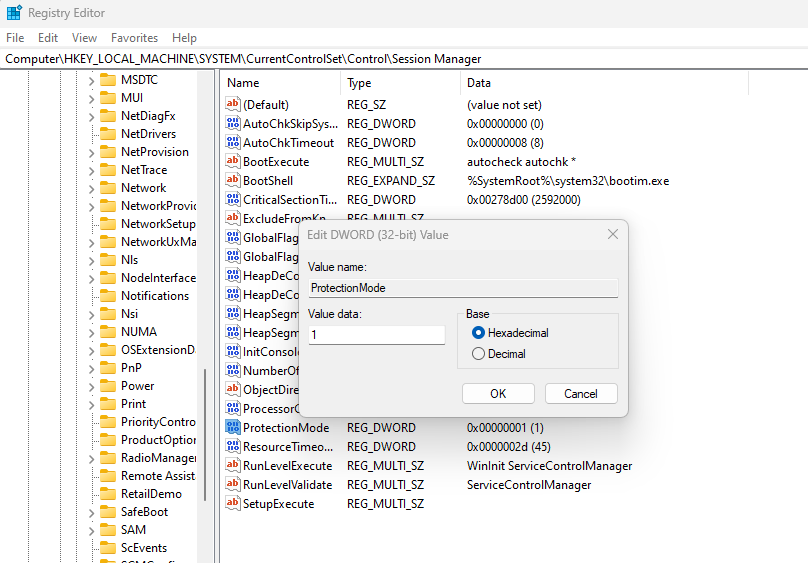
- Press Windows Key + R, type regedit into the run dialog, and hit Enter.
- Navigate to the following registry path:
HKEY_LOCAL_MACHINE\System\CurrentControlSet\Control\SessionManager\
- Locate the ProtectionMode key.
- Change the key value from 0 to 1, save your changes, and restart your computer to check if the issue is resolved.
If the problem remains, try manually removing the mappings with this command in an elevated Command Prompt:
net use * /del /y
Note: If needed, replace the asterisk (*) with the particular drive letter.
The error may also come from inadequate space on the server’s root drive. Should you have access to the server, free up necessary space by deleting non-essential files.
Whilst there is no definitive minimum for free space, it’s a good practice to clear a few gigabytes. After making space, reassess to determine if the error persists.


Hi Kevin,
In our company we have a constant problem with the loss of mapped devices to the file server. In our case, the drive mapping is done by a group policy vbs logon script through the AD domain. Periodically, the connection to the file server is lost and when we try to access the file resources, it returns the error specified in your post. This problem occurred on all computers with Windows 10, which were updated to version 2004. We noticed that after restarting the workstation service the problem is fixed.
Please help us to resolve this problem, which happens to a large number of computers in our company!Best Regards,
Plamen Gribachev