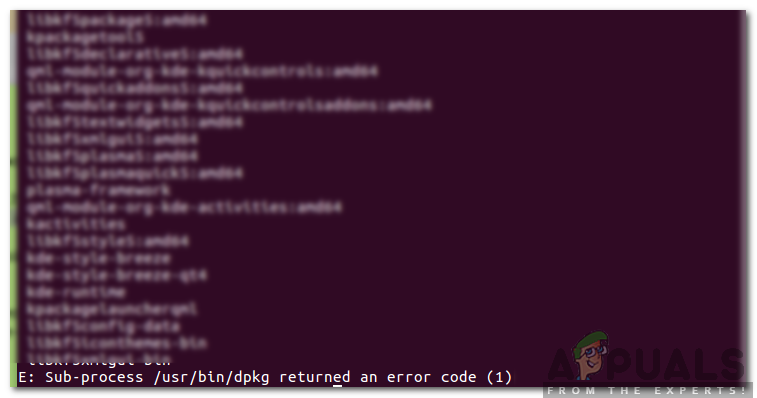
Fix: ‘Sub-process /usr/bin/dpkg returned an error code (1)’ Ubuntu
Chrome is one of the most used internet browsers due to its fast speeds and easy to use interface. It is available for almost all operating systems and is used by more than a billion people. However, quite recently, a lot of users have been complaining about having issues while uninstalling the software on Ubuntu. The application returns the “Sub-process /usr/bin/dpkg returned an error code (1)” Error while removing Chrome packages.
What Causes the “Sub-process /usr/bin/dpkg returned an error code (1)” Error While Uninstalling Chrome?
After receiving numerous reports from multiple users, we decided to investigate the issue and devised a set of solutions to fix it completely. Also, we looked into the reasons due to which it is triggered and listed them as follows.
- Corrupt Source File: In some cases, it was seen that the source file for Chrome had been corrupted and this issue was being triggered. If the source file is corrupted, the uninstallation process can’t be completed due to missing packages.
- Corrupt Scripts: Certain scripts might have been corrupted due to which the issue is being triggered. All scripts must be functioning correctly otherwise Chrome won’t uninstall from your OS.
Now that you have a basic understanding of the nature of the problem, we will move on towards the solutions. Make sure to implement these in the specific order in which they are presented to avoid conflict.
Solution 1: Purging Chrome
The broken source files must be repaired to complete the process. For that, we will be creating a new source list and then uninstall Chrome. To do that:
- Press “Ctrl” + “Alt” + “T” to open the terminal.
Opening Ubuntu Terminal - Type in the following command and press “Enter” to execute it.
sudo rm /etc/apt/sources.list
- This command will delete the source list.
- To create a new source list, type in the following command and press “Enter” to execute it.
sudo software-properties-gtk
Note: A new source list will be created automatically, make sure to enable repositories in the new dialogue box and change the server to a location of your choice.
- Tick all the boxes in the new dialogue and select the “Revert” option.
- Open the terminal, type in the following command and press “Enter” to execute it.
sudo apt-get remove --purge google-chrome-stable
- This will remove the previous installation of Chrome entirely.
- Type in the following command and press “Enter“.
sudo apt-get update && sudo apt-get dist-upgrade -y
- You can now install Chrome again.
Solution 2: Removing Directory
As an alternative, we can uninstall Chrome by removing the directory where it is installed. Therefore, in this step, we will be using a command in the terminal to remove the software. For that:
- Press “Ctrl” + “Alt” + “T” to open the terminal.

Opening the terminal in ubuntu - Type in the following command and press “Enter” to execute it.
sudo rm /var/lib/dpkg/alternatives/google-chrome
- After this, type in the following command in the terminal and press “Enter“.
sudo apt-get update && sudo apt-get dist-upgrade -y
- Check to see if the issue persists.
Solution 3: Deleting PHPmyAdmin Files
In some cases, the scripts located inside the PHPmyAdmin might have been corrupted, therefore, in this step, we will be reinstalling those scripts. For that:
- Navigate to the directory where “PHPMyAdmin” is installed, it is usually located in the following directory.
cd /var/lib/dpkg/info/
- Delete the following files manually.
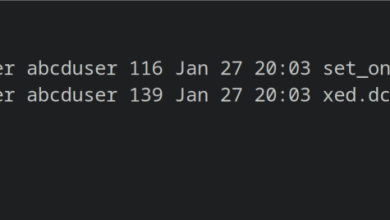
ls -l phpmyadmin.*
-rw-r--r-- 1 root root 165 2008-03-05 21:42 phpmyadmin.conffiles
-rwxr-xr-x 1 root root 287 2008-03-05 21:42 phpmyadmin.config
-rw-r--r-- 1 root root 33524 2008-08-06 11:31 phpmyadmin.list
-rw-r--r-- 1 root root 51996 2008-03-05 21:42 phpmyadmin.md5sums
-rwxr-xr-x 1 root root 3286 2008-03-05 21:42 phpmyadmin.postinst
-rwxr-xr-x 1 root root 1762 2008-03-05 21:42 phpmyadmin.postrm
-rwxr-xr-x 1 root root 1762 2008-08-06 09:12 phpmyadmin.postrm.orig
-rwxr-xr-x 1 root root 339 2008-03-05 21:42 phpmyadmin.preinst
-rw-r--r-- 1 root root 22441 2008-03-05 21:42 phpmyadmin.templates
- Open the terminal and execute the following command.
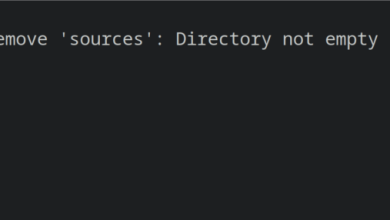
sudo rm -r phpmyadmin.*
- After this, run the following commands one by one in the terminal.
sudo apt-get clean
sudo apt-get update
- Finally, execute the following command to reinstall the scripts.
sudo apt-get install phpmyadmin