Steam Not Recognizing Installed Games? – Try these fixes
This error can appear out of nowhere where you simply open Steam in order to launch a game only to see that it’s listed as uninstalled. In other scenarios, the problem may appear if you are reinstalling Steam and backing up the SteamApps folder to move it back after the reinstallation. You would expect the games to be back after moving the folder back only to see the games listed as not installed.
There have been many different ways and methods to resolve this problem and we have decided to list the ones that actually helped people here in this article. Check it out and make sure you follow the instructions carefully.
What Causes Steam to Fail to Recognize Installed Games on Windows?
There aren’t many different causes which can be attributed to this specific problem. Still, it’s nice to check out and determine the cause which is to be blamed in your own scenario as it can help you choose the suitable method to resolve the problem. We have prepared a shortlist so please check it out below!
- ‘.acf’ files are faulty, missing, or inaccessible – These files are responsible to hold data regarding the current state of the game and they also show info regarding game files. If these files are broken or missing, the game will appear as uninstalled. Also, if Steam is unable to access this file because of permissions issues, the problem is bound to appear.
- Steam library folders are not set up – If you have recently reinstalled Steam, you will have to add the Steam library folders you have used again if you want Steam to find the games you have installed there.
Solution 1: Manage ‘.acf’ Files
There are certain files inside your game’s installation folders which manage the games which are currently installed. Moving these files out and back in should help resolve the problem as it did for many other users who followed the same guide on Steam forums. Follow the instructions below.
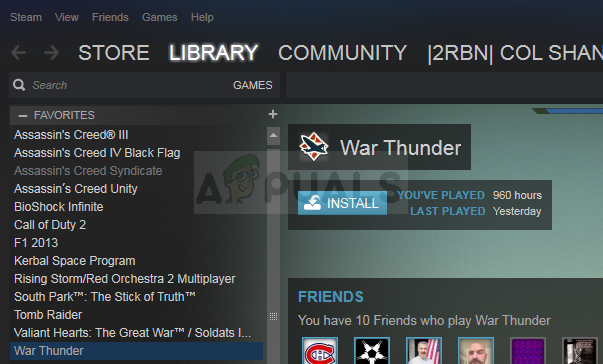
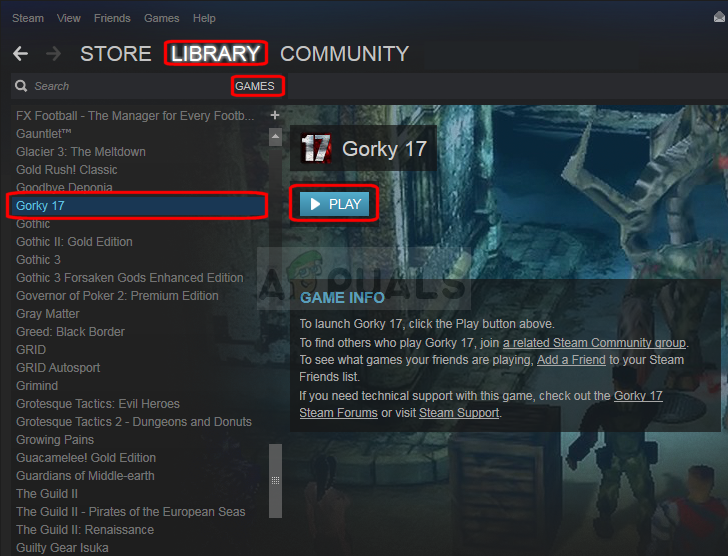
- Start Steam by double-clicking its icon on the Desktop or by searching for it in the Start menu. Head over to the Library tab in the Steam window by locating the Library tab at the top of the window, and locate the problematic game in the list of games you own in your library.
- Right-click on its entry and choose Play Game. The game should be listed as not installed and the download process should start. Make sure you pause the download by hovering over the Library tab at the top of the window and clicking Downloads. Click the pause button next to the game.
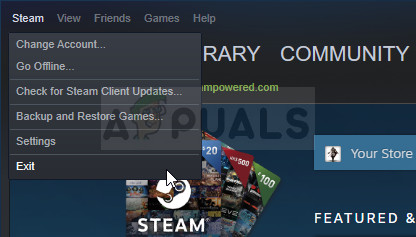
- Click the Steam option at the top left part of the Steam client and choose Exit in order to exit Steam completely (don’t just click the x button at the top right corner).
- Navigate to your Steam installation folder. If you haven’t configured any changes during the process of installation regarding the required installation folder, it should be Local Disk >> Program Files or Local Disk >> Program Files (x86).
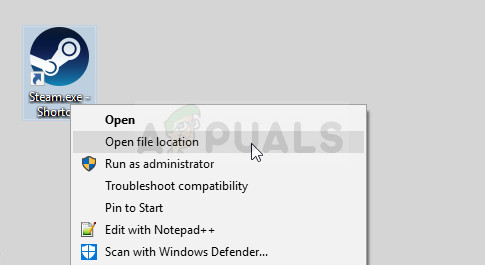
- However, if you have the Steam program’s shortcut on the desktop, you can simply right-click on it and choose the Open file location option from the context menu which will appear.
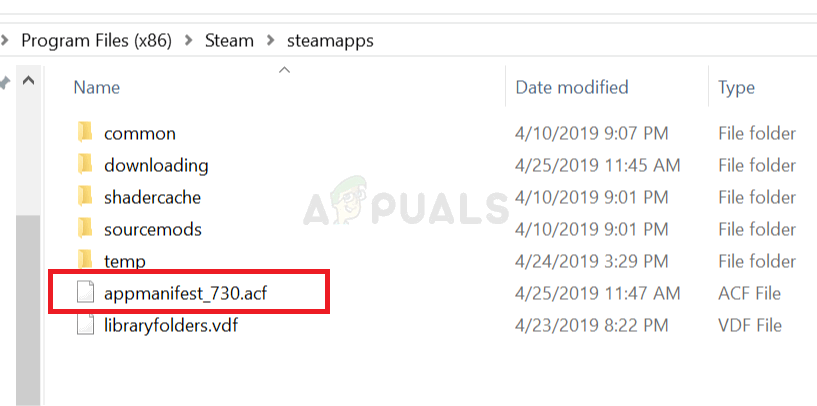
- Locate the steamapps folder in the main folder, open it, and locate the corresponding .acf file inside. Its name is in the format of acf where the GAMEID numbers represent Steam’s App ID which you can find out here.
- Right-click on it and choose the Move option from the context menu which will appear. Make sure you paste it somewhere else for safekeeping.
- Reopen Steam and you should see that the game will again show up as uninstalled. Immediately exit Steam and move the file back to the same location before reopening Steam. Resume the game’s update and it should quickly locate all available files!
Solution 2: Manage Permissions for ‘.acf’ Files
On a related notice, it’s possible that ‘.acf’ files are not being accessed properly because of permissions being set wrongly. In this scenario, Steam is not able to read out its contents and it assumes that the game is actually uninstalled. Setting ownership and permissions issues properly should resolve the problem.
- Open your Libraries entry on your PC or open any folder on your computer and click on This PC option from the left side menu.
- Navigate to the Steam library folder where the problematic game which appears as uninstalled in Steam is located. Make sure you repeat the same process for each problematic game. The default folder is C:\Program Files (x86)\Steam\steamapps.
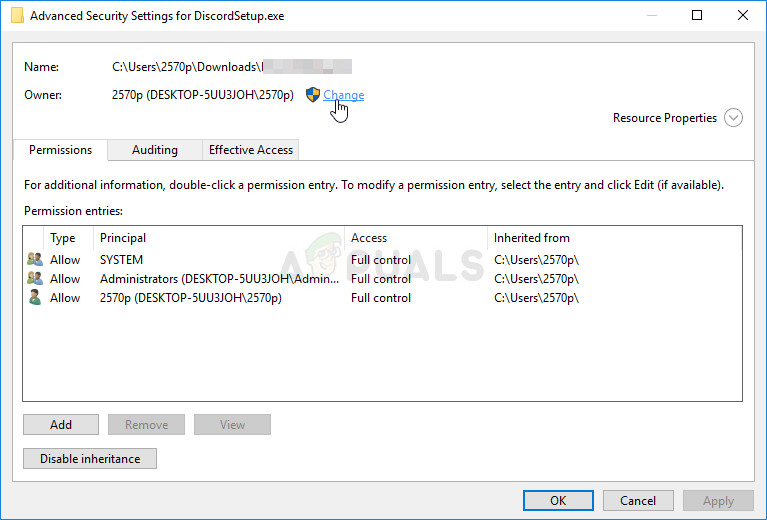
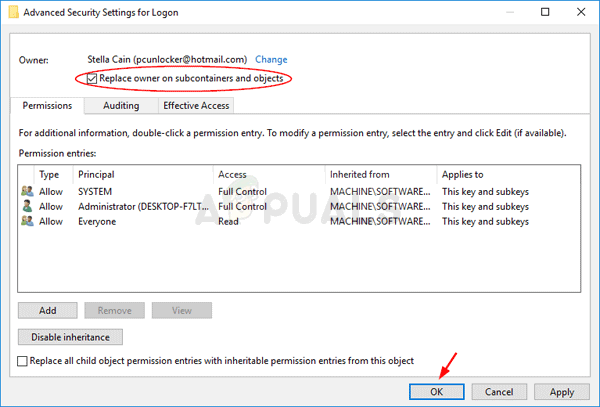
- You will need to take ownership of the game’s .acf file. Right-click the file, click Properties, and then click the Security Click the Advanced button. The “Advanced Security Settings” window will appear. Here you need to change the Owner of the key.
- Click the Change link next to the “Owner:” label The Select User or Group window will appear.
- Select the user account via the Advanced button or just type your user account in the area which says ‘Enter the object name to select’ and click OK. Add the Everyone
- Optionally, to change the owner of all subfolders and files inside the folder, select the checkbox “Replace owner on subcontainers and objects” in the “Advanced Security Settings” window.
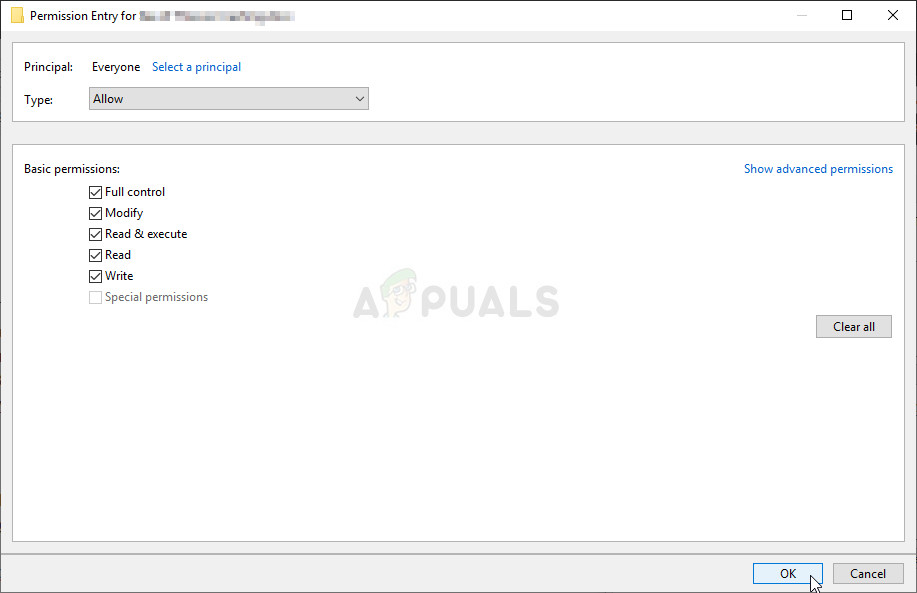
- Click the Add button below and follow it up by clicking the Select a principal button at the top. Select the user account via the Advanced button or just type your user account in the area which says ‘Enter the object name to select‘ and click OK. Add the Everyone
- Under the Basic permissions section, make sure you choose Full control before applying the changes you have.
- Reopen Steam, continue with the update, and check to see if Steam now managed to recognize installed games!
Solution 3: Setup the Library Folders Again
If you have performed major changes to your computer or your Steam installation, it’s quite possible that Steam lost track of the library folders you use on your computer. For example, if you are reinstalling Steam but you still want to use the same library folders as you used before the installation, you will have to add them again in the Steam client. Follow the steps below in order to do so!
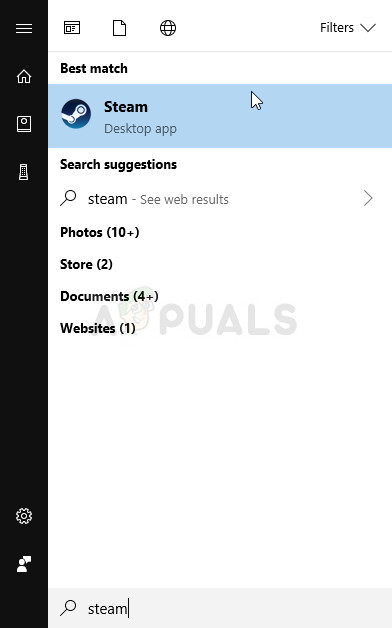
- Open your Steam PC client by double-clicking it on the Desktop or by searching for it in the Start menu and clicking on the first available result.
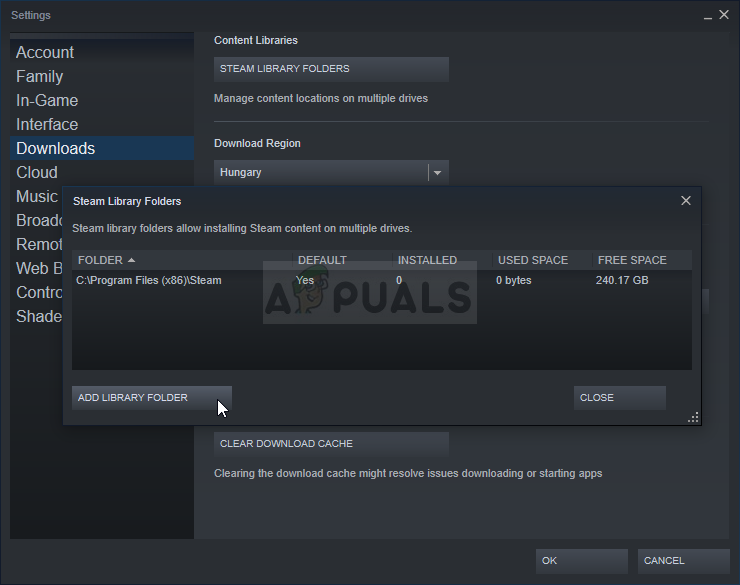
- After the Steam client opens, click the Steam button at the top right part of the window and choose Settings from the dropdown menu. Navigate to the Downloads tab in the Settings window and click on Steam Library Folders.
- You should be able to see the default installation path. If you have been using other locations, make sure you click Add Library Folder and navigate to the location where you would like to have a new library.
- Check to see if Steam now recognizes the games available in that location!