How to Fix Roku Screen Mirroring not Working on Windows?
When Roku screen mirroring fails on Windows, users usually see a stuck progress bar, then an error message. This often means there are problems with Miracast compatibility. The main issue is usually the devices being on different WiFi bands; they should be on the same one, like 5 GHz if possible.
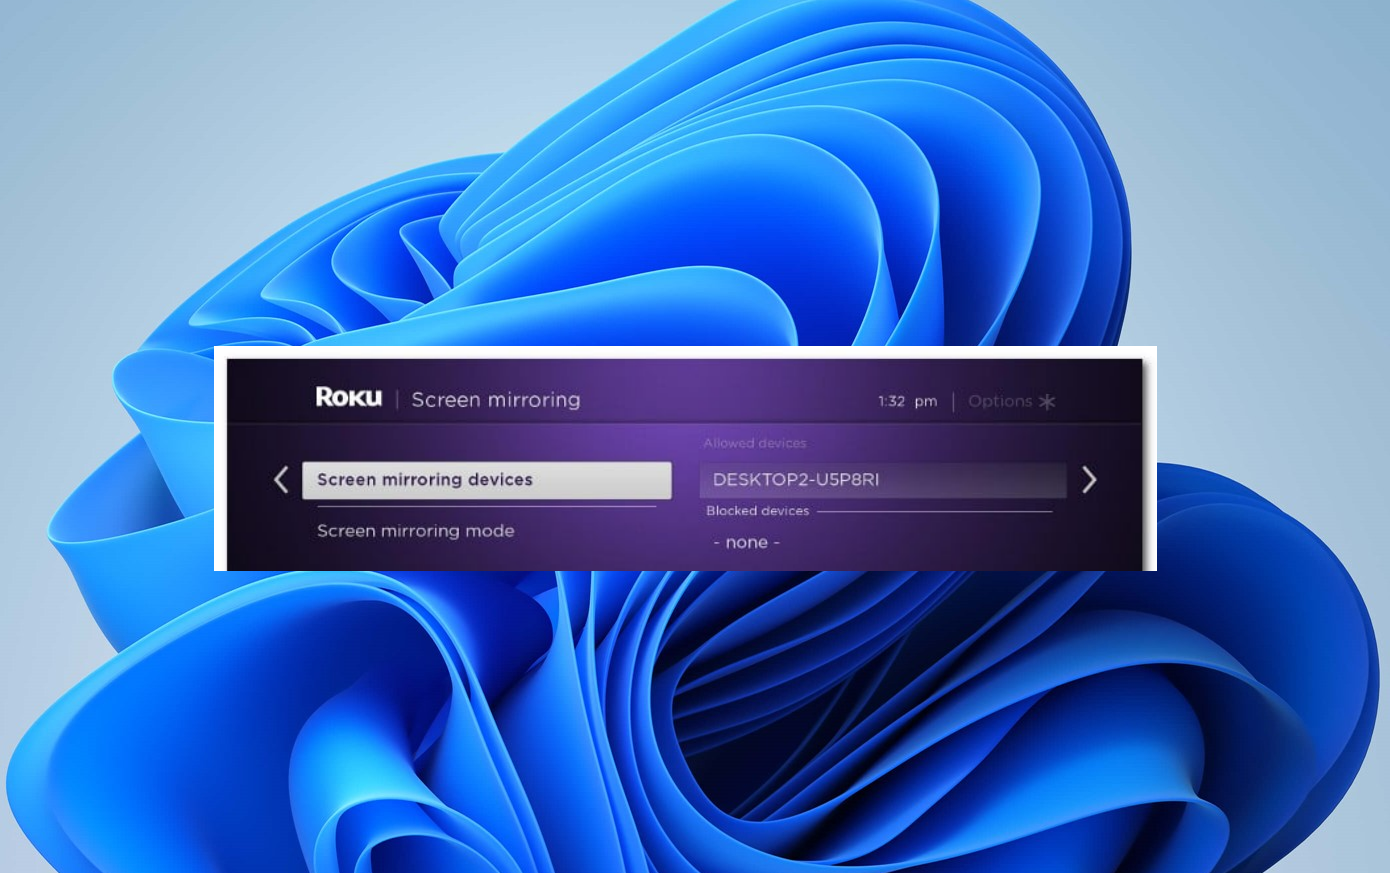
Other causes can be outdated drivers on Windows, firewall settings, or recent Windows updates.
Now that you know the causes, let’s discuss the solutions.
1. Update Windows Build to the Latest
This issue can happen if your Windows is outdated and missing updates needed for screen mirroring. Older versions may have bugs or compatibility problems with Miracast, which connects your Windows device to Roku. Updating to the latest Windows version fixes known issues, updates drivers, and improves network and device compatibility, helping to resolve connection problems.
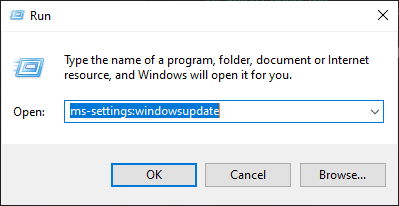
- Press Windows key + R, type ms-settings:windowsupdate, and press Enter to open the Windows Update tab in the Settings app.
- Click Check for updates and let the update check finish. Follow on-screen prompts to install any updates found.
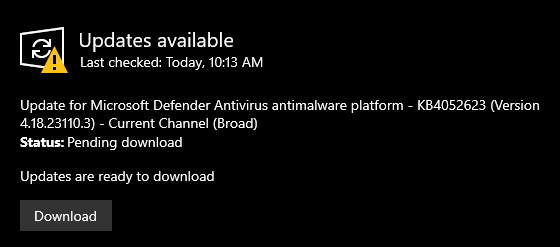 Note: If asked to restart during the update, do so, but return to this screen after rebooting to finish any remaining updates.
 - Once all updates are installed, restart your computer and check if the Roku Screen Mirroring issue is resolved.
2. Remove Roku from the List of Connected Devices
A Roku driver stuck can make your system think it’s still trying to connect, stopping the process. Removing and re-adding the Roku device helps Windows see it as new, clearing any old data. This can fix screen mirroring problems.
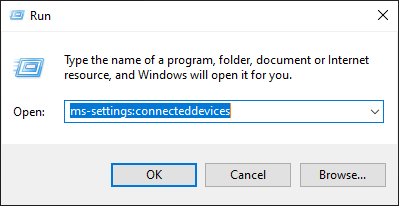
- Press Windows key + R, type ms-settings:connecteddevices, and press Enter to open the Connected Devices section in the Settings app.
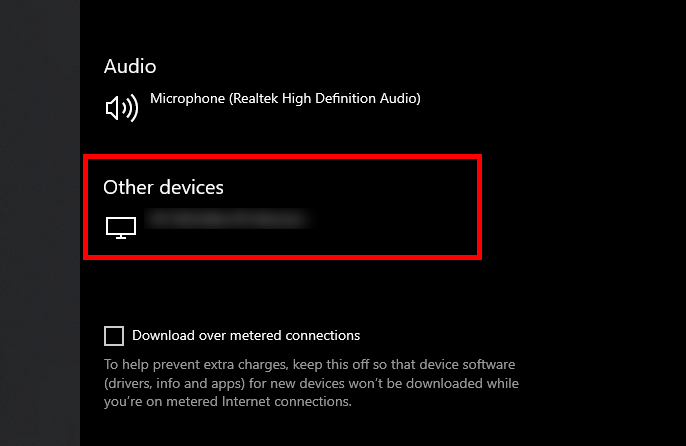
- In the Bluetooth & other devices section, scroll to Other Devices, find your Roku device, click on it, and select Remove device.
- Go back to the top of the screen and click Add Bluetooth or other devices.
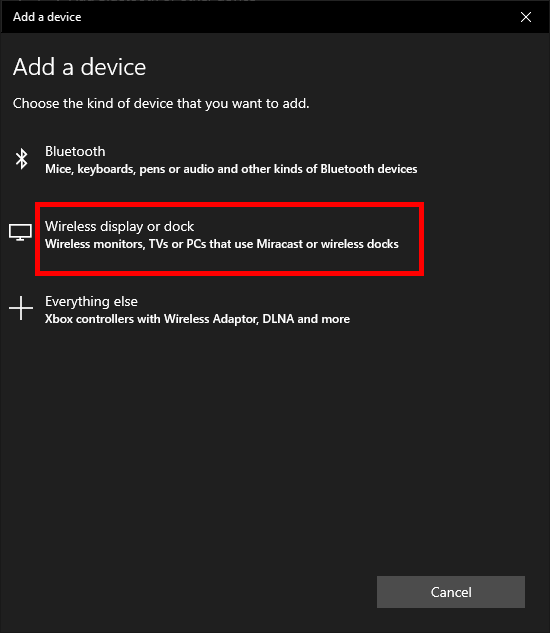
- On the Add a device screen, choose Wireless display or dock, wait for your Roku device to appear, then follow the on-screen instructions to complete the connection setup.
- After completing these steps, restart your computer and check if screen sharing with Roku works.
3. Make Sure your Network is Set as Private
Setting your network to private improves communication, allowing your PC and Roku to connect for screen mirroring by enabling necessary features.
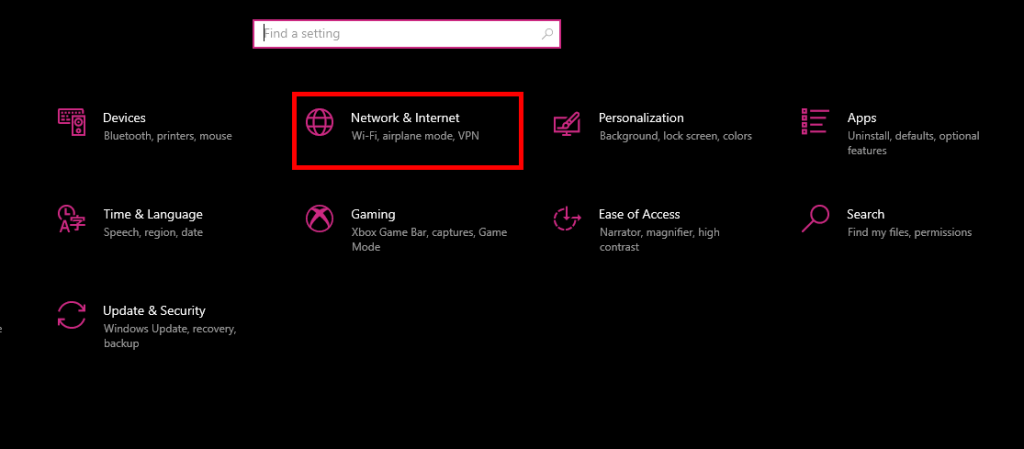
- Press Windows + I to open the Settings app.
- Navigate to the Network & Internet section.
- Under Network Status, find and click on Properties for your network adapter.
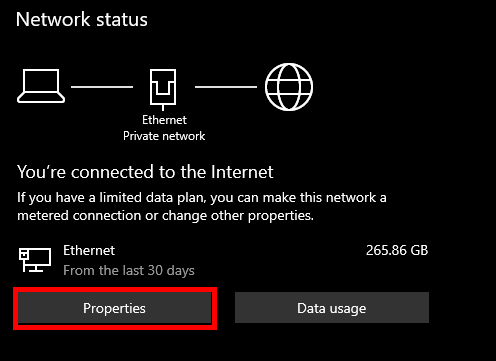
- Ensure the Network Profile is set to Private instead of Public.
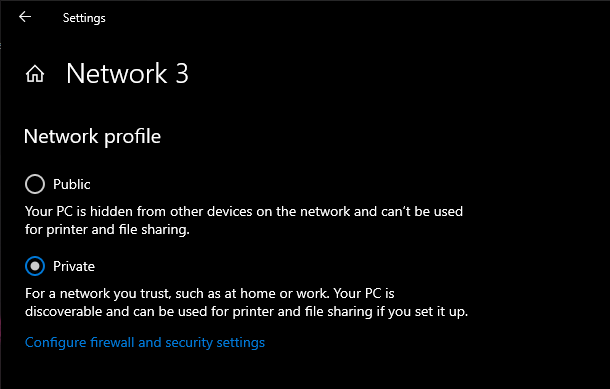
- Restart your computer and try connecting to your RokuTV again.
4. Update the Wireless Network Driver
Updating your wireless network driver improves communication with other devices. An old driver might not support new wireless updates, affecting performance. Updating it ensures better connection standards and fixes issues, helping with stable connections like screen mirroring.
- Press Windows key + R, type devmgmt.msc, and press Enter to open Device Manager. Click Yes if prompted by UAC.
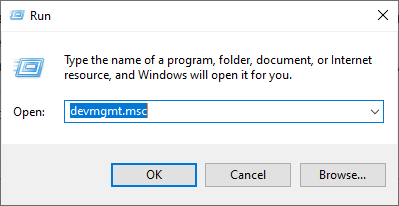
- Expand Network Adapters, right-click your wireless adapter, and select Properties.
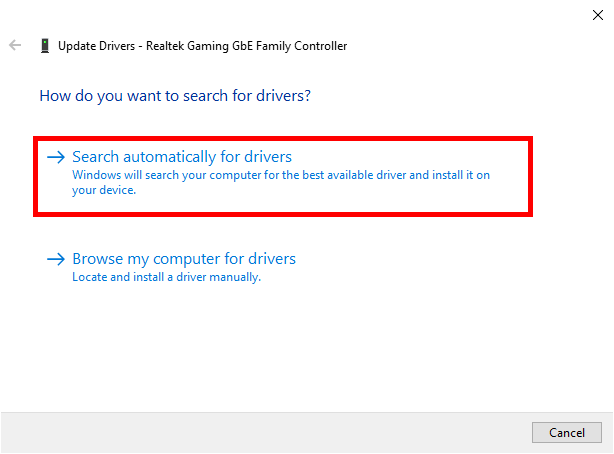
- Go to the Driver tab and click Update Driver.
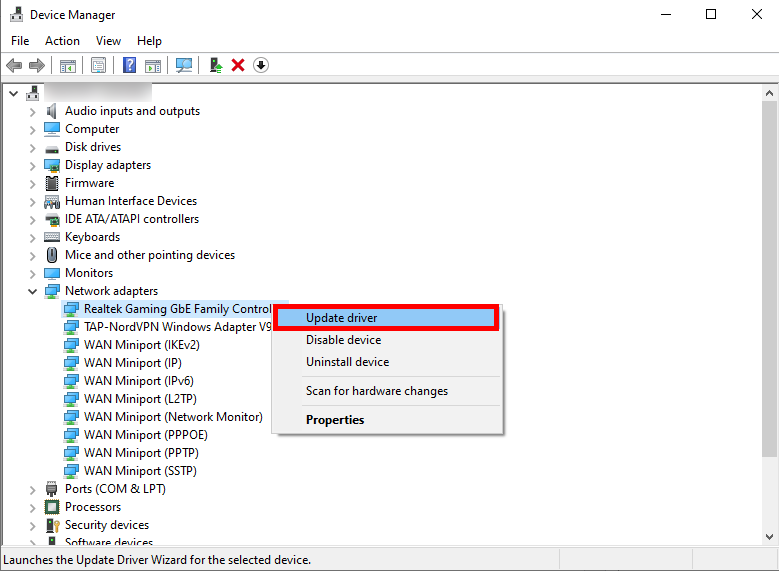
- Select Search automatically for updated driver software and follow instructions to install updates.
- Restart your computer to check if the Roku screen mirroring issue is fixed.
