How to Fix iOS Mail No Sender No Subject Issue
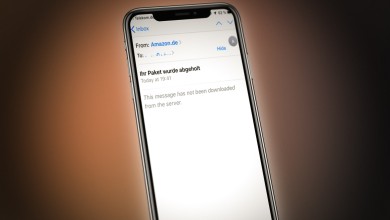
Emails are important to our day to day life. Some users have been reporting that they were receiving emails with No Sender and No Subject on their iOS Mail application. This problem has been roaming around for a while and has affected many iOS users, so if you are facing it, you are certainly not alone. The issue seems to be common with iOS 13. This is because most of the users started receiving these messages after they updated their iOS or iPadOS to version 13.
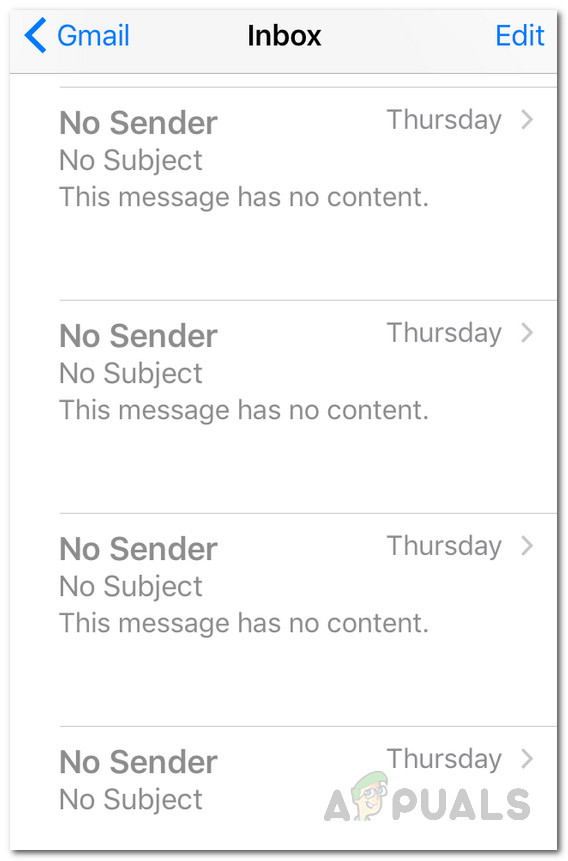
As it turns out, upon opening up the email, there’s no content in the email and the body just says “This message has no content”. In addition, the emails are said to be not removable in some cases which can be really annoying. Now, the exact cause of the said issue isn’t really known but it appears to be caused due to a bug in the iOS 13. Therefore, you should first of all try updating your device to see if that resolves your issue. In case updating the device doesn’t pane out for you, do not fret as we are going to list down various methods that you can implement to get the issue resolved. So, without further ado, let us get started.
Method 1: Remove and Add Email Account
The first thing that you should do when you face the said issue is to remove your email account from the device settings. When you log in to an account, be it Mail, iCloud, or whatever, they are stored on your device so that you don’t have to login every time you open up the application. Therefore, you will have to manually remove the account from the Passwords and Accounts category. Once you have removed your email account, you can then add it back again after rebooting your device. This has been reported by several users that were affected by the same issue. With that said, follow the instructions down below to do so:
- First of all, on your iPhone or iPad, open up the device Settings.
- Then, on the Settings screen, tap on the Passwords & Accounts option.
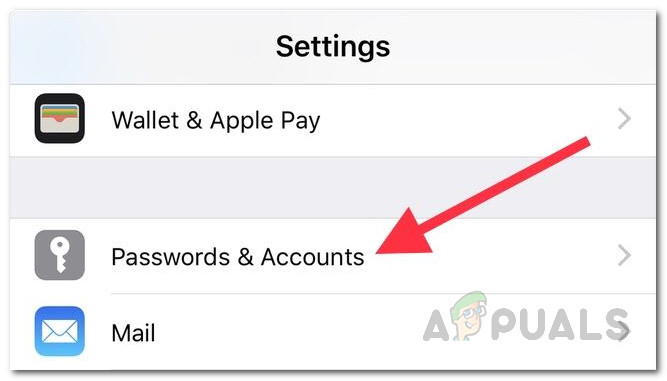
iPhone Passwords and Accounts - After that, on the Passwords & Accounts screen, locate your mail account and then tap on it.
- From there, tap the Delete Account option at the bottom.
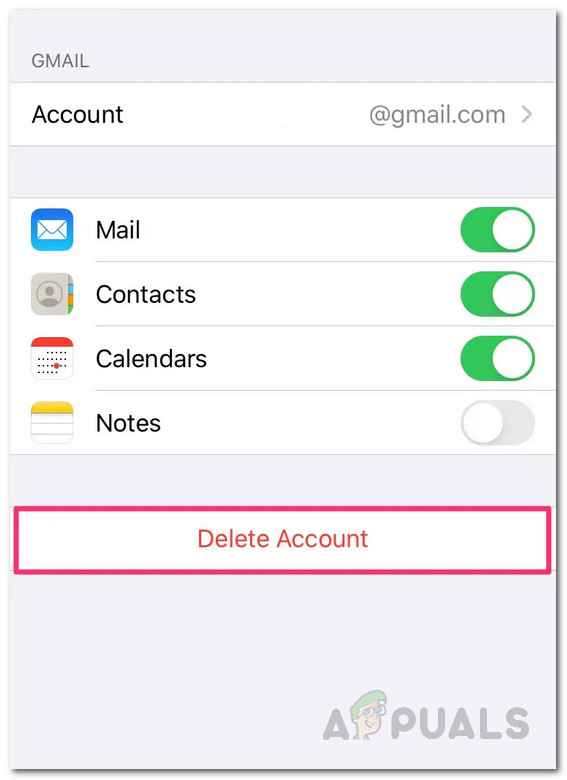
Deleting Email Account - Confirm the action when prompted. Once you have done that, reboot your device.
- Once your device boots up again, head back to the Passwords & Accounts section and tap on the Add Account option to add your account again.
- Alternatively, you can just open up the Mail application and you will be prompted to add an account automatically.
- Once you have added your account again, let the emails load to see if the issue persists.
Method 2: Sign out and in to iCloud Account
As it turns out, another way you can get rid of the said error message is to sign out of your iCloud account and then back in. When you are signed out, you will not be able to use various Apple features but that is okay since we are going to sign back in after a reboot. To sign out, follow the instructions down below:
- First of all, as usual, go to your iPhone or iPad Settings.
- On the Settings screen, tap on your name. This will take you to the Apple ID screen.
- In order to sign out, tap the Sign Out option at the bottom.
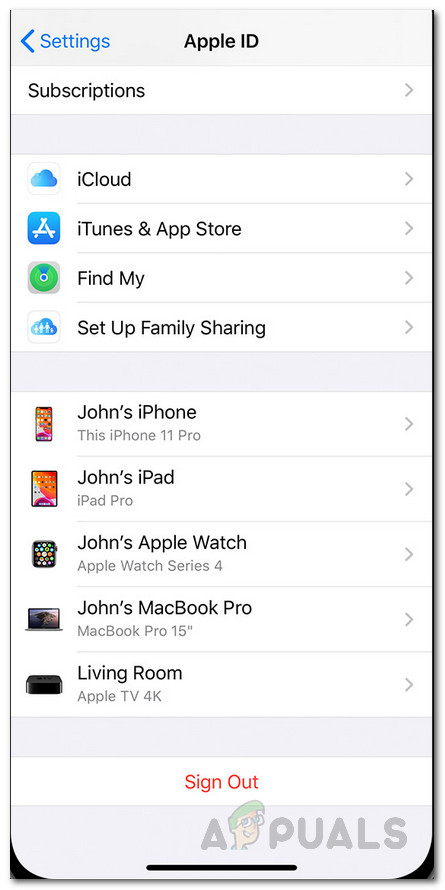
Signing out of Apple ID - You will be prompted for your Apple ID password. Once you have provided the password, tap the Turn Off option.
- After that, if you are asked to select any data to keep, don’t select anything.
- Finally, tap Sign Out again until you are signed out.
- Once you have signed out of iCloud, go ahead and reboot your device.
- After the device boots up, go back to your device Settings and add your iCloud account again. This can be done via tapping the Sign in to your iPhone option at the top.
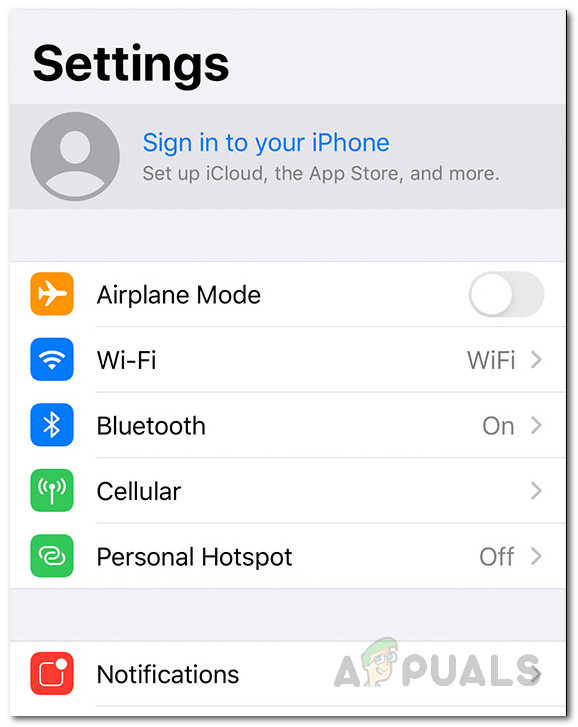
iPhone Settings - Once you have signed in, open up the Mail application to see if the issue persists.
Method 3: Reinstall Mail
Finally, if none of the above solutions have worked out for you, what you can do is uninstall the Mail app from your device and then install it again. This will remove the app cache along with other stuff and you will be able to get a fresh installation of the Mail. To reinstall the Mail app, do the following:
- First of all, you can either hold down the Mail application until the icons start jiggling.
- Then, tap on the X icon at the top of the icon and then select Delete on the pop-up dialog box. On some devices, you will see a Rearrange Apps option when you hold the icon. Tap on that.
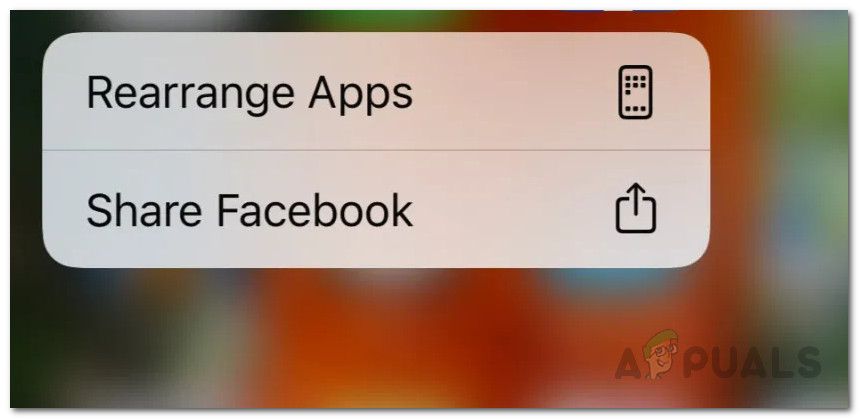
Rearrange Apps - After that, tap on the x icon at the top-left corner to delete the app.
- You can also delete the application by going to your Settings > General > iPhone Storage.
- From there, locate the application and then tap on it. Finally, tap the Delete App button to remove the app from your device.
- Once you have deleted the app from your device, open up App Store and search for Mail.
Mail App Store - Install the app again and then login.
- Once the emails have loaded, see if the persists.