(Solved) Steam FATAL ERROR: Failed to Connect with Client
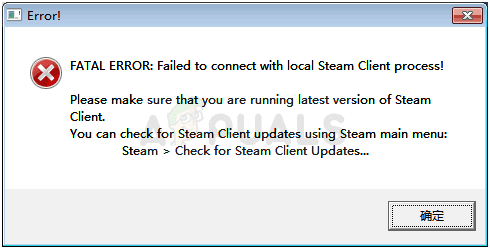
This Steam fatal error appears after launching a game mostly after launching Counter-Strike Global Offensive or similar Valve games such as CS 1.6, Team Fortress 2, or Half-Life.
In certain cases, not being in the Steam Beta program caused the problem which usually means Steam intended to fix the problem in the next update. Below we have multiple solutions you can try to resolve your issue.
1. Run Steam as an Administrator
This issue is also caused when the game’s privileges is higher than the Steam. This causes an issue between permissions and doesn’t allow Steam to run the game properly. So to fix this issue, we are going to run Steam as an administrator. Follow these steps:-
- End all the Steam processes by using a command.
- Click on the Search bar and search for “Command Prompt” now click “Run as administrator”.
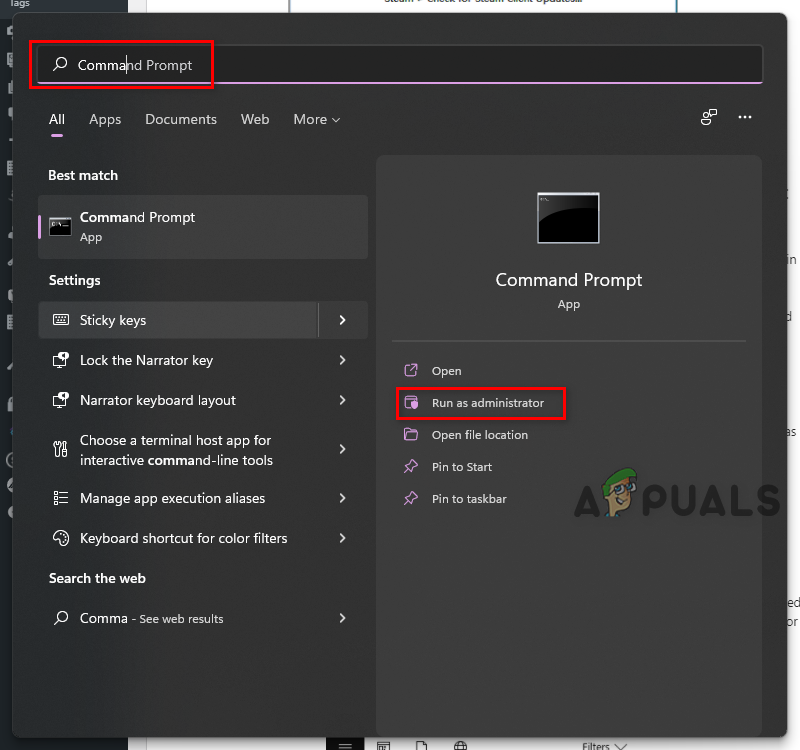
Running Command Prompt as an Administrator - Once Command Prompt’s window opens, type the following command and press enter:-
taskkill /f /IM "steam.exe"
- This command will end all the Steam processes running in the background.
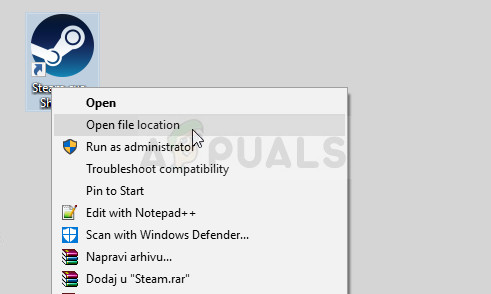
- Now find your Steam directory, you can also right-click on the Steam shortcut and click “Open File Location”.
- Once you find the Directory there should be a file named “Steam.exe” right-click on it and hit “Properties”.
- Inside the properties window tick the option “Run this program as an administrator” and press “Apply”.
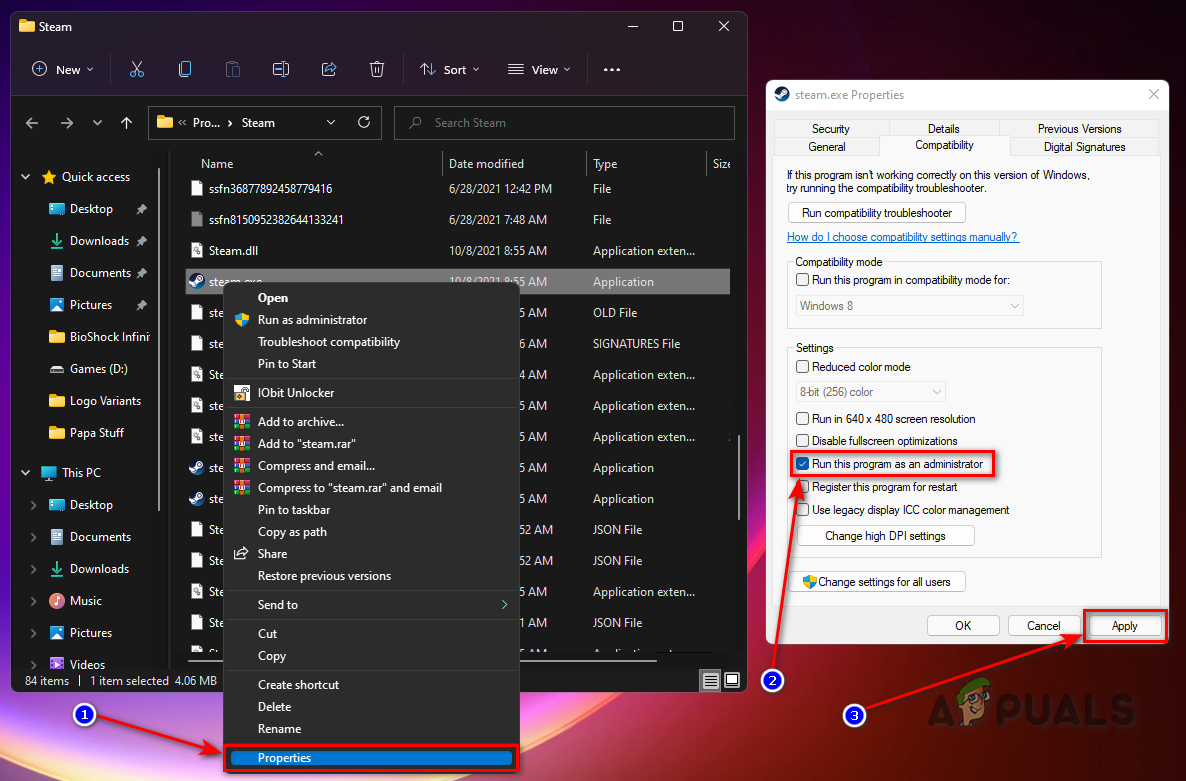
Allow Steam to run as an administrator - Now Run Steam and that’s it, check to see if the issue is resolved. If it isn’t you can try the other methods listed below.
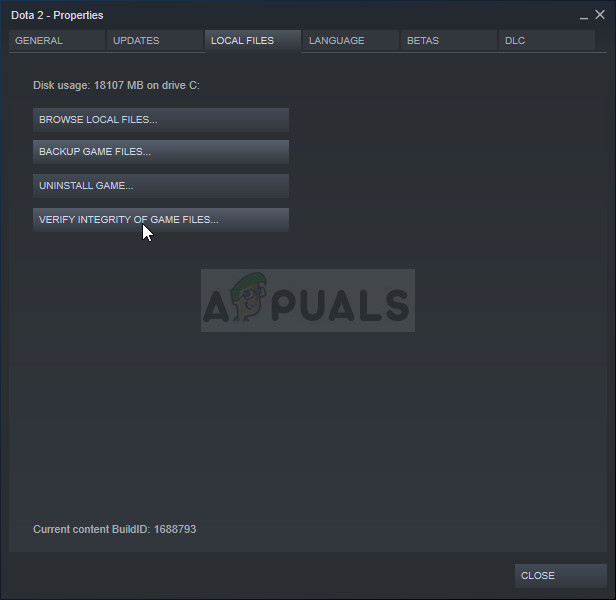
2. Verify Integrity of Game Files
Some players have confirmed that, after the error started to appear, verifying the integrity of game files managed to find several files which were missing or corrupt, and redownloading them helped fix the problematic game.
- Open Steam
- Navigate to Steam Library
- Right-click on the problematic game and head to Properties > Local Files > Verify Integrity of Game Files
- Wait for the Steam to verify the game files integrity and then try to start it again.
3. Restart Steam Completely
This error can also happen sometimes if you have accidentally opened two or more instances of Steam which caused multiple Steam.exe processes to start on your computer. Also, various other Steam-related service can cause the problem to appear and players were able to solve it simply by restarting Steam completely.
- Exit the Steam Client
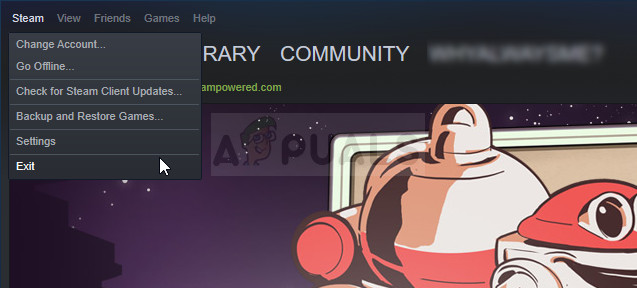
Note: Some users have reported that the problem can be solved simply by opening Steam as an administrator after closing it. After you have closed Steam completely and killed Steam-related processes, try following the steps below in order to run Steam as an administrator.
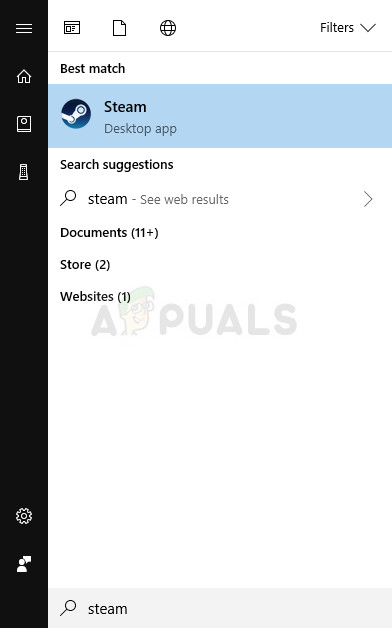
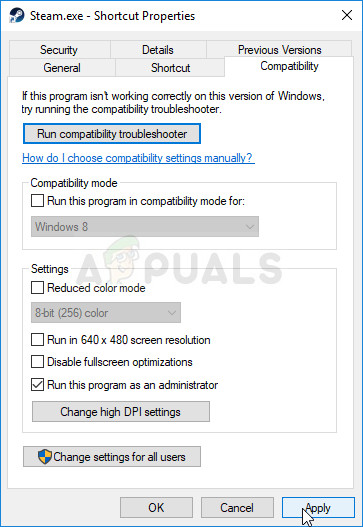
- Locate the Steam executable file and alter it by right-clicking its entry either on the Desktop or the Start menu or the Search results window and choose Properties from the context menu.
- Navigate to the Compatibility tab in the Properties window and check the box next to the Run this program as an administrator entry before applying the changes.
- Make sure you confirm any dialogs which may appear which should prompt you to confirm the choice with admin privileges and Steam should launch with admin privileges from now on. Open Steam by double-clicking its icon and try relaunching the game to see if the “FATAL ERROR: Failed to Connect with Local Steam Client Process” still appears.
4. Logout and login of the Steam Client
This method is similar to the one above except that it’s faster and it only involves logging out of the Steam client and logging back it. Restarting Steam completely is better but sometimes the problem is related to your Steam account and that can only be fixed by logging out.
- Make sure you log out of the Steam account you are currently logged in with on your computer completely by clicking Steam > Change Accounts from the top menu
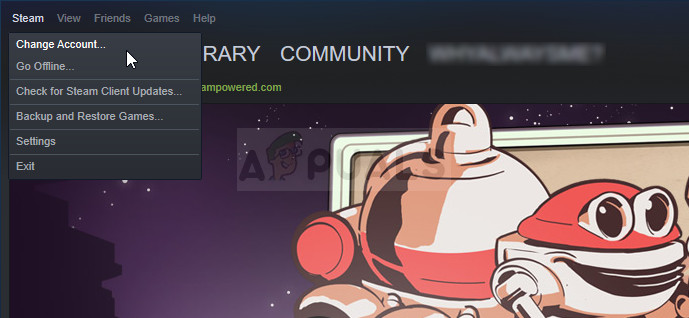
- Confirm the dialog which will appear prompting you to confirm your choice as you will have to re-enter your accounts credentials.
- From the login screen which will appear, enter your proper username or email and password and wait for the Steam client to load. Try relaunching the problematic game and check to see if the issue still appears.
5. Uninstall the Game from Your Computer
Reinstalling the game on your computer can fix the problem as it did for certain users and we have to thank Steam from making the process appear quite easier than it is when uninstalling and installing games outside of Steam. This way you can simply redownload game files and Steam should take care of everything after a few clicks.
- Open your Steam PC client
- Navigate to Steam’s Library
- Right-click on the problematic game and select Uninstall

- After the game has uninstalled, stay in the Library tab in the Steam client, right-click the same game’s entry and choose the Install Game option.
6. Delete the Appcache Folder in Steam Root
Deleting this folder will reset the application cache for the Steam client and it can definitely faster than reinstalling the entire Steam client as that involves backing up game files. This useful didn’t for everyone but it worked for some people and they saved time since they didn’t have to uninstall the Steam client completely.
- If you have the Steam client’s shortcut on the desktop, you can simply right-click on it and choose the Open file location option from the context menu which will appear.
- The appcache folder should be available in this folder so make sure you right-click on it and choose the Delete option from the context menu. Confirm any dialogs and reopen Steam to see if the same error still appears
7. Reinstall Steam
Reinstalling Steam can also fix this issue as it completely delete all the files that might be causing the fatal error. This also refreshes all the processes and services bound to Steam Client.
- First of all, make sure you have logged in with an admin account as you won’t be able to uninstall programs using any other account privileges.
- Make sure you have performed the steps above for each library folder you have on your computer and take note of their locations so that you can add them back once Steam is reinstalled.
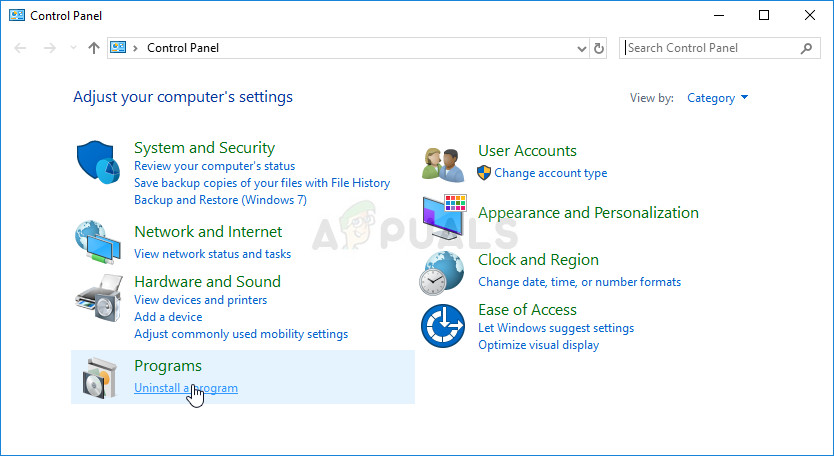
- Click on the Start menu and open Control Panel by searching for it. Alternatively, you can click on the gear icon in order to open settings if you are using Windows 10.
- In Control Panel, select to View as: Category at the top right corner and click on Uninstall a Program under the Programs section.
- If you are using the Settings app, clicking on Apps should immediately open a list of all installed programs on your PC.
- Locate the Steam entry on the list and click on it once. Click on the Uninstall button above the list and confirm any dialog boxes which may appear. Follow the instructions on-screen in order to uninstall Steam and restart your computer afterwards.


tnx