‘Error 97: SMS Origination Denied’ Android Error [Try these Fixes]
Android is one of the most popular operating systems for mobile phones and is used by more than a billion people. It is mostly popular due to its vast customizability options and fast speeds. SMS is a feature used by almost everyone and it allows you to send text messages to other people. However, quite recently, users have been facing the “Error 97:SMS Origination Denied” Error while sending SMS on their androids.

What Causes the “Error 97: SMS Origination Denied” Error?
After receiving numerous reports from multiple users, we decided to investigate the issue and devised a set of solutions to fix it completely. Also, we looked into the reasons due to which it is triggered and listed them as follows.
- Corrupt Data: In some cases, the data from the messages app might be corrupted due to which the issue was being triggered. Corrupt Data can interfere with system processes and prevent messages from going through.
- Corrupt Cache: Certain launch configurations and other data are cached by the messages application to reduce loading times and to provide a smoother experience. However, over time, this cached data might get corrupted due to which the error is being triggered.
Now that you have a basic understanding of the nature of the problem, we will be moving on towards the solutions. Make sure to implement these in the specific order in which they are presented to avoid conflict.
Solution 1: Clearing Cache
If the cached data by the messages application has been corrupted it might prevent the messages from going through. Therefore, in this step, we will only be clearing the cache which will not delete any of the messages. For that:
- Drag down the notifications panel and click on the “settings” icon.

Clicking on the Settings Cog - Scroll down and click on “Applications”.
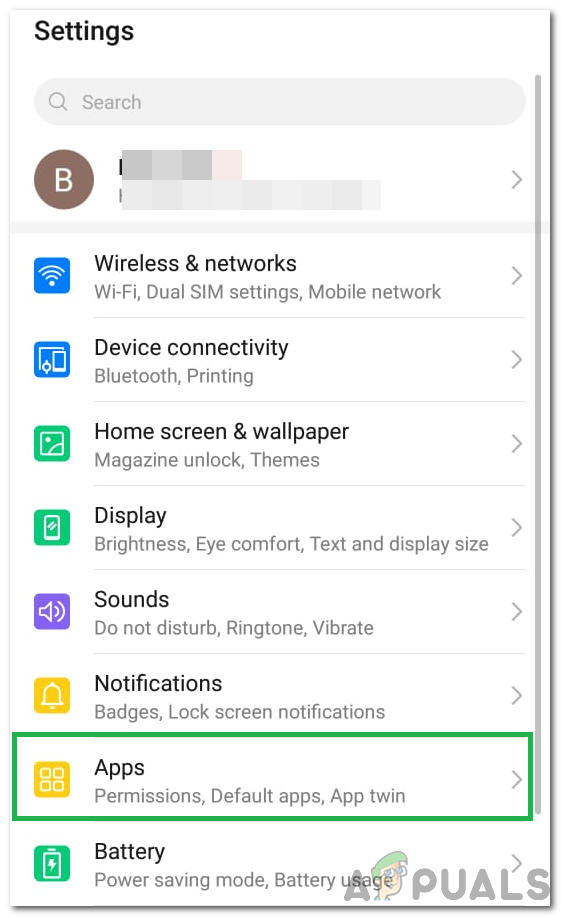
Clicking on the “Applications” option - Click on “Apps” and click on the “Messages” app from the list.
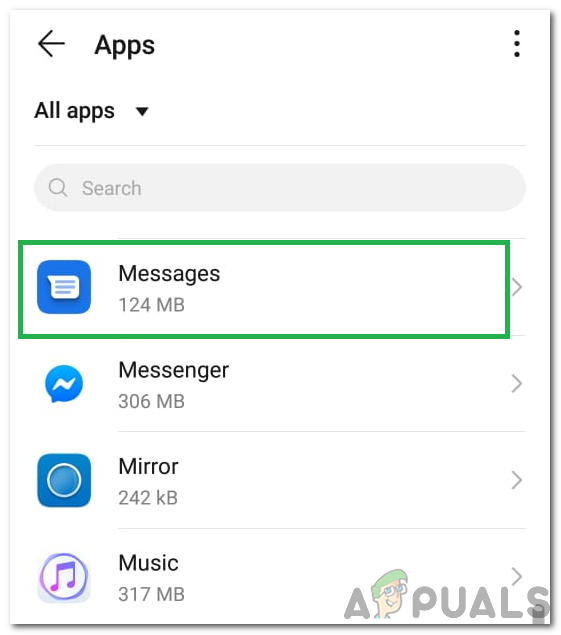
Selecting Messages Note: If you don’t see the messaging app, click on the three dots in the top right corner and click on “Show System Apps”.
- Click on “Storage” and select the “Clear Cache” option
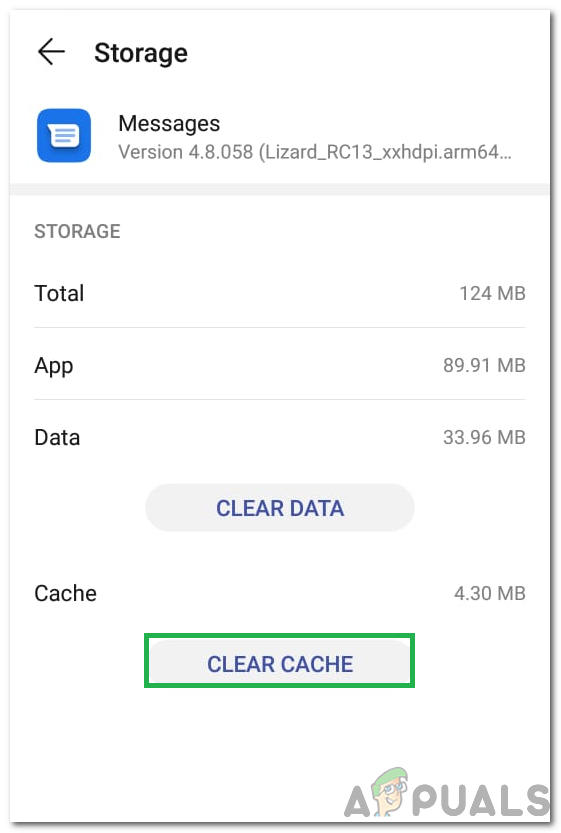
Clicking on “Clear Cache” - Wait for the cache to be cleared and check to see if the issue persists.
Solution 2: Clearing Data
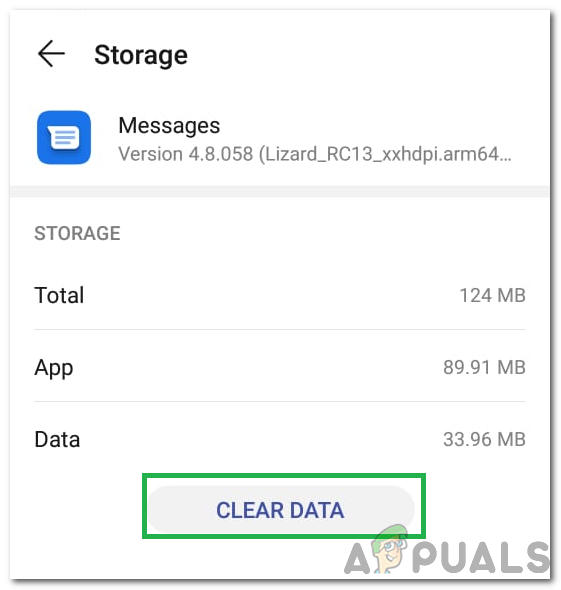
In case clearing the cache doesn’t fix the issue, in this step, we will be clearing the data for the Messages app. Make sure that the important messages are backed up just in case they are deleted. For some phones, clearing the data for the Messages app doesn’t delete the messages but for some phones it does. To do this, repeat the same process that has been indicated in the previous method and click on the “Clear Data” option instead of the “Clear Cache” one.


Cannot send. Contact your carrier: ERROR 97. On Pixel 4 and Spectrum Mobile. Any suggestions in addition to the “Clear the Cache, User Data and/or “reset the networks on the phone” ?