How to Fix Dead by Daylight Crashing on Windows?
Dead by Daylight is an interesting multiplayer game where one player plays as a savage killer and four players play as survivors trying to escape him. It’s an awesome concept which has amazed players around the world but many of them claim to struggle with constant crashing.
The game crashes at various places: in the main menu, during gameplay, etc. Luckily, players were able to come up with useful methods to resolve this issue. We have gathered the methods which were confirmed as working and created this article for you to check out!
What Causes Dead by Deadlight to Keep Crashing on Windows?
There are quite a few different causes which can make any game crash and Dead by Daylight is no exception. However, it’s wise to check out the list of possible causes we have come up with because you will be able to narrow down the possible scenarios for your problem. Check out the full list below!
- Old or faulty drivers – The drivers you currently have installed on your computer are the most common culprit to this problem. You might need to update them or roll back to an earlier version to resolve the crashing problem.
- Game files are missing or corrupt – If this is the real cause of the crashing, verifying the integrity of game files may help you resolve the problem quickly. It’s a great feature by Steam and it has helped resolve the problem for many players!
- Overlays – Users have reported that NVIDIA and Steam overlays caused game instability and crashing. Consider disabling them while the game runs and check to see if crashing stops occurring.
- Lacking administrator permissions – Normally, games should run normally without having administrator permissions for their executable file. However, players have reported that providing these permissions is a great method to resolve the crashing problem so make sure you try it out.
- FPS lock – The framerate in the game can’t go above 70 frames-per-second. Unlocking the framerate by editing configuration files can also prevent in-game crashing!
Solution 1: Update or Roll Back Your Graphics Drivers
If the Dead by Daylight game started to crash after you have updated your graphics driver one way or another; a rollback might be good enough until a new, patched driver is released. You should also update the graphics device you are using to play the game if a new driver is available as new releases often tend to fix crashing issues!
- First of all, you should uninstall the driver you currently have installed on your computer.
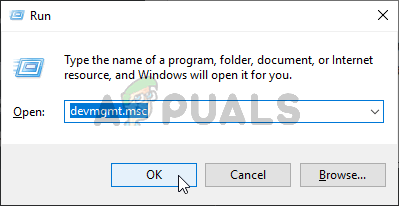
- Type “Device Manager” into the search field next to the Start menu button to open the device manager tool. You can also use the Windows Key + R key combination to open the Run dialog box. Type devmgmt.msc in the box and click OK or Enter key.
- Expand the “Display Adapters” section by clicking the arrow next to it. This will display all display adapters that the computer has installed at the moment.
Update the Driver:
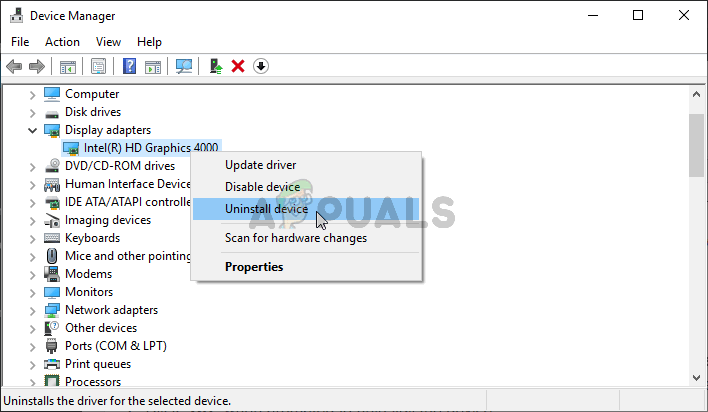
- Right-click the display adapter for your installed graphics card and select “Uninstall device” from the context menu which will appear. This will remove the driver from the list and uninstall the graphics device.
- Click “OK” when prompted to uninstall the device.
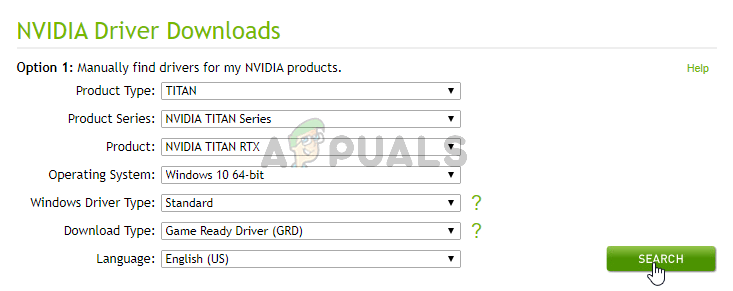
- Navigate to your graphics card manufacturer’s page to see the list of available drivers for your operating system and setup. Choose the latest one, download it, and run it from the Downloads
- Follow the instructions which will appear on-screen to install the driver. Restart the computer and check to see if the problem has ceased to appear.
Rolling Back the Driver:
- Right-click the graphics device driver you want to roll back and select Properties. After the Properties window opens, navigate to the Driver tab and locate the Roll Back Driver.
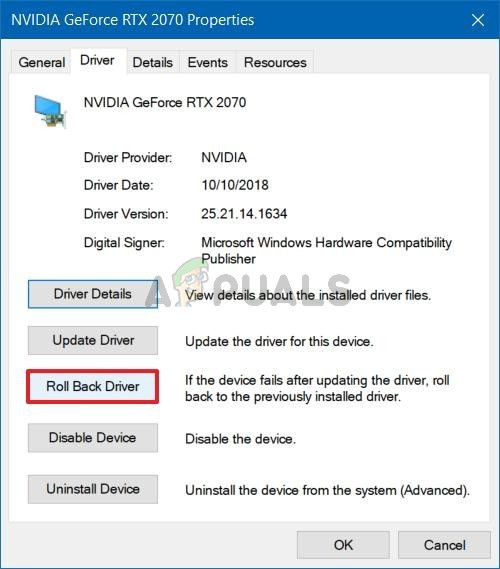
- If the option is grayed out, it means that the device wasn’t updated recently as it has no backup files remembering the old driver. This also means that the recent driver update is probably not the cause of this issue.
- If the option is available to click on, do so and follow the instructions on-screen to proceed with the process. Restart the computer and check to see if the crashing still occurs while playing Dead by Daylight.
Solution 2: Verify the Integrity of Game Files
If some game files went missing or corrupt, various problems can occur, including the problem where multiplayer simply won’t work. However, it’s very easy replacing broken and downloading missing files if the game is installed via Steam. You can verify game files and see if the problem is resolved!
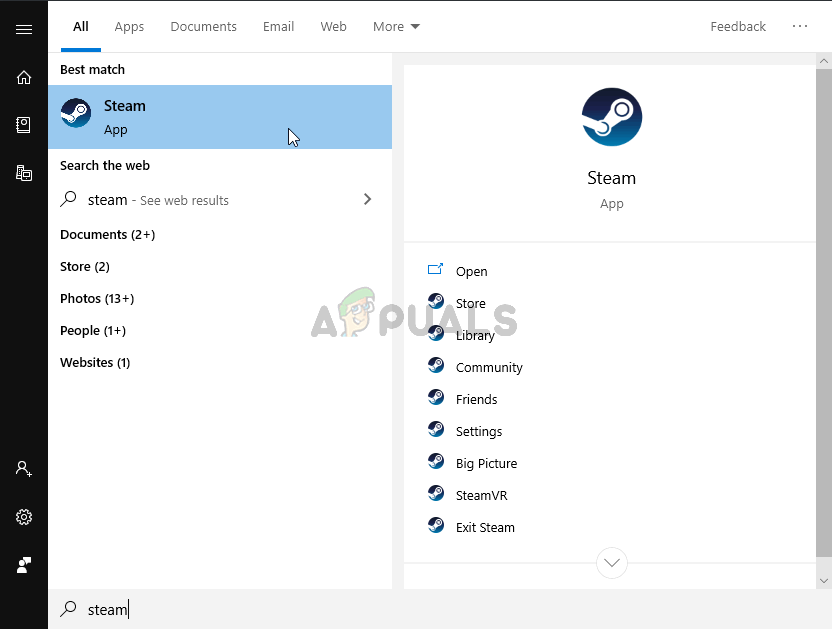
- Open up Steam on your computer by double-clicking its icon on the Desktop or by searching for “Steam” in the Start menu. Windows 10 users can also search for it using Cortana or the search bar, both of them next to the Start menu at the taskbar.
- Navigate to the Library tab in the Steam window which will open by locating the Library tab at the top of the window. Locate Dead by Daylight in the list of games you have in your respective library.
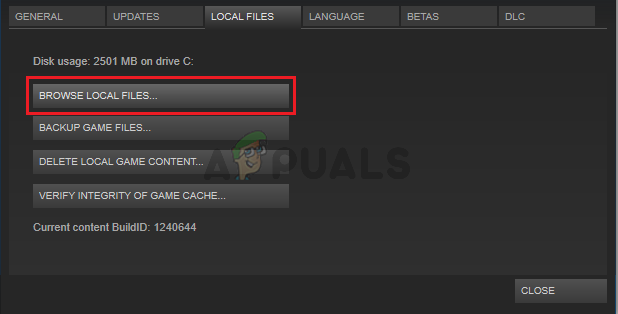
- Right-click the game’s icon in the list and choose the Properties option from the context menu which will pop up. Make sure you navigate to the Local Files tab from the top navigation menu.
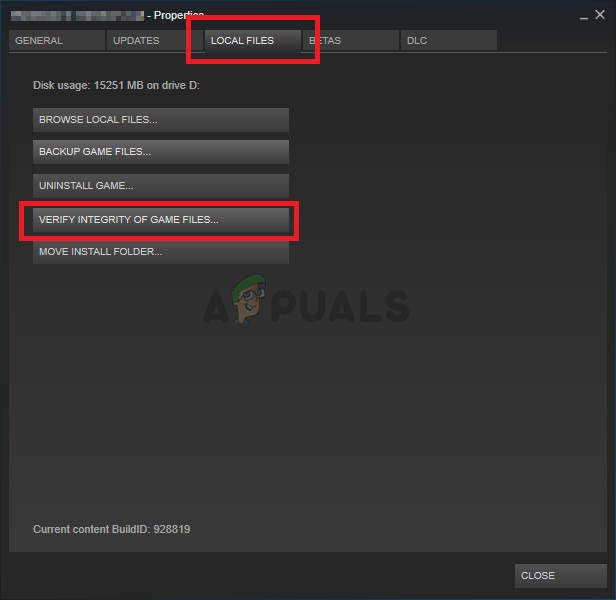
- Click the Verify Integrity of Game Files button at the bottom of the window and wait for the tool to finish checking for your game files. The tool should download any missing or corrupt files and you should launch the game afterward to see if it works without crashing!
Solution 3: Disable NVIDIA Overlay
If you are using an NVIDIA graphics card on your computer, you should consider disabling its overlay. Many different overlays cause issues with various games and you never know what the real culprit is, especially if two or more different overlays run at the same time. Follow the instructions below to disable it.
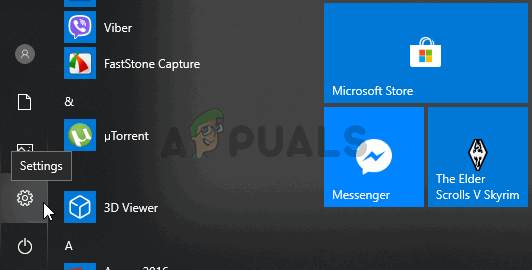
- Click the Start menu button for it to open and click the cog icon from the home screen which should be located in the upper right corner to open Settings.
- From the General tab, locate the Share option with the “Allows you to record, stream, broadcast, and take screenshots of your gameplay” description underneath. Make sure you slide the slider to the left to disable it.
- Accept the changes you have made and check to see if Dead by Daylight now crashes constantly!
Solution 4: Disable Steam Overlay
Steam Overlay is yet another overlay which might mess up your game so consider disabling it to resolve the crashing issue. Follow the steps below to disable it!
- Open Steam by double-clicking its entry on the Desktop or by searching for it in the Start menu. Windows 10 OS users can also search for it using Cortana or the search bar, both of them next to the Start menu at the left part of your taskbar!
Opening Steam from Start menu - Navigate to the Library tab in the Steam window, and locate Dead by Daylight in the list of the games you own in your library.
- Right-click the game’s entry in the library and choose the Properties option from the context menu which should appear. Stay in the General tab in the Properties window and clear the box next to the “Enable the Steam Overlay while in-game” entry.
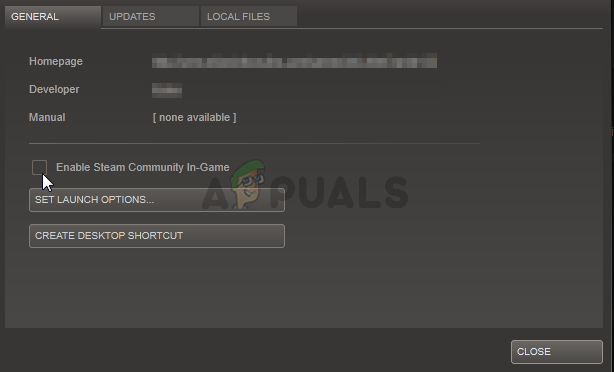
Disable Steam Overlay - Apply the changes, exit, and try running the game. Check to see if BioShock Remastered still crashes after launching or during gameplay.
Solution 5: Run the Game’s Executable as an Administrator
Providing administrator permissions to the game’s executable seems to have resolved the problem from many users. It worked for crashes which have appeared since day one, especially if the crash appears in the main menu. Make sure you follow the steps below to run Dead by Daylight as an administrator.
- Locate the game’s installation folder manually by right-clicking the game’s shortcut on Desktop or anywhere else and choose Open file location from the menu.
- If you have installed the game via Steam, open its shortcut on the Desktop or by searching for it in the Start menu simply by typing “Steam” after clicking the Start menu button.
- After the Steam client opens, navigate to the Library tab in the Steam window at the menu located at the top of the window, and locate the Dead by Daylight entry in the list.
- Right-click the game’s icon in the library and choose the Properties option from the context menu which will open and make sure you navigate to the Local Files tab in the Properties window straight away and click the Browse Local Files.
- Locate the game’s executable file in the Dead by Daylight folder. Right-click on it and choose the Properties option from the context menu which will appear.
- Navigate to the Compatibility tab in the Properties window and check the box next to the Run this program as an administrator option before saving the changes by clicking OK or Apply.
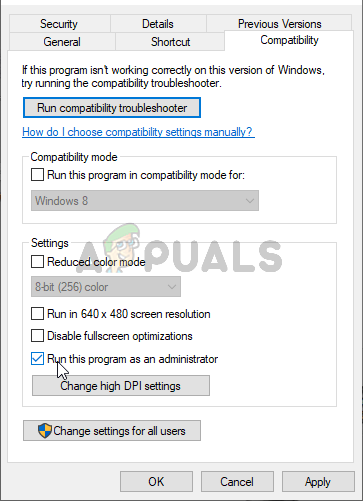
- Make sure you confirm any prompts which may appear which should prompt you to confirm the choice with admin privileges and the game should launch with admin privileges from the next startup. Check to see if the game still crashes!
Solution 6: Disable the FPS Lock
Users have reported being able to resolve this problem simply by editing the game’s configuration file to disable the FPS lock. The game generally doesn’t support a framerate higher than 70 FPS and it may cause issues with your graphics card. Follow the instructions below to disable this lock!
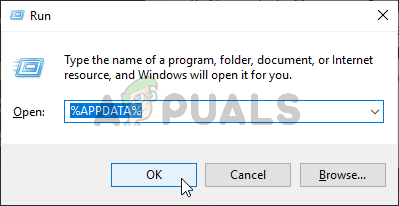
- Press the Windows Logo Key + R button combination to bring up the Run dialog box. Make sure you type “%appdata%” in the dialog box and click OK to open this location in File Explorer. If the Roaming folder opens, go back to AppData.
Opening the AppData folder - Instead of that, you can also open the File Explorer on your computer (opening a folder) and navigate to the folder manually. First of all, locate This PC at the right navigation screen after opening File Explorer and click your Local Disk.
- Navigate to Users >> Default >> AppData. If you are unable to see the Default or the AppData folder, the reason is that the folder is hidden by default and you are unable to see it without changing a certain setting in File Explorer.
- Click on the “View” tab on File Explorer’s menu and click on the “Hidden items” checkbox in the Show/hide section. File Explorer will now be able to show the AppData folder so double-click to open it.

Revealing the AppData folder - Open the Local folder. Locate a folder named DeadByDaylight and navigate to Saved >> Config >> WindowsNoEditor. Try to locate a file called “GameUserSettings.ini”. Double-click to open the file and choose to open it with Notepad if Notepad isn’t launched automatically.
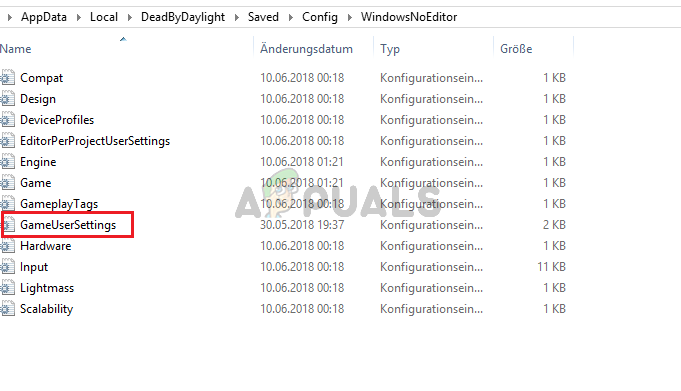
Edit the GameUserSettins.ini file - Use the Ctrl + F key combination or click Edit at the top menu and select the Find option from the dropdown menu to open the search box.
- Type “bUseVSync” in the box and change the value next to it to False. Use the Ctrl + S key combination to save the changes or click File >> Save and exit Notepad.
- Try running the game again to check if Dead by Daylight keeps crashing on startup after performing these steps.
Note: If your monitor’s refresh rate is 60 Hz, the steps above may not be enough so you will have to expand this method by editing a different configuration file. Follow the instructions below!
- Try to locate a file called “Engine.ini“. Double-click to open the file and choose to open it with Notepad if Notepad isn’t launched automatically.
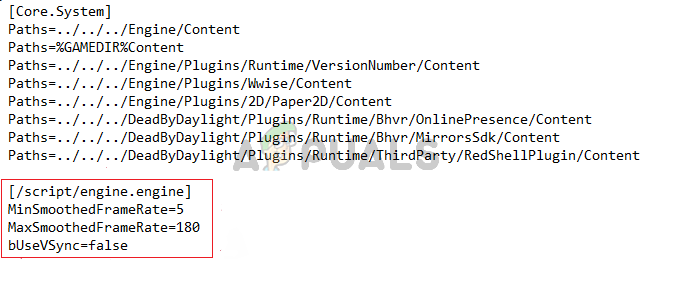
- Scroll to the bottom of the file and paste the following text:
[/script/engine.engine]
MinSmoothedFrameRate=5
MaxSmoothedFrameRate= [your maximum display refresh rate]
bUseVSync=false
- The file should look like this:
Solution 7: Reinstall the Game
Reinstalling the game should be the last thing on the list but the good thing is everything is saved to your account and you won’t have to start all over again. If you have a good Internet connection or a strong PC, the game should be reinstalled in no time and the error should now cease to appear.
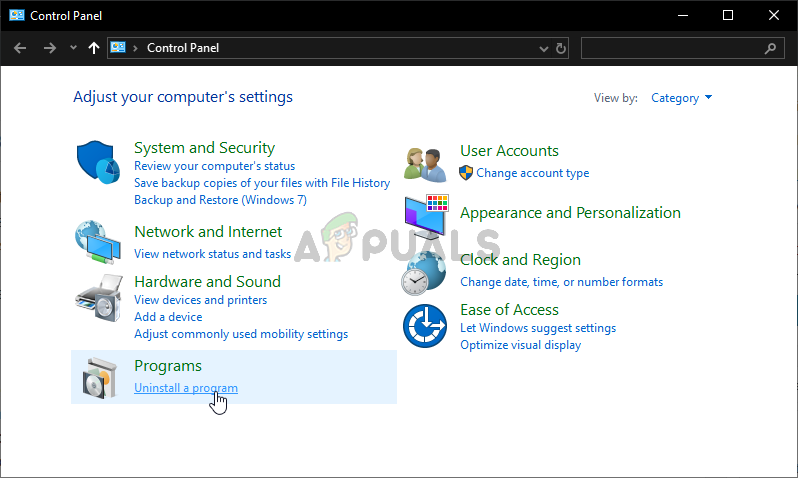
- Click on the Start menu button and open Control Panel by searching for it or by locating it in the Start menu (Windows 7 users). Alternatively, you can click on the gear icon to open the Settings app if you are using Windows 10 as the operating system on your computer.
- In the Control Panel window, switch to View as: Category at the top right corner and click on Uninstall a Program under the Programs section.
- If you are using the Settings on Windows 10, click on Apps section from the Settings window should open the list of all installed programs on your computer.
- Locate Dead by Deadlight in the list either in Settings or Control Panel, click on it once and click the Uninstall button located in the Uninstall a program window. Confirm any dialog choices to uninstall the game, and follow the instructions which will appear on the screen. Restart your computer afterward!
You will need to download it again from Steam by locating in the Library and choose the Install button after right-clicking on it.


